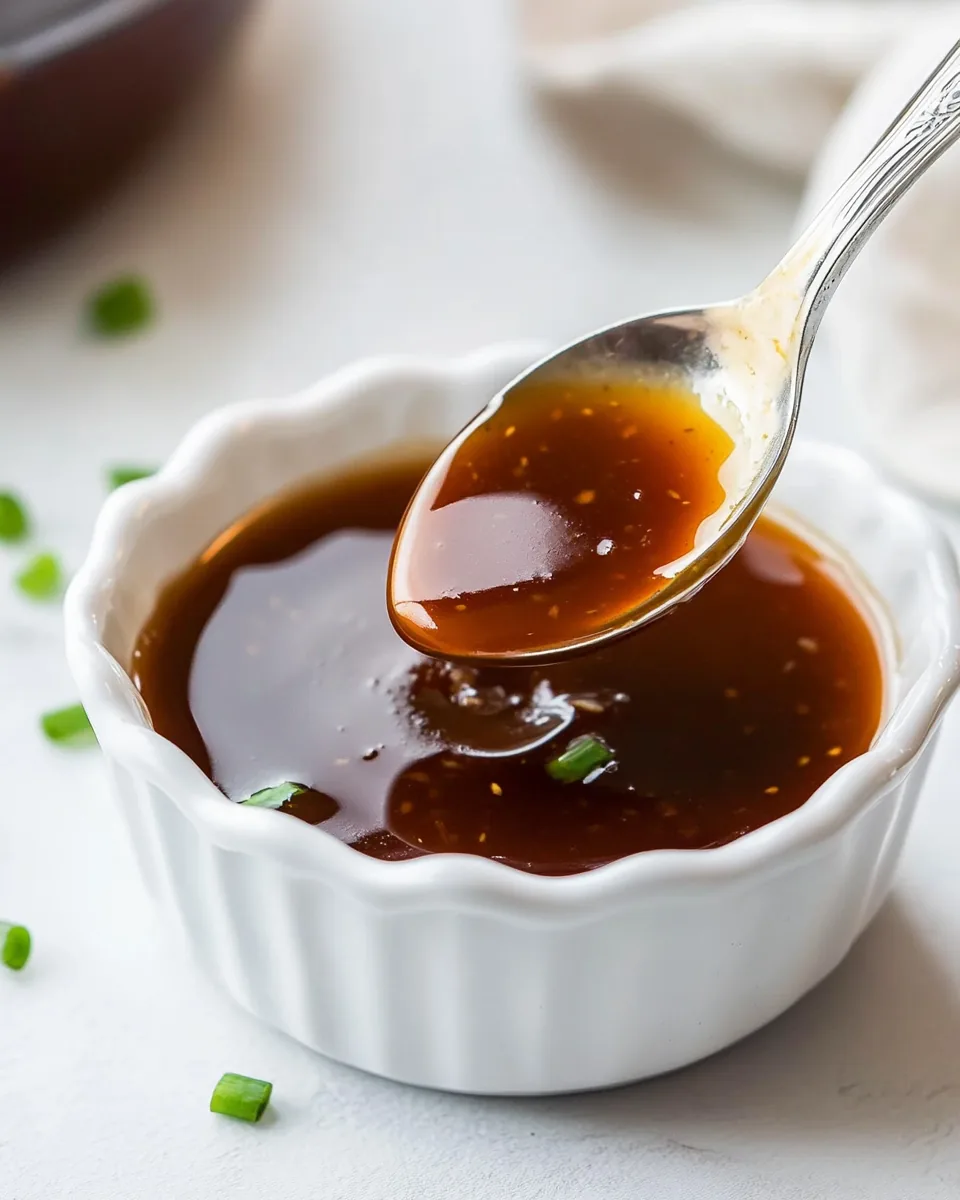
Homemade Sweet and Sour Sauce
Whenever I think about the perfect addition to my favorite dishes, the first thing that comes to mind is the Homemade Sweet and Sour Sauce. This vibrant sauce brings a delightful balance of flavors that can turn even the simplest meal into something extraordinary. I still remember the first time I tried making this at home; the aroma filled my kitchen, immediately transporting me back to my childhood, enjoying takeout with my family. It was a Saturday night, and the table was set for a feast, complete with fried rice and crispy vegetables. I was determined to recreate that experience, and this sauce became my secret weapon.
The beauty of the Homemade Sweet and Sour Sauce lies in its versatility. It’s perfect for dipping, drizzling, or even as a marinade. Whether you’re serving it with spring rolls, chicken fingers, or simply tossing it with sautéed vegetables, it adds a punch of flavor that’s hard to resist. Not only is it incredibly easy to make, but it also allows you to control the sweetness and tanginess to suit your taste. You can whip it up in a matter of minutes, and once you’ve tasted it, you’ll wonder why you ever bought store-bought versions.
Making your own sauce opens a world of possibilities. You can experiment with different ingredients to make it uniquely yours. Maybe adding a little extra pineapple juice or a dash of chili sauce for heat? The options are endless! So, if you’re ready to impress your family and friends with a delicious homemade condiment that can elevate any meal, grab your ingredients, and let’s dive into making the Homemade Sweet and Sour Sauce.
Recipe Snapshot
15 mins
5 mins
10 mins
Medium
90 kcal
0 g
Whole30, Vegan, Gluten-Free
0 g
Frying Pan, Saucepan, Whisk
What You’ll Enjoy About This Homemade Sweet and Sour Sauce
It’s Quick and Easy
One of the best things about the Homemade Sweet and Sour Sauce is how quickly it comes together. With just a few ingredients and minimal cooking time, you can create a sauce that rivals your favorite restaurant version. I love that I can prepare it while cooking the main dishes, making it a perfect last-minute addition to my meals.
Customizable to Your Taste
This sauce is incredibly forgiving and allows you to play with the flavors until you find your perfect balance. Want it sweeter? Add a little more sugar. Prefer it tangier? A splash more vinegar will do the trick. I find that experimenting with the basic recipe is half the fun, allowing you to create a sauce that fits your palate.
Perfect for Any Occasion
Whether you’re hosting a casual dinner party or just treating yourself to a cozy night in, the Homemade Sweet and Sour Sauce fits right in. It pairs beautifully with a variety of dishes, from grilled chicken to fried tofu, making it a versatile addition to any meal. I love having a jar of this sauce in my fridge, ready to elevate whatever I’m cooking.
Healthier than Store-Bought Versions
Let’s be honest—many store-bought sauces are loaded with preservatives and artificial flavors. By making your own Homemade Sweet and Sour Sauce, you control what goes in and can avoid all those unnecessary ingredients. It’s satisfying to know that I’m serving my family something wholesome and delicious.
Great for Meal Prep
This sauce is a fantastic option for meal prepping. I like to make a double batch and store it in an airtight container in the fridge. It lasts about two weeks, so I always have it on hand for quick meals. Just a spoonful can transform leftovers into something fresh and exciting!
It’s an Instant Flavor Boost
No one can deny that the right sauce can make a meal. The Homemade Sweet and Sour Sauce brings a burst of flavor that elevates even the plainest dishes. It’s a fantastic way to jazz up simple dinners, making them feel more special and indulgent without much effort.
Key Ingredients for Homemade Sweet and Sour Sauce
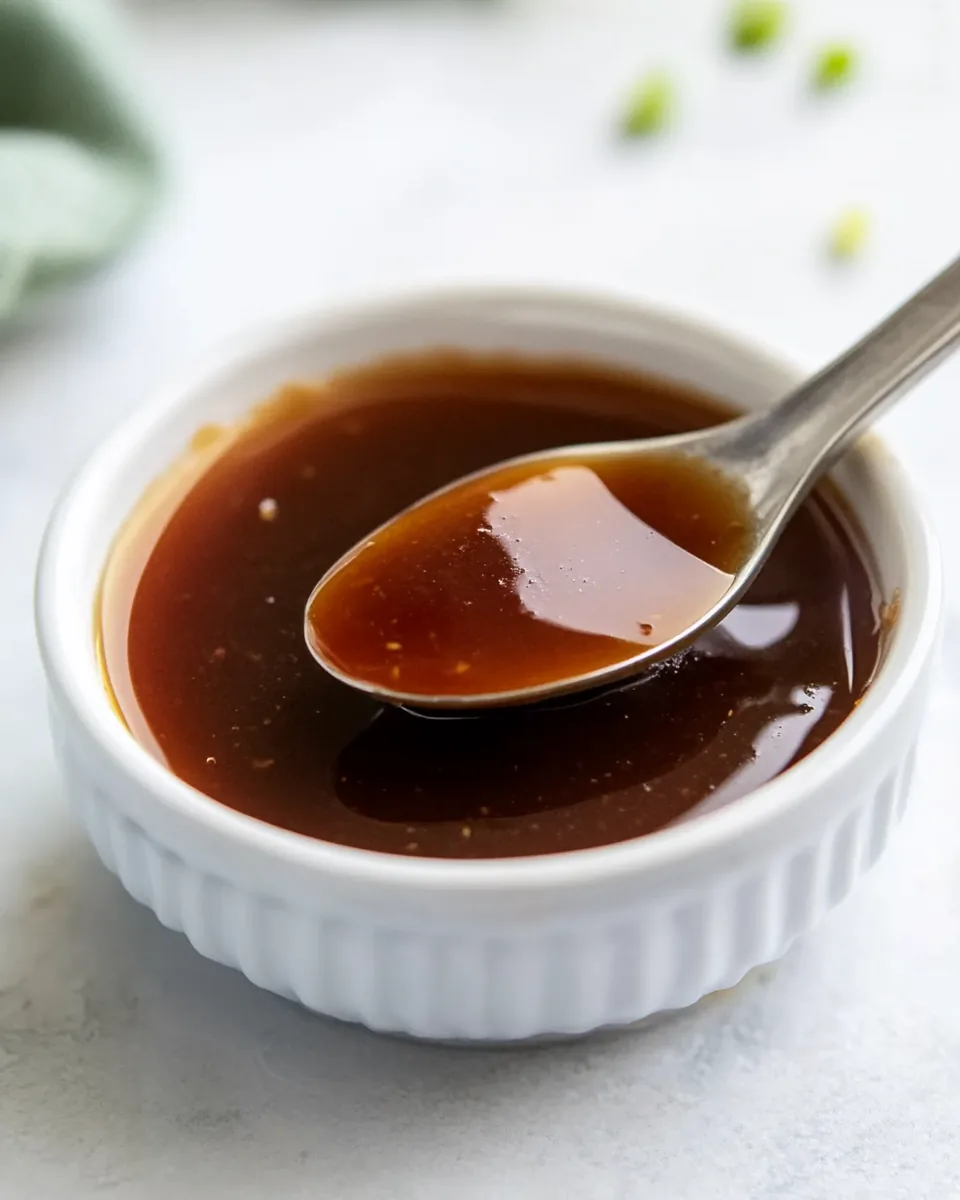
The ingredients for the Homemade Sweet and Sour Sauce are simple yet effective, coming together to create a symphony of flavor. Each component plays a crucial role, contributing to the sweet and tangy profile we all love. The key players in this sauce are pineapple juice, rice vinegar, and brown sugar. Together, they create the perfect balance that makes this sauce irresistible.
- Pineapple juice: The star of the show, pineapple juice adds a natural sweetness and acidity that forms the backbone of the sauce. Its tropical notes make every bite feel like a mini vacation.
- Rice vinegar: This ingredient brings a mild tanginess that cuts through the sweetness, ensuring the sauce isn’t overly sugary. It enhances the overall flavor profile and adds depth.
- Brown sugar: Providing that essential sweetness, brown sugar also lends a slight caramel flavor that complements the other ingredients beautifully.
- Ketchup: A common yet vital ingredient, ketchup thickens the sauce and rounds out the flavors with its rich tomato base.
- Soy sauce: A splash of soy sauce adds umami, giving the sauce a savory depth that balances the sweetness perfectly.
- Water: Used to adjust the consistency, water ensures the sauce can be poured or drizzled easily.
- Cornstarch: This is the secret weapon for thickening the sauce, giving it that perfect texture that clings well to food.
Making Homemade Sweet and Sour Sauce
Creating the Homemade Sweet and Sour Sauce is an enjoyable process, bringing together familiar flavors in a simple yet satisfying way. Let’s walk through each step, so you can experience the joy of making your own sauce at home.
- Start with a medium-sized saucepan placed over medium-high heat. Add the pineapple juice (1 six-ounce can), rice vinegar (¼ cup), brown sugar (½ cup), ketchup (¼ cup), and soy sauce (3 tablespoons). Whisk everything together until well combined. You’ll want to see that beautiful golden liquid swirling together, with the sugar beginning to dissolve. This step sets the foundation for your sauce.
- Allow the mixture to cook for about 1 to 2 minutes, keeping an eye on it. You’ll notice the sugar dissolving completely, and the flavors melding beautifully. As it simmers, the aroma will start to rise, making your kitchen smell incredible.
- Meanwhile, prepare your cornstarch slurry. In a small bowl, combine water (2 tablespoons) and cornstarch (1 tablespoon). Whisk them together until there are no lumps. This mixture is your thickening agent, so make sure it’s smooth and ready to go.
- Once the sauce has simmered for a couple of minutes, it’s time to add the cornstarch slurry. Pour it into the saucepan while whisking continuously. This helps to incorporate it evenly, preventing any clumps from forming. You’ll notice the sauce begin to thicken right away!
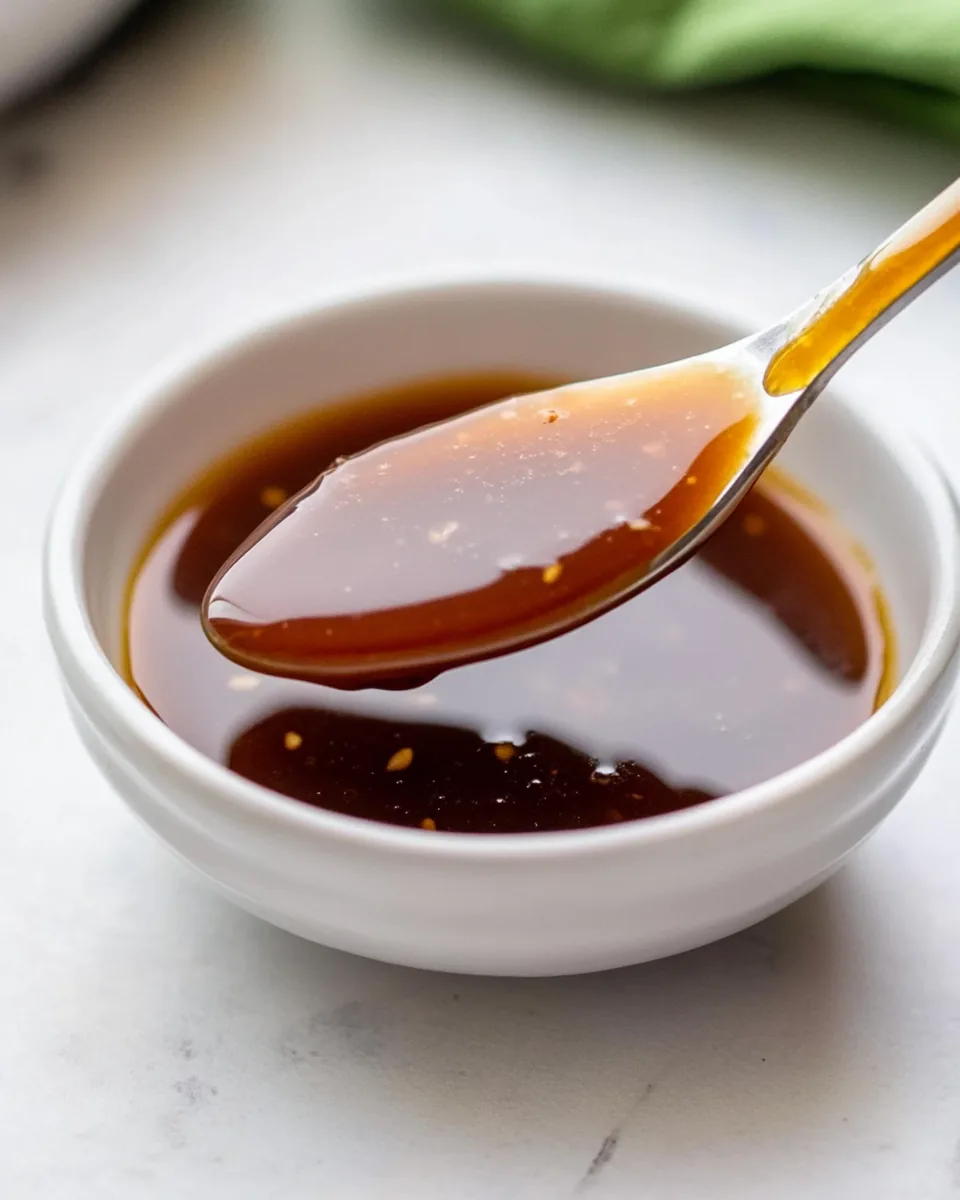
- Bring the sauce back to a simmer, then reduce the heat to medium-low. This allows the sauce to bubble gently, thickening without burning. Continue to cook while whisking for about 5 minutes, observing how the sauce transforms into a luscious, silky consistency.
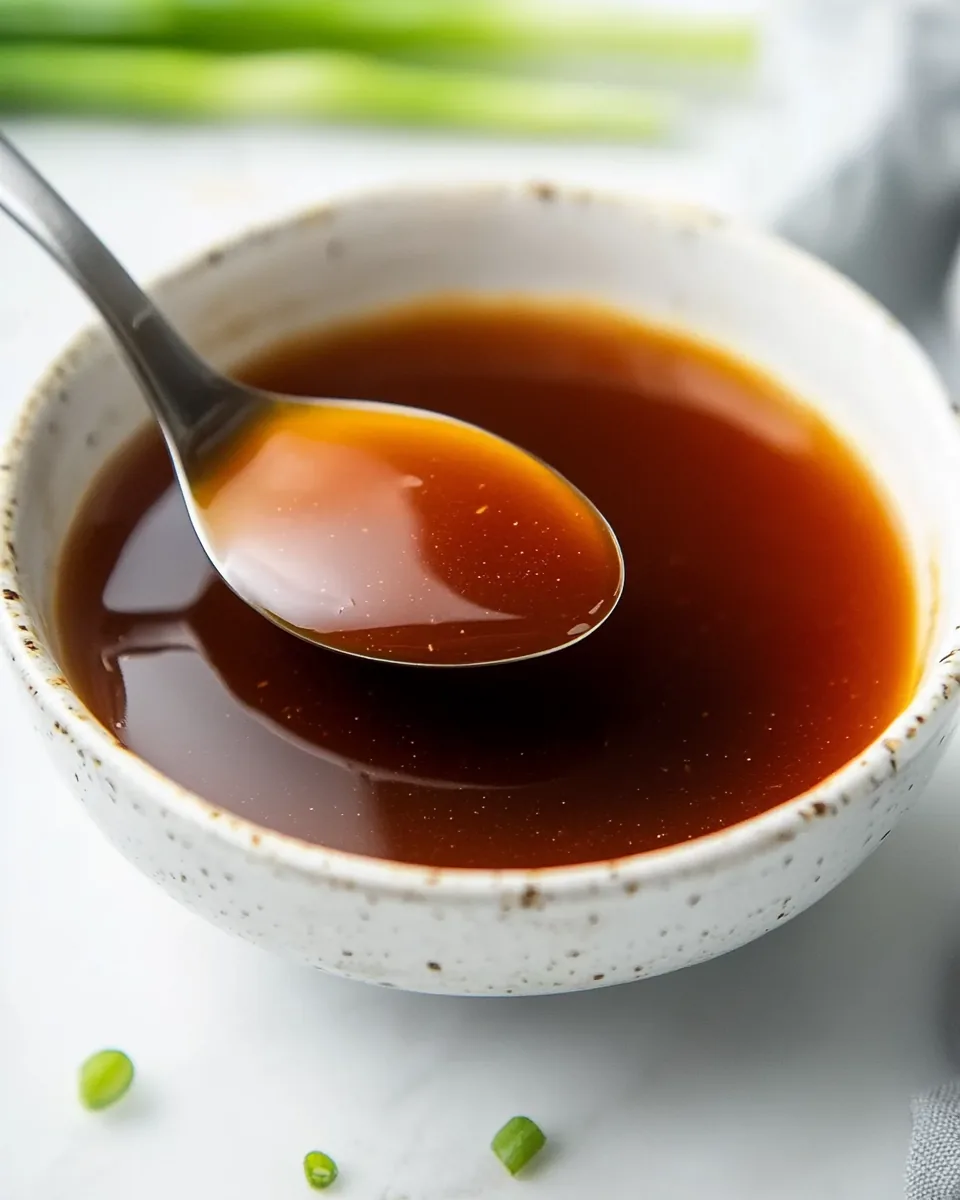
- After about 5 minutes, check the thickness. If it coats the back of your spoon nicely, you know it’s ready. Remove the saucepan from heat and let it cool slightly. Keep in mind that it will thicken more as it cools, so don’t worry if it looks a bit runny at this stage.
- Transfer your Homemade Sweet and Sour Sauce to an airtight container for storage. It’s a great idea to taste it at this stage; you can adjust the flavors if you feel it needs more sweetness or tang. Just remember to take note of how it pairs with the foods you plan to serve it with!
- Once cooled, store the sauce in the refrigerator. It will keep well for up to two weeks, giving you plenty of time to enjoy it in various meals. I often use it for dipping, marinating, or even as a salad dressing; the possibilities are endless!
- Lastly, don’t forget to share your creation with family and friends. There’s something so rewarding about serving up a homemade condiment that adds a personal touch to any dish.
Things Worth Knowing
- Experiment with Flavors: You can personalize your Homemade Sweet and Sour Sauce by adjusting the sweetness or acidity levels. Try adding a bit of chili paste for heat or ginger for zing!
- Cooking Temperature: Ensure to whisk continuously when adding the cornstarch slurry to prevent clumps. Gradually bringing it to a simmer helps in achieving that perfect thickness.
- Adjusting Consistency: If the sauce is too thick, simply whisk in a splash of water to loosen it up. If it’s too thin, allow it to simmer a bit longer to thicken further.
- Storage Tips: Store it in an airtight container in the fridge. It’s a good idea to label the container with the date you made it, so you can keep track of freshness.
Recipe Notes about Homemade Sweet and Sour Sauce
There are a few notes to keep in mind that will enhance your experience with the Homemade Sweet and Sour Sauce. Familiarizing yourself with these tips will ensure you make the best version every time!
- Storage: Store the sauce in an airtight container in the fridge for up to 2 weeks.
- Freezing: I don’t recommend freezing this sauce as it may change the texture upon thawing.
- Pairing: This sauce pairs wonderfully with fried foods, grilled meats, and even as a marinade for vegetables.
- Serving Suggestions: Try it as a dip for spring rolls, chicken nuggets, or drizzled over rice and stir-fried vegetables.
- Adjust to Taste: Don’t hesitate to tweak the ingredients according to your preferences. A little extra soy sauce or vinegar can make a big difference!
Serving Options for Homemade Sweet and Sour Sauce
When it comes to serving the Homemade Sweet and Sour Sauce, the options are virtually limitless. Here are some ideas to get you started:
- As a Dipping Sauce: Perfect for appetizers like spring rolls, chicken tenders, or crispy fried tofu. It adds an exciting flavor boost!
- Marinade: Use it to marinate chicken or vegetables before grilling or baking. It infuses them with a sweet and tangy flavor that’s absolutely delicious.
- Drizzle Over Rice: For a quick meal, drizzle the sauce over steamed rice or fried rice. It’s a fantastic way to elevate a simple dish.
- In Stir-Fries: Add it to your stir-fried vegetables or meat for a flavorful finish. The sauce clings beautifully to whatever you’re cooking.
- With Salads: Use the sauce as a dressing for salads, especially with grilled chicken or shrimp. It adds a delightful sweetness that balances the greens.
- At Gatherings: Serve it at parties or gatherings as a condiment alongside a spread of snacks. It’s sure to be a hit with guests!
- Seasonal Touch: In summer, pair it with fresh seasonal vegetables or grilled fruits. In winter, it complements hearty dishes like roasted meats.
FAQ
Conclusion
The Homemade Sweet and Sour Sauce is truly a gem in the world of condiments. Its delightful balance of sweetness and tang makes it a versatile addition to countless dishes. I encourage you to try making it at home—once you do, you’ll wonder how you ever lived without it! Not only is it easy to prepare, but it also brings a homemade touch that elevates every meal. Enjoy experimenting with this recipe, and share your delicious creations!
Homemade Sweet and Sour Sauce
Equipment
- Frying Pan
- Saucepan
- Whisk
Ingredients
- 1 can (6-ounce) Pineapple juice
- ¼ cup Rice vinegar
- ½ cup Brown sugar
- ¼ cup Ketchup
- 3 tablespoons Soy sauce
- 2 tablespoons Water
- 1 tablespoon Cornstarch
Instructions
- Start with a medium-sized saucepan placed over medium-high heat. Add the pineapple juice (1 six-ounce can), rice vinegar (¼ cup), brown sugar (½ cup), ketchup (¼ cup), and soy sauce (3 tablespoons). Whisk everything together until well combined.
- Allow the mixture to cook for about 1 to 2 minutes, keeping an eye on it. You’ll notice the sugar dissolving completely, and the flavors melding beautifully.
- Meanwhile, prepare your cornstarch slurry. In a small bowl, combine water (2 tablespoons) and cornstarch (1 tablespoon). Whisk them together until there are no lumps.
- Once the sauce has simmered for a couple of minutes, it’s time to add the cornstarch slurry. Pour it into the saucepan while whisking continuously.
- Bring the sauce back to a simmer, then reduce the heat to medium-low. This allows the sauce to bubble gently, thickening without burning.
- After about 5 minutes, check the thickness. If it coats the back of your spoon nicely, you know it’s ready. Remove the saucepan from heat and let it cool slightly.
- Transfer your Homemade Sweet and Sour Sauce to an airtight container for storage. It’s a great idea to taste it at this stage; you can adjust the flavors if you feel it needs more sweetness or tang.
- Once cooled, store the sauce in the refrigerator. It will keep well for up to two weeks, giving you plenty of time to enjoy it in various meals.
- Lastly, don’t forget to share your creation with family and friends!
Notes
- Storage: Store the sauce in an airtight container in the fridge for up to 2 weeks.
- Freezing: I don’t recommend freezing this sauce as it may change the texture upon thawing.
- Pairing: This sauce pairs wonderfully with fried foods, grilled meats, and even as a marinade for vegetables.
- Serving Suggestions: Try it as a dip for spring rolls, chicken nuggets, or drizzled over rice and stir-fried vegetables.
- Adjust to Taste: Don’t hesitate to tweak the ingredients according to your preferences.