Homemade Nut Milk
Making Homemade Nut Milk has become one of my favorite kitchen adventures. It all started when I began to explore plant-based alternatives for my morning coffee and smoothies. The store-bought options were often laden with preservatives and sweeteners, so I decided to take matters into my own hands. I vividly remember the first time I soaked a handful of almonds overnight, transforming them into a creamy, dreamy milk that was far superior to anything I had ever tasted. It was a revelation! Making Homemade Nut Milk not only satisfies my cravings for a fresh, creamy beverage, but it also gives me complete control over the flavors and sweetness. Plus, it’s incredibly versatile! You can create various flavors by adding in your favorite ingredients! Whether you prefer cashews, pecans, or any other nut, you’ll find that making this nut milk is as much about creativity as it is about nourishment. So, let’s dive into this delightful process together and unlock the secrets of making the best Homemade Nut Milk!
Recipe Snapshot
6 hr 10 mins
370 mins
0 mins
Hard
190 kcal
5 g
Keto, Paleo, Whole30
15 g
Blender
Why We Love This Homemade Nut Milk
Perfect for Every Occasion
One of the reasons I adore Homemade Nut Milk is its versatility. Whether you’re using it in smoothies, coffee, or just enjoying it straight from the glass, it’s a refreshing treat. It can be used in countless recipes, making it a staple in my kitchen.
Health Benefits
When you opt for Homemade Nut Milk, you’re choosing a healthier alternative. You can control the sugar content, avoid additives, and customize it with superfoods like cacao or vanilla to enhance its nutritional profile.
Eco-Friendly
Making Homemade Nut Milk is not only beneficial for your health but also for the planet. By creating your own, you reduce waste associated with packaging from store-bought versions. You’ll feel good knowing you’re making a sustainable choice.
Fun for the Whole Family
This process is super fun and becomes a bonding experience for the whole family. Gather your loved ones, choose your nuts, and enjoy the process of making something delicious together!
Cost-Effective
In addition to being healthier, Homemade Nut Milk is also more economical. You’ll save money in the long run by avoiding pricey store-bought varieties that often come with a hefty price tag.
Experimentation Awaits
Finally, making your own nut milk opens the door to endless experimentation. Want to try a new flavor? Just throw in some dates for sweetness or cinnamon for spice! The possibilities are truly endless!
What Goes Into Homemade Nut Milk
The ingredients for Homemade Nut Milk are simple yet powerful. Their synergy creates a delightful creamy texture and rich flavor. The key players are the nuts and water. The nuts provide the creamy base, while the water ensures a smooth blend, resulting in a refreshing drink that can be enjoyed in various ways. Let’s look at what you’ll need!
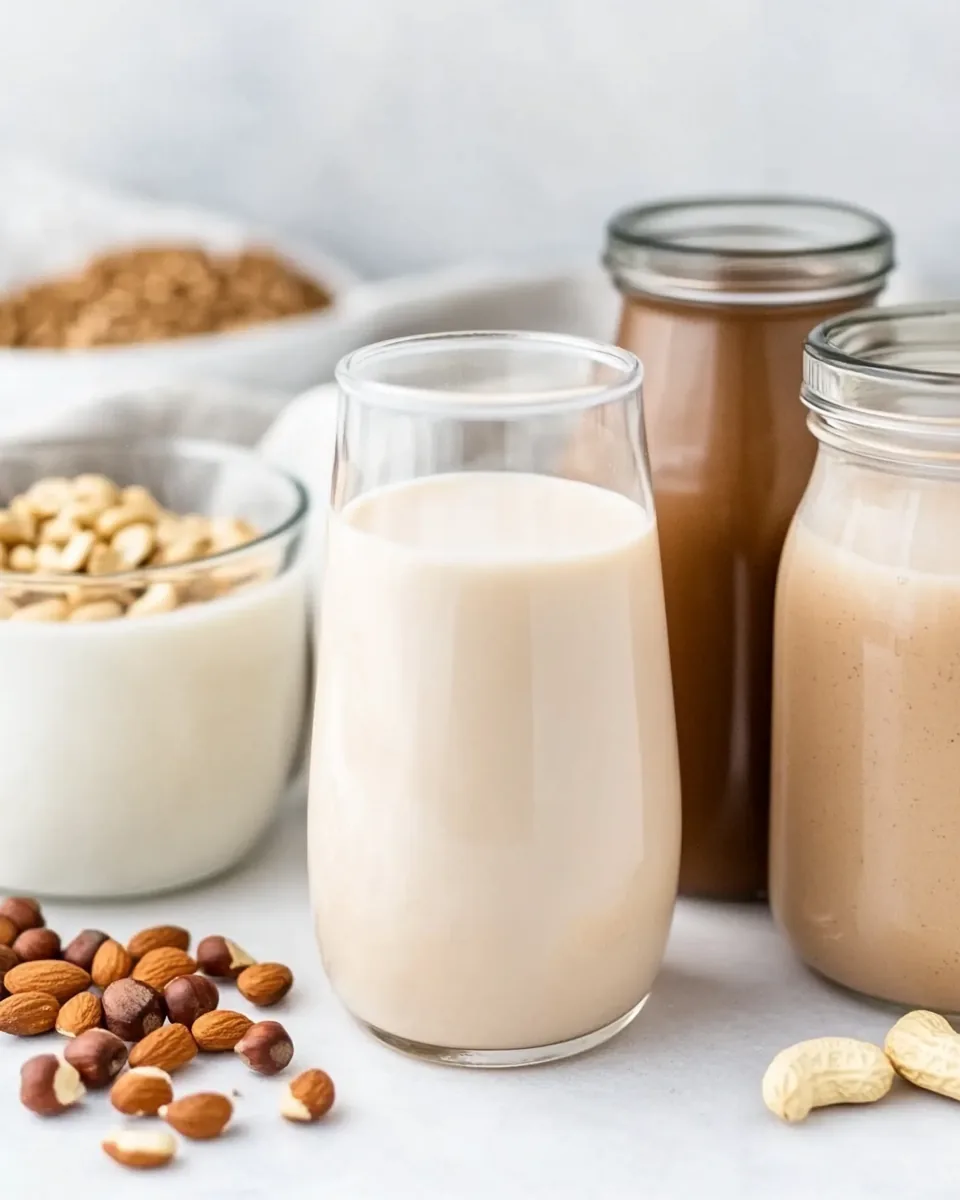
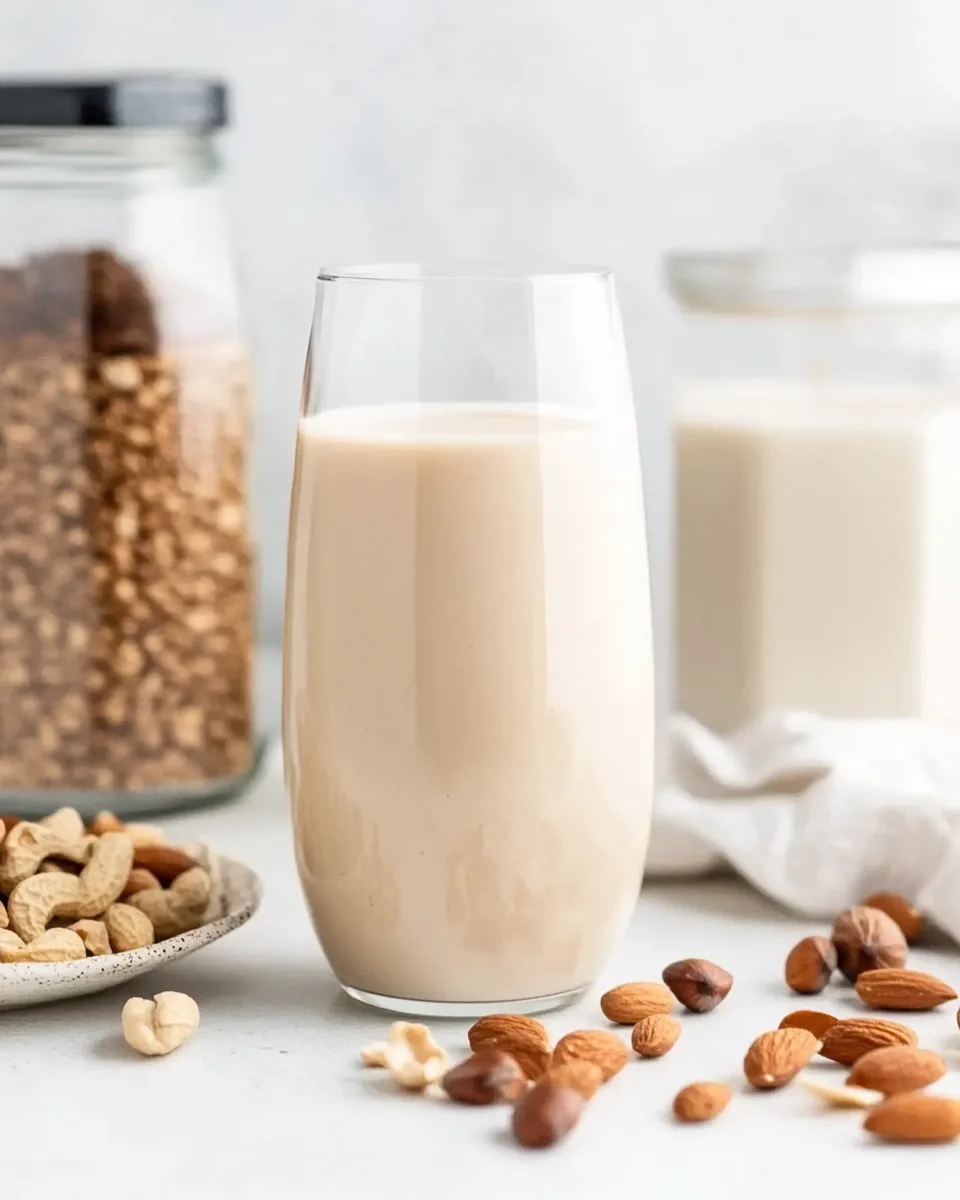
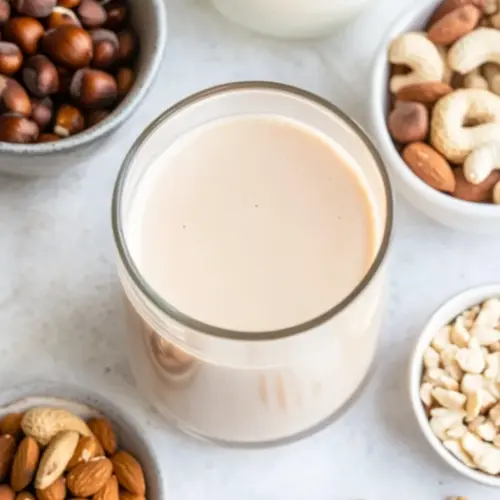
- Raw nuts of choice (1 cup) – You can use unsalted almonds, cashews, pecans or . These nuts are packed with healthy fats, protein, and vitamins, making them the perfect base for your milk.
- Filtered water (4 cups) – This is essential for blending your nuts into a smooth milk. Use fresh filtered water for the best flavor and quality. You may need additional water for soaking.
Making Homemade Nut Milk
Creating Homemade Nut Milk is a simple process that yields delicious results. Let’s walk through it step-by-step to ensure you get the best flavor and texture.
Start by adding the raw nuts to a bowl and cover them with enough water to submerge. Soak the nuts for 6 to 8 hours or preferably overnight. This soaking helps soften them, allowing for a smoother blend.
After soaking, drain the nuts and rinse them in a colander under cool water. This step is crucial as it removes any anti-nutrients that can affect the flavor and texture of your milk.
Transfer the soaked and rinsed nuts into a high-powered blender. Add 4 cups of fresh filtered water to the blender as well. This is where you can get creative; feel free to add any flavor additions like cacao or dates.
Blend on high speed for 1 minute. If you prefer a creamier texture, you may want to blend for an additional 30 seconds. The nuts should break down completely, resulting in a creamy mixture.
Next, place a nut milk bag over a large bowl or pitcher. Carefully pour the blended nut mixture into the bag. This step is where the magic happens as you strain the liquid!
Use your hands to wring out all the liquid from the bag. The more you press, the more milk you’ll extract. You’ll be left with a dry pulp; you can save this for other recipes!
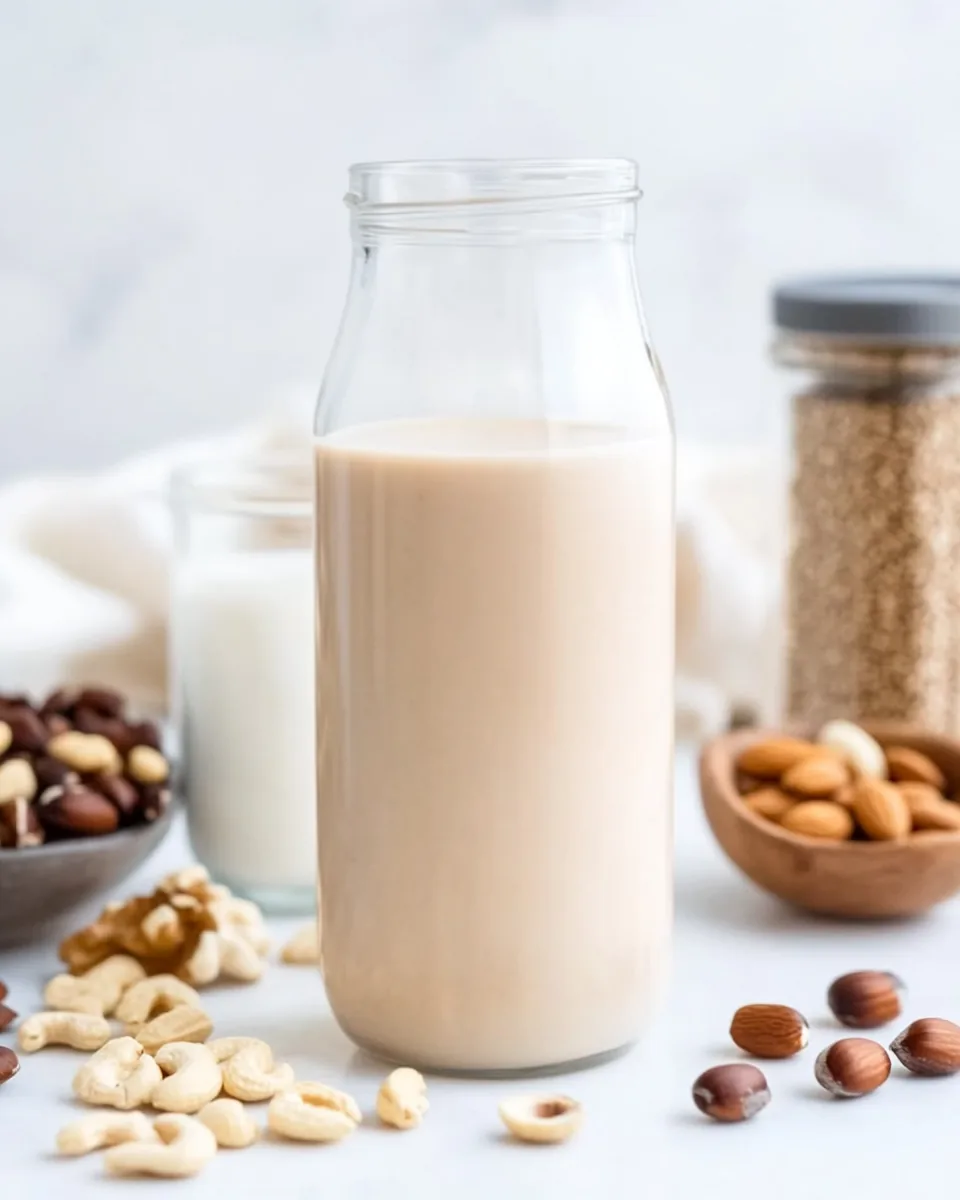
Pour the strained nut milk from the bowl into glass jars. Ensure the jars are airtight to preserve freshness. This milk can keep in the fridge for up to a week, but it’s best enjoyed fresh.
If your nut milk separates in the fridge, don’t worry! Just give the jars a good shake before pouring to recombine.
Explore different flavors over time! Try adding cinnamon for spice or vanilla for sweetness on your next batch.
Things Worth Knowing
- Soaking time makes a difference: Soaking your nuts is essential for a smooth texture. It helps to remove the enzyme inhibitors, making them easier to digest and blend.
- Experiment with flavors: You can customize your nut milk by adding cocoa powder, vanilla, or even spices like cardamom or nutmeg for a unique taste.
- Store properly: Keep your nut milk in airtight glass containers in the fridge to maintain freshness.
- Use the nut pulp: Don’t toss the leftover nut pulp! It can be used in smoothies, baking, or as a base for energy balls. Waste not, want not!
Helpful Hints
Here are some helpful hints to ensure your homemade nut milk turns out perfectly every time:
- Storage: Keep the nut milk in a clean glass jar with a tight lid. It should last about a week in the fridge.
- Freezing: You can freeze nut milk in ice cube trays for smoothies. Just pop them out and blend whenever you’re ready!
- Pairing: Homemade Nut Milk pairs beautifully with cereals, smoothies, or coffee. Enjoy it in your morning routine!
- Nut variations: Experiment with different nuts for unique flavors. Try walnuts or macadamia nuts for an interesting twist.
- Sweeteners: If you like your milk sweet, consider adding a drop of honey or maple syrup during blending.
What Complements This Homemade Nut Milk
When serving Homemade Nut Milk, there are plenty of delicious options to enhance your meal or snack. Here are some ideas:
- Breakfast cereals: Pour it over your favorite granola or oatmeal for a wholesome start to your day.
- Smoothies: Use your nut milk as a base for smoothies, adding fruits and greens for a nutritious boost.
- Coffee: Enjoy a splash of your homemade nut milk in your morning coffee for a creamy upgrade.
- Baking: Substitute traditional milk with nut milk in recipes for cakes, muffins, or pancakes to add depth of flavor.
- Chilled desserts: Use it to make creamy desserts like puddings or ice creams for a refreshing treat.
- Seasonal recipes: Incorporate it into cozy fall recipes like pumpkin spice lattes or creamy soups in winter.
FAQ
Conclusion
In summary, Homemade Nut Milk is a fantastic way to enjoy a fresh, creamy beverage while knowing exactly what goes into it. With so many flavor possibilities and health benefits, it’s an experience worth trying. I encourage you to get in the kitchen and give this recipe a shot; you won’t regret it!
Homemade Nut Milk
Equipment
- Blender
Ingredients
- 1 cup Raw nuts of choice You can use unsalted almonds, cashews, pecans or hazelnuts.
- 4 cups Filtered water Plus more for soaking overnight.
Instructions
- Add nuts to a bowl and cover with enough water to submerge. Soak 6 to 8 hours or overnight.
- In the morning, drain nuts from their soaking water and rinse them in a colander.
- Add soaked nuts and 4 cups of fresh filtered water to a high-powered blender. Add in any flavor additions you’d like to make them your own.
- Blend on high speed for 1 minute, adding 30 seconds more if you feel it necessary to blend.
- Place your nut milk bag over a large bowl or pitcher. Pour the nut milk into the bag and strain the liquid into the bowl, using your hands to wring out all of the milk.
- Pour the nut milk from the bowl into glass jars. Milk will keep in the fridge for up to a week, if not longer. If it separates, simply shake the jars.
Notes
- Tip 1: Use leftover nut pulp in smoothies or baking.
- Tip 2: Experiment with flavorings like cacao or cinnamon.
- Tip 3: Store in airtight glass containers in the fridge.
- Tip 4: Freezing nut milk cubes can be handy for smoothies.
- Tip 5: Enjoy it in coffee or over cereal!