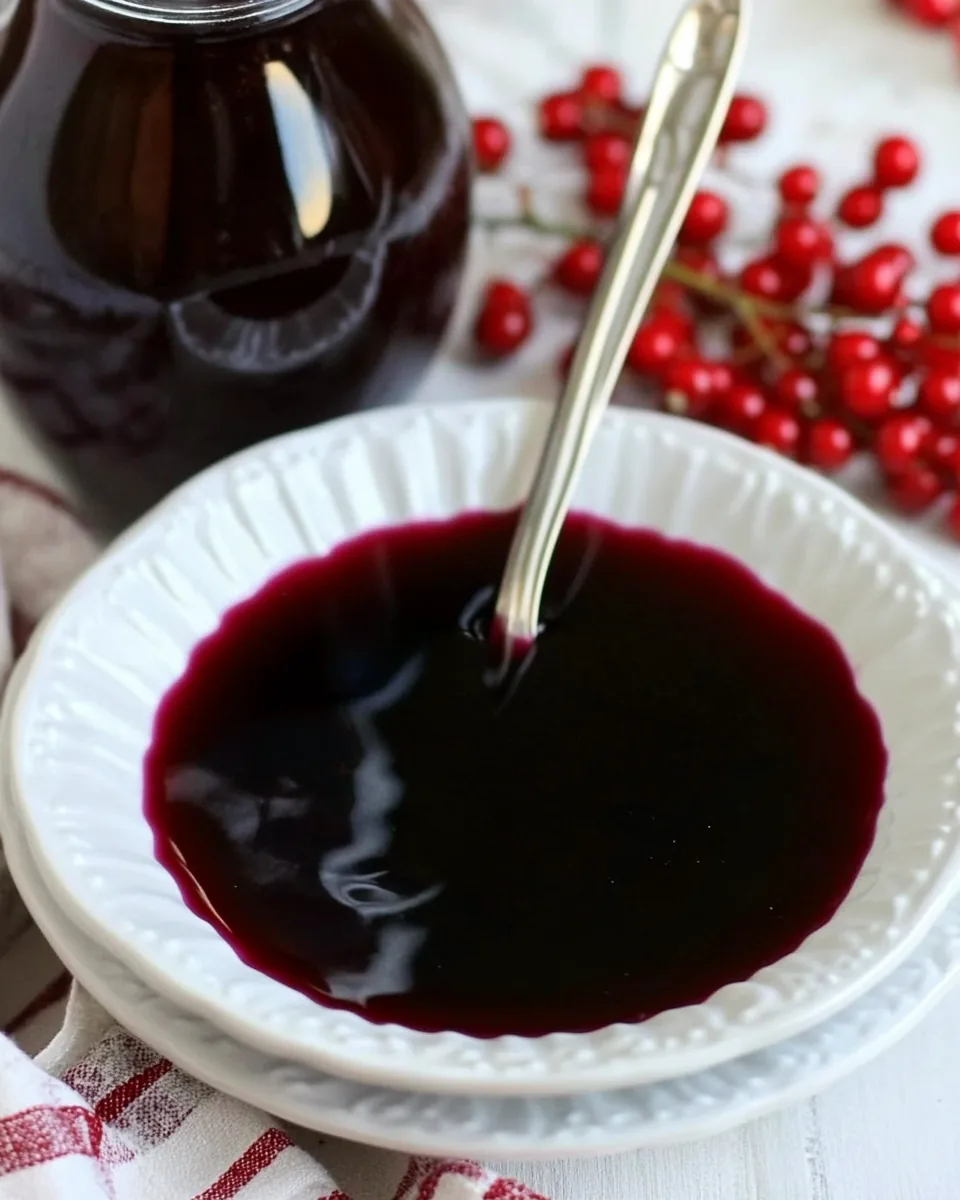
Homemade Elderberry Syrup
There’s something truly special about making Homemade Elderberry Syrup in the comfort of your kitchen. I remember the first time I tried it; a friend brought over a bottle during cold season, and I was instantly hooked. The deep, rich flavor combined with the warm spices made it feel like a cozy hug in a jar. From that moment on, I knew I wanted to create my own. Gathering fresh ingredients from local markets during the fall, I felt connected to the earth and its offerings. The process was simple, yet magical, as the aroma of simmering elderberries filled my home. It’s not just a syrup; it’s a remedy, a celebration of nature, and a delicious addition to my family’s wellness routine.
Recipe Snapshot
45 mins
15 mins
30 mins
Medium
60 kcal
0 g
Gluten-Free, AIP
0 g
Frying Pan, Peeler, Large Pot, Saucepan, Chef’s Knife, Mixing Bowl, Wooden Spoon
What’s Great About This Homemade Elderberry Syrup
Natural Immune Booster
One of the main reasons I love Homemade Elderberry Syrup is its impressive immune-boosting properties. Elderberries are packed with vitamins and antioxidants, making them a power player during flu season. I’ve personally found that having a spoonful daily helps ward off those pesky colds that often come knocking at our doors.
Customizable Flavor
Another fantastic aspect of this syrup is how customizable it is. You can adjust the sweetness by incorporating different types of honey or even adding spices like cinnamon and ginger to suit your taste. This gives you the freedom to make it uniquely yours!
Simple Ingredients
The ingredients for Homemade Elderberry Syrup are straightforward and wholesome. With just a few items—like elderberries, ginger, and honey—you can whip up a batch that’s entirely free from preservatives. Knowing what’s in your syrup is so satisfying.
Great for the Whole Family
Whether you’re a parent looking to support your children’s health or simply want to take care of yourself, this syrup is safe for the whole family (with some guidelines regarding raw honey for infants). I love knowing that I’m providing something that’s both nutritious and delicious!
Perfect for Fall
With autumn leaves swirling around, there’s a certain charm to making Homemade Elderberry Syrup. It’s a ritual that brings warmth to chilly days. There’s nothing quite like filling your kitchen with the scent of simmering fruits and spices during the fall season.
Easy to Make
Lastly, I can’t stress enough how easy it is to make your own syrup. The steps are straightforward, and the reward is a delicious, versatile syrup that you can use in various ways—from drizzling over pancakes to mixing into tea.
Homemade Elderberry Syrup Ingredients
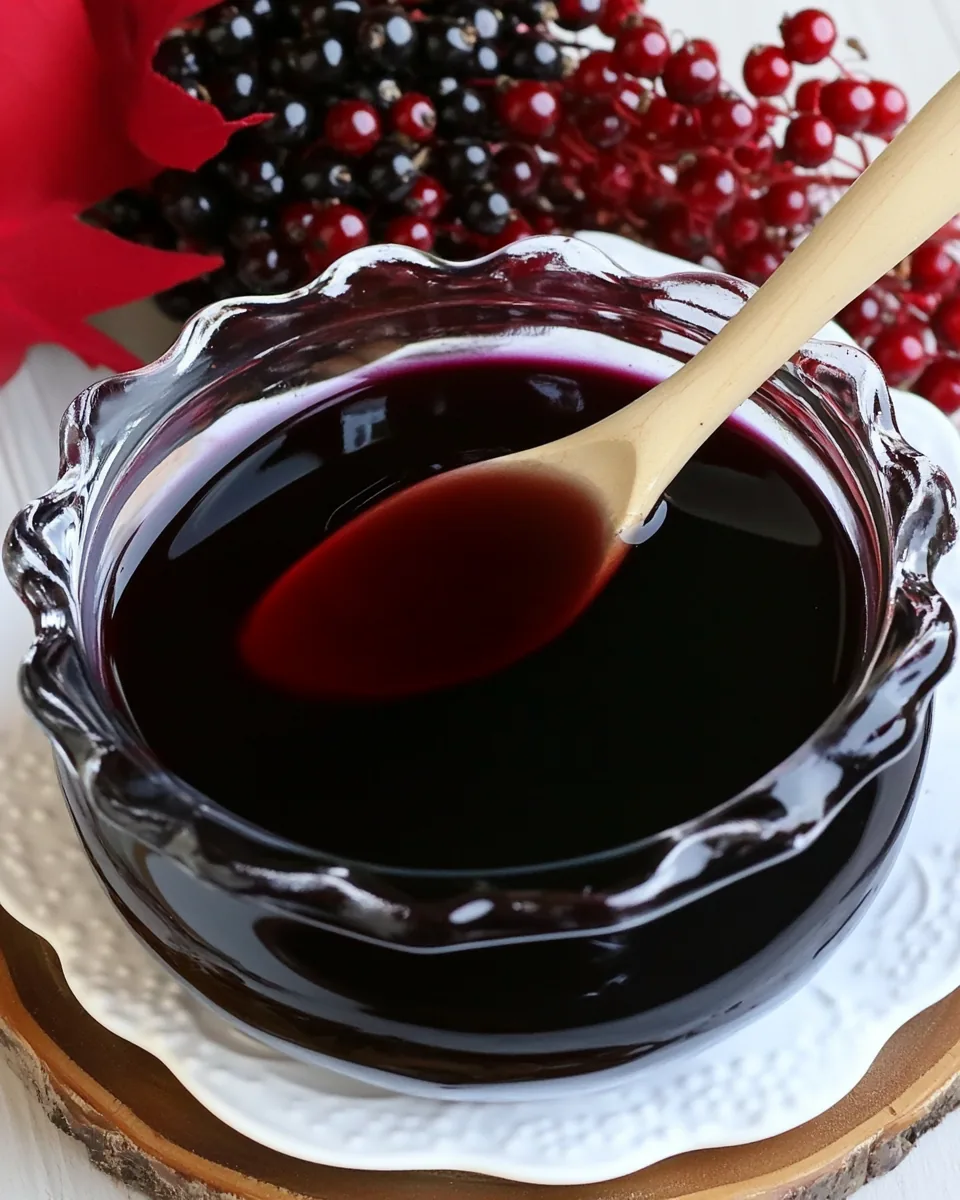
The ingredients in Homemade Elderberry Syrup are not only accessible but also work in harmony to create a nourishing and flavorful syrup. The key players here are elderberries, which provide the base, while ginger adds a zesty kick. Cinnamon and cloves introduce warm, comforting spices that enhance the overall profile. Together, they create a syrup that is both effective and satisfying.
- 1 cup quality dried elderberries, or 2 cups fresh: These berries are the star of the recipe, known for their immune-boosting properties and rich flavor.
- 1/2 cup chopped fresh ginger, peeled: Adds a spicy warmth that complements the sweetness of the elderberries.
- 2 tablespoons ground cinnamon: This spice enhances the flavor profile while also offering health benefits.
- 4 teaspoons ground cloves: Adds depth and warmth to your syrup, creating a beautiful aromatic experience.
- 4 cups water: The base for simmering the ingredients and extracting flavors.
- 1 cup raw honey, local if possible: Sweetens the syrup and contributes to its health benefits, especially when using raw varieties.
Homemade Elderberry Syrup Instructions
Making Homemade Elderberry Syrup is a wonderful process that brings together the best of nature’s bounty. Follow these steps to create your syrup:
- Begin by placing all of the ingredients, except for the honey, in a small saucepan. Make sure to use either dried or fresh elderberries based on what you have.
- Bring the mixture to a boil over medium heat. Keep an eye on it, as you want to reach boiling without burning the ingredients.
- Once boiling, reduce the heat to a low simmer. You want it to gently bubble away for approximately 30 minutes.
- As it simmers, check the liquid level. You’re aiming for it to reduce by roughly half, but you don’t have to be exact.
- After simmering, use a fork or potato masher to mash the berries. This helps release their juices and enhance the flavor of the syrup.
- Let the mixture steep for a few minutes once mashed. This step allows for a fuller flavor.
- Next, strain the liquid through a fine sieve or cheesecloth into a bowl. Make sure to press down on the solids to extract as much liquid as possible. You can also use a food mill if you have one.
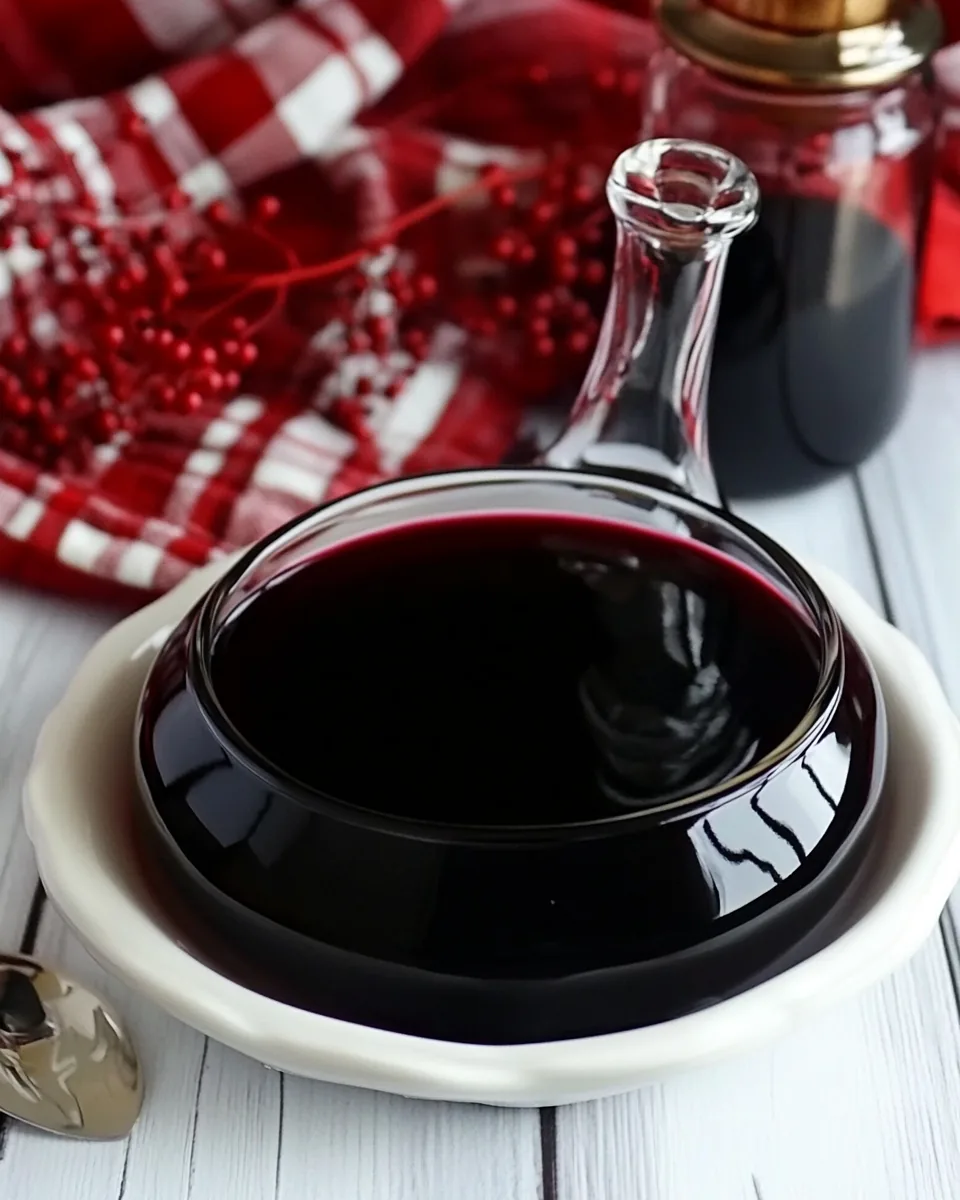
- Once strained, let the liquid cool until it reaches room temperature. Be sure it’s no hotter than lukewarm.
- Stir in the honey once cooled. This is where the syrup gets its sweetness and additional health benefits.
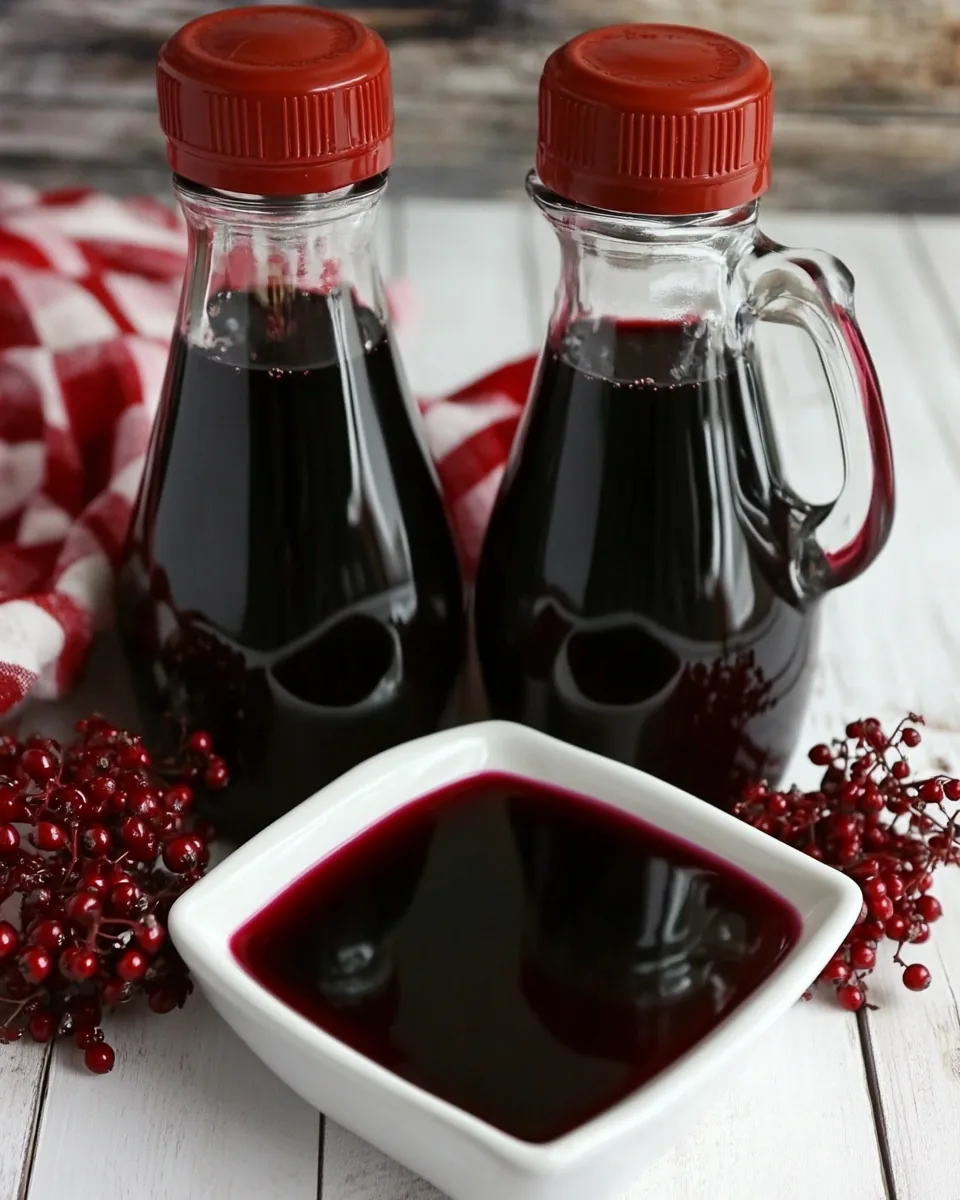
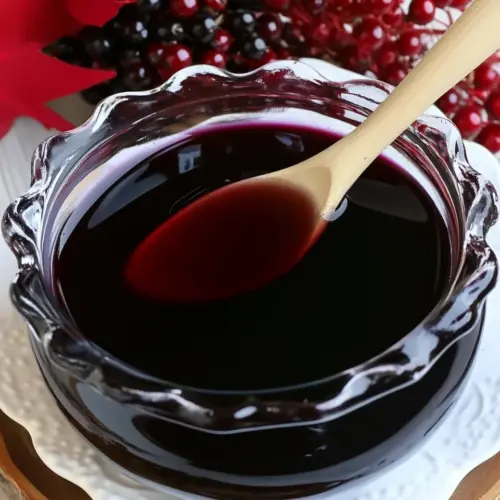
- Transfer the syrup to a clean bottle or jar. It makes about 3 cups, perfect for sharing or keeping for yourself!
- Store in the refrigerator. It will keep for at least 2 weeks. You can take 1 tablespoon 3 to 4 times a day for adults trying to prevent a cold or flu, adjusting as needed for children.
Things Worth Knowing
Things Worth Knowing
- Be mindful of the elderberries: While they’re delicious and packed with nutrients, raw elderberries can be toxic. Make sure you cook them properly.
- The syrup thickens as it cools. If you find it too thin, you can simmer it a bit longer to reduce it further.
- Using local raw honey not only sweetens but also supports local beekeepers. It often has a richer flavor and retains more nutrients.
- If you want to experiment, try adding a splash of fresh lemon juice for an extra zest.
Variations to Try
There are countless ways to enjoy and modify your Homemade Elderberry Syrup. Here are some ideas:
- Storage: Pour the syrup into sterilized glass jars for longer shelf life. This will help maintain freshness.
- Freezing: You can freeze the syrup in ice cube trays for easy use throughout the season. Just pop out a cube whenever you need it!
- Pairing: Drizzle it over pancakes or waffles for a delightful breakfast treat. It’s also great in smoothies!
- Tea Addition: Mix a tablespoon of syrup into your herbal teas for a comforting drink.
- Gift Idea: Bottling some syrup can make a lovely homemade gift for friends and family during the holidays.
- Experiment with Spices: Add spices like star anise or cardamom to create your own signature blend.
How to Enjoy Homemade Elderberry Syrup
When it comes to enjoying Homemade Elderberry Syrup, the options are endless. Here are a few delightful ways to savor it:
- Morning Booster: Start your day with a tablespoon of syrup to kickstart your immune system.
- Soothing Remedy: Take it straight up when you feel a cold coming on to help alleviate symptoms.
- Mix into Yogurt: Swirl some syrup into your yogurt for added flavor and nutrition.
- In Smoothies: Blend a tablespoon into your smoothie for a sweet kick.
- As a Drink: Mix with hot water or tea for a comforting drink during colder months.
- Drizzle Over Desserts: Use it to top ice cream or pancakes, adding both flavor and a health boost!
FAQ
Conclusion
Making Homemade Elderberry Syrup is a special ritual that not only enhances your wellness routine but also fills your home with delightful aromas. This syrup is more than a simple remedy; it’s a personal touch to your family’s health. I encourage you to try making your own and experience the soothing joys of this sweet, tangy syrup. You’ll love the taste and the health benefits that come with it!
Homemade Elderberry Syrup
Equipment
- Frying Pan
- Peeler
- Large Pot
- Saucepan
- Chef's Knife
- Mixing Bowl
- Wooden Spoon
Ingredients
- 1 cup quality dried elderberries or 2 cups fresh
- 1/2 cup chopped fresh ginger peeled
- 2 tablespoons ground cinnamon
- 4 teaspoons ground cloves
- 4 cups water
- 1 cup raw honey local if possible
Instructions
- Begin by placing all of the ingredients, except for the honey, in a small saucepan. Make sure to use either dried or fresh elderberries based on what you have.
- Bring the mixture to a boil over medium heat. Keep an eye on it, as you want to reach boiling without burning the ingredients.
- Once boiling, reduce the heat to a low simmer. You want it to gently bubble away for approximately 30 minutes.
- As it simmers, check the liquid level. You're aiming for it to reduce by roughly half, but you don’t have to be exact.
- After simmering, use a fork or potato masher to mash the berries. This helps release their juices and enhance the flavor of the syrup.
- Let the mixture steep for a few minutes once mashed. This step allows for a fuller flavor.
- Next, strain the liquid through a fine sieve or cheesecloth into a bowl. Make sure to press down on the solids to extract as much liquid as possible. You can also use a food mill if you have one.
- Once strained, let the liquid cool until it reaches room temperature. Be sure it’s no hotter than lukewarm.
- Stir in the honey once cooled. This is where the syrup gets its sweetness and additional health benefits.
- Transfer the syrup to a clean bottle or jar. It makes about 3 cups, perfect for sharing or keeping for yourself!
- Store in the refrigerator. It will keep for at least 2 weeks. You can take 1 tablespoon 3 to 4 times a day for adults trying to prevent a cold or flu, adjusting as needed for children.