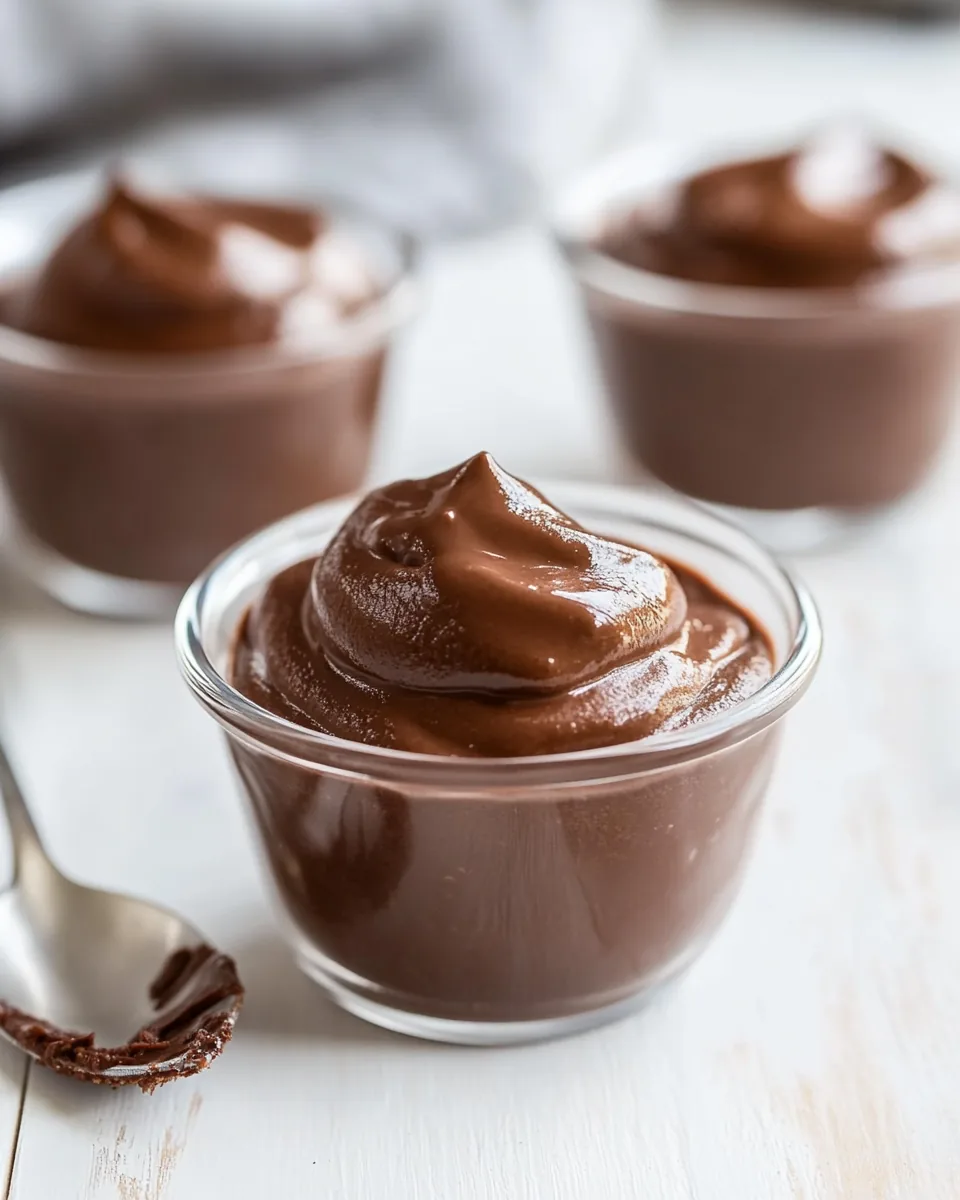
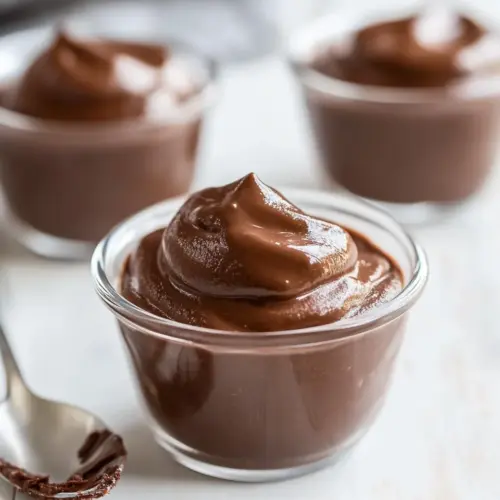
Homemade Chocolate Pudding
There’s something magical about the creamy texture and rich flavor of Homemade Chocolate Pudding. It takes me back to my childhood, sitting at the kitchen table with my mom, eagerly waiting for her to finish stirring that velvety mixture on the stove. The aroma of chocolate would fill the air, and I could hardly contain my excitement as she poured it into dessert cups. This wasn’t just any dessert; it was a comforting hug in a bowl. I remember those cozy evenings, dive into my bowl of pudding, and savor each spoonful, letting the flavors dance on my palate. Making Homemade Chocolate Pudding today brings back those fond memories, and I love sharing this timeless treat with my family. It’s not just a dessert; it’s a tradition that I cherish.
Recipe Snapshot
10 mins
5 mins
5 mins
Medium
250 kcal
5 g
Vegan, Gluten-Free, AIP
10 g
Wooden Spoon, Whisk, Saucepan, Mixing Bowl
Why This Homemade Chocolate Pudding Shines
It’s Incredibly Easy to Make
One of the best things about Homemade Chocolate Pudding is how simple it is to whip up! With just a few ingredients you likely have on hand, you can create a deliciously rich dessert that rivals anything store-bought. Trust me, once you see how easy it is, you’ll never want to reach for a pre-packaged pudding again.
Perfect for Any Occasion
This delightful pudding isn’t just for special occasions; it’s perfect for any time you need a sweet treat. Whether it’s a weeknight dessert for the family or an impressive ending to a dinner party, Homemade Chocolate Pudding fits the bill. You can even dress it up with whipped cream or fresh berries for a fancy touch!
A Comforting Dessert
Every spoonful of Homemade Chocolate Pudding brings a sense of nostalgia and comfort. It’s the kind of dessert that wraps you in warmth, making it ideal for cold evenings or when you simply need a pick-me-up. The richness of chocolate mixed with that creamy consistency just soothes the soul.
Great for Kids and Adults Alike
Kids absolutely love this dessert, and you’ll find it hard not to join in their excitement. The playful textures and rich chocolate flavor make it a hit with the little ones, while adults appreciate the nostalgia it brings. It’s a crowd-pleaser that everyone will enjoy!
Versatile and Customizable
What I love most is how versatile Homemade Chocolate Pudding is. You can play around with the flavors and add your personal touch. Want to make it a bit more decadent? Try adding a pinch of sea salt or even a swipe of coffee powder for an enhanced chocolate flavor. The sky’s the limit!
A Fantastic Base for Other Desserts
Not only is Homemade Chocolate Pudding delicious on its own, but it also serves as a fantastic base for other desserts, like chocolate pie or trifles. By simply pouring it into a pie crust, you can create an elegant dessert that will amaze your guests!
What to Gather for Homemade Chocolate Pudding
When it comes to making Homemade Chocolate Pudding, the ingredients are quite straightforward, yet they come together in such a wonderful way. Each component plays a crucial role in achieving that perfect creamy texture and rich chocolate flavor. It’s a beautiful reminder of how simple ingredients can create something extraordinary.
- Milk: You can use either 2% or whole milk for this recipe. The milk provides the base for the pudding, giving it a creamy texture. Whole milk will yield a richer taste, while 2% will be a bit lighter.
- Granulated Sugar: This is what sweetens the pudding. It also helps in achieving the right consistency when cooked with the other ingredients.
- Unsweetened Cocoa Powder: This is the star ingredient that gives the pudding its chocolate flavor. Make sure to use high-quality cocoa powder for the best taste.
- Cornstarch: This thickening agent is essential for getting that perfect pudding consistency. It creates a smooth texture that makes every spoonful delightful.
- Salt: A pinch of salt enhances the sweetness and rounds out the flavors. It’s a small but important addition!
- Butter: Adding butter at the end lends a silky richness to the pudding that’s just irresistible.
- Instant Coffee Granules: This is optional, but it can intensify the chocolate flavor. It’s a little secret ingredient that can elevate your pudding to the next level.
Putting Together Homemade Chocolate Pudding
Creating Homemade Chocolate Pudding is an enjoyable process that brings the kitchen to life. Let’s dive into the steps that will guide you to making this delightful dessert.
- Start by grabbing a medium-sized sauce pot and place it on the stove over medium heat. This is where the magic begins! Begin by adding granulated sugar, unsweetened cocoa powder, cornstarch, salt, and instant coffee granules into the pot. Stir them together with a whisk until everything is well combined. This dry mixture is the foundation of your pudding.
- Once your dry ingredients are mixed, it’s time to pour in the milk. Gradually add it in while whisking to avoid any lumps. This step is crucial; ensure you whisk well to remove all clumps, as you want your pudding to be silky smooth.
- Keep stirring and bring the mixture to a simmer. As it heats up, you’ll notice the chocolate aroma filling your kitchen. Once it reaches a simmer, continue to stir consistently for one to two minutes. You should notice the pudding beginning to thicken. It should be fairly thick but remember it will continue to thicken as it cools.
- After simmering, remove the pot from the heat. Now, add butter and stir until it melts completely and is well incorporated. This adds a lovely richness to your pudding that is simply divine.
- If you find any stubborn lumps remaining, you can pour the pudding through a mesh strainer into another bowl to remove them. If all is well, simply scoop the pudding into a storage container. To prevent a skin from forming as it cools, press a piece of plastic wrap directly onto the surface of the pudding.
- Allow it to cool at room temperature for a bit, and then transfer it to the refrigerator. Chill for at least two hours to let the flavors meld and deepen, and for the pudding to firm up.
- Once chilled, remove the plastic wrap and give it a good stir. You can serve it as is or top it with some whipped cream for an extra touch. Enjoy your delicious Homemade Chocolate Pudding!
Things Worth Knowing
- Consistent stirring: When you’re heating the pudding, consistent stirring is key to prevent it from sticking to the bottom of the pot and burning.
- Simmering: Allow the mixture to reach a gentle simmer, which is when small bubbles begin to form. This is when your pudding will start to thicken.
- Cooling: Always let your pudding cool before refrigerating. This helps it set properly and develop the right texture.
- Serving temperature: While Homemade Chocolate Pudding is typically served cold, you can enjoy it warm as well for a comforting dessert.
Make It Your Own
Now that you’ve mastered the basic Homemade Chocolate Pudding recipe, it’s time to explore how to personalize it to your taste! Here are some tips to consider.
- Storage: Store any leftovers in an airtight container in the refrigerator for up to three days. It’s best enjoyed fresh, but it will keep well!
- Freezing: You can freeze Homemade Chocolate Pudding, but the texture may change upon thawing. It’s best to consume it fresh.
- Pairing: Consider pairing this pudding with fresh fruits like strawberries or bananas for a delightful contrast. Crushed cookies on top add a nice crunch!
- Flavor Variations: Want to try something new? Add a few tablespoons of peanut butter for a delicious twist or mix in some mint for a refreshing flavor.
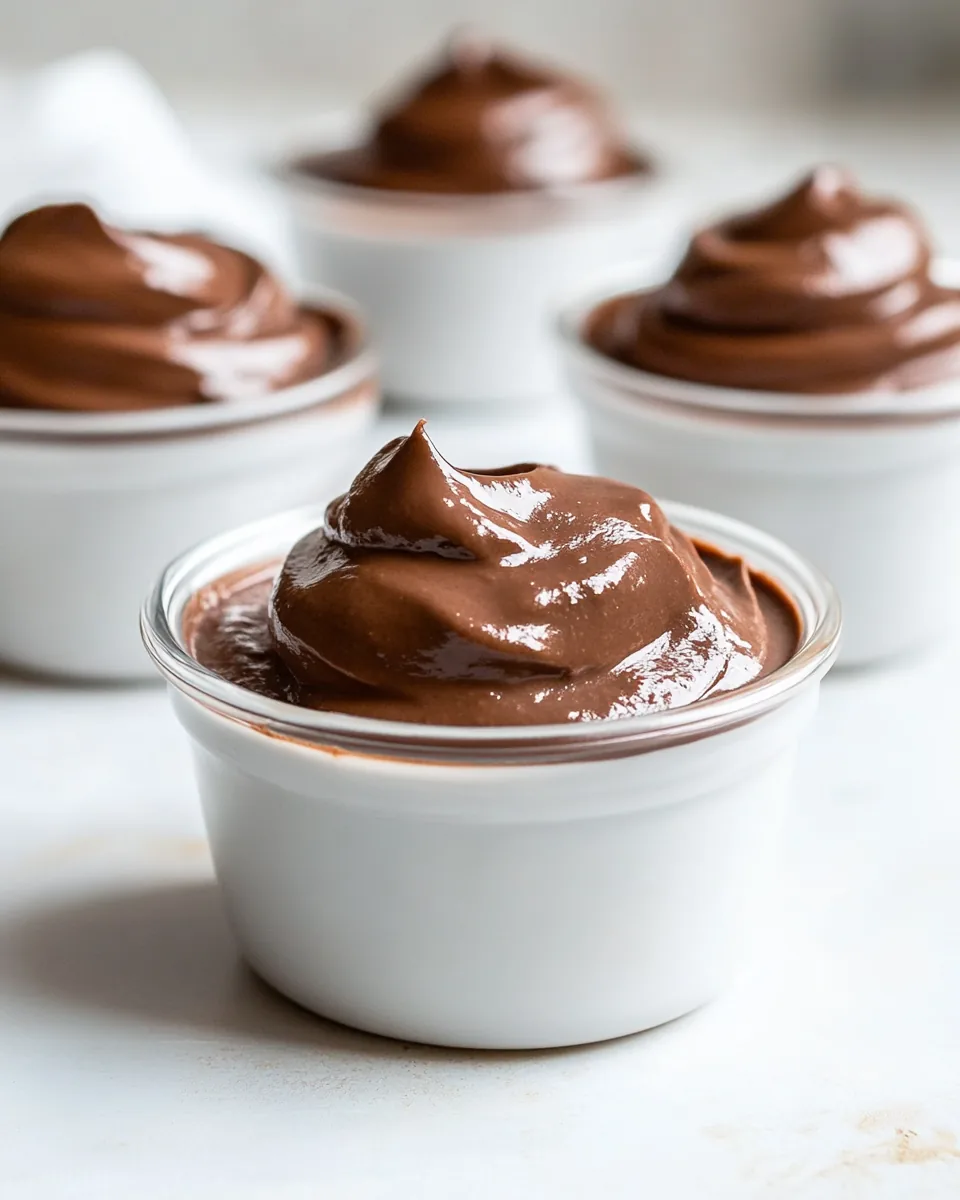
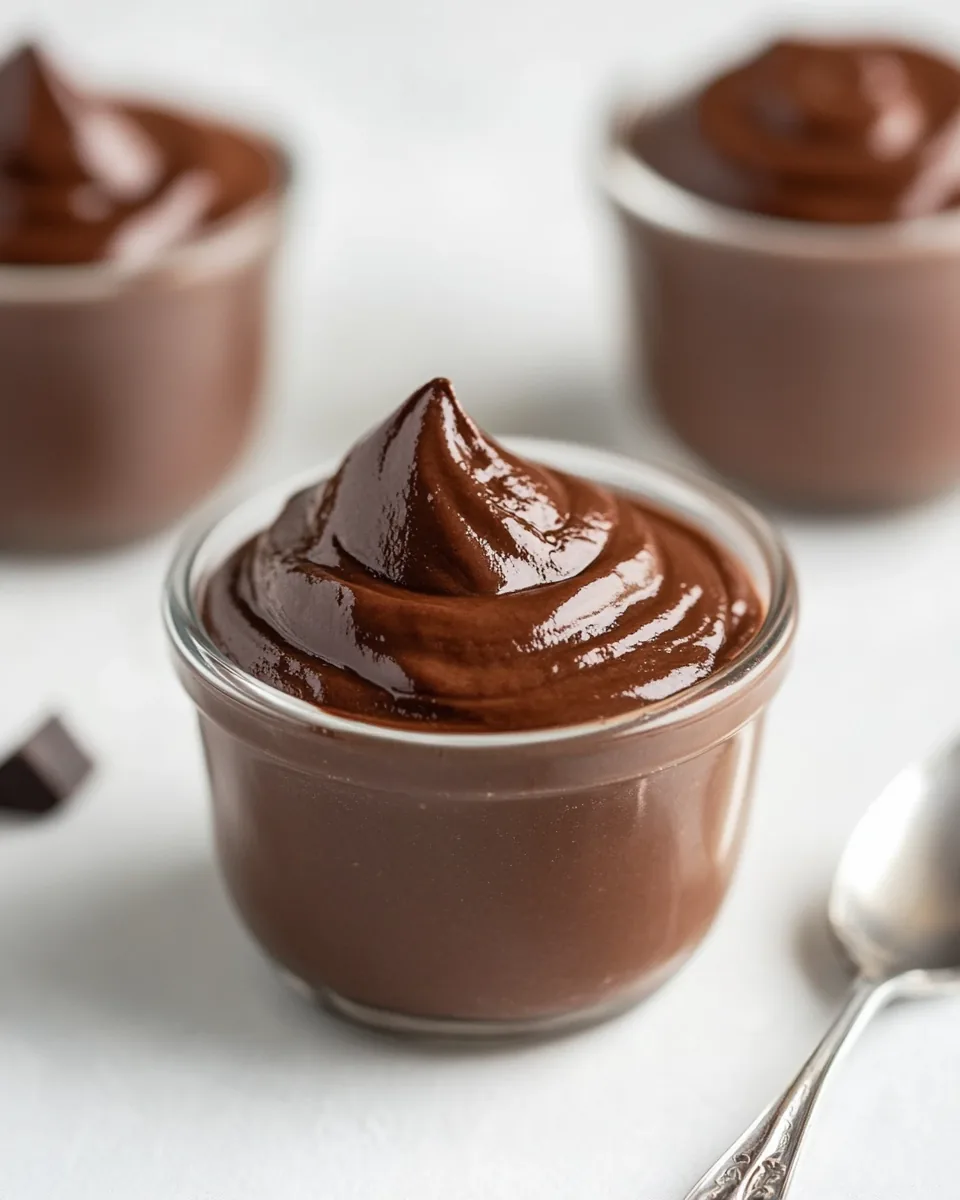
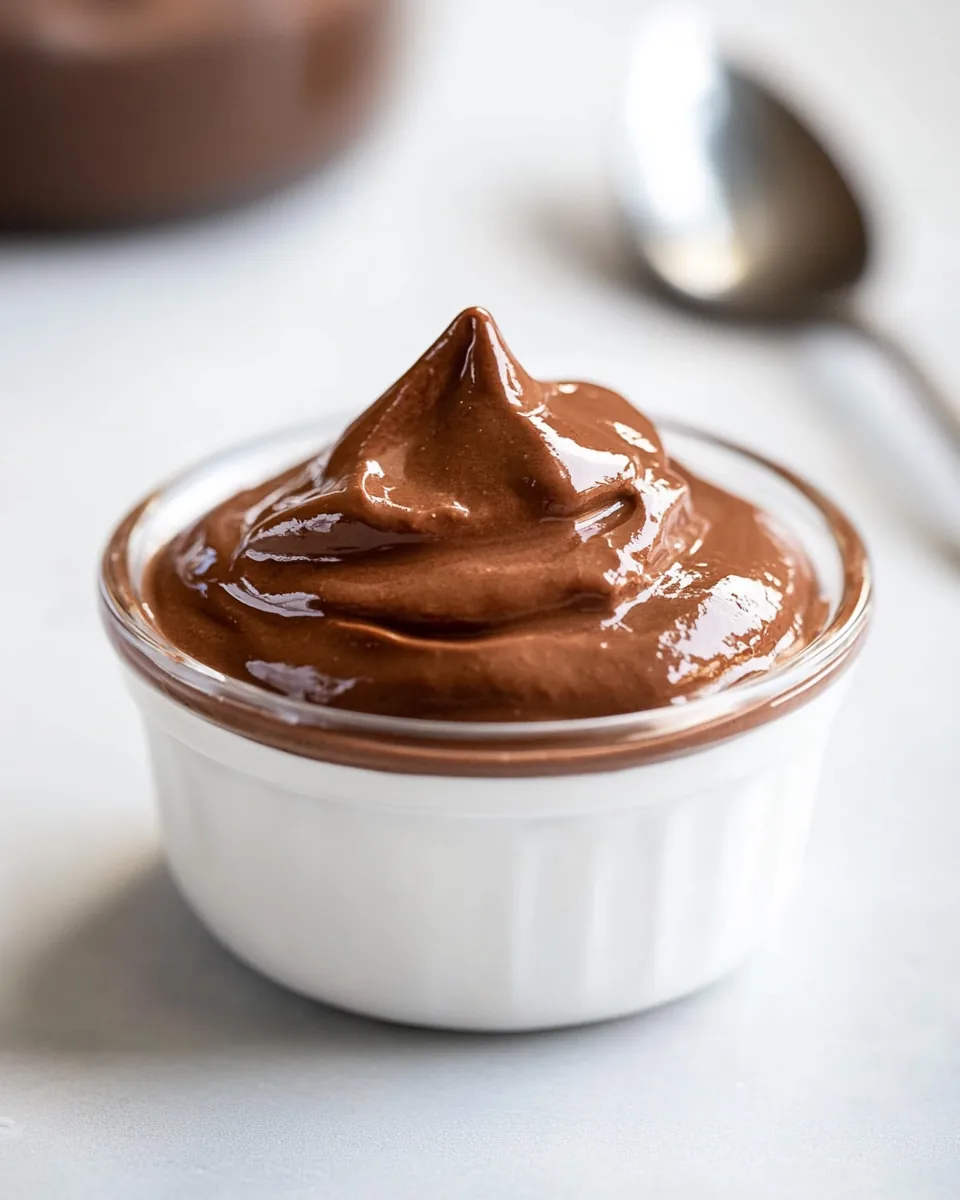
- Presentation: Serve it in elegant dessert cups or mason jars for a charming presentation. Top with whipped cream and chocolate shavings for a wow factor!
- Chocolate Pie: Use this pudding as a filling for a chocolate pie. Just pour it into a pre-baked pie crust and let it set!
What to Serve With Homemade Chocolate Pudding
- Whipped Cream: A classic topping that adds a light and airy element to the rich pudding.
- Fresh Berries: Strawberries or raspberries provide a beautiful contrast and a burst of freshness.
- Chocolate Shavings: Sprinkle some chocolate shavings on top for an extra chocolatey touch.
- Cookies: Pair it with buttery cookies for a delightful crunch.
- Pie Crust: Transform your pudding into a pie by pouring it into a pre-baked crust and chilling.
- Ice Cream: Serve it alongside a scoop of vanilla ice cream for a truly indulgent experience.
- Seasonal Occasions: This pudding is perfect for family gatherings or holiday dinners, especially in the colder months when comfort food is a must.
FAQ
Conclusion
Homemade Chocolate Pudding is a timeless dessert that brings joy to anyone who indulges in its rich and creamy goodness. It’s comforting, simple to make, and perfect for any occasion. I encourage you to give this recipe a try; you won’t be disappointed. It’s the kind of treat that creates lasting memories, just like the ones I have from my childhood. So go ahead, mix up a batch and enjoy every delicious spoonful.
Homemade Chocolate Pudding
Equipment
- Wooden Spoon
- Whisk
- Saucepan
- Mixing Bowl
Ingredients
- 5 cups Milk
- 1.5 cups Granulated Sugar
- 0.75 cups Unsweetened Cocoa Powder
- 0.5 cups Cornstarch
- 0.5 teaspoons Salt
- 0.25 cups Butter
- 1.5 teaspoons Vanilla Extract
- 1 teaspoon Instant Coffee Granules optional
Instructions
- Start by grabbing a medium-sized sauce pot and place it on the stove over medium heat. This is where the magic begins! Begin by adding granulated sugar, unsweetened cocoa powder, cornstarch, salt, and instant coffee granules into the pot. Stir them together with a whisk until everything is well combined.
- Once your dry ingredients are mixed, it’s time to pour in the milk. Gradually add it in while whisking to avoid any lumps.
- Keep stirring and bring the mixture to a simmer. Once it reaches a simmer, continue to stir consistently for one to two minutes.
- After simmering, remove the pot from the heat. Now, add butter and stir until it melts completely and is well incorporated.
- If you find any stubborn lumps remaining, you can pour the pudding through a mesh strainer into another bowl to remove them.
- Allow it to cool at room temperature for a bit, and then transfer it to the refrigerator. Chill for at least two hours.
- Once chilled, remove the plastic wrap and give it a good stir. You can serve it as is or top it with some whipped cream.
Notes
- Vegan Pudding: Substitute almond or coconut milk, and use a vegan butter substitute.
- Chocolate Pie Filling: This pudding makes a fabulous chocolate pie filling!