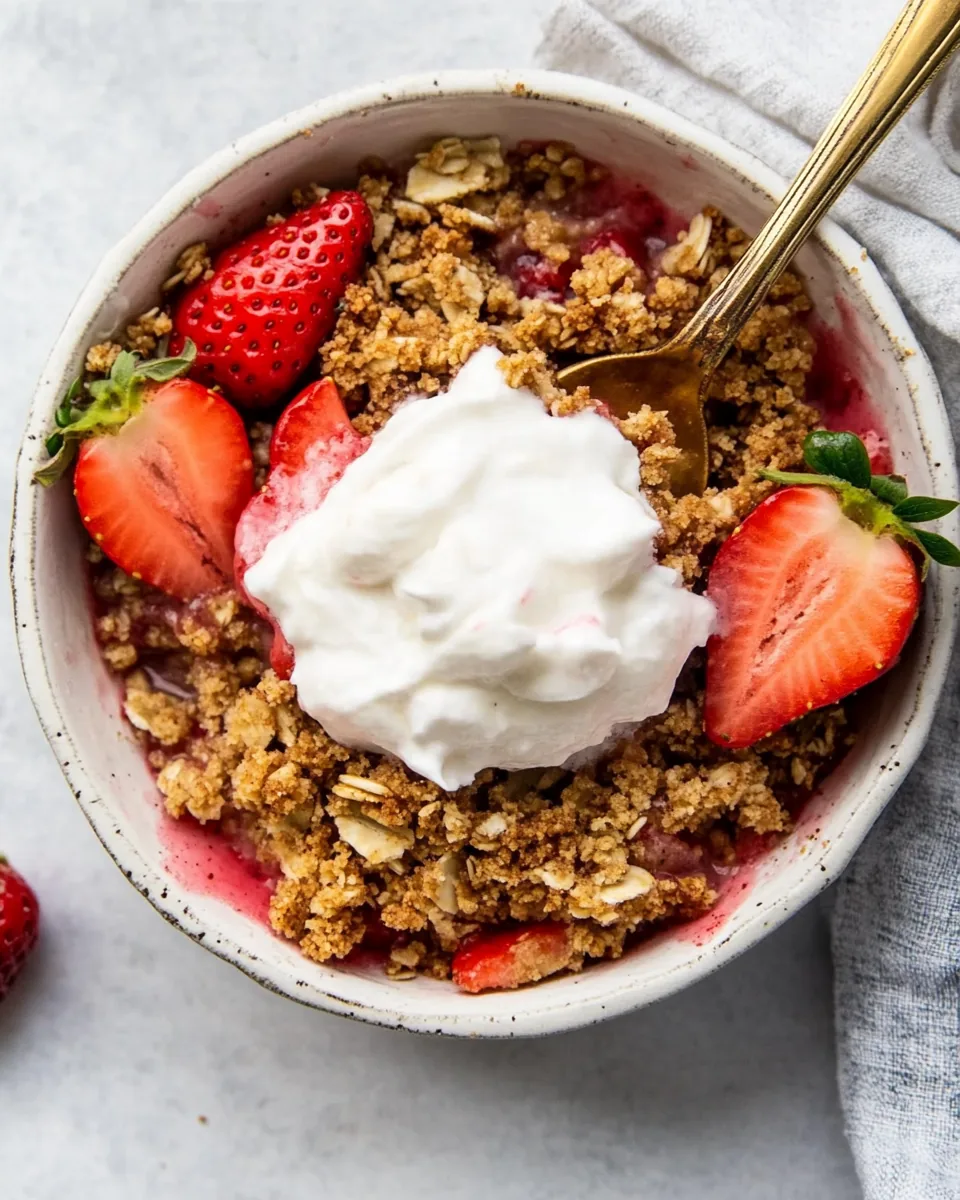
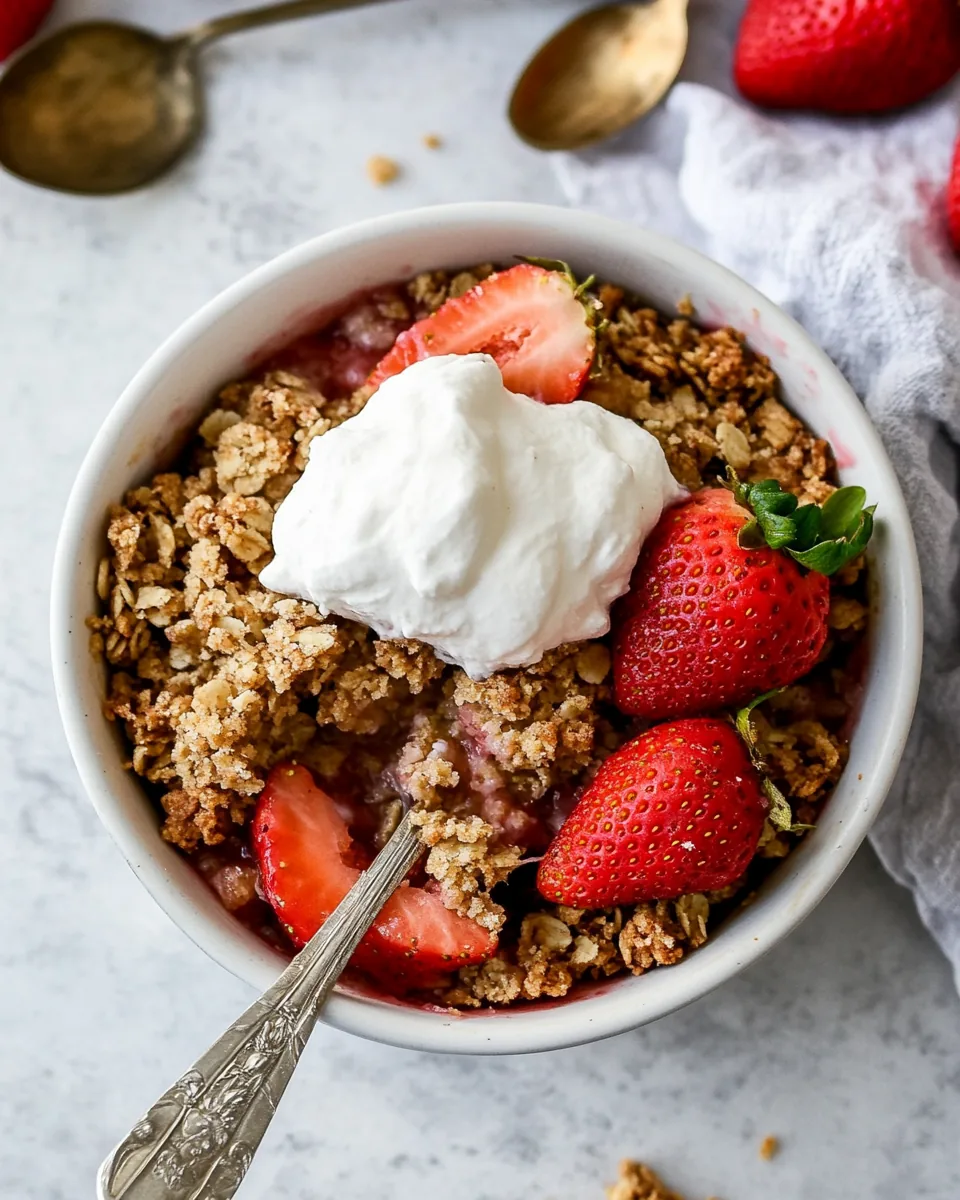
Gluten Free Strawberry Crisp
There’s something truly nostalgic about a warm, fruity dessert, and the Gluten Free Strawberry Crisp is no exception. I remember the first time I made this dish for friends during a sunny spring afternoon. The sweet scent of fresh strawberries filled the kitchen, mingling with the buttery aroma of the crisp topping. As we gathered around the table, each spoonful was met with delighted smiles and satisfied sighs. It’s become one of those timeless recipes that, whenever I prepare it, evokes cherished memories and creates new ones. Whether it’s a casual family dinner or a spring celebration, this dessert is the perfect ending to any meal. Plus, it’s gluten-free, making it friendly for everyone to enjoy!
Recipe Snapshot
1 hr 5 mins
10 mins
55 mins
Medium
220 kcal
3g g
Gluten-Free, AIP
8g g
Wooden Spoon, Mixing Bowl, Oven, Baking Sheet
Why This Gluten Free Strawberry Crisp Works
Fresh and Fruity
The first reason to love this Gluten Free Strawberry Crisp is the use of fresh strawberries. The flavor profile is bright and bursting with the sweetness of ripe berries, making each bite a joyful experience. I often choose organic strawberries for an even richer taste, bringing the essence of spring right into my kitchen.
Perfectly Textured Topping
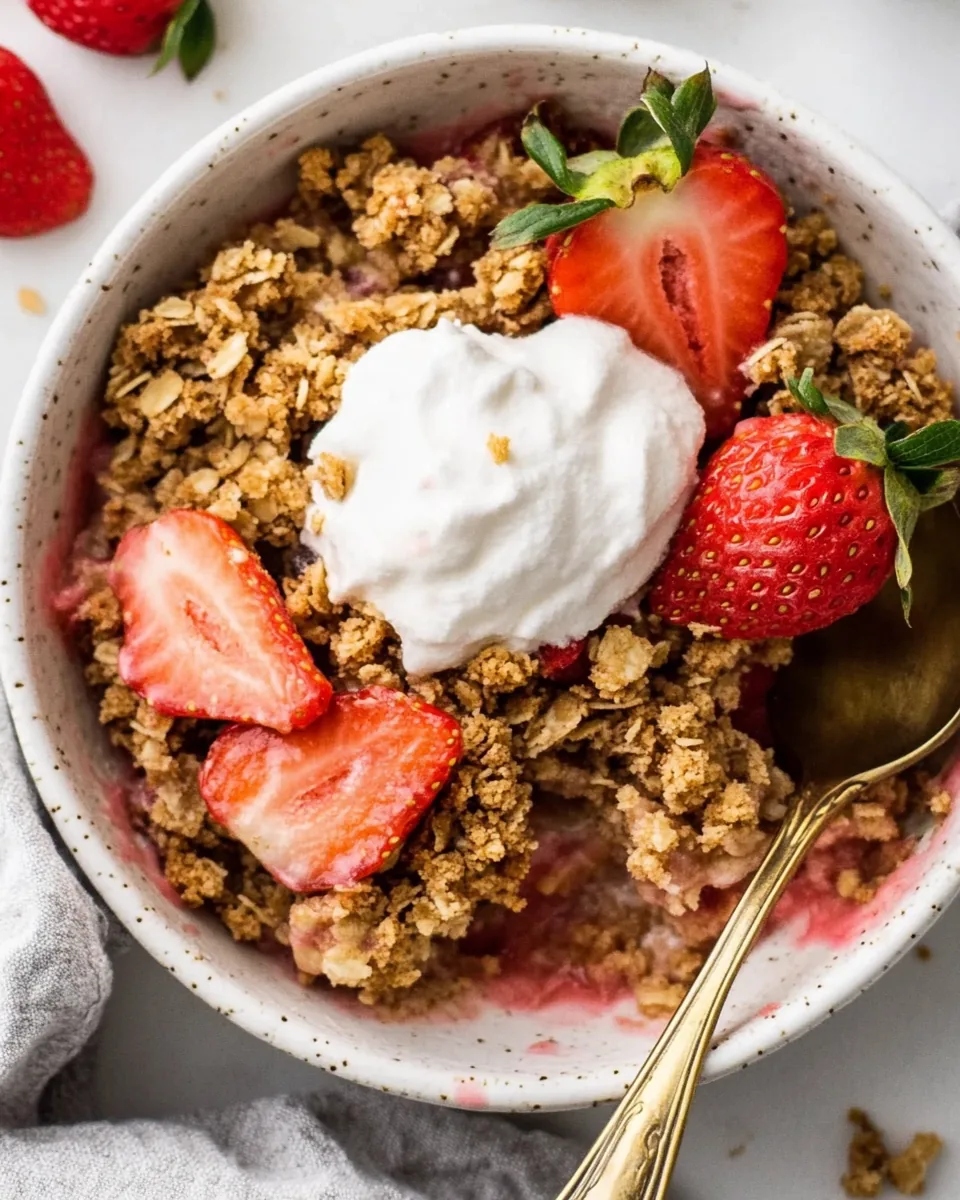
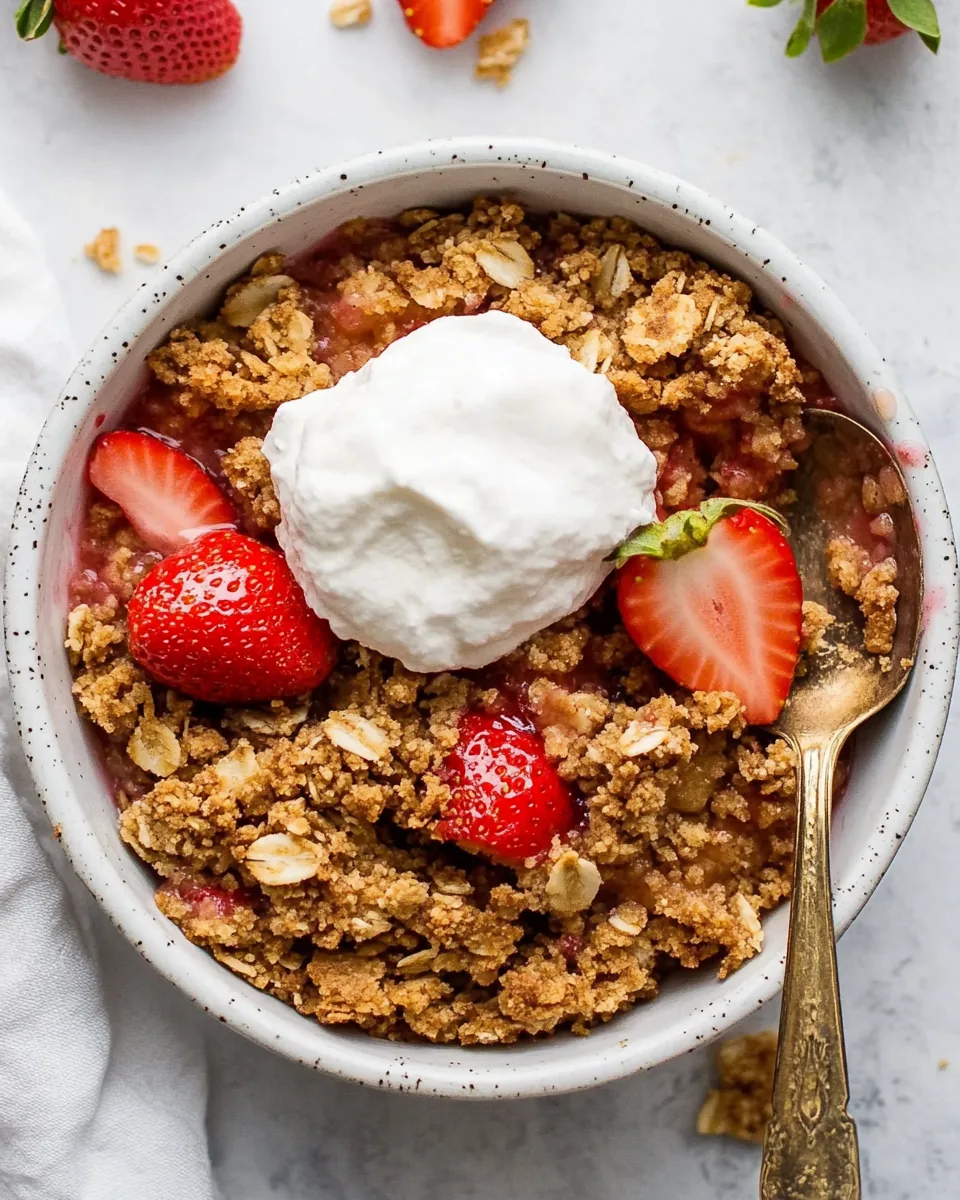
The contrast between the warm, bubbling strawberry filling and the crisp, crumbly topping is simply divine. The combination of oat flour and rolled oats creates a delightful crunch that complements the juicy strawberries perfectly. It’s not just a topping; it adds a layer of heartiness to the dessert.
Customizable Delight
Another beautiful aspect of this recipe is its versatility. You can use any berries you have on hand, whether it’s blackberries, raspberries, or blueberries. By adjusting the sweeteners, you can cater to different tastes and dietary preferences, ensuring that everyone at the table is happy.
Simple Preparation
This Gluten Free Strawberry Crisp is incredibly easy to make. With just a handful of ingredients and simple steps, even novice bakers can whip this up without a fuss. The ease of preparation means I can spend less time in the kitchen and more time enjoying the company of my loved ones.
Healthier Indulgence
While many desserts can feel heavy and indulgent, this crisp is made with wholesome ingredients like maple syrup and coconut sugar, allowing you to enjoy a guilt-free treat. It’s a dessert that satiates cravings without sacrificing your health goals.
Perfect for Any Occasion
Whether you’re celebrating a birthday, hosting a brunch, or enjoying a quiet evening at home, this crisp fits every occasion. Its rustic charm makes it equally suitable for a fancy dinner party or a laid-back picnic in the park.
Main Ingredients for Gluten Free Strawberry Crisp
When it comes to crafting the perfect Gluten Free Strawberry Crisp, the ingredients are key. Each player contributes to the overall harmony of flavors and textures, creating a delightful dessert that’s sure to impress. The fresh strawberries are the star of the show, complemented by sweeteners and a crumbly topping that brings everything together.
- 4 cups fresh strawberries (see notes for frozen or other berries)
- 4 tablespoons maple syrup or honey
- 2 tablespoons arrowroot flour
- 1 teaspoon lemon juice
- 1 teaspoon vanilla extract
- 2 cups oat flour
- 1 cup rolled oats (gluten-free if needed)
- ½ cup coconut sugar or maple sugar
- 1 teaspoon ground cinnamon
- Pinch of sea salt
- ½ cup unsalted butter (melted)
- 4 tablespoons maple syrup or honey
- 1 teaspoon vanilla extract
- Zest of 1 lemon
Making Gluten Free Strawberry Crisp
Let’s dive into making this delightful Gluten Free Strawberry Crisp. The aroma of strawberries baking with a buttery topping is simply irresistible. Follow these detailed steps to create your own crisp masterpiece!
Preheat your oven to 350ºF. This is an essential step, as a properly preheated oven ensures even baking, helping the topping become golden brown while the strawberries bubble nicely.
Make the filling: In a large bowl, combine the strawberries, maple syrup (or honey), arrowroot flour, lemon juice, and vanilla extract. Gently stir until all the berries are evenly coated. This mixture should feel syrupy and fragrant as the ingredients meld together.
Assemble: Pour the fruit mixture, along with any juices, into a 9×9-inch or similarly sized baking dish. Spread it evenly to ensure every bite has delicious strawberries.
Make the topping: In another bowl, mix together the oat flour, rolled oats, coconut sugar, ground cinnamon, and sea salt. Pour in the melted butter, followed by the maple syrup, vanilla extract, and lemon zest. Stir until the mixture forms a crumbly topping that looks inviting and smells heavenly.
Sprinkle the topping evenly over the fruit mixture. Make sure to cover all the strawberries; this will help create a crispy layer!
Bake: Place your baking dish in the preheated oven. Bake for about 55 minutes, or until the fruit is bubbling and the topping is golden brown. If you notice the topping browning too quickly, tent the dish with foil for the last 10 to 15 minutes to prevent burning.
Cool slightly before serving. This is important as it allows the juices to thicken up a bit, making for a perfect serving consistency. Enjoy the crisp as is, or top it with coconut whipped cream or your favorite ice cream for an extra treat!
Things Worth Knowing
- Freshness is Key: Use ripe strawberries for the best flavor. If they’re overripe, they may turn mushy during baking.
- Customizable Topping: Feel free to experiment with the topping by adding nuts or seeds for extra crunch.
- Baking Dish: A glass baking dish works well as it allows you to see the beautiful bubbling fruit underneath.
- Serving Suggestions: This dish is delicious served warm, but it can also be enjoyed cold as a refreshing snack.
Tips for Success
To ensure your Gluten Free Strawberry Crisp turns out perfectly, here are some essential tips. Following these will help you create a dish that’s both delicious and visually appealing:
- Storage: Cover leftovers with foil or transfer them to an airtight container. Store in the refrigerator for up to 3 days.
- Freezing: You can freeze the crisp before baking. Just assemble it, cover it tightly, and bake from frozen, adding extra time as needed.
- Variations: Mix in some chopped nuts or seeds to the topping for added texture and flavor.
- Serving: Pair your crisp with a scoop of vanilla ice cream or a dollop of coconut whipped cream for a delightful contrast.
- Adjusting Sweetness: Depending on the natural sweetness of your strawberries, you may want to adjust the amount of sweetener used.
- Berry Combinations: Don’t hesitate to mix different berries! Blueberries and raspberries can add unique flavors and colors.
What to Pair With Gluten Free Strawberry Crisp
When it comes to serving your Gluten Free Strawberry Crisp, the options are endless. Here are some delightful pairings and occasions that make this dessert shine:
- Ice Cream: Serve it with a scoop of vanilla or coconut ice cream for a creamy contrast.
- Whipped Cream: A dollop of fresh whipped cream or coconut whipped cream enhances the fruity flavors.
- Breakfast Option: Enjoy it for breakfast with a side of yogurt for a nutritious start to the day.
- Picnic Treat: Pack it in a container for an outdoor picnic, where it can be enjoyed cold.
- Holiday Dessert: Perfect for spring gatherings or holidays like Easter, as the vibrant colors brighten any table.
- Coffee Pairing: A cup of coffee or tea makes for a perfect afternoon treat alongside this crisp.
FAQ
Conclusion
The Gluten Free Strawberry Crisp is a delightful blend of fresh strawberries and a crunchy topping, making it the perfect dessert for any occasion. Its ease of preparation and delicious flavors make it a go-to recipe in my kitchen, and I encourage you to give it a try. Serve it warm or cold, and don’t forget to pair it with your favorite ice cream or whipped cream for an unforgettable treat!

Gluten Free Strawberry Crisp
Equipment
- Wooden Spoon
- Mixing Bowl
- Oven
- Baking Sheet
Ingredients
- 4 cups Fresh Strawberries See notes for frozen or other berries
- 4 tablespoons Maple Syrup or Honey
- 2 tablespoons Arrowroot Flour
- 1 teaspoon Lemon Juice
- 1 teaspoon Vanilla Extract
- 2 cups Oat Flour
- 1 cup Rolled Oats Gluten-free if needed
- ½ cup Coconut Sugar or Maple Sugar
- 1 teaspoon Ground Cinnamon
- 1 pinch Sea Salt
- ½ cup Unsalted Butter Melted
- 4 tablespoons Maple Syrup or Honey
- 1 teaspoon Vanilla Extract
- 1 Zest Of 1 Lemon
Instructions
- Preheat the oven to 350ºF. This is an essential step, as a properly preheated oven ensures even baking, helping the topping become golden brown while the strawberries bubble nicely.
- Make the filling: In a large bowl, combine the strawberries, maple syrup (or honey), arrowroot flour, lemon juice, and vanilla extract. Gently stir until all the berries are evenly coated. This mixture should feel syrupy and fragrant as the ingredients meld together.
- Assemble: Pour the fruit mixture, along with any juices, into a 9×9-inch or similarly sized baking dish. Spread it evenly to ensure every bite has delicious strawberries.
- Make the topping: In another bowl, mix together the oat flour, rolled oats, coconut sugar, ground cinnamon, and sea salt. Pour in the melted butter, followed by the maple syrup, vanilla extract, and lemon zest. Stir until the mixture forms a crumbly topping that looks inviting and smells heavenly.
- Sprinkle the topping evenly over the fruit mixture. Make sure to cover all the strawberries; this will help create a crispy layer!
- Bake: Place your baking dish in the preheated oven. Bake for about 55 minutes, or until the fruit is bubbling and the topping is golden brown. If you notice the topping browning too quickly, tent the dish with foil for the last 10 to 15 minutes to prevent burning.
- Cool slightly before serving. This is important as it allows the juices to thicken up a bit, making for a perfect serving consistency. Enjoy the crisp as is, or top it with coconut whipped cream or your favorite ice cream for an extra treat!
Notes
- Tip 1: If using frozen strawberries, adjust the baking time, adding more as needed until the filling is bubbling. If the top browns too quickly, cover the dish with foil, and continue to bake.
- Tip 2: Note that you can also use any berries you desire!
- Tip 3: Cover leftovers with foil or transfer them to an airtight container. Store in the refrigerator for up to 3 days.