Gender Reveal Chocolate Covered Strawberries
Let me tell you about a delightful treat that stole the show at my recent gender reveal party: Gender Reveal Chocolate Covered Strawberries. As soon as I took a bite, I was transported back to my childhood, where chocolate-dipped fruits were the highlight of every celebration. The excitement in the room was palpable as friends and family gathered around, eyes sparkling with anticipation. Would it be a boy or a girl? These chocolate-covered strawberries were not just delicious; they were the perfect way to share the news. Each bite was a burst of sweetness, creamy chocolate contrasting with the fresh, juicy strawberries. The best part? The reveal was hidden within the vibrant colors of the chocolate, making each berry a surprise waiting to be unwrapped.
Preparing these treats became a fun activity as we melted the chocolate, dipped each strawberry, and decorated them. I loved watching everyone eagerly waiting for their turn to decorate their own, adding all sorts of playful touches with colorful sprinkles. The laughter and chatter filled the kitchen, creating memories I’ll cherish forever. Each time I make these chocolate covered strawberries, I’m reminded of that joyous day, and they never fail to bring smiles. Whether you’re celebrating a big moment or simply treating yourself, these strawberries are sure to impress!
Recipe Snapshot
32 mins
32 mins
0 mins
Hard
120 kcal
1 g
Keto, Gluten-Free, Low FODMAP
6 g
Parchment Paper, Toothpicks, Resealable Sandwich Bags
Why We Love This Gender Reveal Chocolate Covered Strawberries
They’re a Showstopper
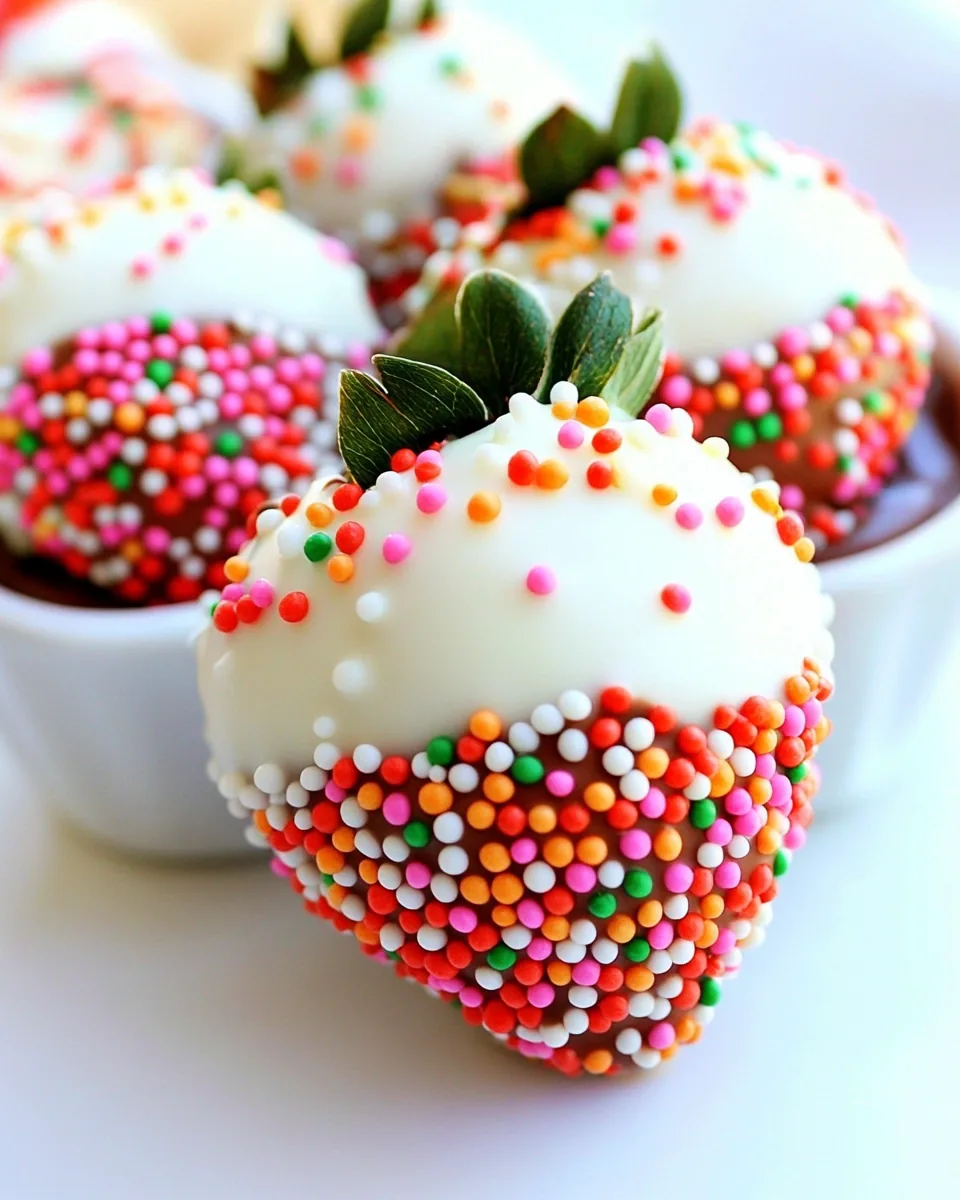
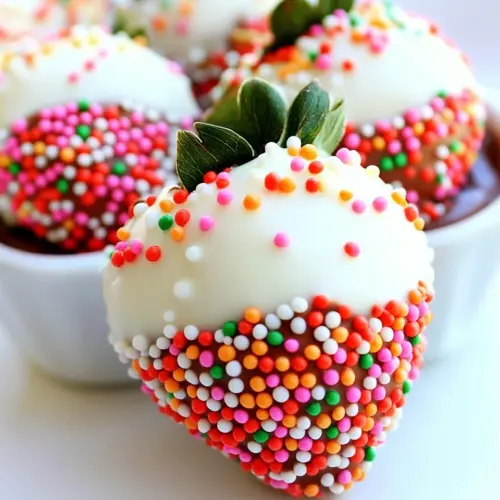
When it comes to parties, presentation is everything. The Gender Reveal Chocolate Covered Strawberries are stunning to look at and make an eye-catching centerpiece. Their vibrant colors and glossy chocolate coat make them irresistible. Everyone will want to snap a picture before diving in!
Easy to Make
Don’t worry if you’re not a master chef; these strawberries are simple to prepare. Melting chocolate and dipping strawberries is easier than it sounds. You don’t need any special skills to make them look professional!
Customizable Delight
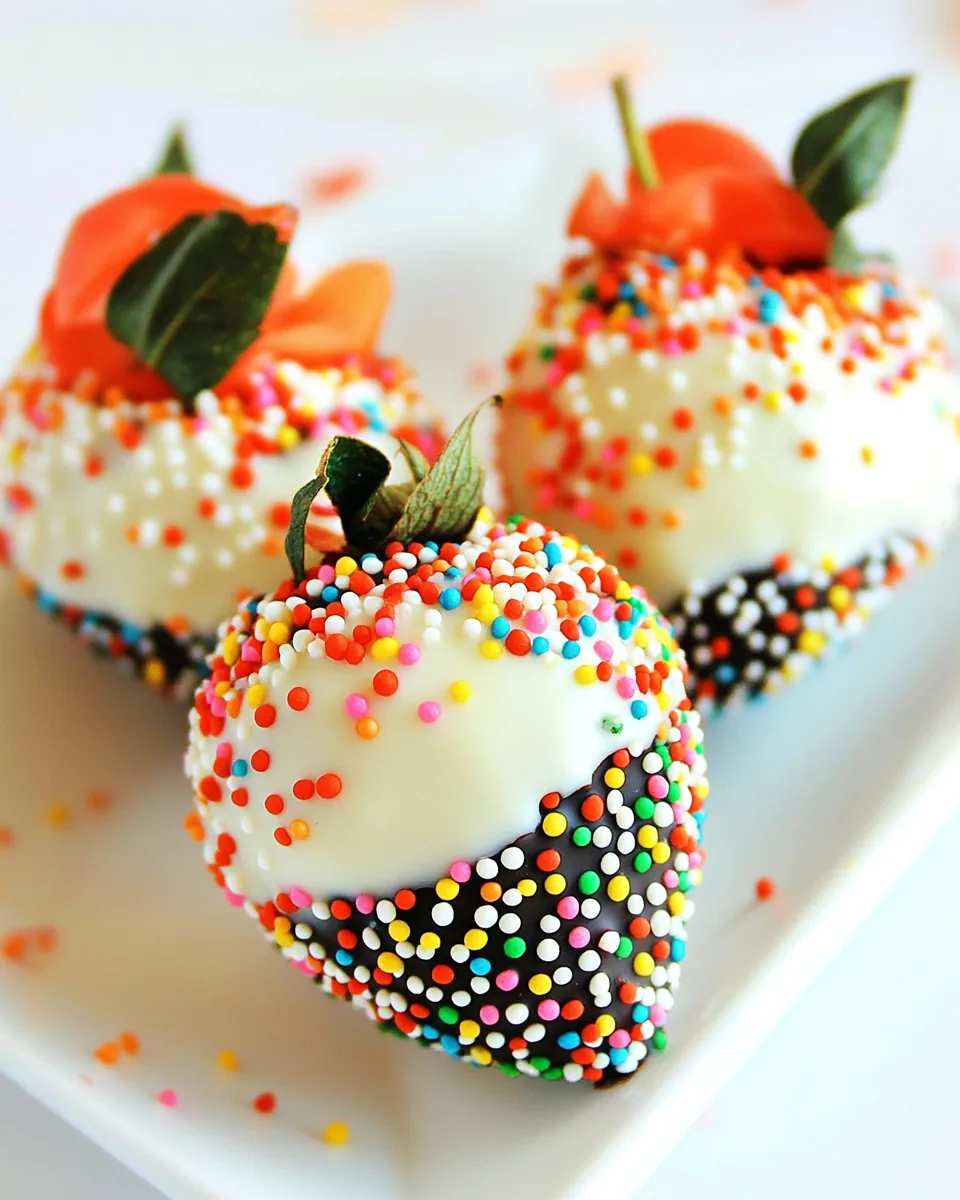
One of the best aspects of these strawberries is their versatility. You can play with colors and toppings to match your party theme. Want to add more flair? Use various types of chocolate or drizzle with contrasting colors. The options are endless!
Freshness Guaranteed
Using fresh, ripe strawberries makes all the difference. Their natural sweetness pairs beautifully with the rich chocolate, and they’re a healthier choice compared to many desserts. You can enjoy guilt-free indulgence while pleasing your guests’ taste buds.
A Memorable Surprise
The thrill of the gender reveal adds an element of surprise that guests will love. Watching them bite into the chocolate to discover the news is priceless. It’s a sweet moment that everyone will remember and talk about long after the party is over.
Perfect for Any Occasion
While they’re perfect for a gender reveal, these chocolate covered strawberries aren’t just for that occasion. They can be made for birthdays, anniversaries, or just a delightful treat on a sunny afternoon. No matter the event, they’ll always be a hit!
What to Buy for Gender Reveal Chocolate Covered Strawberries
When making Gender Reveal Chocolate Covered Strawberries, the key is in selecting the right ingredients. Fresh and high-quality ingredients will elevate your final product. The combination of sweet strawberries, silky chocolate, and colorful toppings creates a beautiful and tasty treat.
- Large Fresh Strawberries: The star of the show! Choose ripe, juicy strawberries that are firm to the touch and bright red for the best flavor.
- Melting Chocolate: You can use blue or pink melting chocolate, plus white and peanut butter flavors. They’re easy to work with and melt smoothly.
- Sprinkles: These add a fun finishing touch to your strawberries and enhance the festive look.
How to Make Gender Reveal Chocolate Covered Strawberries

Making Gender Reveal Chocolate Covered Strawberries is a fun and engaging experience. You’ll find that the process is straightforward, and it’s perfect for involving friends or family. Just follow these simple steps to create your own delicious treats!
- Make sure your strawberries are washed and dried thoroughly. I prefer using room temperature berries as cold ones tend to sweat once they warm up, which can cause moisture retention.
- Insert a toothpick into the center of each strawberry. This will make dipping them into the chocolate much easier and less messy.
- Line a cutting board or baking sheet with wax paper and set it aside. This is where your dipped strawberries will cool and harden.
- In a microwave-safe dish, add half a bag of your chosen melting chocolate (pink or blue). Microwave for 60 seconds at 50% power. Stir well, then return to the microwave for another 60 seconds at the same power, stirring again until completely smooth.
- Gently dredge each strawberry in the melted chocolate, ensuring they are evenly coated. Remember to wipe any excess chocolate off on the edge of the bowl before placing them on the prepared wax paper.
- Repeat the dipping process with the remaining berries. Allow them to stand for a few minutes to harden.
- Next, take half a bag of peanut butter candy melts and place them in a microwave-safe bowl. Microwave in the same manner for 60 seconds at 50% power. Stir until smooth.
- Dredge the bottom 3/4 of each strawberry into the peanut butter chocolate to create a cone shape. Return them to the wax paper and let them stand until hardened.
- For the finishing touch, knead the remaining peanut butter candy melts in a resealable sandwich bag. If it’s not soft, place it in a glass of hot water for a couple of minutes, then knead until smooth.
- Snip a small corner off the bag and drizzle the melted peanut butter chocolate over each strawberry, aiming for a diagonal pattern for a waffle cone effect. Allow it to harden.
- Now, melt half a bag of white candy melts in the same way. Place the melted white chocolate into another resealable sandwich bag and snip the tip off.
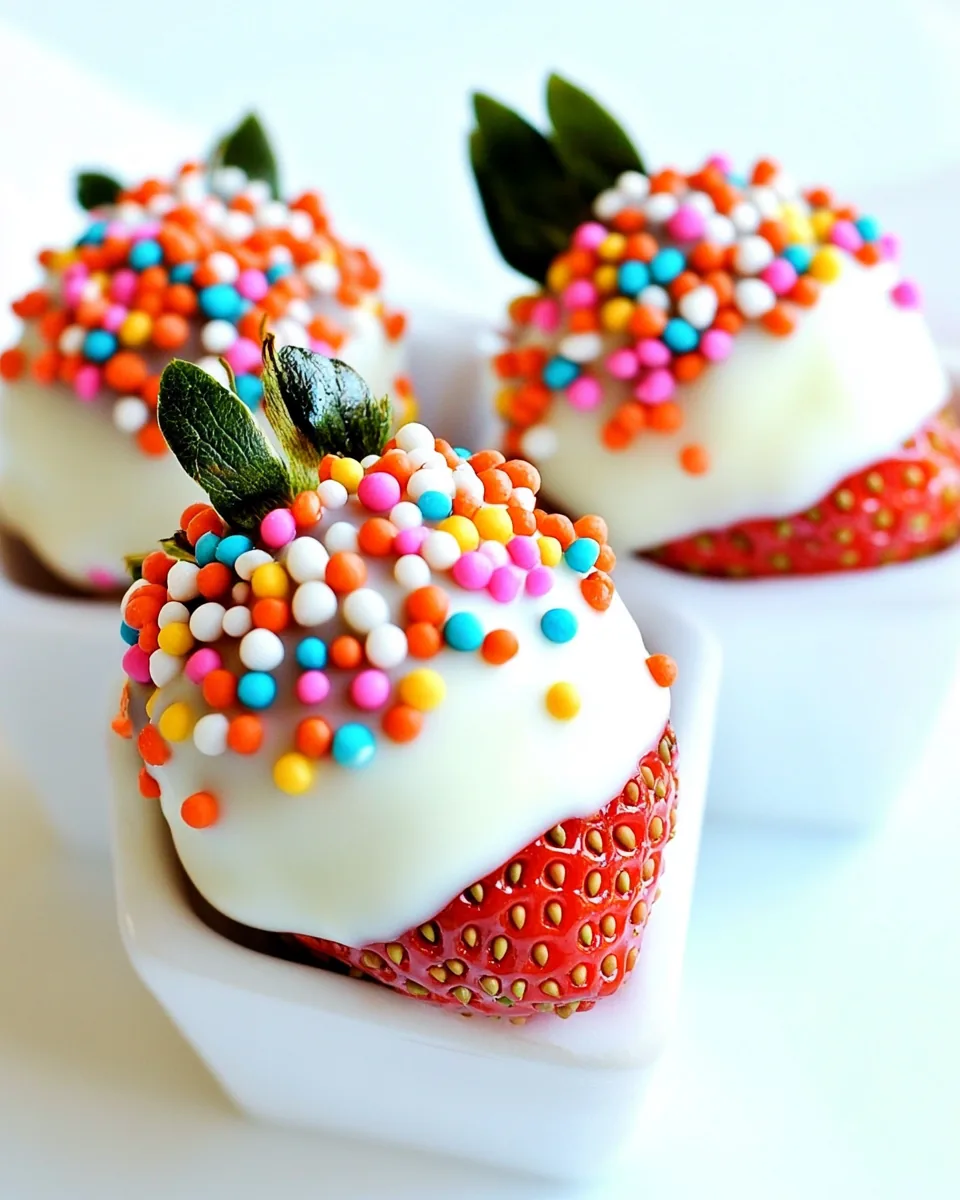
- Pipe the white chocolate onto the strawberries to create an ice cream effect, covering the colored chocolate beneath.
- Finally, sprinkle with sprinkles and let the finished strawberries harden completely. Serve immediately or refrigerate until ready to enjoy.
- Keep in mind that if you refrigerate them overnight, the chocolate may leak some strawberry juice, but they’ll still taste amazing!
Things Worth Knowing
- Temperature Matters: Ensure your chocolate and strawberries are at room temperature to avoid condensation.
- Quality Chocolate: Use high-quality melting chocolate to ensure a smooth coating and a rich flavor.
- Freshness is Key: Use fresh strawberries to enhance the flavor and presentation of your treat.
- Creative Toppings: Experiment with various toppings like nuts or edible glitter for a unique touch.
Recipe Notes about Gender Reveal Chocolate Covered Strawberries
When it comes to making Gender Reveal Chocolate Covered Strawberries, a few tips can make the process smoother and ensure delicious results. Here are some helpful notes to keep in mind:
- Storage: Keep leftovers in an airtight container in the refrigerator for up to two days.
- Freezing: You can freeze these strawberries for up to a month, but be aware they may lose some texture once thawed.
- Variations: Try using different colored chocolates to match your party theme or event.
- Quality Ingredients: Using high-quality chocolate and fresh strawberries will make a noticeable difference in taste.
- Presentation: Arrange the strawberries on a decorative platter for an impressive display.
Pairing Suggestions for Gender Reveal Chocolate Covered Strawberries
Serving Gender Reveal Chocolate Covered Strawberries is about more than just the treat itself. Here are some delightful ideas to elevate your serving experience:
- Drink Pairings: Serve with sparkling lemonade or a non-alcoholic punch to complement the sweet flavors.
- Occasions: Perfect for gender reveal parties, baby showers, or even as a sweet surprise during a picnic.
- Storage Tips: While best consumed fresh, you can store them in an airtight container for a couple of days in the fridge.
- Seasonal Pairings: These strawberries shine during spring celebrations but can be made year-round.
- Side Idea: Pair these with a light cake or cupcakes to create a full dessert spread.
FAQ
Conclusion
The Gender Reveal Chocolate Covered Strawberries are truly a special treat that adds a personal touch to any celebration. Their vibrant colors and deliciously creamy taste make them unforgettable. I encourage you to try making these delightful treats for your next gathering; they’re bound to impress your guests and create lasting memories!
Gender Reveal Chocolate Covered Strawberries
Equipment
- Parchment Paper
- Toothpicks
- Resealable Sandwich Bags
Ingredients
- 6 strawberries Large Fresh Strawberries
- 1 bag Melting Chocolate (blue or pink, plus white and peanut butter)
- 1 cup Sprinkles
Instructions
- Make sure your strawberries are washed and dried. I prefer to use room temperature berries as cold berries tend to "sweat" while they warm up, causing the strawberry to retain moisture.
- Place a toothpick into the center of each strawberry.
- Line a cutting board or baking sheet with wax paper and set aside.
- Working with half a bag of candy melts at a time (pink or blue), add half the bag to a microwave safe dish and microwave for 60 seconds at 50% power. Stir well. Return to microwave for the same amount of time and stir well until completely smooth.
- Dredge berries into chocolate to evenly coat. Gently wipe on the edge of the bowl any excess chocolate before placing onto prepared cutting board.
- Repeat with remaining berries. Let berries stand to harden.
- Using half a bag of peanut butter candy melts, place into a microwave safe bowl and microwave for 60 seconds at 50% power. Stir and repeat, stirring until smooth.
- Dredge berries into peanut butter chocolate, covering about 3/4 of the way from the bottom to the top of the berry to create the cone.
- Return to wax paper and let stand to harden. Place any remaining peanut butter candy melts into a resealable sandwich bag and seal shut.
- Once the "cone" of the strawberry is hardened, knead the bag of candy melts to see if it is soft. If it is not, place it into glass of hot water and let stand for 2-3 minutes. Then knead until smooth.
- Snip a very small corner off the bag with scissors and carefully drizzle over the strawberry, moving in a diagonal direction to make a waffle cone look. Let stand to harden.
- Place half a bag of white candy melts into a microwave safe bowl and microwave on 50% power for 60 seconds. Stir and repeat, stirring until smooth.
- Place melted white chocolate into a resealable sandwich bag and seal shut. Snip the tip of the bag and pipe the ice cream onto the strawberries, making sure to cover the color of the gender reveal.
- Sprinkle with sprinkles and repeat on remaining berries.
- Let stand to harden.
- Serve immediately, or cover and refrigerate until ready to serve. Please note, if you refrigerate, chocolate covered berries overnight, they do tend to "leak" a little strawberry juice, usually on the bottom, but the berries will taste fine.
Notes
- Tip: Please note that there will not be any suggested nutritional values as this will depend on how many strawberries you make.
- Tip on Chocolate: While it may be tempting to use real milk chocolate, dark chocolate, or chocolate chips to create chocolate-dipped strawberries, chocolate seizes up SUPER quickly.
- Use Candy Melts: For ease of use, an excellent candy melt is much less frustrating and makes making a box of chocolate-covered strawberries easy.
- Find in Stores: You can find baking chocolate, bark, and candy melt chocolate in baking supply aisles at the store or large candy-making aisles at craft stores like Michaels and Hobby Lobby.