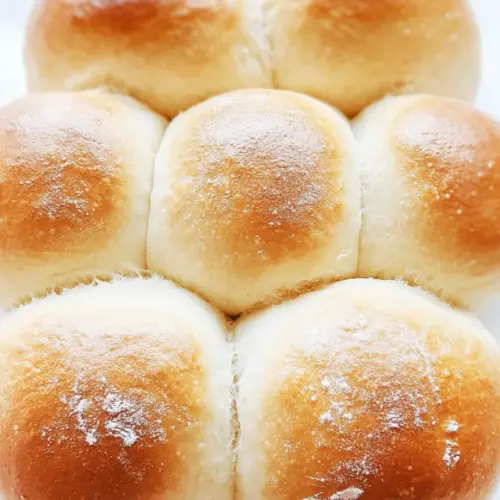
French Bread Rolls
There’s something truly magical about the aroma of freshly baked bread filling your kitchen, and when it comes to that experience, French Bread Rolls are simply unbeatable. I fondly remember the first time I baked these rolls; I was a young chef, experimenting in my grandmother’s kitchen, with flour dust dancing in the sunlight streaming through the window. The anticipation built as the dough rose, and when it finally emerged from the oven, golden and warm, my heart skipped a beat. Each roll was soft, with a crispy exterior that promised a delightful bite. These rolls are not just a side dish; they’re a part of my family gatherings, a way to bring everyone together around the table, sharing stories and laughter over warm bread. Whether served with a hearty soup or enjoyed on their own with a pat of butter, French Bread Rolls bring comfort and joy to every meal.
Recipe Snapshot
45 mins
30 mins
15 mins
Medium
150 kcal
4 g
Gluten-Free, Low FODMAP
2 g
Oven, Chef’s Knife, Mixing Bowl, Wooden Spoon, Baking Sheet
Why This French Bread Rolls Works
They’re Incredibly Versatile
One of the reasons I absolutely adore French Bread Rolls is their versatility. They can be served alongside a variety of dishes, from soups to salads, or even as a base for sliders. You can customize them by adding herbs or cheese for a unique twist, making them perfect for any occasion.
Perfect for Special Occasions
Whether it’s a holiday gathering or a simple family dinner, these rolls elevate any meal. I’ve made them for Thanksgiving, Christmas, and even casual get-togethers, and they never fail to impress. Everyone loves tearing into a warm roll fresh out of the oven.
A Fun Activity to Share
Baking French Bread Rolls is not just about the end product; it’s about the process. I often invite friends or family over to bake with me, sharing laughter and stories as we knead the dough together. It’s a bonding experience that creates memories, and there’s nothing like the satisfaction of sharing something homemade.
The Aroma is Irresistible
As the rolls bake, the kitchen fills with a heavenly aroma that’s simply irresistible. It’s the kind of smell that draws people in, making them eager to join in and enjoy whatever you’re preparing. It’s hard not to smile when your home smells this good!
They Freeze Well
If you happen to have leftovers (which is rare!), French Bread Rolls freeze beautifully. Just pop them in a zip-top bag, and they’ll be ready for your next craving. I love knowing that I can have freshly baked bread on hand for those busy weeknights.
Shopping List for French Bread Rolls
When it comes to baking French Bread Rolls, the quality of your ingredients matters. Each component plays a vital role in creating that perfect texture and flavor. You’ll find that these ingredients work harmoniously together, producing rolls that are light, airy, and full of flavor. Let’s explore the essentials:
- Warm Water: 1 ½ cups (about 105°F) – This is crucial for activating the yeast, ensuring your rolls rise nicely.
- Active Dry Yeast: 2 ¼ teaspoons (1 packet) – The magic ingredient that will help your rolls achieve that beautiful fluffy texture.
- Granulated Sugar: 1 teaspoon – A little sweetness helps feed the yeast and adds a hint of flavor.
- All-Purpose Flour: 3 ¾ cups (500 grams), plus more as needed – This is the backbone of your rolls, providing structure and texture.
- Salt: 1 ½ teaspoons – Enhances the flavor and controls the fermentation process of the dough.
- Olive Oil: 1 teaspoon – Adds richness to the dough and helps it remain moist.
- Melted Salted Butter: For tops, optional – A brush of melted butter on top adds flavor and a shiny finish.
Step by Step Guide for French Bread Rolls
Making French Bread Rolls is a delightful experience that allows you to connect with the art of baking. Follow these steps for a delicious outcome that will have everyone asking for seconds. Let’s dive into the process!
In a small bowl, combine 1 ½ cups warm water, 2 ¼ teaspoons active dry yeast, and 1 teaspoon sugar. Stir gently and let it sit for about 5 minutes. You’ll see it start to foam, which means your yeast is active and ready to do its job.
In a stand mixer fitted with the dough attachment or a large mixing bowl, stir together 2 cups all-purpose flour and 1 ½ teaspoons salt. This blend creates the base for your rolls, and the salt is essential for flavor.
Next, stir in the yeast mixture into the flour mixture on medium-low speed or mix it by hand. The dough should start coming together, forming a cohesive mass.
As you continue mixing, gradually knead in the remaining ½ cup all-purpose flour in increments, until the dough is smooth but not sticky. If it feels too sticky, don’t hesitate to add a little extra flour.
Once you have a lovely dough ball, rub 1 teaspoon olive oil around the dough, covering the surface to prevent it from drying out. Cover the bowl with a towel and let it rest for at least 30 minutes. If you have the luxury of time, allow it to rise for up to 1 hour, or until it has doubled in size.
While the dough rises, butter a 9×13-inch baking dish and set it aside. This will be where your rolls take shape.
After the resting time, punch the dough down to release any trapped air. Turn it out onto a floured surface and divide it in half. Then, divide each half again into 3 to 4 pieces. For larger rolls, aim for 12 pieces; for smaller, stick with 16.
Roll each section into a ball and place them in the prepared baking dish. Ensure there’s enough space between each roll for them to expand as they rise.
Using a sharp bread knife or lame, make a diagonal cut across the top of each roll. This allows steam to escape during baking, giving your rolls that beautiful shape. Cover them lightly with a towel again and set them in a warm spot to rise for about 45 minutes, or until they’ve doubled in size.
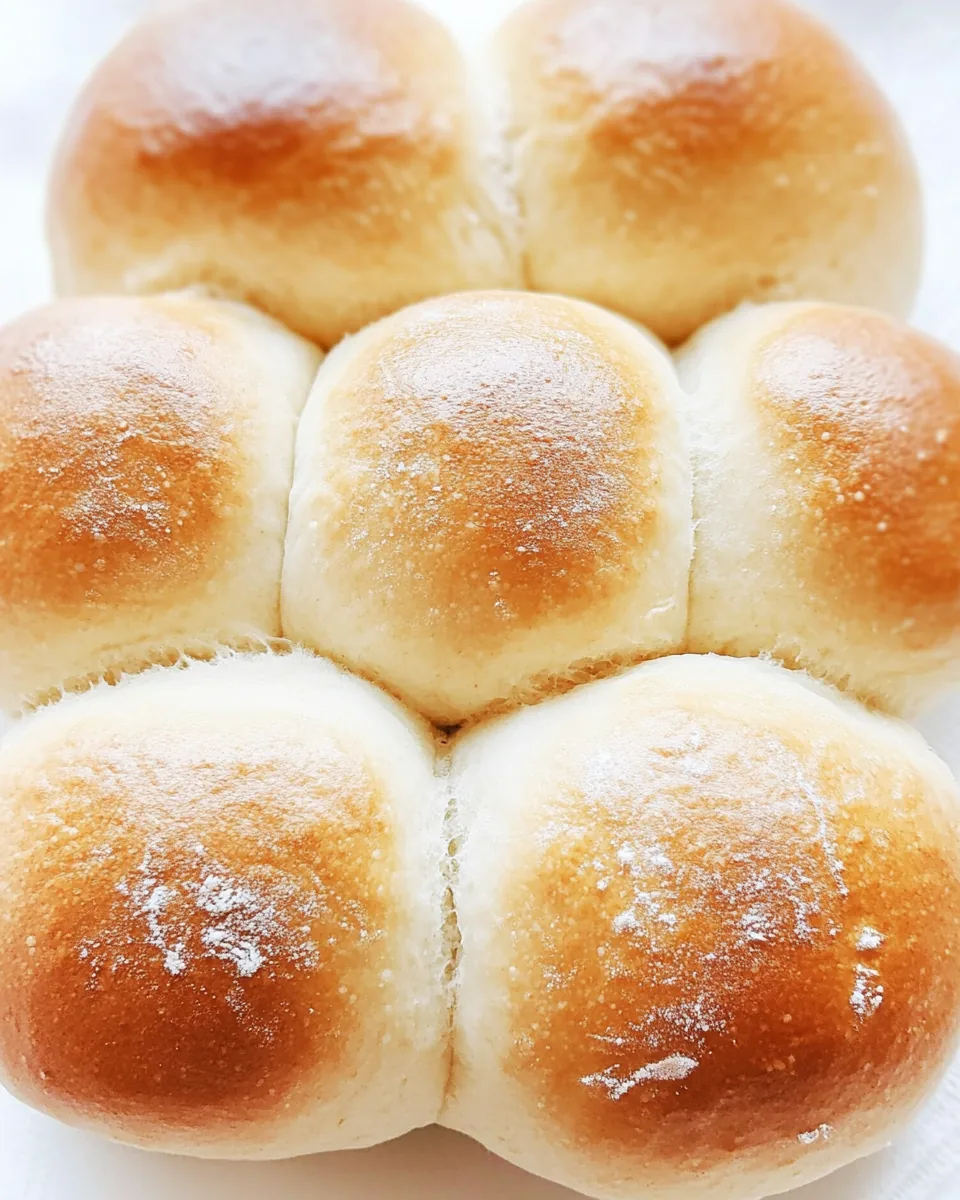
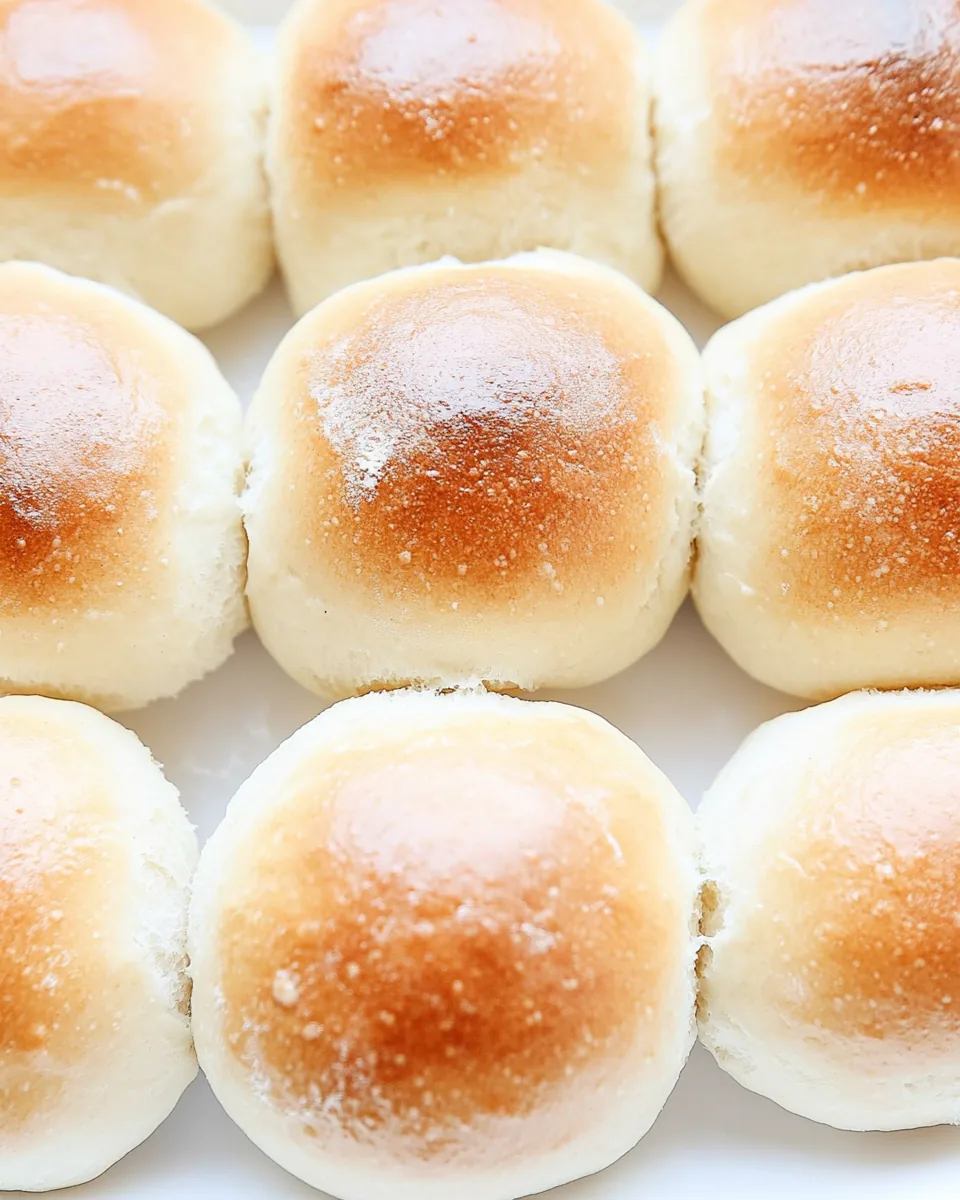
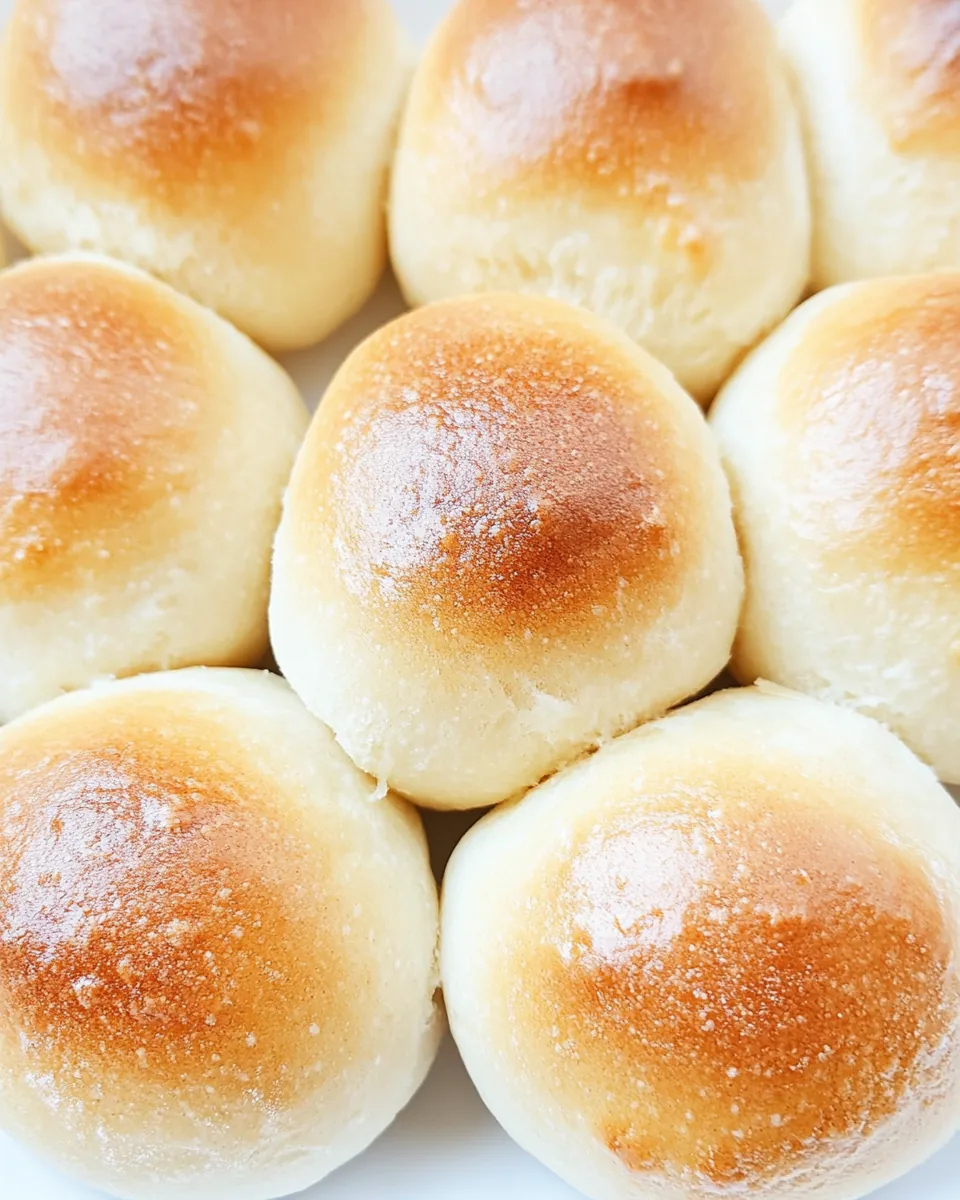
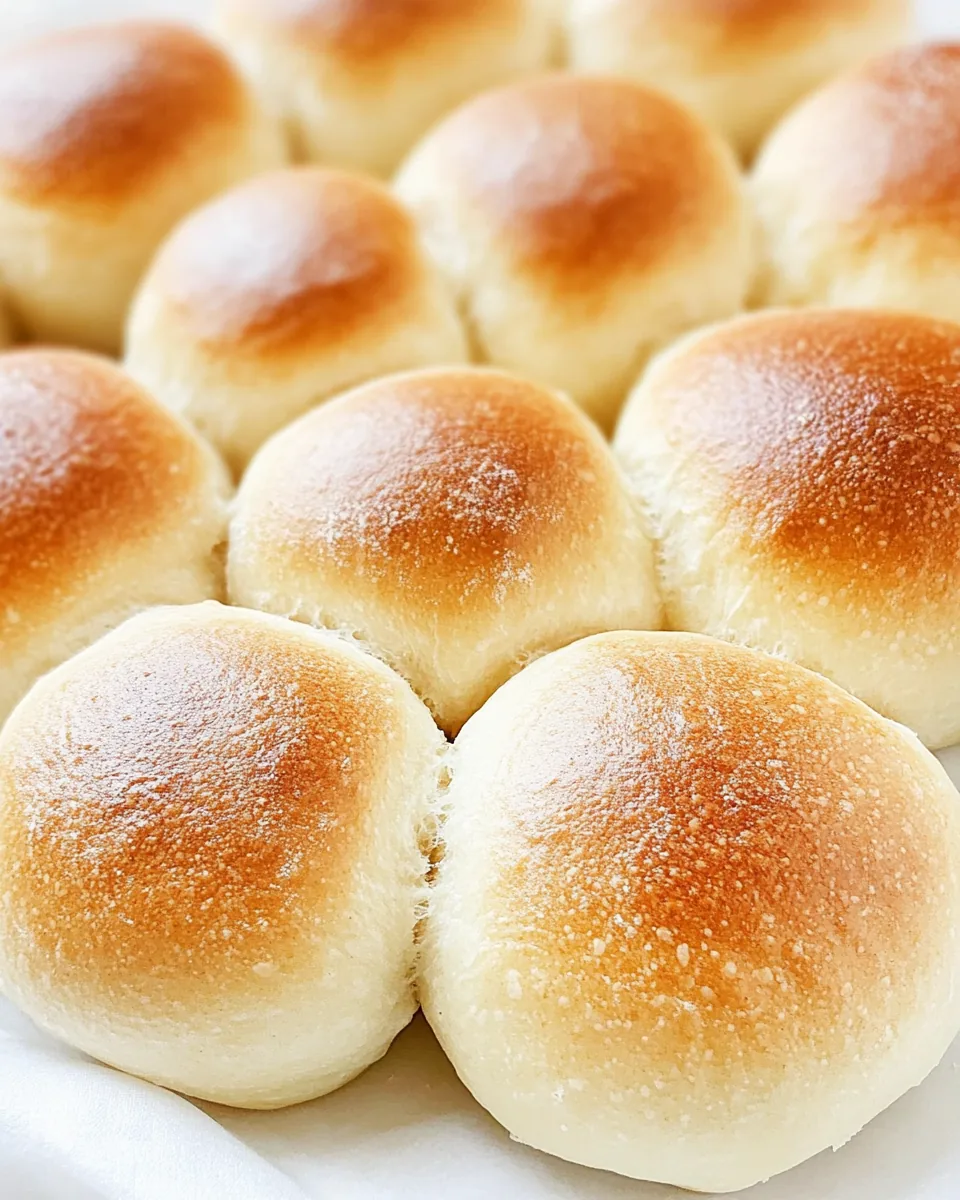
Preheat your oven to 400°F. Once the rolls have risen, place them in the oven and bake for about 15 minutes, or until the tops are golden brown. Your kitchen will smell divine!
If desired, brush the tops with melted butter after baking, adding a glossy finish. Slice and serve your French Bread Rolls while warm for the best experience. Enjoy!
Things Worth Knowing
- Yeast Activation: Make sure your water is at the right temperature (about 105°F) to activate the yeast. Too hot or too cold can hinder the process.
- Kneading Technique: Knead until the dough is smooth and elastic, which usually takes about 8 to 10 minutes. This helps develop the gluten for better texture.
- Resting Time: Don’t rush the resting time. Allowing the dough to rise properly is key to achieving fluffy rolls.
- Oven Temperature: An accurately preheated oven ensures even baking. Use an oven thermometer if necessary to check your oven’s temperature.
- Butter Brush: Brushing the tops with melted butter right after baking gives your rolls a delicious finish and adds flavor.
Helpful Notes about French Bread Rolls
To make the best French Bread Rolls, here are some helpful notes that I’ve gathered over my years of baking:
- Storage: These rolls store best in a brown paper bag on the counter. They stay soft and fresh this way.
- Freezing: You can freeze these rolls! Allow them to cool completely, then place them in a large zip-top bag, remove as much air as possible, and freeze for up to 3 months. Thaw overnight at room temperature and reheat in the oven at 250°F for a few minutes.
- Shiny Tops: For a shinier crust, brush the tops with a whisked egg white mixed with a teaspoon of water before baking. Alternatively, you can add a few ice cubes to the oven to create steam.
- Variations: Experiment with adding herbs or cheese to the dough for different flavors. Rosemary, garlic, or even cheddar can make for delightful variations.
- Perfect Pairing: These rolls are fantastic with soups, salads, or as a base for sandwiches.
Serve This French Bread Rolls With
Your freshly baked French Bread Rolls can truly enhance any meal. Here are some fantastic serving ideas:
- With Soups: They pair beautifully with soups like tomato soup or creamy chowders. The soft rolls are perfect for soaking up every last drop.
- Salads: Serve alongside a fresh green salad for a light lunch or dinner. The rolls add substance and make the meal more filling.
- For Gatherings: These rolls are a must-have at family gatherings, potlucks, or holiday dinners. They disappear quickly!
- As Snacks: Enjoy them warm with butter as a snack or breakfast item. There’s nothing better than a warm roll!
- Storage Tips: If you have leftovers, keep them in a brown paper bag to maintain their freshness. You can also freeze them for future enjoyment.
FAQ
Conclusion
Baking French Bread Rolls brings warmth and comfort to any meal. The delightful aroma and the soft, fluffy texture make these rolls a must-try for anyone who enjoys homemade bread. I encourage you to gather your ingredients and experience the joy of baking these rolls yourself. You won’t regret it, and your loved ones will be ever so grateful for the deliciousness you bring to the table!
French Bread Rolls
Equipment
- Oven
- Chef's Knife
- Mixing Bowl
- Wooden Spoon
- Baking Sheet
Ingredients
- 1 ½ cups warm water (about 105°F)
- 2 ¼ teaspoons active dry yeast (1 packet)
- 1 teaspoon granulated sugar
- 3 ¾ cups all-purpose flour (500 grams), plus more as needed
- 1 ½ teaspoons salt (fine sea salt or table salt)
- 1 teaspoon olive oil
- to taste melted salted butter (for tops, optional)
Instructions
- In a small bowl, combine 1 ½ cups warm water, 2 ¼ teaspoons active dry yeast, and 1 teaspoon sugar. Let sit for 5 minutes, or until it begins to foam.
- In a stand mixer fitted with the dough attachment or in a large mixing bowl, stir together 2 cups all-purpose flour and 1 ½ teaspoons salt. Stir in the yeast mixture on medium-low speed or mix by hand. Knead in the remaining ½ cup flour in increments until the dough is smooth but not sticky. Add more flour as needed.
- Rub 1 teaspoon olive oil around the dough ball, cover with a towel and let rest at least 30 minutes. If you have time, let rise up to 1 hour, or until doubled in size. Butter a 9×13-inch baking dish and set aside.
- Punch the dough down. Turn onto a floured surface and divide it in half. Divide in half again and cut into 3 to 4 pieces. Roll each section into a ball. Place in baking dish.
- Make a diagonal cut across the top of each roll with a sharp bread knife. Cover lightly with a towel. Set in a warm spot and let rise 45 minutes, or until rolls have doubled in size.
- Preheat the oven to 400°F. Bake 15 minutes, or until the tops are golden brown. Brush the top with melted butter, if desired. Slice and serve while warm.
Notes
- Shiny tops: Brush 1 egg white (whisked) with a teaspoon of water before baking for a crispier crust.
- Storing: These rolls store best in a brown paper bag on the counter.
- Freezer instructions: Allow to cool and then place in a large zip-top bag to freeze. Thaw overnight on the counter. Reheat in the oven at 250°F for a few minutes.