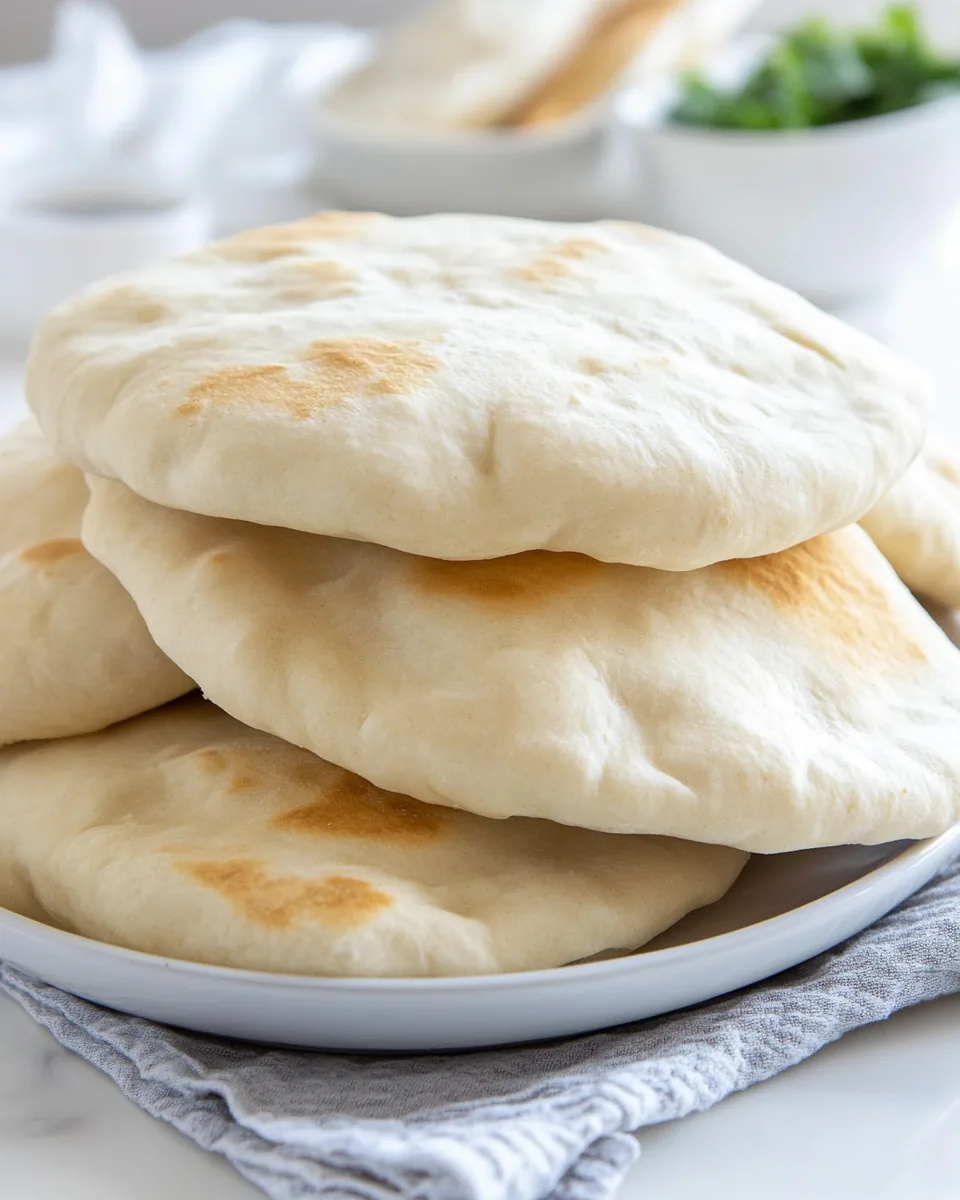
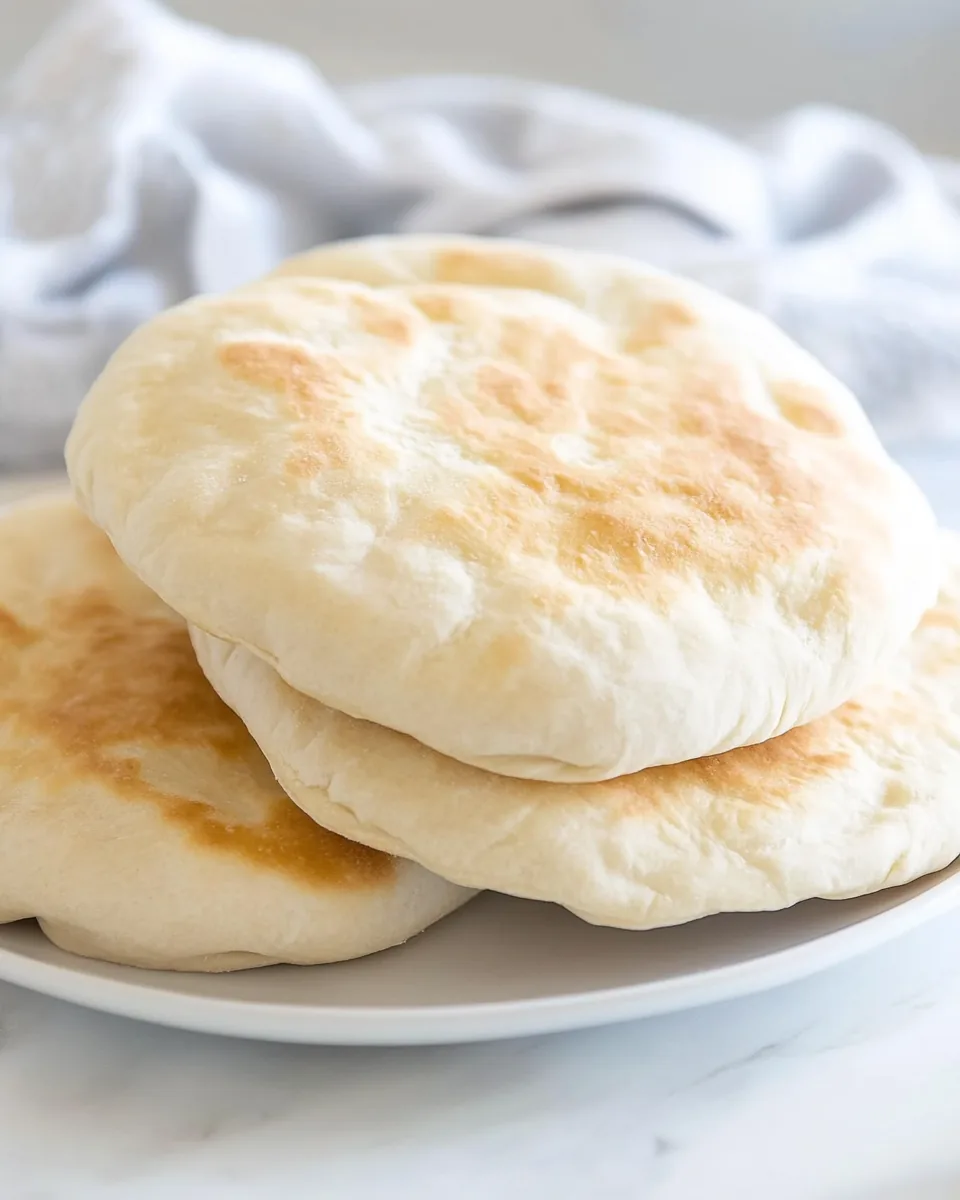
Easy Pita Bread
There’s something incredibly satisfying about making your own bread at home, and that’s why I’m excited to share my version of Easy Pita Bread. I remember the first time I turned my kitchen into a mini-bakery. The aroma of freshly baked bread filled the air, and as I pulled those golden rounds out of the oven, my heart swelled with pride. Pita bread is not just a staple in many cuisines; it’s a canvas for endless culinary creativity. Whether you’re filling it with delicious dips, using it as a wrap for fresh fillings, or simply enjoying it warm with a drizzle of olive oil, it’s a comforting and versatile addition to any meal.
Recipe Snapshot
25 mins
20 mins
5 mins
Medium
140 kcal
4 g
Paleo, Whole30, Vegan
0.5 g
Wooden Spoon, Mixing Bowl, Oven, Baking Sheet
The Magic of This Easy Pita Bread
Freshness You Can Taste
One of the most rewarding aspects of making Easy Pita Bread is the freshness it brings to any dish. When you make it from scratch, you can enjoy the warm bread within minutes of pulling it from the oven. This freshness makes every meal feel special.
Customizable to Your Liking
Another reason I love this recipe is its adaptability. You can experiment with different types of flours or add herbs and spices to the dough for unique flavor profiles. It’s a great way to tailor the bread to suit your personal taste.
Perfect for Sharing
Easy Pita Bread is fantastic for gatherings. Imagine a cozy evening with friends, fresh baked pitas on the table, and an array of dips and spreads for everyone to enjoy. It encourages sharing and creates a warm, inviting atmosphere.
Healthier Option
By baking your own bread, you have complete control over the ingredients. You can choose high-quality, whole food options, avoiding preservatives and additives often found in store-bought versions. This makes Easy Pita Bread a healthier alternative.
Fun for All Ages
This recipe is also a fun activity for families. Kids love to get involved in the kitchen, and making bread allows them to learn valuable skills while having a great time. Kneading the dough and watching it rise can be an exciting process for young chefs.
Quick and Simple
Finally, this recipe is straightforward and doesn’t require advanced baking skills. With just a few ingredients and clear steps, you can create delicious pita bread without any fuss. It’s a perfect introduction to the world of baking for beginners.
Main Ingredients for Easy Pita Bread
The magic of Easy Pita Bread lies in its simplicity. Each ingredient plays a crucial role in crafting the perfect pocket. The combination of flour, yeast, water, salt, and olive oil works wonders, creating a dough that rises beautifully and bakes into fluffy pitas.
- Active dry yeast: This is the leavening agent that helps the bread rise, creating those lovely pockets.
- Warm water: Activates the yeast and brings the dough together.
- Bread flour: Provides the structure and chewiness that a good pita bread deserves.
- Salt: Enhances flavor and strengthens the dough.
- Olive oil: Adds richness and moisture to the dough.
Directions for Easy Pita Bread
Making Easy Pita Bread is a delightful process that anyone can master. Follow these simple steps to create perfect pitas at home.
Start by adding active dry yeast to warm water and stir well. It’s essential to let this sit for about 5 minutes until you see bubbles forming, indicating your yeast is alive and ready to work its magic.
In a large mixing bowl, combine bread flour, salt, and olive oil. Stir these dry ingredients together until they are well mixed. This step ensures that the salt is evenly distributed, which is vital for flavor.
Now, slowly stir in the activated yeast mixture into your flour mixture. As you mix, you’ll notice the dough coming together into a rough ball. This is what we want!
Transfer the dough to a floured surface and knead it for about 5 to 10 minutes. You’re looking for a smooth and elastic texture. When you poke it with your finger, it should spring back gently.
Once the dough is ready, place it in a bowl lightly greased with olive oil. Cover it with a clean kitchen towel and let it rise until it doubles in size. This usually takes around 45 minutes to 1 hour. Patience is key here!
When the dough has risen, turn it out onto a floured surface again and divide it into eight equal pieces. Shape each piece into a ball, then roll it out into an oval shape, aiming for a thickness of about 3 to 5 mm. Don’t worry about making them perfect – rustic is charming!
Meanwhile, preheat your oven to 230°C (446°F). Place a baking tray inside to heat up. When ready, carefully remove the tray, dust it with flour, and place your rolled-out pitas on it. Remember not to crowd them!
Now, return the baking tray to the oven and bake for about 5 to 6 minutes. Keep an eye on them; they should puff up and turn a beautiful golden brown. This is the moment we’ve been waiting for!
Once done, remove the pita bread from the oven and let it cool slightly. Enjoy the freshly baked pitas with your favorite dips or fillings!
Things Worth Knowing
- Yeast Activation: When activating the yeast, ensure the water is around 110°F (43°C). Too hot can kill the yeast, while too cold won’t activate it properly.
- High-Temperature Baking: Baking at high temperatures, like 230°C (446°F), helps the bread puff up and develop that classic pocket.
- Watch the Baking Time: Since pita bread bakes quickly, keep a close eye to prevent over-baking. They should be golden brown and slightly puffed when done.
- Thickness Matters: When rolling out the dough, aim for a thickness of about 3 to 5 mm; over-rolling can lead to tough pita.
- Space Them Out: Make sure there’s enough space between the pitas on the baking tray to allow them to puff up properly.
- Adding Steam: Some bakers mist the pitas with water before baking to create steam, encouraging them to puff.
Customization Ideas
There’s so much you can do with Easy Pita Bread to make it your own. Here are some tips to get you started:
- Herbs and Spices: Add dried herbs, like oregano or thyme, into the dough for extra flavor.
- Whole Wheat Option: Substitute half of the white bread flour with whole wheat flour for a nuttier taste and added nutrition.
- Sesame Seeds: Sprinkle sesame seeds on top of the pitas before baking for a delicious crunch.
- Stuffed Pitas: After baking, fill the pitas with grilled vegetables, hummus, or chicken for a satisfying meal.
- Flatbread Variation: Roll the dough thinner for a crispy flatbread to accompany dips.
- Storage: Store leftover pitas in an airtight container or bag to keep them fresh.
- Freezing: Pitas freeze well. Store in freezer bags, and reheat directly from the freezer.
Serving Ideas for Easy Pita Bread
Serving Easy Pita Bread can be as creative as you want. Here are some delightful ideas:
- With Dips: Serve warm pitas with a selection of dips like hummus, tzatziki, or baba ghanoush for a tasty appetizer.
- Wrap It Up: Use the pitas as wraps filled with grilled vegetables, falafel, or your favorite proteins for a satisfying lunch.
- Snack Time: Cut the pitas into triangles and serve with a dip for a quick snack.
- Breakfast Delight: Fill pitas with scrambled eggs and veggies for a hearty breakfast option.
- Picnic Treat: Pack pitas for a picnic alongside fresh salads and fruits. They’re easy to transport and perfect for outdoor dining.
- Seasonal Pairings: In the summer, serve with fresh tomatoes and cucumbers; in fall, pair with roasted veggies.
- Store Wisely: Keep any leftovers in a sealed container at room temperature for a couple of days or freeze for longer storage.
FAQ
Conclusion
Making Easy Pita Bread is not just about satisfying your hunger; it’s about creating something wonderful from scratch. The joy of pulling warm, fluffy pitas from the oven can transform any meal into an occasion. I encourage you to give this recipe a try and experience the satisfaction that comes from homemade bread. You’ll find it’s a delightful addition to your cooking repertoire!
Easy Pita Bread
Equipment
- Wooden Spoon
- Mixing Bowl
- Oven
- Baking Sheet
Ingredients
- 2 teaspoons Active dry yeast
- 1.5 cups Warm water
- 4 cups Bread flour
- 2 teaspoons Salt
- 1 tablespoon Olive oil
Instructions
- Start by adding active dry yeast to warm water and stir well. It’s essential to let this sit for about 5 minutes until you see bubbles forming, indicating your yeast is alive and ready to work its magic.
- In a large mixing bowl, combine bread flour, salt, and olive oil. Stir these dry ingredients together until they are well mixed. This step ensures that the salt is evenly distributed, which is vital for flavor.
- Now, slowly stir in the activated yeast mixture into your flour mixture. As you mix, you’ll notice the dough coming together into a rough ball. This is what we want!
- Transfer the dough to a floured surface and knead it for about 5 to 10 minutes. You’re looking for a smooth and elastic texture. When you poke it with your finger, it should spring back gently.
- Once the dough is ready, place it in a bowl lightly greased with olive oil. Cover it with a clean kitchen towel and let it rise until it doubles in size. This usually takes around 45 minutes to 1 hour. Patience is key here!
- When the dough has risen, turn it out onto a floured surface again and divide it into eight equal pieces. Shape each piece into a ball, then roll it out into an oval shape, aiming for a thickness of about 3 to 5 mm. Don’t worry about making them perfect – rustic is charming!
- Meanwhile, preheat your oven to 230°C (446°F). Place a baking tray inside to heat up. When ready, carefully remove the tray, dust it with flour, and place your rolled-out pitas on it. Remember not to crowd them!
- Now, return the baking tray to the oven and bake for about 5 to 6 minutes. Keep an eye on them; they should puff up and turn a beautiful golden brown. This is the moment we’ve been waiting for!
- Once done, remove the pita bread from the oven and let it cool slightly. Enjoy the freshly baked pitas with your favorite dips or fillings!
Notes
- Yeast Activation: When activating the yeast, ensure the water is around 110°F (43°C). Too hot can kill the yeast, while too cold won’t activate it properly.
- High-Temperature Baking: Baking at high temperatures, like 230°C (446°F), helps the bread puff up and develop that classic pocket.
- Watch the Baking Time: Since pita bread bakes quickly, keep a close eye to prevent over-baking. They should be golden brown and slightly puffed when done.
- Thickness Matters: When rolling out the dough, aim for a thickness of about 3 to 5 mm; over-rolling can lead to tough pita.
- Space Them Out: Make sure there’s enough space between the pitas on the baking tray to allow them to puff up properly.
- Adding Steam: Some bakers mist the pitas with water before baking to create steam, encouraging them to puff.