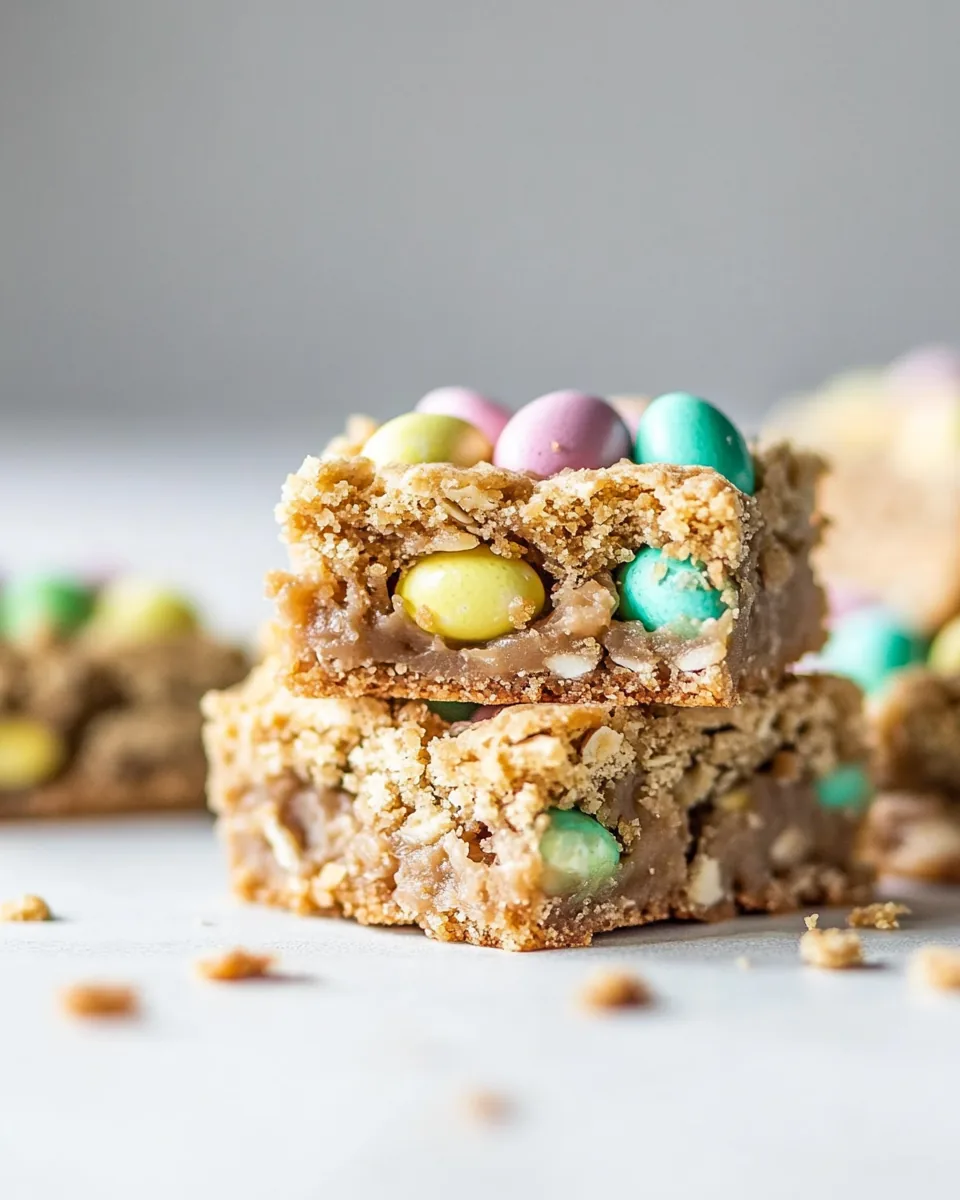
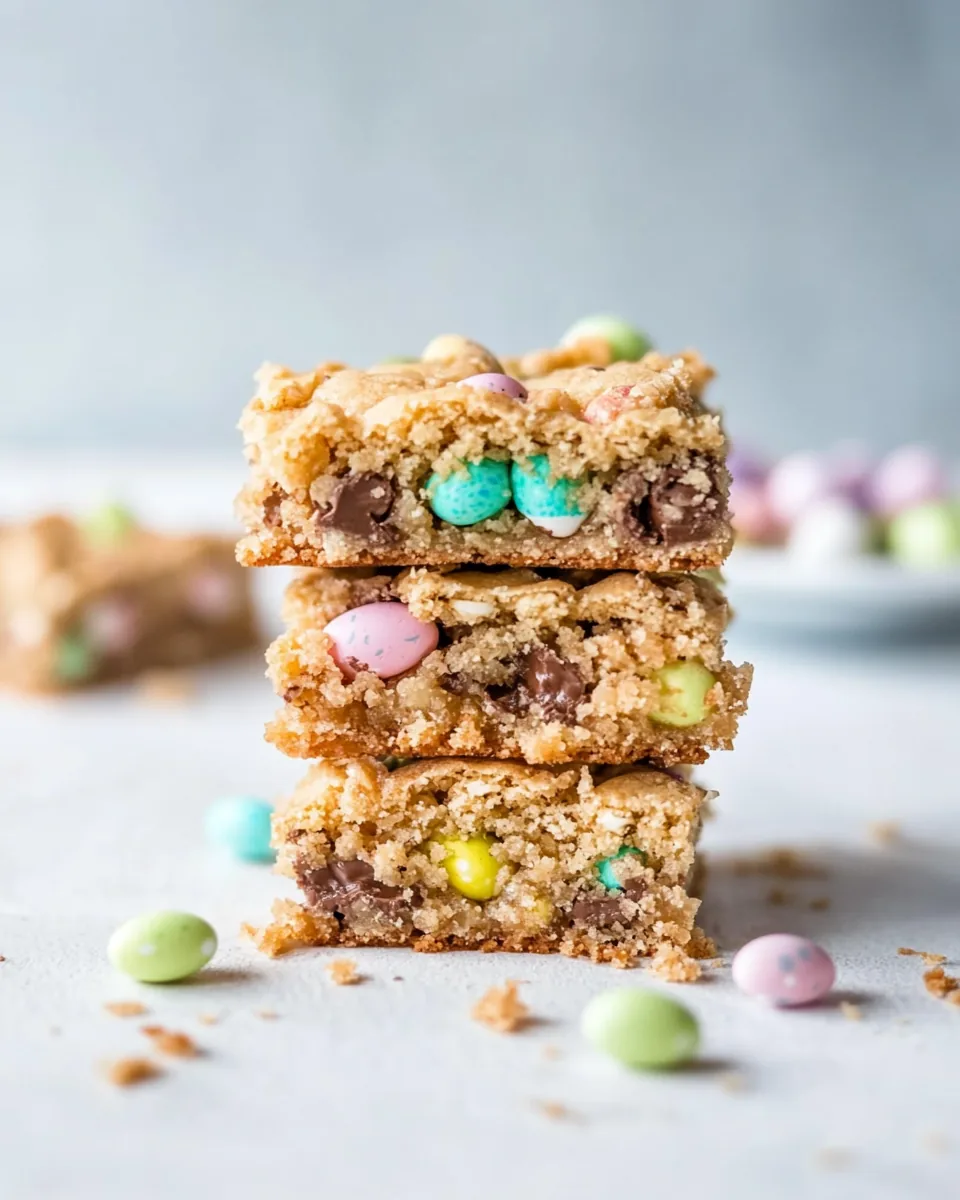
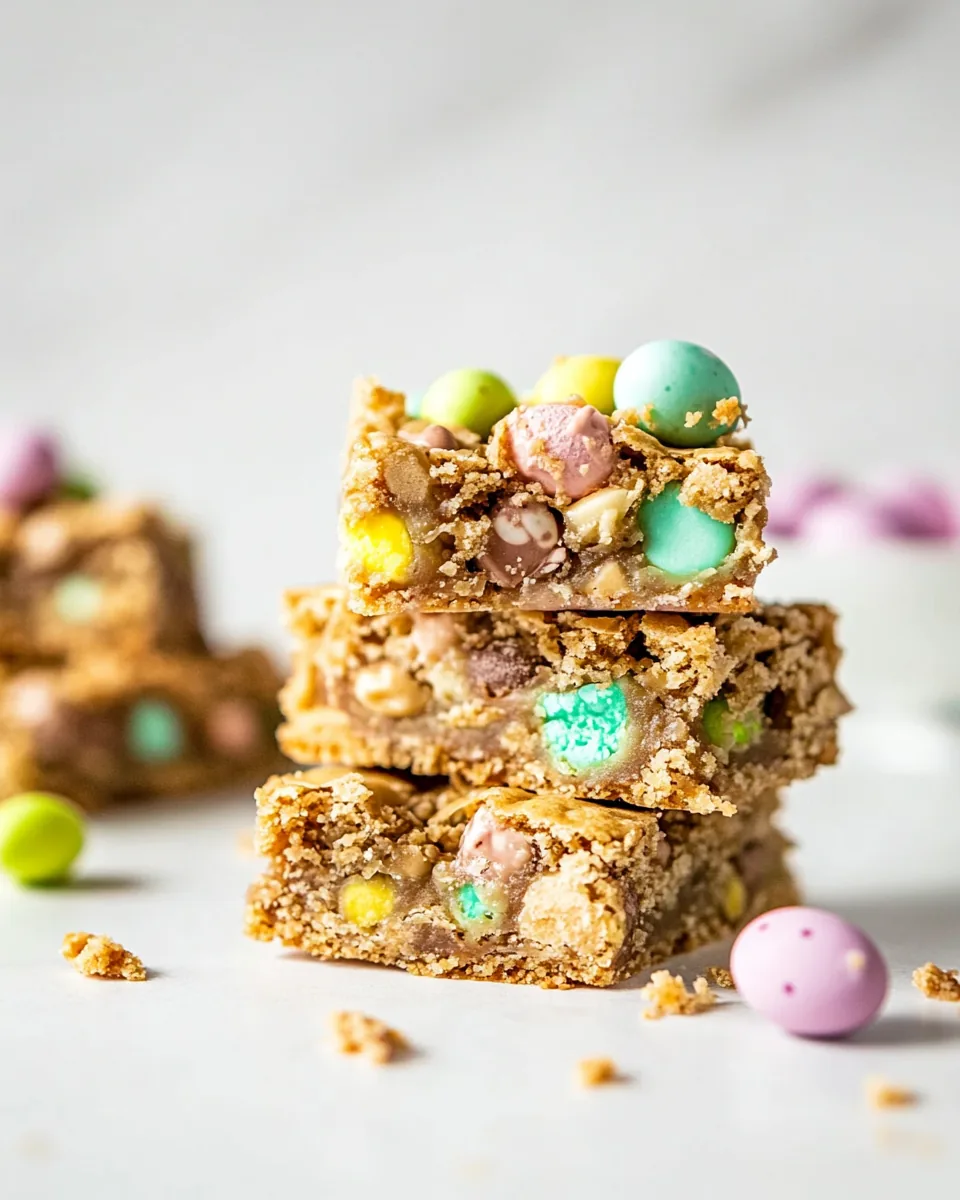
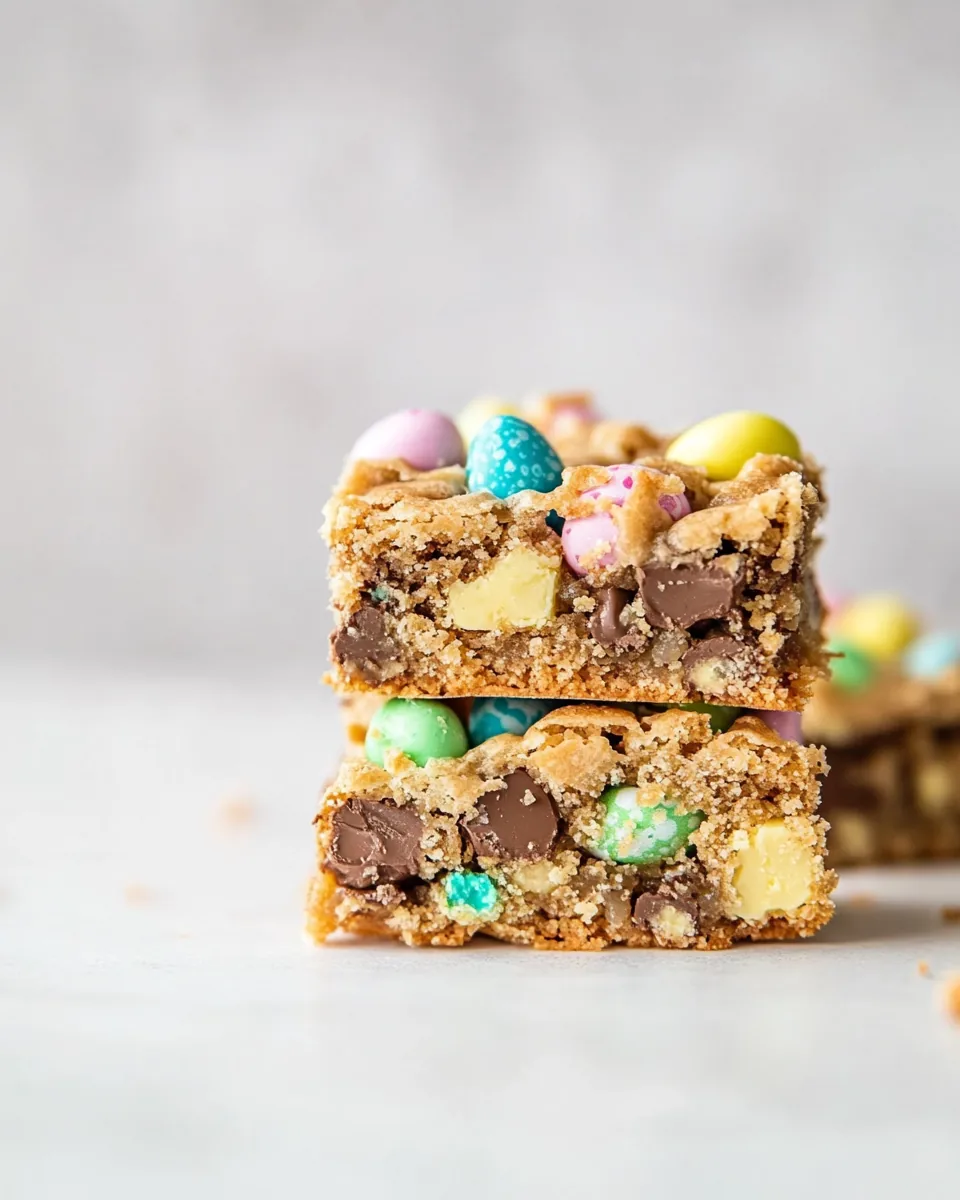
Easter Mini Egg Cookie Bars
There’s something special about the arrival of spring, and with it comes the joy of baking delicious treats like Easter Mini Egg Cookie Bars. I remember the first time I made these bars; the kitchen was filled with the warm scent of melting butter and sweet sugar, and I couldn’t help but smile at the thought of sharing them with family and friends. As Easter approached, I wanted to create something that would not only celebrate the holiday but also bring a sense of nostalgia and cheer. These cookie bars, adorned with vibrant mini eggs, became my go-to recipe for the season, perfect for gatherings and celebrations.
As I mixed the ingredients, the excitement built up, and I could already envision the delight on everyone’s faces as they bit into these soft, chewy bars. The combination of rich chocolate, sweet vanilla, and crunchy mini eggs creates a flavor explosion that’s irresistibly delicious. Whether you’re hosting an Easter brunch or simply looking to indulge, these bars are a perfect choice. I hope you’ll join me in making these treats that not only taste fantastic but also bring a touch of joy to your festivities!
Recipe Snapshot
40 mins
10 mins
30 mins
Medium
180 kcal
3 g
Paleo, Whole30, Vegan
8 g
Wooden Spoon, Oven, Baking Sheet
Why Try This Easter Mini Egg Cookie Bars
1. Irresistible Sweetness
The blend of brown sugar and white chocolate chips in Easter Mini Egg Cookie Bars creates a perfectly sweet flavor that will keep you coming back for seconds. There’s something simply magical about how these ingredients work together, producing a rich, satisfying dessert that complements the festive occasion.
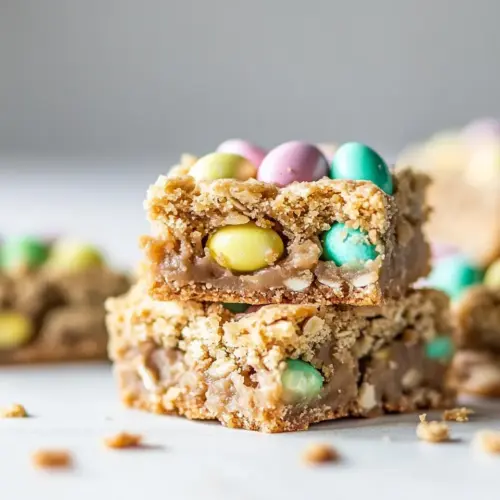
2. A Colorful Presentation
These cookie bars are not just delicious—they’re also visually stunning! The brightly colored Cadbury Mini Eggs scattered throughout the bars add a burst of color that instantly elevates your dessert table. It’s a treat that looks as good as it tastes, making it a fantastic centerpiece for any Easter celebration.
3. Easy to Make
I love that these bars come together quickly and easily. You don’t need any fancy techniques or equipment; just simple mixing and baking. This means you can whip them up even on a busy day, making them a reliable option for last-minute gatherings or spontaneous celebrations.
4. Perfect for Sharing
Whether you’re enjoying these bars with family or bringing them to a party, they’re the perfect treat to share. Each bar is easy to cut, slice, and serve, making them ideal for gatherings where everyone wants to enjoy a sweet bite. Plus, the joy of sharing homemade treats is always a heartwarming experience.
5. Versatile for Any Occasion
While Easter Mini Egg Cookie Bars are perfect for the spring holiday, they are also delightful year-round. Swap out the mini eggs for seasonal candies, and you have a treat for any celebration! Birthdays, barbecues, or even casual family dinners can be elevated by these scrumptious bars.
Key Ingredients for Easter Mini Egg Cookie Bars
Every great recipe starts with quality ingredients, and the ones used in Easter Mini Egg Cookie Bars are no exception. Each component plays a vital role in creating the perfect balance of flavor and texture. The combination of sweet, creamy, and crunchy elements results in a deliciously satisfying treat that will have everyone asking for the recipe.
- 1/2 cup butter – The foundation of any great cookie bar, melted butter adds richness and helps create a moist texture.
- 1 egg – Essential for binding the ingredients together and providing structure to the bars.
- 1 teaspoon pure vanilla extract – A splash of vanilla enhances the overall flavor, bringing warmth and depth.
- 1 cup brown sugar, packed – This adds sweetness and a lovely caramel flavor, which is key to achieving that chewy texture.
- 1 teaspoon baking powder – A leavening agent that gives the bars a light and fluffy quality.
- 1 cup all-purpose flour – The base of the bars, providing the necessary structure without being too dense.
- 1/4 cup white chocolate chips – These add a creamy sweetness that perfectly complements the bars.
- 1 cup Cadbury Mini Eggs – The star of the show! These sugary treats add color, crunch, and a delicious chocolate flavor.
Cooking Instructions for Easter Mini Egg Cookie Bars
Creating Easter Mini Egg Cookie Bars is a delightful process that fills your kitchen with wonderful aromas. Follow these steps to make your own batch of these tasty treats. Get ready to enjoy deliciousness!
- Preheat your oven to 350 degrees Fahrenheit and position the rack in the middle of the oven. This ensures even baking.
- Melt 1/2 cup of butter in a large microwave-safe bowl. Allow it to cool for a few minutes while you prepare the other ingredients. This prevents the egg from cooking when added.
- Line an 8×8 baking dish with tin foil or spray it with non-stick spray. This step will make removing the bars much easier once they are baked.
- Add 1 egg, 1 teaspoon of pure vanilla extract, and 1 cup of packed brown sugar to the melted butter. Stir until everything is well combined, creating a smooth mixture.
- Incorporate 1 teaspoon of baking powder and 1 cup of all-purpose flour into the mixture. Stir gently to combine, being careful not to overmix, as this can affect the texture.
- Fold in the 1/4 cup of white chocolate chips and 1 cup of Cadbury Mini Eggs, ensuring they are evenly distributed throughout the batter.
- Transfer the batter to your prepared baking dish. Use a spatula to smooth it out evenly across the pan.
- Bake in the preheated oven for about 30 minutes, or until a toothpick inserted into the center comes out mostly clean. You want to avoid any raw batter on the toothpick.
- Once baked, remove the dish from the oven and let it cool in the pan for at least 30 minutes. This allows the bars to set properly.
- After cooling, lift the bars out of the dish using the foil, cut into squares, and enjoy your delicious creation!
Things Worth Knowing
- Butter Temperature: Make sure the melted butter has cooled slightly before adding the egg. This prevents the egg from cooking and ensures a smooth batter.
- Don’t Overmix: When adding flour, mix just until incorporated. Overmixing can lead to tough cookie bars.
- Check for Doneness: The toothpick test is essential. A few crumbs are fine, but raw batter means they need more time.
- Cooling Time: Allow the bars to cool fully before cutting; this helps them hold together better and enhances the texture.
Customization Ideas
Feel free to get creative with Easter Mini Egg Cookie Bars! Here are some fun tips to make them truly your own:
- Mix Up the Chocolates: Instead of just using white chocolate chips, try adding dark chocolate or milk chocolate for a different flavor profile.
- Experiment with Nuts: Adding chopped nuts like walnuts or pecans can give the bars a nice crunch and added richness.
- Try Different Candies: Swap out the Cadbury Mini Eggs for seasonal candies like M&M’s or Reese’s Pieces for a different twist.
- Adjust the Sweetness: If you prefer a less sweet bar, reduce the amount of brown sugar slightly without compromising the texture.
- Make It Gluten-Free: Substitute the all-purpose flour with a gluten-free blend for a delightful option for those with dietary restrictions.
- Storage: Store any leftovers in an airtight container at room temperature for up to three days for the best freshness.
- Freezing: You can freeze these bars for up to a month. Just cut them into squares and wrap them tightly in plastic wrap before storing in a freezer-safe container.
Serve This Easter Mini Egg Cookie Bars With
- Fresh Fruit: Serve alongside a vibrant fruit salad for a refreshing contrast to the sweetness of the bars.
- Ice Cream: A scoop of vanilla or chocolate ice cream pairs perfectly for a delightful dessert experience.
- Coffee: Enjoy these bars with a cup of coffee or tea, making for a cozy afternoon treat.
- Brunch Spread: Incorporate them into your Easter brunch table alongside pastries and other sweet treats for a delightful variety.
- Picnic Treat: Pack them for a spring picnic, where they’ll bring joy to family and friends while enjoying the outdoors.
- Holiday Gatherings: These bars are an excellent addition to any holiday gathering, bringing a festive spirit to your dessert table.
FAQ
Conclusion
The Easter Mini Egg Cookie Bars bring a festive and sweet touch to any gathering. They are not only simple to make but also offer a delightful mix of flavors and textures that everyone will love. I encourage you to try making these bars for your next celebration. Your family and friends will be impressed and asking for more. It’s a charming way to celebrate the holiday and create lasting memories around the table.
Easter Mini Egg Cookie Bars
Equipment
- Wooden Spoon
- Oven
- Baking Sheet
Ingredients
- 1/2 cup Butter
- 1 Egg
- 1 teaspoon Pure Vanilla Extract
- 1 cup Brown Sugar
- 1 teaspoon Baking Powder
- 1 cup All Purpose Flour
- 1/4 cup White Chocolate Chips
- 1 cup Cadbury Mini Eggs
Instructions
- Preheat your oven to 350 degrees Fahrenheit and position the rack in the middle of the oven. This ensures even baking.
- Melt 1/2 cup of butter in a large microwave-safe bowl. Allow it to cool for a few minutes while you prepare the other ingredients. This prevents the egg from cooking when added.
- Line an 8x8 baking dish with tin foil or spray it with non-stick spray. This step will make removing the bars much easier once they are baked.
- Add 1 egg, 1 teaspoon of pure vanilla extract, and 1 cup of packed brown sugar to the melted butter. Stir until everything is well combined, creating a smooth mixture.
- Incorporate 1 teaspoon of baking powder and 1 cup of all-purpose flour into the mixture. Stir gently to combine, being careful not to overmix, as this can affect the texture.
- Fold in the 1/4 cup of white chocolate chips and 1 cup of Cadbury Mini Eggs, ensuring they are evenly distributed throughout the batter.
- Transfer the batter to your prepared baking dish. Use a spatula to smooth it out evenly across the pan.
- Bake in the preheated oven for about 30 minutes, or until a toothpick inserted into the center comes out mostly clean. You want to avoid any raw batter on the toothpick.
- Once baked, remove the dish from the oven and let it cool in the pan for at least 30 minutes. This allows the bars to set properly.
- After cooling, lift the bars out of the dish using the foil, cut into squares, and enjoy your delicious creation!
Notes
- Tip 1: Store any leftovers in an airtight container for up to three days for the best freshness.
- Tip 2: You can freeze these bars for up to a month. Just cut them into squares and wrap them tightly in plastic wrap before storing in a freezer-safe container.
- Tip 3: If you prefer a less sweet bar, reduce the amount of brown sugar slightly without compromising the texture.
- Tip 4: Swap out the Cadbury Mini Eggs for seasonal candies like M&M's or Reese's Pieces for a different twist.
- Tip 5: Substitute the all-purpose flour with a gluten-free blend for a delightful option for those with dietary restrictions.