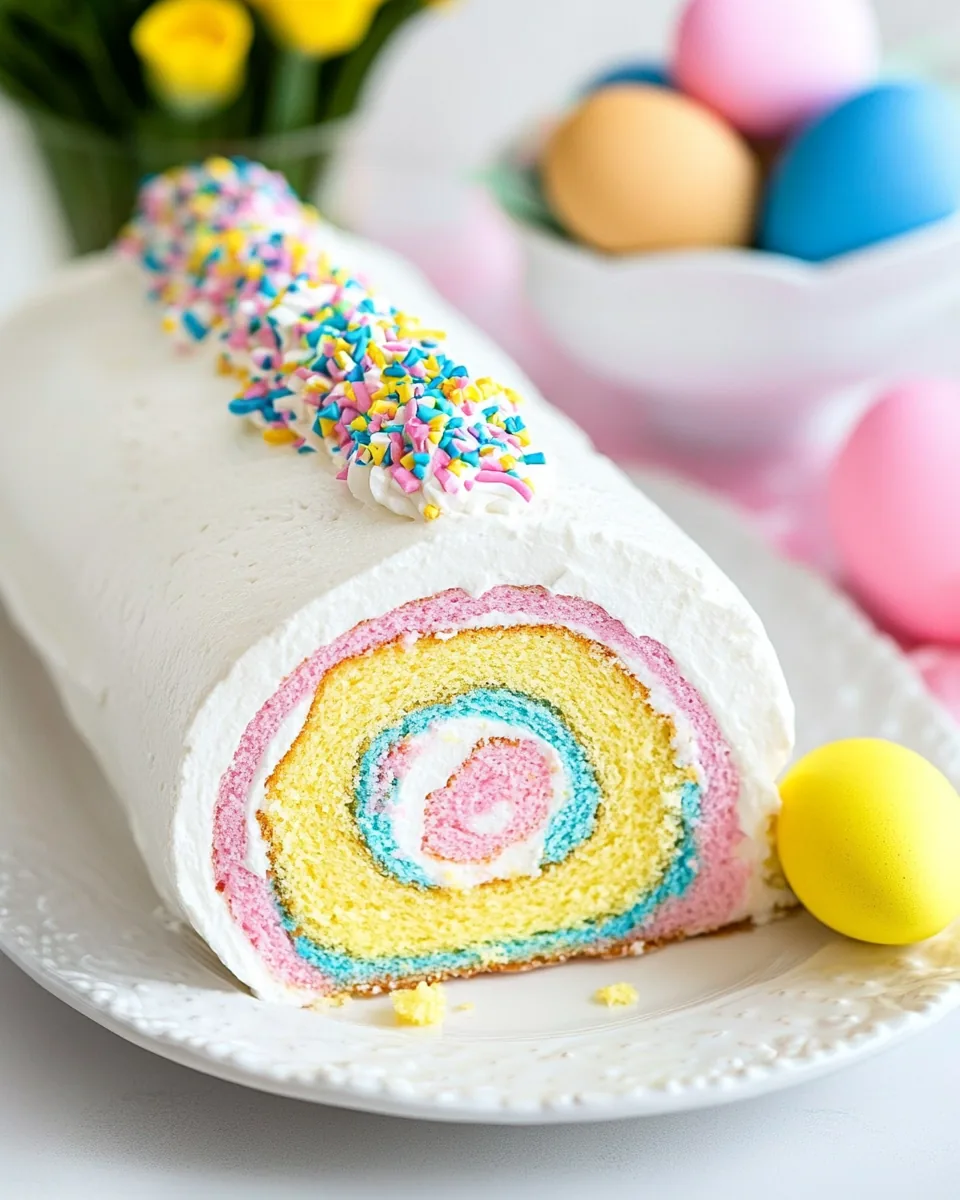
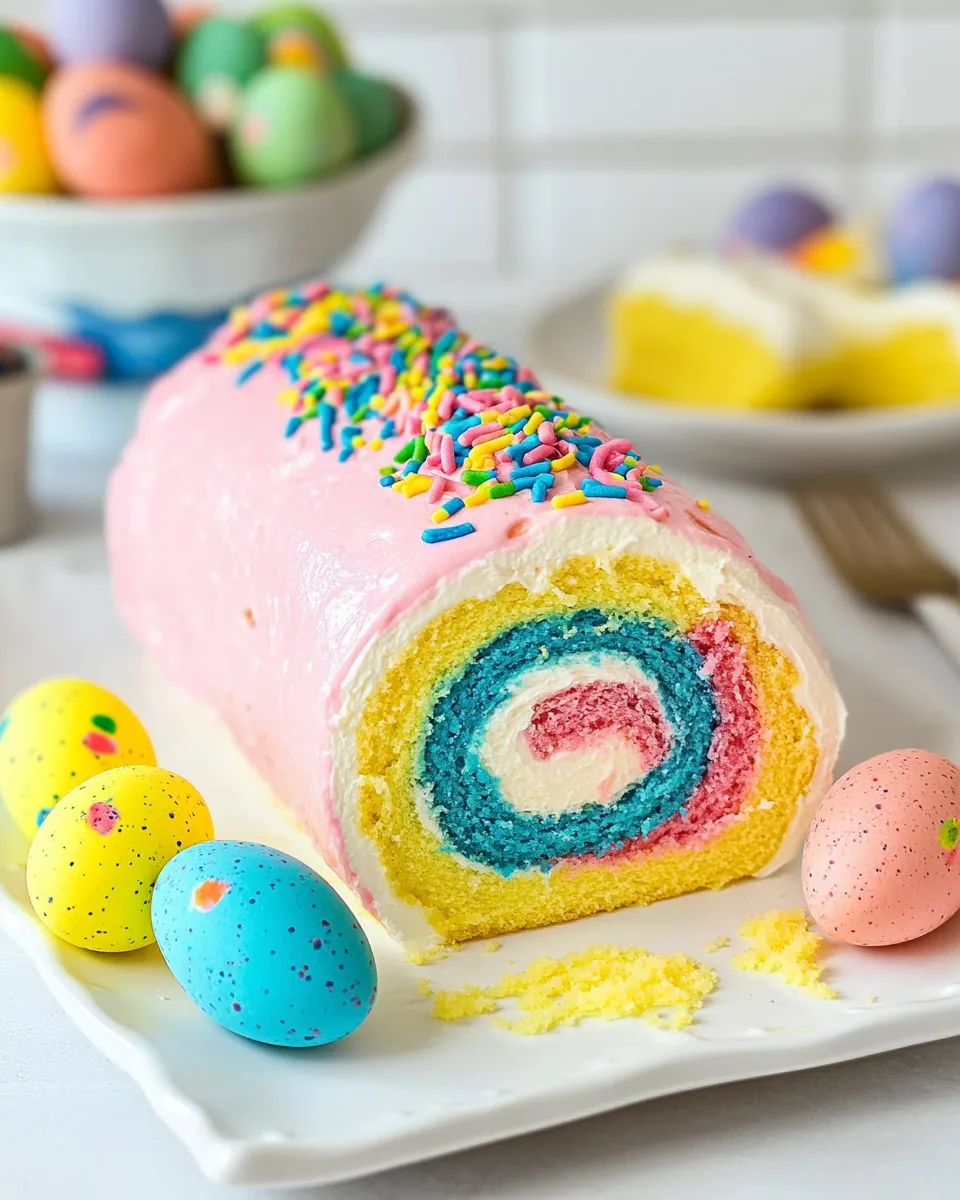
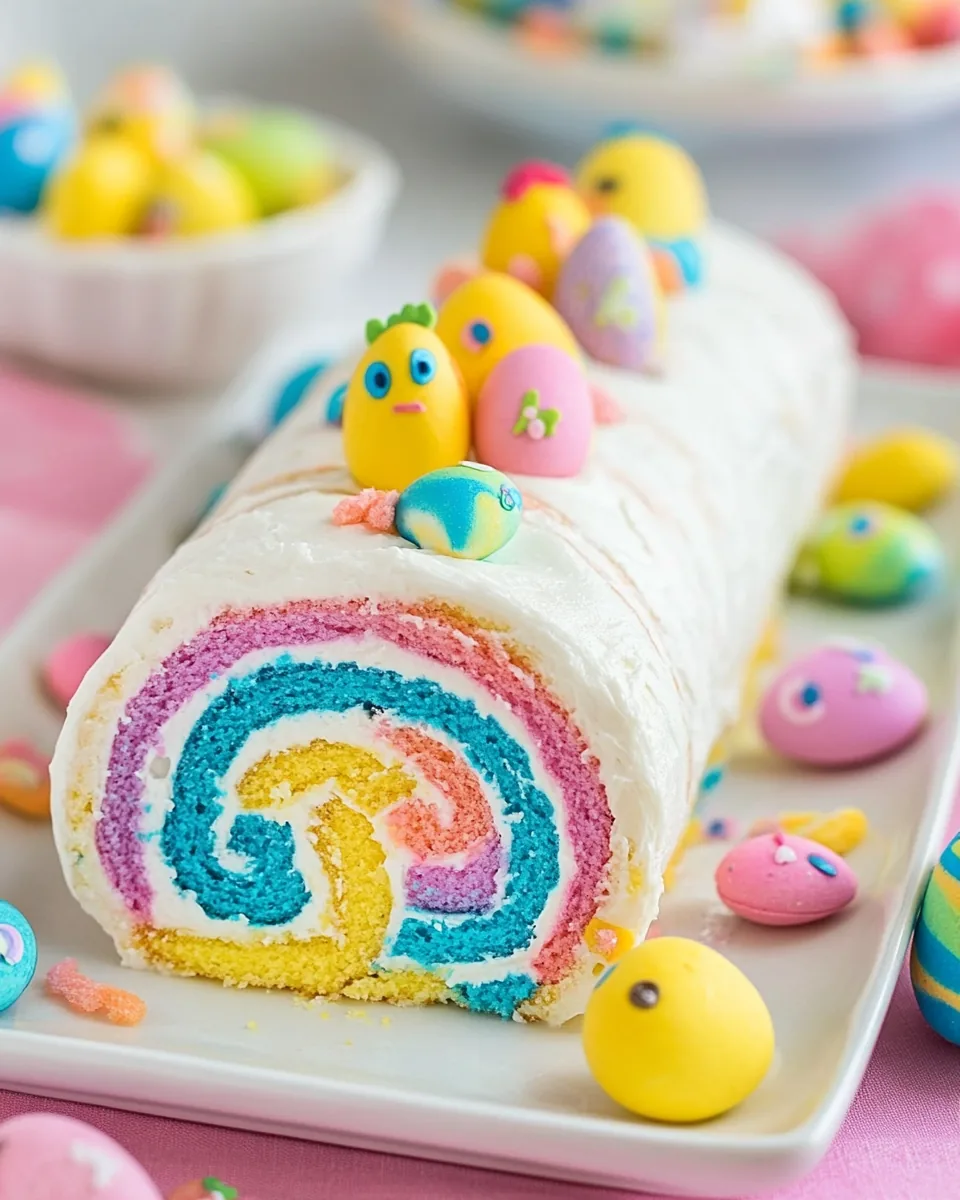
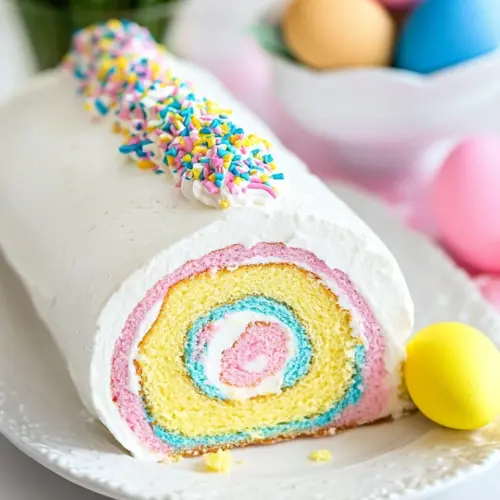
Easter Cake Roll
Every time spring rolls around, I can’t help but get a bit of nostalgia about my childhood. The vibrant colors, the sweet scents wafting from the kitchen, and, of course, the family gatherings centered around delicious desserts like this Easter Cake Roll. There’s something truly magical about a cake that looks like it’s been crafted by a fairy’s touch, with its soft sponge, whipped buttercream, and cheerful, sugary decorations like Peeps. This cake has always been a staple during our Easter celebrations, bringing laughter and joy to the table.
As the days grow longer and the air warms, I remember the excitement of gathering the ingredients to make this delightful dessert. The best part? Watching everyone’s eyes light up as I unveil the cake, adorned with pastel colors and the unmistakable charm of those adorable little marshmallow chicks. It’s not just a treat; it’s a centerpiece that sparks conversations and creates lasting memories. You just can’t help but smile when you’re indulging in a slice of this delightful Easter Cake Roll!
Recipe Snapshot
50 mins
35 mins
15 mins
Hard
300 kcal
4g g
Gluten-Free, Low FODMAP
14g g
Cookie Sheet, Stand mixer, Mixing Bowl
What’s Great About This Easter Cake Roll
It’s a Spring Delight
The Easter Cake Roll perfectly captures the essence of spring. Its bright colors and fluffy texture mirror the blooming flowers and sunny skies, making it a celebration of the season. Each slice reveals a marbled array of pastel shades, bringing joy to both kids and adults alike!
Memories in Every Bite
This cake isn’t just about taste; it’s about the memories attached to it. The laughter of family, the joy of decorating together, and the anticipation of the first bite make this recipe so special. It’s a tradition that I cherish, and I hope to pass it on to future generations.
Versatile and Fun
While the classic recipe is a hit, the Easter Cake Roll can be adapted in so many ways! Whether you want to swap out the colors of the buttercream or add different decorations, this cake allows for creativity. It’s a canvas for your imagination!
A Showstopper
There’s no denying that this cake is a showstopper. When it’s revealed at gatherings, it often steals the spotlight from other desserts. Its unique presentation and delightful flavors make it memorable, ensuring that everyone is left talking about it long after the celebration ends.
Easy to Make
Despite its impressive appearance, making an Easter Cake Roll is surprisingly easy! Even novice bakers can whip up this delight with a bit of patience and enthusiasm. It’s a great way to get comfortable in the kitchen and impress your loved ones.
Perfect for All Occasions
This cake isn’t limited to Easter celebrations. Its cheerful look and delicious taste make it suitable for any spring gathering, birthday party, or just a delightful treat on a sunny day. You’ll find yourself wanting to make it all year round!
Everything You Need for Easter Cake Roll

Gathering the right ingredients is key to making a successful Easter Cake Roll. These components not only contribute to the flavor but also to the overall texture and appearance of the cake. The combination of fluffy egg whites and rich buttercream creates a delightful contrast that will leave everyone craving more!
- 6 large eggs (separated) – Eggs are the foundation of this cake, providing structure and fluffiness to the sponge.
- ½ teaspoon cream of tartar – This helps stabilize the egg whites, ensuring they whip up to stiff peaks.
- 1 cup (200 grams) granulated sugar – Sweetens the cake and helps create a delightful crust.
- ¼ cup (60 ml) canola oil – Adds moisture and richness to the cake.
- ⅓ cup (80 ml) whole milk – Contributes to the cake’s tender texture.
- 1 tablespoon (15 ml) vanilla extract – Enhances the overall flavor profile.
- ¾ cup (90 grams) all-purpose flour – The main dry ingredient that gives structure to the cake.
- 1 tablespoon cornstarch – Helps create a lighter, more tender cake.
- 3 yellow Peeps – These cute marshmallow chicks add a festive touch.
- 2 blue Peeps – Perfect for adding color and sweetness.
- 2 pink Peeps – For an adorable and colorful decoration.
- Powdered sugar for dusting – Adds a sweet finishing touch.
- 1 ½ cups (340 grams) salted butter – The key component of the buttercream, providing richness.
- 1 ½ cups (170 grams) powdered sugar – Sweetens the buttercream and helps achieve a smooth texture.
- 14 oz (392 grams) marshmallow cream – Adds a delightful flavor and creaminess to the frosting.
- Gel Food Coloring in yellow, pink, and blue – For achieving those vibrant colors in the buttercream.
Putting Together Easter Cake Roll
Making an Easter Cake Roll is a delightful process. You’ll experience the wonderful transformation of simple ingredients into a beautiful dessert that’s sure to impress. Follow these steps closely to ensure your cake rolls perfectly!
- Preheat your oven to 350°F/180°C and prep your cookie sheet. Line the bottom of an 11-inch by 17-inch cookie sheet with parchment paper. This ensures your cake won’t stick.
- In a stand mixer, combine the egg whites and cream of tartar. Start on medium speed, then gradually increase to high. Once frothy, slowly add in the granulated sugar while whisking, ensuring a steady stream. Beat until firm peaks form, and the mixture is glossy.
- In another bowl, whisk together the egg yolks, milk, canola oil, and vanilla extract until well blended. This mixture adds richness and flavor to your cake.
- Next, sift the all-purpose flour and cornstarch into the yolk mixture. Gently mix until just combined—be careful not to overmix!
- Take about one cup of the whipped egg whites and fold it into the yolk mixture to lighten it. Then, gently fold in the remaining egg whites until fully combined. This step is crucial for a light and airy cake.
- Pour the batter onto the prepared cookie sheet. Use a spatula to spread it evenly, ensuring it fills the corners.
- Gently tap the cookie sheet on the counter to release any air bubbles. This helps the cake bake evenly.
- Bake in the oven for about 15 minutes. You’ll know it’s done when the surface springs back when lightly pressed.
- Once baked, remove the cake from the oven and let it cool for a couple of minutes. Place a second sheet of parchment on top and carefully invert the cake onto a clean tea towel.
- As it cools, carefully peel off the top layer of parchment. Roll the cake up with the towel, starting from a short end. This helps shape it while it’s warm, preventing cracks.
- Let the rolled cake cool completely while you prepare the buttercream. In a bowl, cream the butter and powdered sugar until fluffy. Gradually mix in half of the marshmallow cream, then the rest, beating until light and fluffy.
- Divide the buttercream into three bowls and add gel food coloring to achieve your desired shades of yellow, pink, and blue.
- Unroll the cooled cake carefully and trim the edges if needed. Spread the buttercream in stripes across the cake, making sure to leave some unfrosted edges.
- Roll the cake back up tightly, removing the parchment as you go. Wrap it again in parchment or plastic wrap and refrigerate for at least 30 minutes to set.
- When ready to serve, slice off the ends for a neat finish, dust with powdered sugar, and decorate with the Peeps.
- Serve and enjoy! Store leftovers in an airtight container in the refrigerator for up to three days.
Things Worth Knowing
- Egg Whites Matter: Ensure your egg whites are free from any yolk to achieve the perfect meringue.
- Roll While Warm: The cake should be rolled while still warm to prevent cracking.
- Color with Care: Use gel food coloring for bright, vibrant colors without altering the cake’s texture.
- Chill Before Serving: Allow the cake roll to chill before slicing to keep the filling intact.
How to Switch It Up
If you’re looking to add your personal touch to the Easter Cake Roll, here are some ideas to consider:
- Change the Filling: Experiment with different fillings like whipped cream or fruit preserves.
- Decorations: Use various candies for decoration, or drizzle chocolate on top for added flair.
- Flavor Variations: Infuse the batter with different extracts such as almond or orange for a unique twist.
- Cake Size: Make mini cake rolls for individual servings, perfect for parties.
- Change Colors: Use different colors of food coloring or create patterns for a fun presentation.
- Frosting Techniques: Try different frosting techniques like a smooth finish or a textured look with a spatula.
Great Combinations for Easter Cake Roll
When it comes to serving your Easter Cake Roll, there are numerous delightful combinations and occasions to consider:
- Side Dishes: Pair this cake with a fresh fruit salad or a light sorbet to balance the sweetness.
- Brunch Delight: Serve it at a spring brunch alongside mimosas or herbal tea for a refreshing touch.
- Picnic Treat: Slice it and take it to a picnic—it holds up well and is a crowd-pleaser.
- Seasonal Celebrations: Perfect for Easter gatherings, but also delightful for birthdays or springtime parties.
- Storing: Keep any leftovers in an airtight container in the fridge to maintain freshness for up to three days.
- Presentation: Dust with powdered sugar and serve on a colorful platter to brighten up your table.
FAQ
Conclusion
The Easter Cake Roll is truly a showstopper that combines vibrant colors, delightful flavors, and heartwarming memories. It’s not just about celebrating a holiday; it’s about creating joyful moments with loved ones around a delicious dessert. I encourage you to try making this cake, whether for Easter or anytime you crave a bit of spring magic in your kitchen. You’ll be thrilled to see the smiles it brings!
Easter Cake Roll
Equipment
- Cookie Sheet
- Stand Mixer
- Mixing Bowl
Ingredients
- 6 large Eggs separated
- ½ teaspoon Cream of tartar
- 1 cup Granulated sugar (200 grams)
- ¼ cup Canola oil (60 ml)
- ⅓ cup Whole milk (80 ml)
- 1 tablespoon Vanilla extract (15 ml)
- ¾ cup All-purpose flour (90 grams)
- 1 tablespoon Cornstarch
- 3 Yellow Peeps
- 2 Blue Peeps
- 2 Pink Peeps
- Powdered sugar for dusting
- 1 ½ cups Salted butter (340 grams)
- 1 ½ cups Powdered sugar (170 grams)
- 14 oz Marshmallow cream (392 grams)
- Gel Food Coloring in yellow, pink, and blue
Instructions
- Preheat your oven to 350°F/180°C and prep your cookie sheet. Line the bottom of an 11-inch by 17-inch cookie sheet with parchment paper. This ensures your cake won’t stick.
- In a stand mixer, combine the egg whites and cream of tartar. Start on medium speed, then gradually increase to high. Once frothy, slowly add in the granulated sugar while whisking, ensuring a steady stream. Beat until firm peaks form, and the mixture is glossy.
- In another bowl, whisk together the egg yolks, milk, canola oil, and vanilla extract until well blended. This mixture adds richness and flavor to your cake.
- Next, sift the all-purpose flour and cornstarch into the yolk mixture. Gently mix until just combined—be careful not to overmix!
- Take about one cup of the whipped egg whites and fold it into the yolk mixture to lighten it. Then, gently fold in the remaining egg whites until fully combined. This step is crucial for a light and airy cake.
- Pour the batter onto the prepared cookie sheet. Use a spatula to spread it evenly, ensuring it fills the corners.
- Gently tap the cookie sheet on the counter to release any air bubbles. This helps the cake bake evenly.
- Bake in the oven for about 15 minutes. You’ll know it’s done when the surface springs back when lightly pressed.
- Once baked, remove the cake from the oven and let it cool for a couple of minutes. Place a second sheet of parchment on top and carefully invert the cake onto a clean tea towel.
- As it cools, carefully peel off the top layer of parchment. Roll the cake up with the towel, starting from a short end. This helps shape it while it’s warm, preventing cracks.
- Let the rolled cake cool completely while you prepare the buttercream. In a bowl, cream the butter and powdered sugar until fluffy. Gradually mix in half of the marshmallow cream, then the rest, beating until light and fluffy.
- Divide the buttercream into three bowls and add gel food coloring to achieve your desired shades of yellow, pink, and blue.
- Unroll the cooled cake carefully and trim the edges if needed. Spread the buttercream in stripes across the cake, making sure to leave some unfrosted edges.
- Roll the cake back up tightly, removing the parchment as you go. Wrap it again in parchment or plastic wrap and refrigerate for at least 30 minutes to set.
- When ready to serve, slice off the ends for a neat finish, dust with powdered sugar, and decorate with the Peeps.
- Serve and enjoy! Store leftovers in an airtight container in the refrigerator for up to three days.
Notes
- Egg Whites Matter: Ensure your egg whites are free from any yolk to achieve the perfect meringue.
- Roll While Warm: The cake should be rolled while still warm to prevent cracking.
- Color with Care: Use gel food coloring for bright, vibrant colors without altering the cake's texture.
- Chill Before Serving: Allow the cake roll to chill before slicing to keep the filling intact.