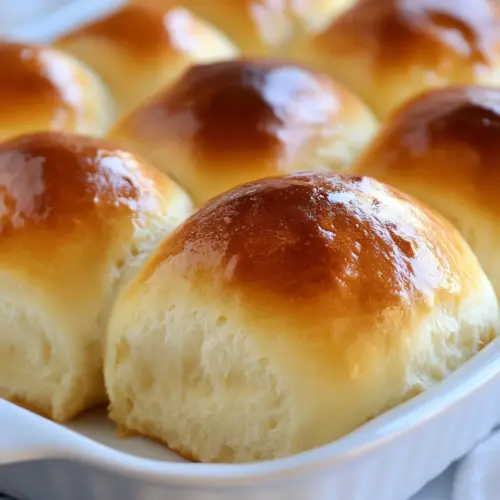
Dinner Rolls
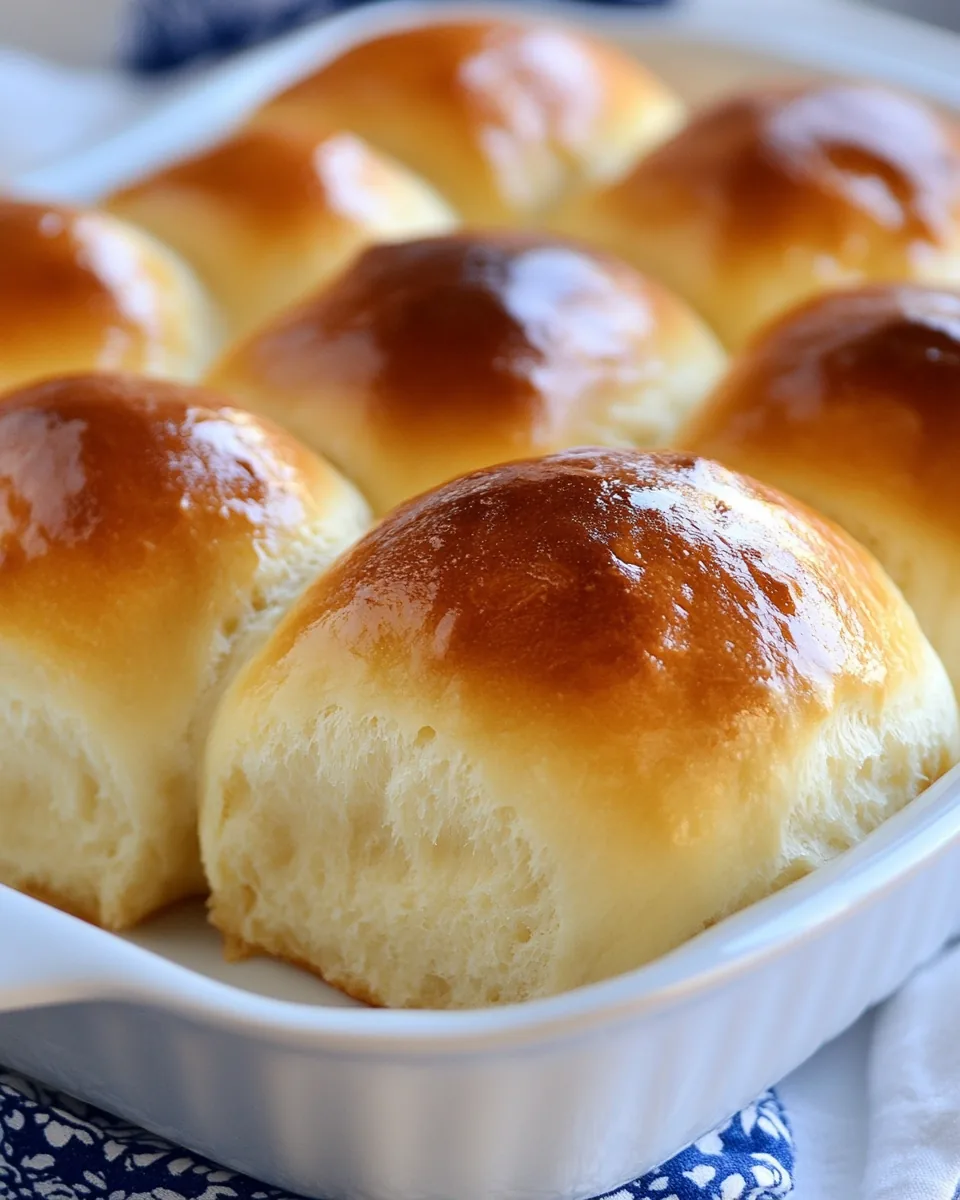
There’s nothing quite like the aroma of freshly baked Dinner Rolls wafting through the house, is there? I remember the first time I made these rolls; it was a chilly evening, and I wanted to create something warm and comforting for my family. As the dough rose and the kitchen filled with that sweet, yeasty smell, I felt excitement bubbling inside me. The moment we pulled them from the oven, golden brown and soft, it was pure joy as we gathered around the table to enjoy them fresh out of the oven. The best part? They’re not only delicious but also incredibly easy to make. These Dinner Rolls have become a staple in our home for holiday dinners, casual weeknights, and everything in between. Whether you’re slathering them with butter, using them to soak up gravy, or just enjoying them plain, they’re bound to become a family favorite.
Recipe Snapshot
22 mins
10 mins
12 mins
Medium
130 kcal
3 g
Gluten-Free, Low FODMAP
3 g
Mixing Bowl, Oven, Blender, Baking Sheet
What You’ll Enjoy About This Dinner Rolls
Comfort Food at Its Best
One of the things I love about these Dinner Rolls is how they bring everyone together. There’s something magical about breaking bread, and these rolls are perfect for sharing. They create a sense of warmth and community, making any meal feel special.
Versatile and Adaptable
These rolls are incredibly versatile. You can serve them with soups, salads, or even as a side to your favorite main dish. They’re also perfect for making sliders or mini sandwiches, making them a fantastic addition to any gathering.
Perfect for Any Occasion
Whether it’s a holiday feast or a simple family dinner, these Dinner Rolls fit perfectly into any occasion. They’re great for Thanksgiving, Christmas, or even casual gatherings with friends, ensuring your table always has that homey touch.
Kid-Friendly Fun
Making these rolls can be a fun activity with the kids. I love involving them in the process; they enjoy kneading the dough and shaping the rolls. It’s a great way to teach them about cooking and create lasting memories in the kitchen.
Freshness Like No Other
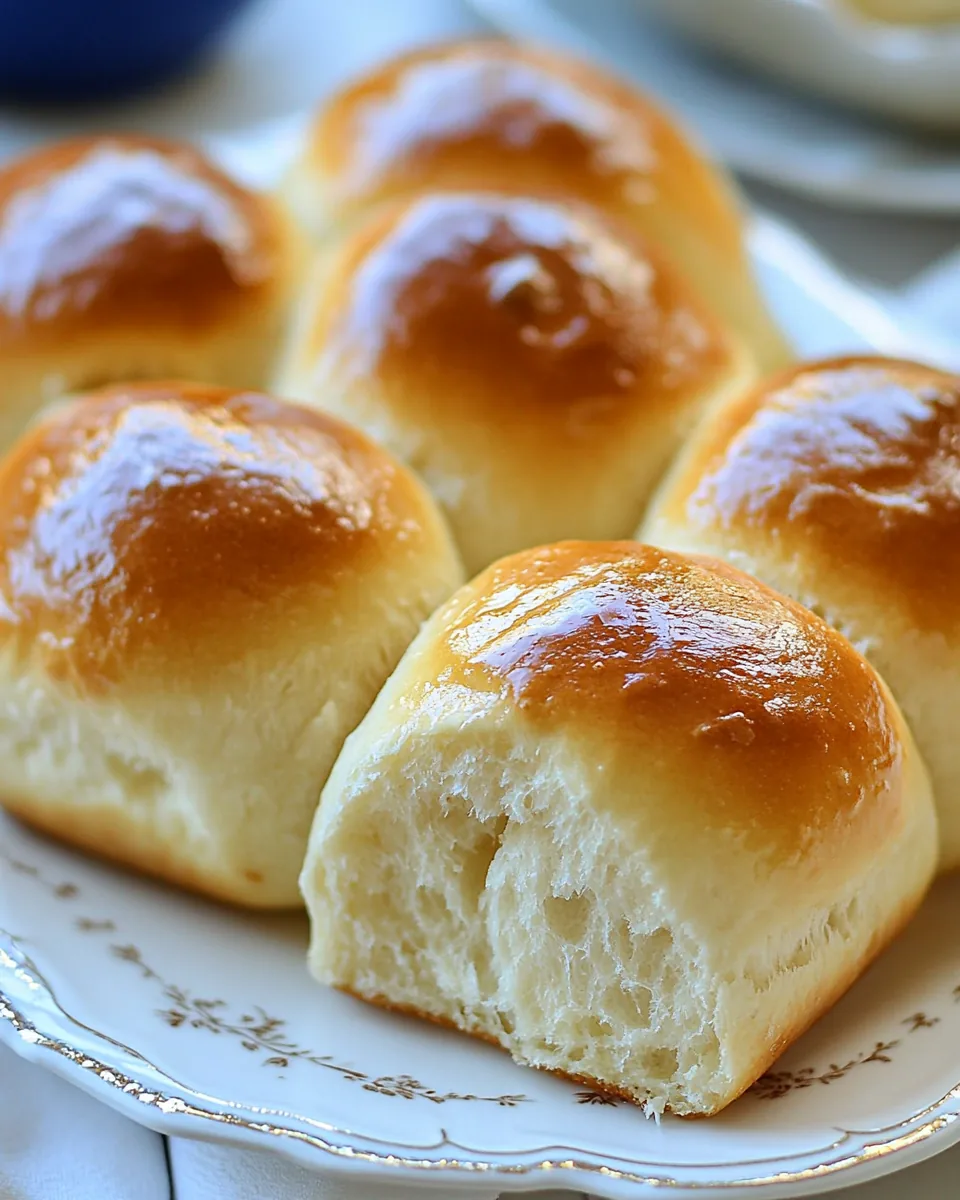
There’s no comparison to homemade rolls. The taste and texture of freshly baked Dinner Rolls are simply unbeatable. They’re soft, fluffy, and have a slight sweetness that store-bought versions just can’t replicate. Plus, making them from scratch means you know exactly what goes into them, making them a healthier choice.
Shopping List for Dinner Rolls
Gathering the right ingredients is key to making delicious Dinner Rolls. Each component plays a crucial role in creating that fluffy texture and sweet flavor we love. Let’s take a look at the essential ingredients that make these rolls irresistible.
- All-Purpose Flour: The backbone of our rolls; it provides structure and texture. We want a blend that’s strong enough to rise but still soft and fluffy.
- Instant Yeast: This is what helps the dough rise quickly, giving our rolls that nice, airy structure.
- Sugar: Just a touch of sweetness balances the flavors and helps with browning during baking.
- Salt: Essential for flavor and it helps strengthen the dough.
- Warm Milk: This adds richness to the rolls and gives them that tender texture we all love.
- Butter: Adds flavor and a lovely soft texture. We use it both in the dough and for brushing on top.
- Egg: Acts as a binder and enriches the dough, giving it a beautiful golden color.
Instructions for Dinner Rolls
Making Dinner Rolls is a delightful experience that fills your kitchen with warmth and love. Follow these steps to ensure that your rolls turn out perfectly every time.
- In a large mixing bowl, combine 3 cups of all-purpose flour, 2 tablespoons of instant yeast, ⅓ cup of sugar, and 1 teaspoon of salt. Whisk them together until they are well mixed. This will be the dry mixture that will help our rolls rise and develop flavor.
- In a separate bowl, gently warm 1½ cups of milk until it reaches around 110 degrees Fahrenheit. It shouldn’t be too hot; just warm to the touch. Add 5 tablespoons of softened butter to the warm milk and stir until it’s melted.
- Beat in 1 egg into the milk mixture until well combined. This will enrich the dough and help bind everything together.
- Pour the wet ingredients into the dry ingredients. Using a stand mixer fitted with a dough hook, mix on low speed until the dough starts to come together. Scrape down the sides of the bowl as necessary to incorporate all the flour.
- Once the dough starts pulling away from the sides, increase the speed to medium and mix for about 2 minutes. The dough should be slightly sticky but not overly wet. You can add more flour a little at a time if necessary.
- Once mixed, transfer the dough to a lightly greased bowl and cover it with a clean kitchen towel or plastic wrap. Allow it to rise in a warm place for about 30 minutes, or until it doubles in size.
- After the dough has risen, gently punch it down to release the air. Pinch off pieces of the dough and shape them into rolls. You can weigh them if you want uniform sizes, aiming for about 2 ounces each.
- Place the shaped rolls on a lightly greased baking sheet or in a 9 x 13 inch baking dish. Cover them again and let them rise for another 30 minutes, until they are puffy.
- Preheat your oven to 375 degrees Fahrenheit. Bake the rolls for 12 to 15 minutes or until they are golden brown on top. Keep an eye on them; if they start browning too quickly, tent them with foil.
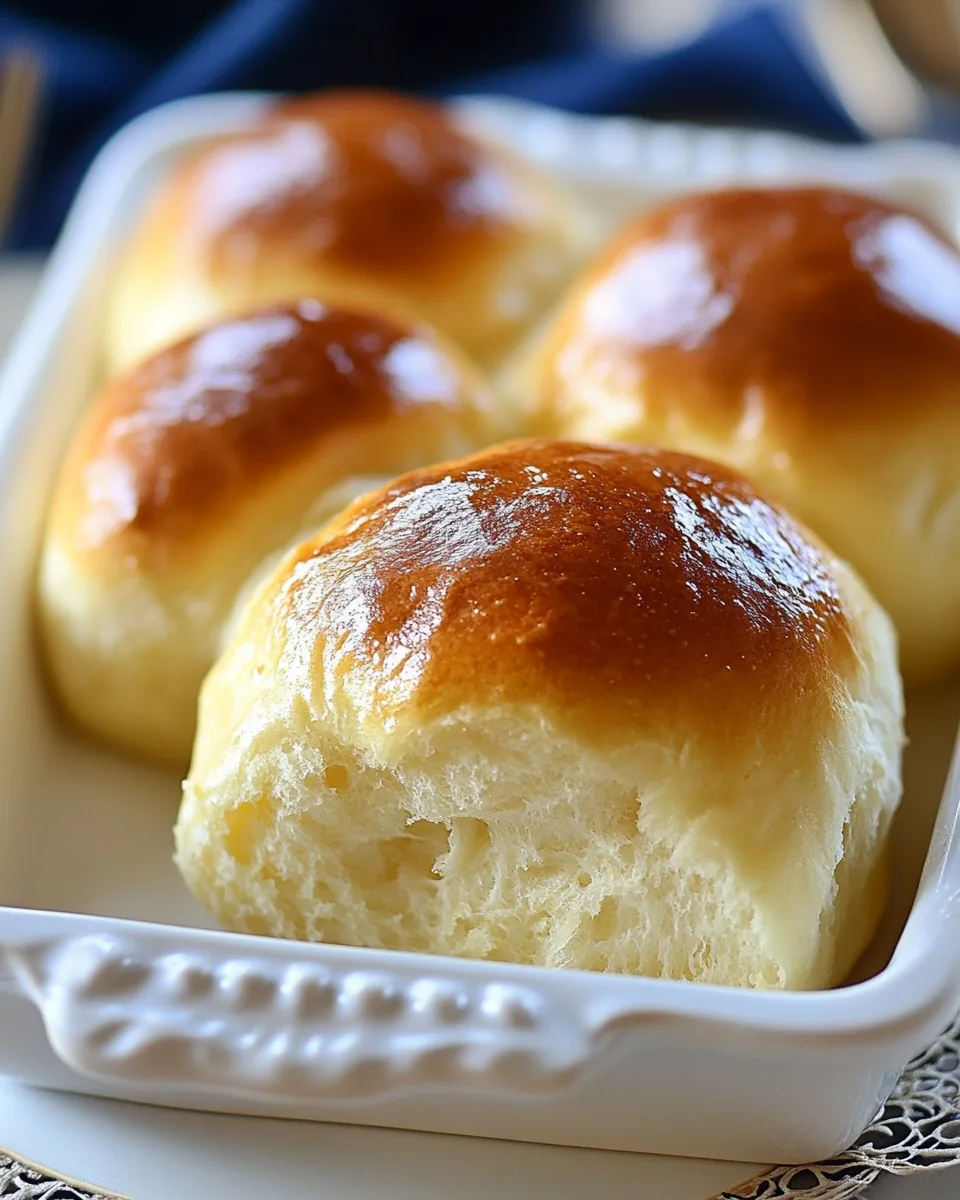
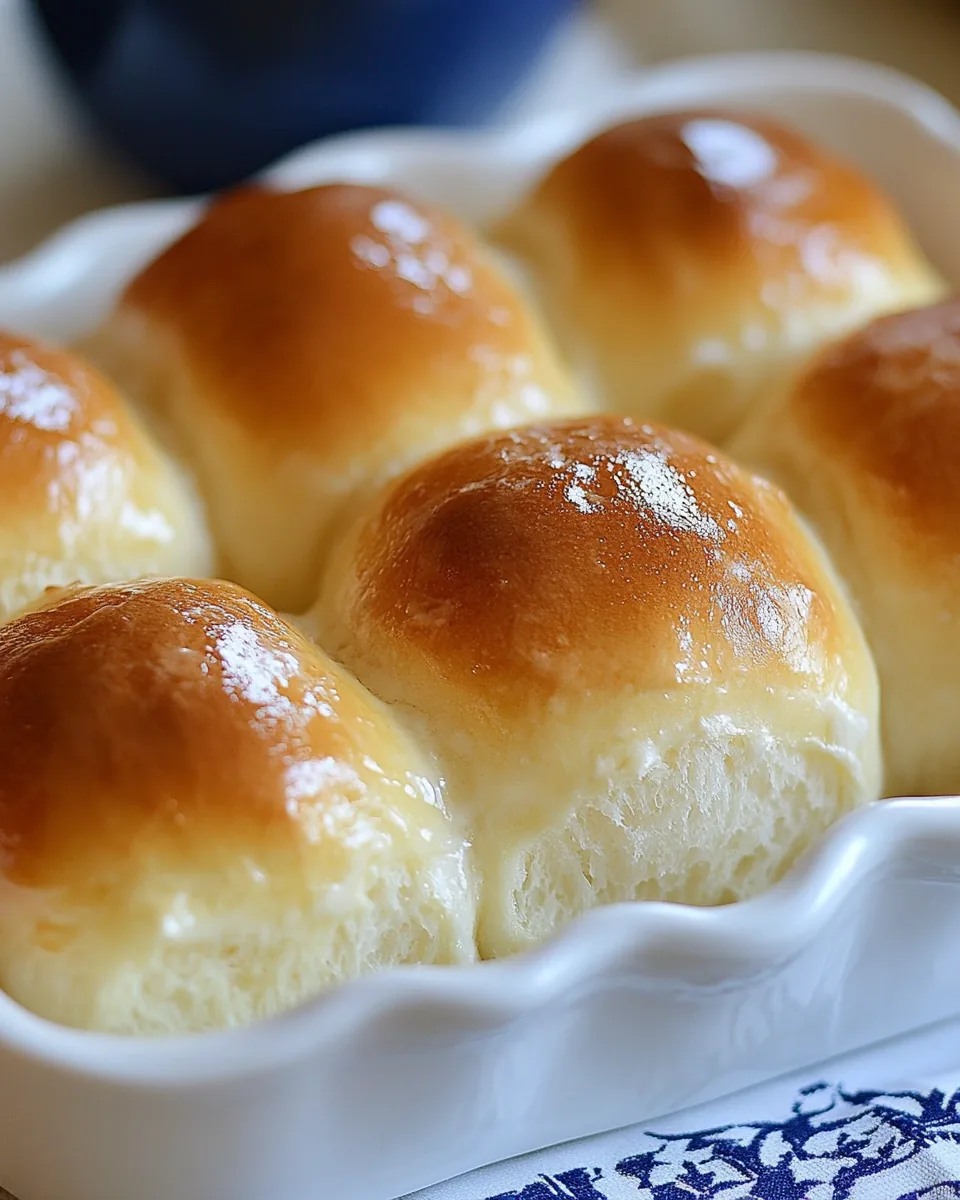
- Once baked, remove the rolls from the oven and brush the tops with 2 tablespoons of melted butter for that extra shine and flavor. Serve them warm!
Things Worth Knowing
- Yeast Activation: Always ensure your yeast is fresh. If it doesn’t foam when mixed with warm water, it’s inactive and won’t help your dough rise.
- Flour Measurement: Measuring flour accurately is crucial. Too much flour can lead to dense rolls. Use a scale for precision!
- Rising Conditions: For the best rise, keep your dough in a warm, draft-free area. An oven with the light on can create a perfect environment.
- Kneading Technique: Know when to stop kneading! The dough should be smooth and elastic, not sticky, but still soft.
Recipe Variations about Dinner Rolls
These Dinner Rolls are incredibly versatile! Here are some fun variations and tips to try!
- Herb-Infused: Add dried herbs like rosemary or thyme to the dough for a fragrant twist.
- Cheesy Delight: Incorporate shredded cheese into the dough for a savory treat that pairs perfectly with soups.
- Honey Butter: Brush the rolls with a mixture of melted butter and honey for a sweet finish after baking.
- Garlic Rolls: Mix minced garlic into the butter before brushing it on the rolls for a delicious garlic flavor.
- Sweet Rolls: Add cinnamon and sugar to the dough for a sweet version that’s perfect for breakfast.
- Storage: Leftover rolls should be stored in an airtight container at room temperature for up to 4 days.
- Freezing: You can freeze these rolls for up to 3 months. Wrap them tightly in plastic wrap and then foil.
How to Enjoy Dinner Rolls
Serving your freshly baked Dinner Rolls is where the fun really begins! Here are some wonderful ideas:
- As a Side: Serve these rolls alongside hearty soups or stews. They’re perfect for sopping up those delicious broths.
- Main Dish Pairing: Try them with roasted chicken or grilled vegetables for a well-rounded meal.
- Breakfast Treat: Use them as a base for breakfast sandwiches filled with eggs and cheese.
- Special Occasions: These rolls are a must for holiday dinners, elevating your spread and impressing your guests.
- Snack Time: Enjoy them on their own as a light snack. They’re delightful with a smear of butter or jam.
- Make Them Ahead: Prepare the dough the night before and refrigerate it for fresh rolls in the morning!
FAQ
Conclusion
These Dinner Rolls are simply a must-try. Their soft, fluffy texture and warm flavors make them the perfect addition to any meal. I encourage you to gather your ingredients and bake a batch tonight. You and your loved ones will enjoy the heartwarming experience of homemade rolls, and they’ll surely become a cherished family recipe. Happy baking!
Dinner Rolls
Equipment
- Mixing Bowl
- Oven
- Blender
- Baking Sheet
Ingredients
- 4-5 cups All-Purpose Flour For structure and texture.
- 2 tablespoons Instant Yeast Helps the dough rise quickly.
- ⅓ cup Granulated Sugar Adds sweetness and helps with browning.
- 1 teaspoon Salt Essential for flavor.
- 1½ cups Warm Milk Adds richness and tenderness.
- 5 tablespoons Butter For flavor and texture.
- 1 large Egg Acts as a binder and enriches the dough.
- 2 tablespoons Melted Butter For brushing on top.
Instructions
- In a large mixing bowl, combine 3 cups of all-purpose flour, 2 tablespoons of instant yeast, ⅓ cup of sugar, and 1 teaspoon of salt. Whisk them together until they are well mixed.
- In a separate bowl, gently warm 1½ cups of milk until it reaches around 110 degrees Fahrenheit. Add 5 tablespoons of softened butter to the warm milk and stir until it’s melted.
- Beat in 1 egg into the milk mixture until well combined.
- Pour the wet ingredients into the dry ingredients. Using a stand mixer fitted with a dough hook, mix on low speed until the dough starts to come together.
- Once the dough starts pulling away from the sides, increase the speed to medium and mix for about 2 minutes.
- Once mixed, transfer the dough to a lightly greased bowl and cover it with a clean kitchen towel. Allow it to rise in a warm place for about 30 minutes.
- After the dough has risen, gently punch it down. Pinch off pieces of the dough and shape them into rolls.
- Place the shaped rolls on a lightly greased baking sheet. Cover them again and let them rise for another 30 minutes.
- Preheat your oven to 375 degrees Fahrenheit. Bake the rolls for 12 to 15 minutes until they are golden brown on top.
- Once baked, remove the rolls from the oven and brush the tops with 2 tablespoons of melted butter.
Notes
- Storage: Leftover rolls should be stored in an airtight container at room temperature for up to 4 days.
- Freezing: Rolls can be frozen for up to 3 months. Wrap tightly in plastic wrap and then foil.
- Make Ahead: Rolls can be prepared up to the second rise, covered and refrigerated overnight. Remove from fridge an hour before you plan to bake.
- Tips: If rolls start to get too brown before they are finished baking, tent with foil to prevent additional browning.