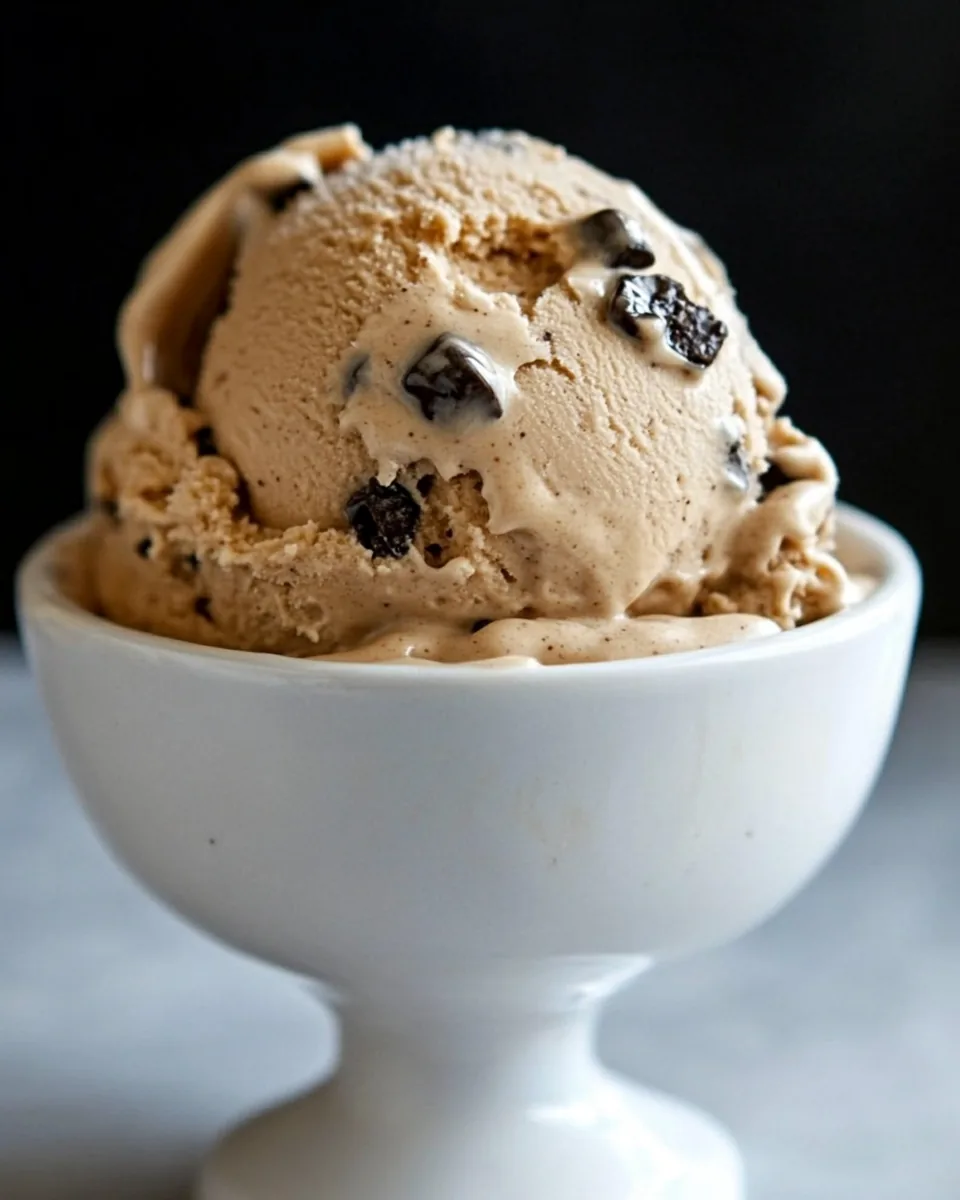
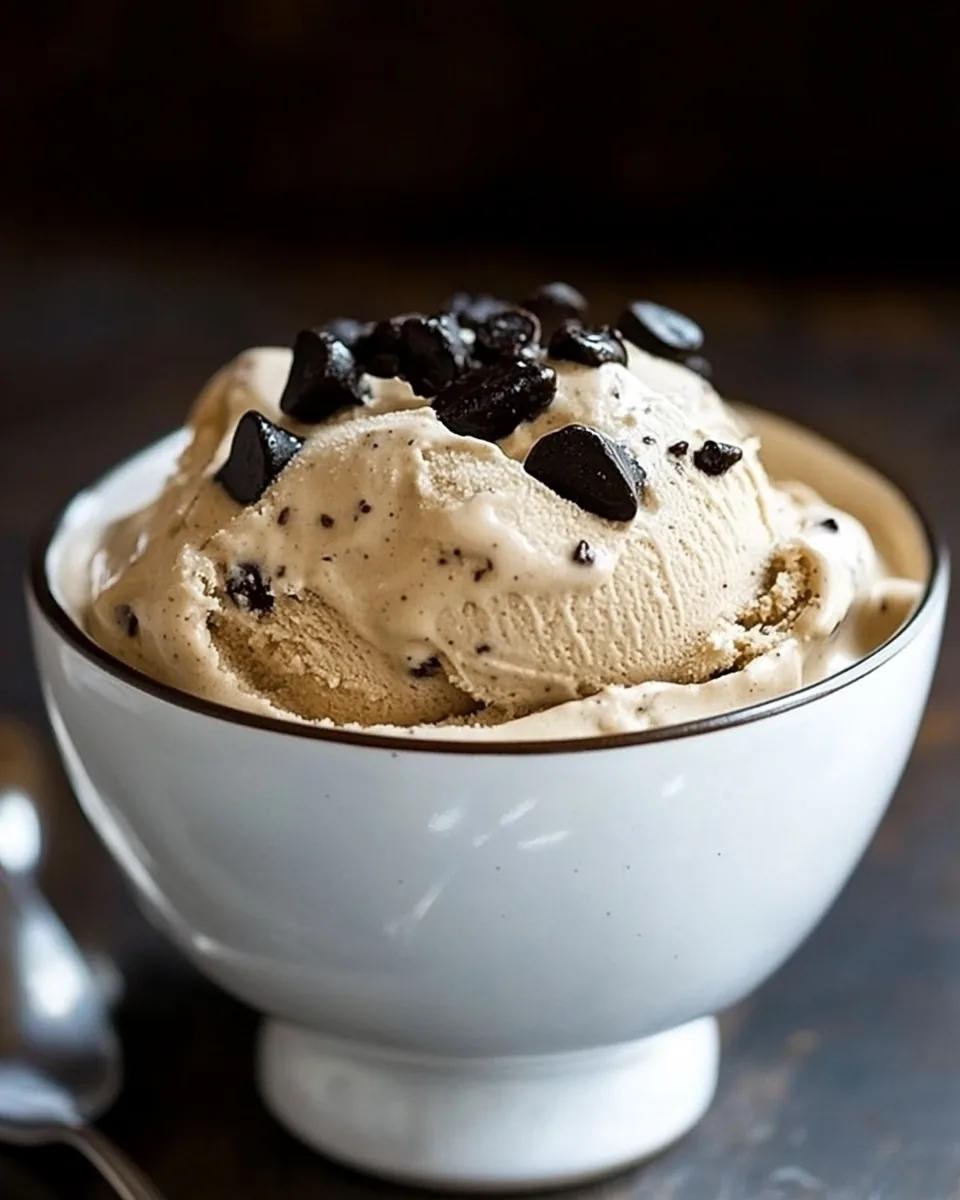
Coffee Chip Ice Cream
When it comes to summer treats, there’s nothing quite like homemade ice cream, especially a batch of Coffee Chip Ice Cream. I remember spending sunny afternoons in the kitchen with my family, eagerly waiting for the ice cream maker to do its magic. The rich aroma of freshly brewed coffee mixed with creamy goodness would fill the air, tempting us to sneak a taste before it even froze. This delightful concoction brings back fond memories of laughter and joy, and it’s become a staple in our household. With just a few simple ingredients, you can whip up this deliciously smooth and indulgent dessert, perfect for any occasion.
Recipe Snapshot
20 mins
20 mins
0 mins
Medium
320 kcal
4 g
Gluten-Free, Low FODMAP
18 g
Mixing Bowl
The Beauty of This Coffee Chip Ice Cream
Perfect for Any Season
What I love about Coffee Chip Ice Cream is that it transcends seasons. Whether it’s a hot summer day or a cozy winter evening, this ice cream is always a hit. It’s the ideal way to cool down during those sweltering months, yet it brings a warm comfort during the colder times. No matter the weather, it’s a treat that can brighten anyone’s day.
Rich, Decadent Flavor
This isn’t just your average ice cream. The blend of coffee and dark chocolate chips creates a depth of flavor that’s absolutely irresistible. Each spoonful is a luxurious experience, where the creamy texture mingles with the rich notes of coffee. You’ll find yourself savoring every bite, wanting just one more scoop.
Easy to Make
Don’t let the thought of making ice cream intimidate you! This recipe is remarkably simple and requires minimal effort. Just mix your ingredients, pour them into the ice cream maker, and let it do the work. It’s perfect for anyone, whether you’re a seasoned chef or just starting in the kitchen. Plus, you can control the ingredients, ensuring you get the perfect balance of flavors.
Customizable Ingredients
One of the best parts of making your own ice cream is the ability to customize it. Want it sweeter? Add a bit more granulated sugar. Prefer a richer taste? You can use more cream cheese. The possibilities are endless, allowing you to adjust the recipe to fit your taste buds.
All About the Texture
The texture of homemade ice cream is something you simply can’t replicate with store-bought varieties. The combination of whole milk, whipping cream, and cream cheese creates a creamy base that is incredibly satisfying. You can enjoy it soft straight out of the ice cream maker, or let it firm up in the freezer for a more traditional scoop. Either way, it’s truly delightful.
Perfect for Sharing
Finally, Coffee Chip Ice Cream is a fantastic treat to share with friends and family. Whether you’re hosting a barbecue, celebrating a birthday, or just having a quiet night in, this ice cream is bound to impress your guests. It’s a sweet way to create memories while indulging in a delicious dessert.
Everything You Need for Coffee Chip Ice Cream

The ingredients for Coffee Chip Ice Cream are simple yet essential for creating that perfect creamy texture and rich flavor. Each component plays a crucial role, ensuring the ice cream is both delicious and satisfying. Let’s dive into these key players that come together to make this incredible dessert.
- 2 cups (454g) whole milk: This is the base of our ice cream, providing a creamy texture and richness.
- 1 cup (238g) whipping cream: Adds a luxurious creaminess that every ice cream needs.
- 4 ounces (113g) cream cheese: Gives the ice cream a rich texture and a slight tang.
- 3 teaspoons (7g) instant espresso: Infuses the ice cream with a robust coffee flavor.
- 1 tablespoon (5g) unsweetened cocoa powder: Adds depth and a subtle chocolate flavor.
- 1 and 1/2 cups (297g) granulated sugar: Sweetens the mixture to perfect levels.
- Pinch (0.4g) kosher salt: Enhances all the flavors, balancing the sweetness.
- 1 teaspoon (5g) vanilla extract: Adds warmth and sweetness to the ice cream.
- 1/2 cup (87g) dark chocolate espresso bits or chocolate chips: Provides delightful chunks of chocolate in each bite.
Cooking Instructions for Coffee Chip Ice Cream
Making Coffee Chip Ice Cream is a fun and rewarding process. Trust me, once you try this recipe, you’ll want to make it every chance you get! Follow these easy steps and watch as your delicious ice cream comes to life.
- In a large mixing bowl, combine whole milk, whipping cream, and cream cheese. Use a whisk or hand mixer to blend until well-combined and smooth. Look for a creamy consistency, ensuring there are no lumps from the cream cheese.
- Next, add in instant espresso, unsweetened cocoa powder, granulated sugar, kosher salt, and vanilla extract. Mix thoroughly until all ingredients are completely incorporated. The mixture should have a beautiful coffee hue and smell heavenly!
- Once everything is mixed, pour the mixture into the container of your ice cream maker. Make sure not to overfill, as the ice cream will expand as it churns. Follow the manufacturer’s instructions for your machine.
- As the ice cream begins to freeze, keep an eye on it. About halfway through freezing, you can add in the dark chocolate espresso bits or chocolate chips. This is the moment where your ice cream transforms into a delightful treat packed with little surprises.
- Once the ice cream reaches a soft-serve texture, you can serve it immediately for a deliciously creamy experience. Alternatively, for a firmer ice cream, transfer it to an airtight container and place it in the freezer.
- Let it chill in the freezer for one hour to overnight, depending on how firm you want it. Check the consistency before serving. You want it to be scoopable but not rock hard.
- When ready to serve, scoop out portions of your homemade Coffee Chip Ice Cream into bowls or cones. Watch as your friends and family dive in, smiles spreading across their faces with every bite!
Things Worth Knowing
- Temperature Control: Ensure your ice cream maker is pre-chilled if required. This helps achieve a smoother texture.
- Mixing Time: Don’t rush the mixing process; ensuring even blending will make a difference in the final texture.
- Storage: Store leftover ice cream in an airtight container to avoid freezer burn and maintain flavor.
- Flavor Enhancements: Consider adding a swirl of caramel or fudge for a unique twist on flavors.
Making Adjustments

Every chef has their unique spin on recipes, and Coffee Chip Ice Cream is no exception! Here are some tips to help you personalize this delicious dessert:
- Storage: To keep your ice cream fresh, store it in an airtight container. This prevents ice crystals from forming and keeps it creamy.
- Freezing: If you prefer firmer ice cream, allow it to freeze for longer after churning. Just be sure to check it periodically.
- Pairing: Serve your ice cream alongside a piece of warm chocolate cake for a delightful dessert combo.
- Try Different Flavors: Experiment with different coffee blends or flavored creams to find your perfect combination.
- Serving Size: Adjust the serving size according to your needs. This recipe makes a generous amount, perfect for gatherings!
- Coffee Choices: For a more robust flavor, consider using cold brew coffee or strong brewed coffee instead of instant espresso.
Serving Options for Coffee Chip Ice Cream
When it comes to serving Coffee Chip Ice Cream, the options are endless! Here are some delightful ways to present this delicious treat:
- Classic Scoops: Serve in waffle cones or bowls with a sprinkle of chocolate chips on top for an appealing presentation.
- Affogato Style: Pour a shot of hot espresso over a scoop of ice cream for an indulgent coffee experience.
- Ice Cream Sandwiches: Create ice cream sandwiches using cookies for a fun and nostalgic treat.
- Garnishes: Enhance your ice cream with toppings like whipped cream, chocolate syrup, or a dusting of cocoa powder.
- Occasions: This ice cream is perfect for summer parties, family gatherings, or as a sweet after-dinner treat. It’s a versatile dessert suitable for any occasion!
- Storage Tips: If you have leftovers, store them in an airtight container in the freezer to maintain freshness.
FAQ
Conclusion
Making Coffee Chip Ice Cream at home is not just about satisfying your sweet tooth; it’s about crafting a nostalgic experience filled with flavor and joy. I encourage you to gather your ingredients, roll up your sleeves, and treat yourself to this wonderful dessert. Trust me, once you make it, you’ll find it hard to go back to store-bought options!

Coffee Chip Ice Cream
Equipment
- Mixing Bowl
Ingredients
- 2 cups whole milk
- 1 cup whipping cream
- 4 ounces cream cheese
- 3 teaspoons instant espresso
- 1 tablespoon unsweetened cocoa powder
- 1 and 1/2 cups granulated sugar
- pinch kosher salt
- 1 teaspoon vanilla extract
- 1/2 cup dark chocolate espresso bits or chocolate chips
Instructions
- In a large mixing bowl, combine whole milk, whipping cream, and cream cheese. Use a whisk or hand mixer to blend until well-combined and smooth. Look for a creamy consistency, ensuring there are no lumps from the cream cheese.
- Next, add in instant espresso, unsweetened cocoa powder, granulated sugar, kosher salt, and vanilla extract. Mix thoroughly until all ingredients are completely incorporated. The mixture should have a beautiful coffee hue and smell heavenly!
- Once everything is mixed, pour the mixture into the container of your ice cream maker. Make sure not to overfill, as the ice cream will expand as it churns. Follow the manufacturer's instructions for your machine.
- As the ice cream begins to freeze, keep an eye on it. About halfway through freezing, you can add in the dark chocolate espresso bits or chocolate chips. This is the moment where your ice cream transforms into a delightful treat packed with little surprises.
- Once the ice cream reaches a soft-serve texture, you can serve it immediately for a deliciously creamy experience. Alternatively, for a firmer ice cream, transfer it to an airtight container and place it in the freezer.
- Let it chill in the freezer for one hour to overnight, depending on how firm you want it. Check the consistency before serving. You want it to be scoopable but not rock hard.
- When ready to serve, scoop out portions of your homemade Coffee Chip Ice Cream into bowls or cones. Watch as your friends and family dive in, smiles spreading across their faces with every bite!
Notes
- Tip 1: Store leftover ice cream in an airtight container to avoid freezer burn and maintain flavor.
- Tip 2: If you prefer firmer ice cream, allow it to freeze for longer after churning. Just be sure to check it periodically.
- Tip 3: Serve your ice cream alongside a piece of warm chocolate cake for a delightful dessert combo.
- Tip 4: Experiment with different coffee blends or flavored creams to find your perfect combination.
- Tip 5: Adjust the serving size according to your needs. This recipe makes a generous amount, perfect for gatherings!