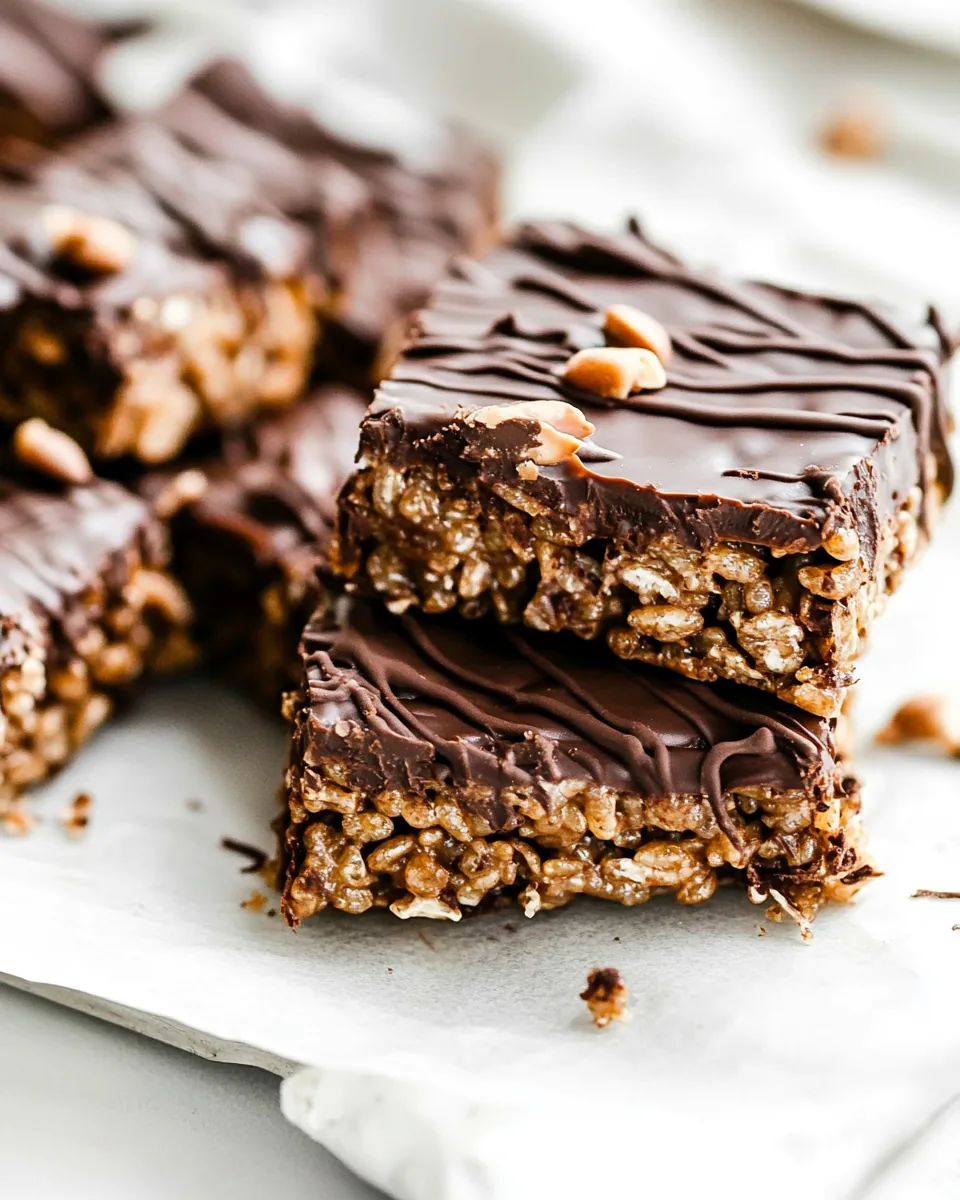
Chocolate Peanut Butter Rice Krispie Treats
Every time I think about Chocolate Peanut Butter Rice Krispie Treats, I’m transported back to my childhood kitchen. It was a place filled with laughter, the sweet aroma of melting chocolate, and the warm hug of nostalgia. There’s something incredibly magical about the combination of crispy rice cereal and creamy peanut butter, especially when coated in luscious chocolate. I remember standing on tiptoes, peering into the mixing bowl as my mom melted the peanut butter and honey together, and I couldn’t wait to dig in. These treats were not just snacks; they were moments of joy shared with family and friends. Whether you’re making them for a birthday party, a cozy movie night, or just because you deserve a treat, these bars are sure to evoke delightful memories.
Recipe Snapshot
10 mins
10 mins
0 mins
Medium
200 kcal
4g g
Gluten-Free
10g g
Wooden Spoon, Frying Pan, Mixing Bowl
Why This Chocolate Peanut Butter Rice Krispie Treats Hits Different
Quick and Easy Preparation
One of the reasons I adore Chocolate Peanut Butter Rice Krispie Treats is their simplicity. It requires minimal ingredients and hardly any special techniques. You can whip these up in no time, making them perfect for spontaneous gatherings.
Customizable to Your Taste
This recipe is wonderfully versatile. You can switch up the type of nut butter to suit your preferences—almond butter, cashew butter, or even sunflower seed butter work just as well. Additionally, you can adjust the sweetness level by choosing between maple syrup or honey.
Perfect for All Occasions
Whether it’s a festive gathering, a school bake sale, or a simple family snack, these treats fit right in. They’re a crowd-pleaser and will surely bring smiles to everyone’s faces.
Deliciously Indulgent
The combination of flavors in Chocolate Peanut Butter Rice Krispie Treats is truly irresistible. The rich creaminess of the peanut butter, combined with the sweetness of the chocolate and the crunch of the rice cereal, creates a delightful texture and flavor burst that keeps you coming back for more.
Fun for Kids and Adults
Making these treats can be a fun activity for kids! Allow them to help mix the ingredients, pour the chocolate, and even sprinkle on toppings. It’s a great way to spend quality time together and create lasting memories in the kitchen.
Great for Meal Prep
These treats can be made ahead of time and stored for future snacking. They hold up well in an airtight container, making them an excellent option for meal prepping or just as a quick grab-and-go snack during busy days.
Ingredient List for Chocolate Peanut Butter Rice Krispie Treats
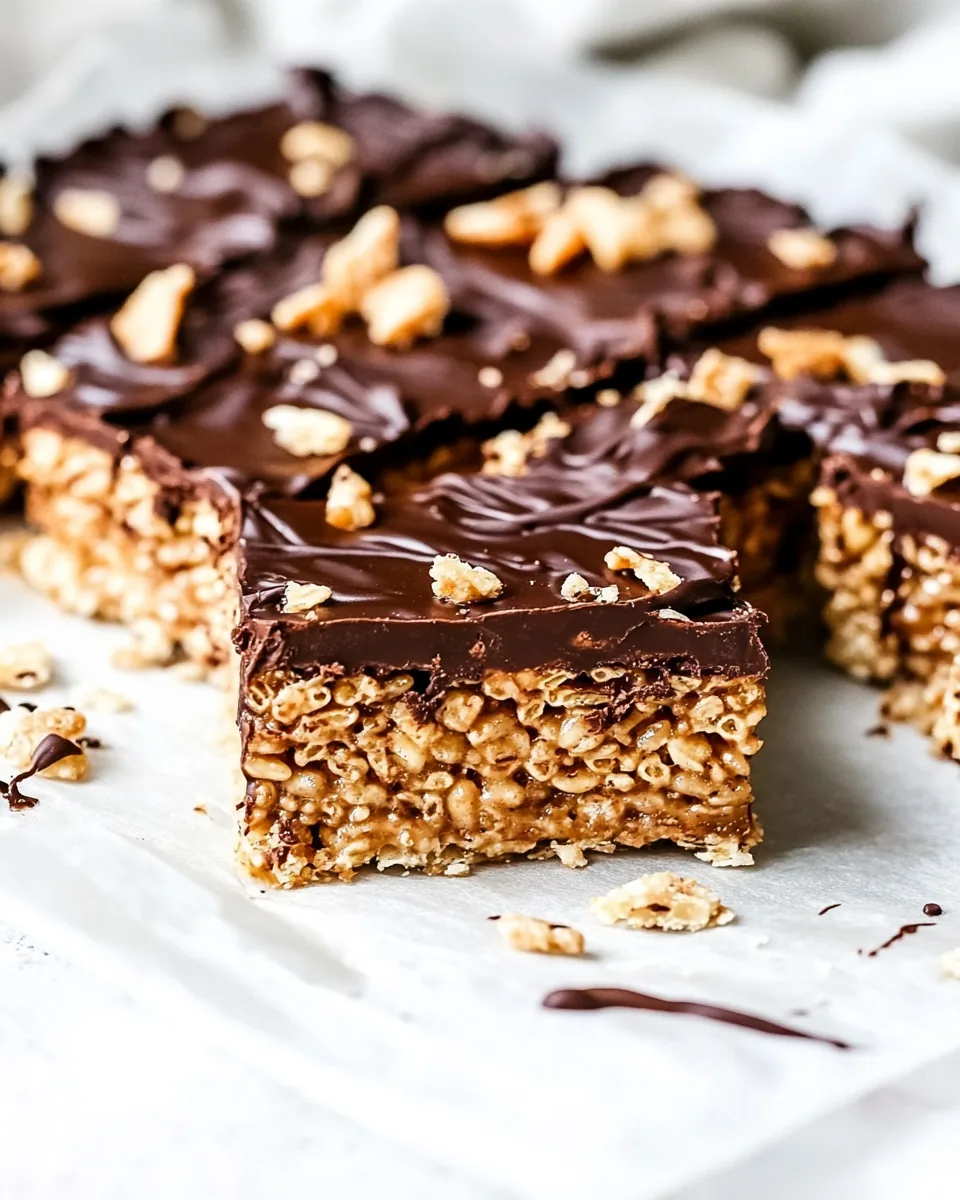
When it comes to the ingredients for Chocolate Peanut Butter Rice Krispie Treats, simplicity is key. Each component plays a crucial role in creating that perfect balance of sweetness, crunch, and creaminess. The star players are the Rice Krispies cereal, which provide the iconic crunch, and the creamy peanut butter, which adds a rich and satisfying flavor. The maple syrup or honey sweetens the mixture, while the dark chocolate chips bring it all together with their lusciousness.
- 3 cups Rice Krispies cereal – The foundation of this treat, providing that satisfying crunch in every bite.
- 2/3 cup creamy peanut butter – Adds richness and a creamy texture; feel free to use a full cup for gooey treats!
- 1/2 cup maple syrup or honey – Sweetens the mixture naturally, enhancing the flavors beautifully.
- 1 tsp vanilla extract – Adds a depth of flavor that complements the peanut butter perfectly.
- 3/4 – 1 cup dark chocolate chips – The final touch that brings decadence and richness; milk chocolate also works.
How to Prepare Chocolate Peanut Butter Rice Krispie Treats
Making Chocolate Peanut Butter Rice Krispie Treats is a fun and straightforward process that anyone can master. You’ll love how quickly these come together, and the smell of melting chocolate and peanut butter will have everyone swooning. Follow these steps to create a batch of delicious treats!
Start by gathering all your ingredients. In a small saucepan, combine creamy peanut butter, maple syrup (or honey), and vanilla extract. Heat them over low heat, stirring gently. You want to do this until the mixture is melted and smooth. The aroma of melted peanut butter mixed with sweet syrup is simply heavenly, so make sure to enjoy that moment!
Once your mixture is nice and drippy, remove it from the heat. In a medium mixing bowl, pour the melted mixture over the Rice Krispies cereal. Stir gently to combine everything. Be careful not to crush the cereal; you want to maintain that delightful crunch.
Now, it’s time to transfer the mixture into an 8×8 inch pan lined with parchment paper. This step is crucial for easy removal later. Press the mixture firmly into the pan using a spoon or spatula. You really want to pack it in well to ensure it holds together as bars.
Next, place the pan in the refrigerator to chill until cool. If you’re in a hurry, you can pop it into the freezer for about 15 to 20 minutes, but be careful not to freeze it completely!
While the mixture is chilling, melt your dark chocolate chips. You can do this in a microwave-safe bowl in 20-second increments, stirring in between each round. This prevents overheating, which can ruin the chocolate. Once melted, let it cool slightly before pouring it over the chilled peanut butter mixture.
Spread the melted chocolate evenly over the top of the bars. Use a spatula to ensure an even layer. If you want to add a drizzle of chocolate for decoration, this is the time to do it!
Return the pan to the refrigerator and let the chocolate set completely. This usually takes about an hour, but you can leave it longer if you want it to be extra firm.
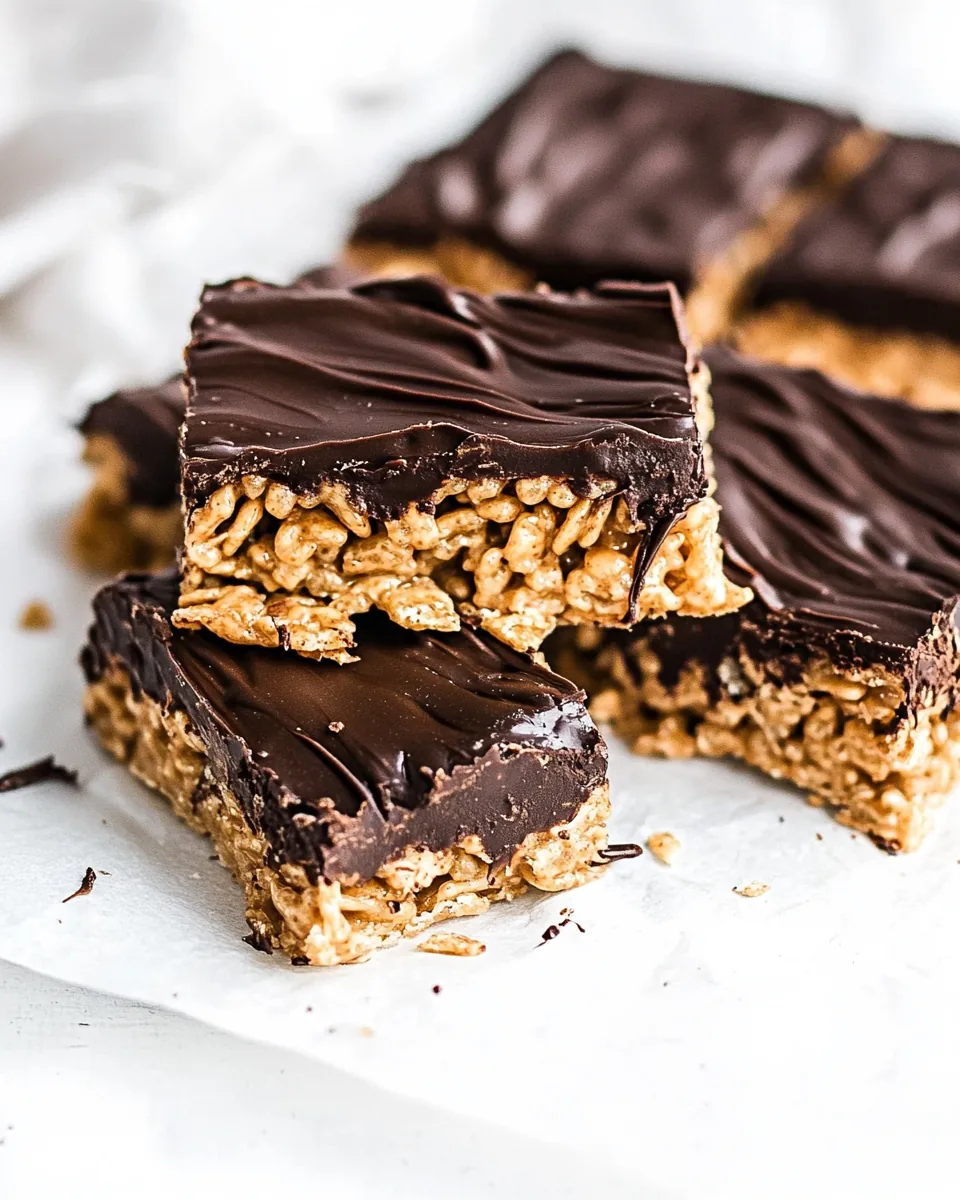
Once the chocolate has set, it’s time to cut the treats into squares. Using a sharp knife is key to getting clean cuts. I find it helpful to dip the knife in warm water before cutting to prevent the chocolate from cracking.
Finally, serve your delicious Chocolate Peanut Butter Rice Krispie Treats! They can be stored in an airtight container for about five days. If you prefer, you can keep them in the refrigerator for a firmer texture.
Things Worth Knowing
- Tip for Melting Chocolate: When melting chocolate, it’s crucial to do it gradually. If you heat it too quickly, it can seize and become grainy.
- Pressing Technique: When pressing the mixture into the pan, use a flat-bottomed object, like a measuring cup, to get an even surface.
- Storage: Store your treats in an airtight container to keep them fresh for longer. They can also be refrigerated for a firmer texture.
- Serving Suggestion: These bars are delightful on their own, but you can also serve them with a scoop of ice cream for an extra indulgent treat.
Ways to Adapt This Recipe
If you’re looking to jazz up your Chocolate Peanut Butter Rice Krispie Treats, you have plenty of options! Here are some fun ideas:
- Add Nuts: Mix in chopped nuts like almonds or walnuts for added crunch and nutrition.
- Flavor Variations: Experiment with flavored nut butters, such as chocolate or cinnamon, for a different twist.
- Mix in Dried Fruit: Adding dried fruit like cranberries or raisins can introduce a lovely burst of flavor.
- Swap the Cereal: Try using other cereals or granola to change the texture and flavor profile.
- Chocolate Variety: Use white chocolate or a mix of chocolate types for a colorful presentation.
How to Enjoy Chocolate Peanut Butter Rice Krispie Treats
- As a Snack: These treats make excellent grab-and-go snacks for busy days; pack them in lunch boxes or enjoy them on road trips.
- For Celebrations: Make these for parties, birthdays, or family gatherings—they’re always a hit!
- With Coffee: Pair them with your favorite coffee or tea for a delightful afternoon pick-me-up.
- Seasonal Treats: Decorate them with seasonal sprinkles for holidays or special occasions to make them festive.
- Storage Tip: Keep them in the refrigerator for a cool treat on hot days, or store them at room temperature if you prefer a softer texture.
FAQ
Conclusion
The beauty of Chocolate Peanut Butter Rice Krispie Treats lies in their simplicity and the joy they bring to any occasion. With their delightful crunch and creamy texture, they’re bound to become a favorite in your household. I encourage you to try making these treats and share them with your loved ones. They’re perfect for creating sweet memories and satisfying those cravings. Enjoy your journey in the kitchen!
Chocolate Peanut Butter Rice Krispie Treats
Equipment
- Wooden Spoon
- Frying Pan
- Mixing Bowl
Ingredients
- 3 cups Rice Krispies cereal
- 2/3 cup creamy peanut butter Use a full cup for extra gooey treats!
- 1/2 cup maple syrup Or honey for sweetness.
- 1 tsp vanilla extract
- 3/4 – 1 cup dark chocolate chips Milk chocolate also works.
Instructions
- In a small saucepan, heat creamy peanut butter, maple syrup, and vanilla extract over low heat until melted and combined evenly. You can also do this in a microwave-safe bowl in 20-second increments until smooth and drippy.
- Pour the mixture over the Rice Krispies cereal in a medium mixing bowl and stir gently to combine and evenly coat.
- Press the mixture (press really hard!) into an 8×8 pan lined with parchment paper and chill until cool.
- Melt the dark chocolate chips in a bowl in the microwave in 20-second increments. Stir between each round until melted. Do not overheat the chocolate. When most of the chips are melted, keep stirring until smooth.
- Pour the chocolate coating over the peanut butter mixture and spread evenly with a spatula.
- Chill until the chocolate has set. You can add a chocolate drizzle as well after the layer of chocolate has set if desired.
- Cut into squares and serve! You can keep them in the refrigerator if desired–I prefer them that way!
Notes
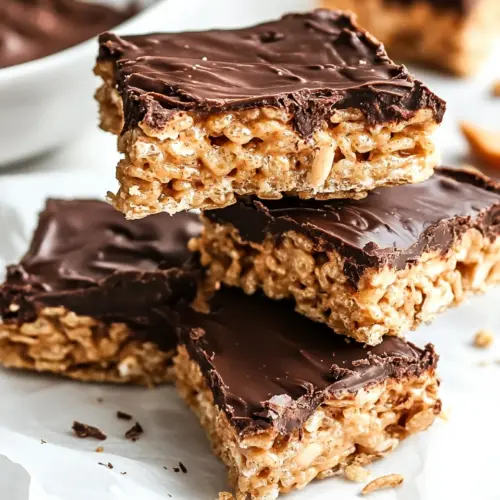
- Thickness: The bars themselves will be just about 1 inch thickness. For a thicker bar, use a 6×8 inch pan or double the recipe and add it to a 9×9 inch pan.
- Microwave Option: You can combine the peanut butter, honey, and vanilla in a microwave-safe bowl instead of the stovetop.
- Natural Peanut Butter: Creamy, natural peanut butter, the kind you have to stir, works best because it is nice and drippy.
- Chocolate Melting Method: Melt your chocolate chips in the microwave or use the double boiler method.
- Chocolate Drizzle: Everything is tastier with a drizzle of chocolate—feel free to add it!