Chocolate Cake
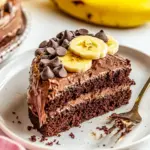
There’s something truly magical about baking a Chocolate Cake. I remember the first time I made one for my best friend’s birthday. The aroma of rich, chocolatey goodness wafting through the house created an atmosphere of excitement. Everyone gathered around, eager to see what I had created. As I pulled the cake out of the oven, golden brown with a glossy finish, I felt a rush of pride. That moment of anticipation when we cut into the cake and revealed its moist, fluffy interior was priceless. The smile on my friend’s face was worth every minute spent in the kitchen. Whether it’s a celebration or just a cozy night in, a slice of Chocolate Cake can make any moment feel special.
Recipe Snapshot
1 hr 25 mins
60 mins
25 mins
Medium
413 kcal
5 g
Gluten-Free, Low FODMAP
19 g
Cake pans, Cake spatulas, Turntable
Why You’ll Love This Chocolate Cake
Why This Recipe Stands Out
The Chocolate Cake is not just any dessert; it’s a heartfelt creation that brings joy to both the maker and the eater. Here are a few reasons I love this recipe:
1. Moist and Decadent
This cake is incredibly moist, thanks to the combination of buttermilk and hot water. These ingredients help to create a tender crumb that melts in your mouth, making every bite a delight.
2. Rich Chocolate Flavor
With both cocoa powder and melted chocolate in the recipe, the Chocolate Cake boasts a deep, rich flavor that chocolate lovers will adore. It’s not just sweet; it has depth and complexity that makes it truly unforgettable.
3. Versatile Frosting Options
I love that you can customize the frosting to suit your taste. Whether you opt for a classic buttercream or a ganache, the decision is yours. You could even go half and half for a flavor explosion!
4. Perfect for Any Occasion
Be it birthdays, anniversaries, or just a Wednesday night treat, this Chocolate Cake fits the bill. It’s a crowd-pleaser that never fails to bring smiles.
5. Simple Ingredients
The ingredients for this cake are likely already in your pantry. It’s all about using quality ingredients, and with flour, sugar, cocoa, and eggs, you’re on your way to a masterpiece!
6. Fun to Decorate
Decorating the Chocolate Cake can be a fun family activity. Let the kids join in and unleash their creativity with sprinkles, chocolate shavings, or whatever else you have on hand!
What to Gather for Chocolate Cake
Creating a delicious Chocolate Cake starts with the right ingredients. Each component works in harmony to create a cake that’s fluffy, moist, and full of rich chocolate flavor. The key players include all-purpose flour, granulated sugar, and, of course, cocoa powder. When combined, they create a batter that bakes into something truly delightful.
- 1 3/4 cups all-purpose flour – This is the base of your cake, providing structure and stability.
- 2 cups granulated sugar – Adds sweetness and moisture to the cake.
- 3/4 cup unsweetened cocoa powder, sifted – A vital ingredient for that intense chocolate flavor.
- 2 teaspoons baking soda – Helps the cake rise beautifully.
- 1 teaspoon baking powder – Works alongside baking soda for optimal leavening.
- 1 teaspoon kosher salt – Enhances the flavors of the cake.
- 1 teaspoon espresso powder, optional – A secret ingredient to intensify the chocolate flavor.
- 1 cup buttermilk, at room temperature – Contributes to the cake’s moisture and tenderness.
- 1/2 cup canola oil or vegetable oil – Keeps the cake moist and adds richness.
- 1 tablespoon pure vanilla extract – Adds depth and enhances the sweetness.
- 2 large eggs, at room temperature – Binds the ingredients together.
- 1 cup boiling water – Creates a smooth batter and enhances the cake’s moisture.
- 2 cups unsalted butter, at room temperature – Essential for making the frosting creamy and delicious.
- 6 to 7 cups confectioner’s sugar, sifted – Creates a fluffy, sweet buttercream frosting.
- 1 cup unsweetened cocoa powder, sifted – Used for the frosting to maintain that rich chocolate flavor.
- 6 to 8 tablespoons heavy cream – Added for smoothness in the frosting.
- 2 teaspoons pure vanilla extract – A flavor enhancer for the frosting.
- 1/4 teaspoon kosher salt – Balances the sweetness of the frosting.
- 2/3 cup semi-sweet chocolate chips, melted and slightly cooled – Adds a luxurious touch to the frosting.
- Chocolate shavings, chocolate chips, or sprinkles, for decorating, optional – Personalize your cake!
Putting Together Chocolate Cake
Now that we have our ingredients ready, let’s dive into the process of creating this delicious Chocolate Cake. Each step is designed to help you achieve that perfect texture and flavor. Grab your mixing bowls and let’s get started!
- Preheat your oven to 350 degrees F. It’s essential to start with a preheated oven to ensure even baking. Grease three 8-inch x 2-inch round cake pans generously with nonstick cooking spray. Don’t forget to line the pans with parchment paper; then, spray them again to make sure your cake comes out smoothly.
- In the bowl of a stand mixer, whisk together the flour, sugar, cocoa powder, baking soda, baking powder, salt, and espresso powder, if using. This combination creates a dry mix that will provide structure to your cake.
- In a medium bowl, whisk together the buttermilk, oil, and vanilla extract. This wet mixture is crucial for adding moisture and flavor to the cake.
- With the stand mixer on low speed, slowly add the buttermilk mixture. Add the eggs, one at a time, and mix until well combined. This step is where the batter starts to come together.
- Gradually add the hot water to the mixture, stirring just to combine. Stop to scrape down the sides of the bowl to ensure everything is well incorporated. The batter will be thin, which is perfectly okay; it’s part of what makes the cake so moist.
- Divide the batter evenly among the prepared pans. Bake for 22 to 28 minutes, or until a toothpick comes out clean when inserted into the center of the cakes. Keep an eye on them to prevent overbaking!
- Remove the cakes from the oven and set them on a wire cooling rack. It’s important to let them cool in the pans for 30 minutes before turning them out onto a cooling rack to cool completely. You can wrap the cake layers in plastic wrap and chill in the refrigerator or freezer for easier handling later.
- To make the frosting, using a stand mixer fitted with the paddle attachment, beat the butter until creamy and lighter in color, about 3 minutes. Make sure to scrape down the bowl halfway through.
- With the mixer on low, gradually add the confectioner’s sugar, 2 cups at a time. Start with 6 cups and adjust according to your desired sweetness. Add the cocoa powder for that luscious chocolate flavor.
- Pour in 6 tablespoons of heavy cream, vanilla extract, and salt. With the mixer on low, add the melted chocolate and mix for an additional 2 to 3 minutes, until the frosting is light and fluffy. If it’s too thin, gradually add more sugar; if too thick, add more heavy cream, a teaspoon at a time, until you reach the desired consistency.
- To assemble the cake, ensure your cake layers are flat. If they have a rounded dome, carefully level the tops with a sharp serrated knife. Place the first layer bottom side up on a flat plate or cake stand.
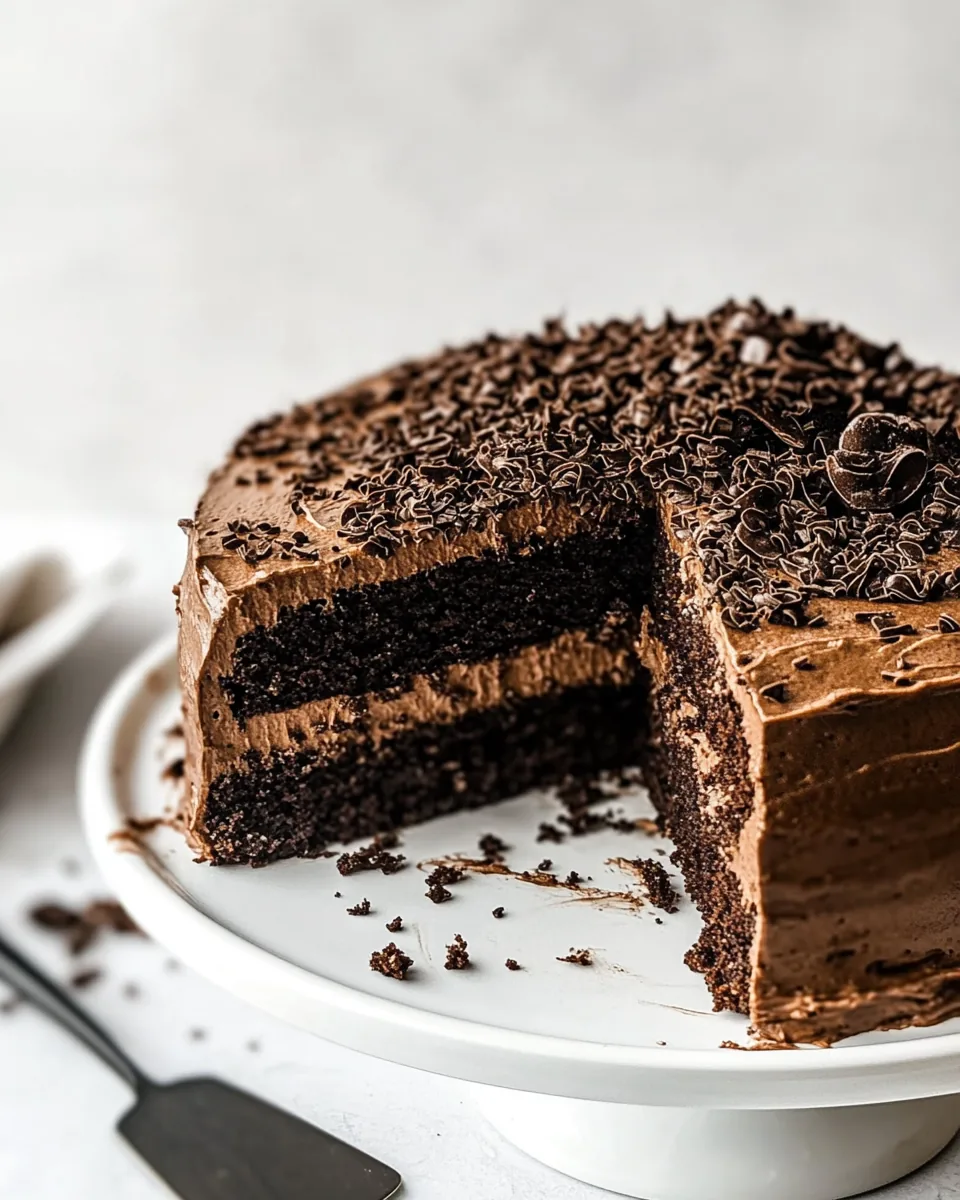
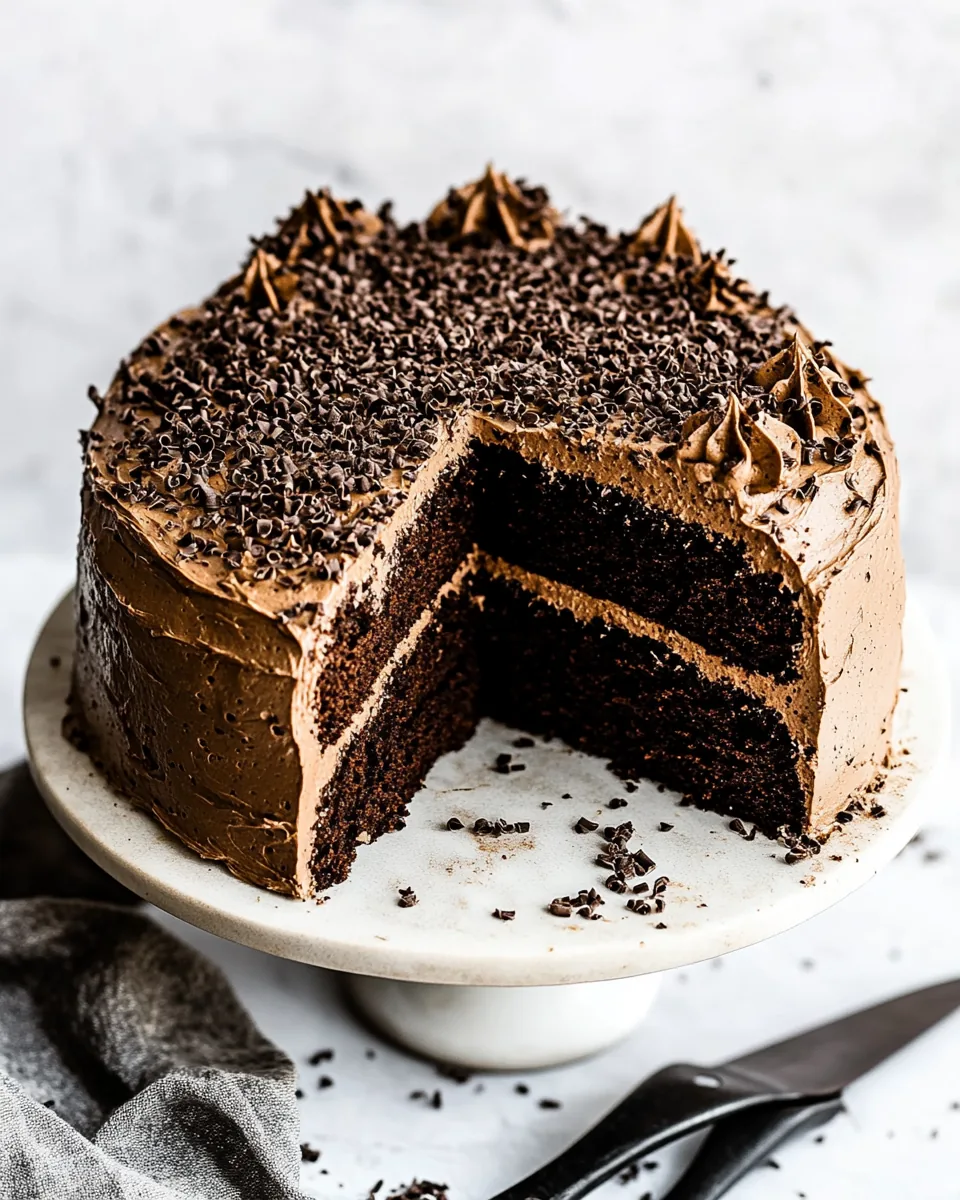
- Using a knife or offset spatula, spread the top of the first layer evenly with buttercream. Place the second layer on top, top side up, and spread more buttercream evenly over the top. Repeat with the third layer, frosting the top and sides of the cake for a beautiful finish.
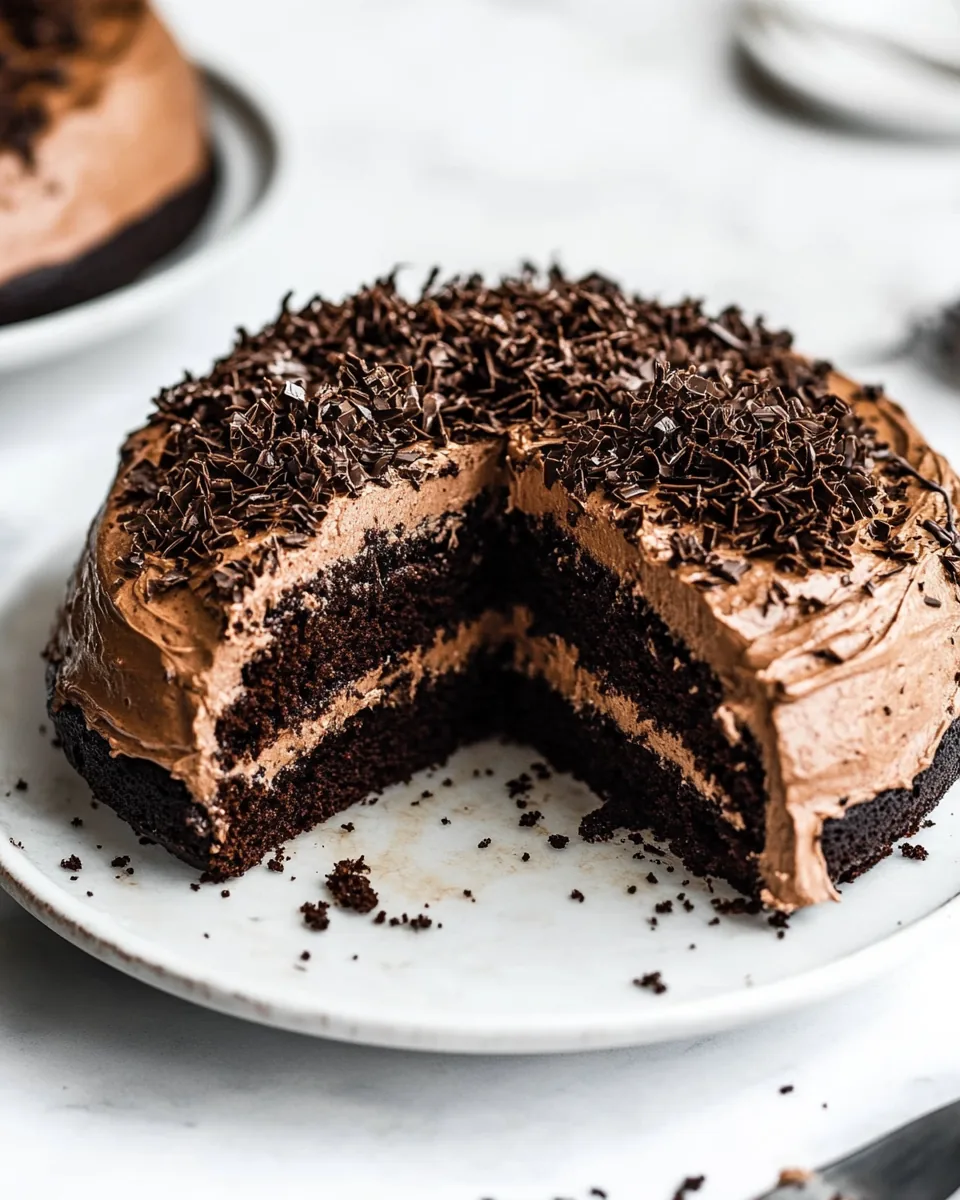
- Decorate with sprinkles, chocolate shavings, or chocolate chips, if desired. Each addition adds a personal touch to your beautiful creation!
- Finally, use a sharp knife to cut the cake into pieces and serve. Enjoy the delicious results of your hard work!
Things Worth Knowing
- Room Temperature Ingredients: Ensure your butter and eggs are at room temperature for the best texture.
- Testing for Doneness: Use a toothpick to check if the cakes are done; if it comes out clean, they’re ready!
- Cooling Time: Don’t rush the cooling process; it helps to set the cake’s structure.
- Frosting Texture: For a fluffier frosting, beat the butter longer until creamy and lighter in color.
Making Adjustments
As with any recipe, adjustments may be necessary to cater to your preferences. Here are some tips to consider:
- Storage: Store leftovers in an airtight container in the refrigerator for up to 5 days. Always let the cake come to room temperature before serving.
- Freezing: You can freeze the cake layers for up to 2 months. Wrap them well to prevent freezer burn.
- Pairing: This Chocolate Cake pairs wonderfully with a scoop of vanilla ice cream or fresh berries for a delightful contrast.
- Variations: Add a layer of raspberry or cherry filling for a fruity twist in between the cake layers.
- Gluten-Free Option: Substitute the all-purpose flour with a gluten-free flour blend for a gluten-free version.
- Healthier Version: Use unsweetened applesauce instead of some of the oil for a lighter cake.
Perfect Matches for Chocolate Cake
- Serving with Ice Cream: A scoop of vanilla ice cream adds a creamy texture that beautifully complements the rich chocolate flavor.
- Fresh Berries: Serve with strawberries or raspberries for a tart contrast that balances the sweetness.
- Special Occasions: Perfect for birthdays, anniversaries, or any celebration where you want to impress.
- Midweek Treat: Enjoy a slice with your afternoon coffee or tea for a delightful pick-me-up.
- Storing Leftovers: Keep leftover cake in an airtight container to maintain its moisture and flavor.
- Seasonal Pairing: During the holidays, consider decorating with festive sprinkles or edible glitter.
FAQ
Conclusion
The Chocolate Cake is truly a staple dessert that’s loved by many. Its rich flavor and moist texture make it a delightful treat for any occasion. I encourage you to give this recipe a try and see how it can brighten your day. Whether you share it with friends and family or keep it all to yourself, this cake is bound to bring smiles!

Chocolate Cake
Equipment
- Cake pans
- Cake spatulas
- Turntable
Ingredients
- 1 3/4 cups all-purpose flour
- 2 cups granulated sugar
- 3/4 cups unsweetened cocoa powder sifted
- 2 teaspoons baking soda
- 1 teaspoon baking powder
- 1 teaspoon kosher salt
- 1 teaspoon espresso powder optional
- 1 cup buttermilk at room temperature
- 1/2 cup canola oil or vegetable oil
- 1 tablespoon pure vanilla extract
- 2 large eggs at room temperature
- 1 cup boiling water
- 2 cups unsalted butter at room temperature
- 6 to 7 cups confectioner’s sugar sifted
- 1 cup unsweetened cocoa powder sifted
- 6 to 8 tablespoons heavy cream
- 2 teaspoons pure vanilla extract
- 1/4 teaspoon kosher salt
- 2/3 cup semi-sweet chocolate chips melted and slightly cooled
- Chocolate shavings, chocolate chips, or sprinkles for decorating, optional
Instructions
- Preheat your oven to 350 degrees F. It’s essential to start with a preheated oven to ensure even baking. Grease three 8-inch x 2-inch round cake pans generously with nonstick cooking spray. Don’t forget to line the pans with parchment paper; then, spray them again to make sure your cake comes out smoothly.
- In the bowl of a stand mixer, whisk together the flour, sugar, cocoa powder, baking soda, baking powder, salt, and espresso powder, if using. This combination creates a dry mix that will provide structure to your cake.
- In a medium bowl, whisk together the buttermilk, oil, and vanilla extract. This wet mixture is crucial for adding moisture and flavor to the cake.
- With the stand mixer on low speed, slowly add the buttermilk mixture. Add the eggs, one at a time, and mix until well combined. This step is where the batter starts to come together.
- Gradually add the hot water to the mixture, stirring just to combine. Stop to scrape down the sides of the bowl to ensure everything is well incorporated. The batter will be thin, which is perfectly okay; it’s part of what makes the cake so moist.
- Divide the batter evenly among the prepared pans. Bake for 22 to 28 minutes, or until a toothpick comes out clean when inserted into the center of the cakes. Keep an eye on them to prevent overbaking!
- Remove the cakes from the oven and set them on a wire cooling rack. It’s important to let them cool in the pans for 30 minutes before turning them out onto a cooling rack to cool completely. You can wrap the cake layers in plastic wrap and chill in the refrigerator or freezer for easier handling later.
- To make the frosting, using a stand mixer fitted with the paddle attachment, beat the butter until creamy and lighter in color, about 3 minutes. Make sure to scrape down the bowl halfway through.
- With the mixer on low, gradually add the confectioner’s sugar, 2 cups at a time. Start with 6 cups and adjust according to your desired sweetness. Add the cocoa powder for that luscious chocolate flavor.
- Pour in 6 tablespoons of heavy cream, vanilla extract, and salt. With the mixer on low, add the melted chocolate and mix for an additional 2 to 3 minutes, until the frosting is light and fluffy. If it’s too thin, gradually add more sugar; if too thick, add more heavy cream, a teaspoon at a time, until you reach the desired consistency.
- To assemble the cake, ensure your cake layers are flat. If they have a rounded dome, carefully level the tops with a sharp serrated knife. Place the first layer bottom side up on a flat plate or cake stand.
- Using a knife or offset spatula, spread the top of the first layer evenly with buttercream. Place the second layer on top, top side up, and spread more buttercream evenly over the top. Repeat with the third layer, frosting the top and sides of the cake for a beautiful finish.
- Decorate with sprinkles, chocolate shavings, or chocolate chips, if desired. Each addition adds a personal touch to your beautiful creation!
- Finally, use a sharp knife to cut the cake into pieces and serve. Enjoy the delicious results of your hard work!
Notes
- Make Ahead: You can make the cakes in advance. Carefully wrap the cooled cake layers in plastic wrap and store them in the refrigerator for up to 2 days.
- Freezing: You can also freeze the cakes for up to 2 months. Wrap the cooled cakes in plastic wrap and aluminum foil. Remove the cakes from the freezer about an hour before you plan to decorate so they can mostly thaw out.
- Layering: You can use two 9-inch round cake pans to make a two layered cake.
- Frosting: You might have extra frosting, which you can enjoy with some cookies!