Chicken Enchiladas
Every time I think about Chicken Enchiladas, I’m transported back to my kitchen, where the delicious aroma fills the air, inviting everyone to gather around the table. It’s one of those go-to recipes that never fails to impress, whether I’m hosting a family dinner or just cooking for a cozy night in. The beauty of Chicken Enchiladas lies not only in their rich flavors but also in how customizable they are. I remember the first time I attempted this dish; the excitement of rolling up each tortilla, filling it with tender shredded chicken, and smothering it in zesty enchilada sauce was a delightful experience. Each bite is a celebration of comfort and warmth. When I serve these enchiladas, I can see the smiles and hear the satisfied murmurs around the table. It’s the kind of dish that brings everyone together, making it perfect for any occasion.
Recipe Snapshot
40 mins
30 mins
10 mins
Medium
450 kcal
25 g
Gluten-Free, Low FODMAP
25 g
Chef’s Knife, Cutting Board, Oven, Baking Sheet
What We Adore About This Chicken Enchiladas
Comforting Flavors
The first thing that stands out about Chicken Enchiladas is their incredible flavor profile. The combination of savory shredded chicken, melted cheese, and the tangy enchilada sauce creates a perfect balance that’s hard to resist. Each bite offers a burst of deliciousness that warms the heart and soul.
Easy to Make
Even for those who aren’t seasoned chefs, Chicken Enchiladas are surprisingly simple to prepare. With just a few ingredients and straightforward steps, anyone can whip up a delicious meal without breaking a sweat. Whether you’re a beginner or a kitchen pro, this recipe is accessible and rewarding.
Perfect for Meal Prep
What I love most is how well Chicken Enchiladas lend themselves to meal prepping. You can easily make a batch ahead of time and freeze them for later. Just pop them in the oven straight from the freezer when you’re ready to eat, and you’ve got a comforting meal in no time.
Versatility
This recipe is incredibly flexible. You can swap out ingredients based on what you have on hand or your dietary preferences. Want to add some veggies? Go for it! Prefer a different type of cheese? That works too! The possibilities are endless, making it a fun dish to experiment with.
Family Friendly
Kids love Chicken Enchiladas, making it a go-to for family dinners. The cheesy goodness and flavorful filling keep them coming back for more. Plus, it’s a great way to sneak in some vegetables if you choose to add them!
What to Gather for Chicken Enchiladas
The ingredients for Chicken Enchiladas are simple yet impactful. The blend of flavors comes together beautifully, creating a comforting dish that everyone will love. Key players like corn tortillas, shredded chicken, and cheddar cheese work harmoniously to create the ultimate enchilada experience. Let’s take a look at the essential ingredients that make this dish shine.
- 2 1/2 cups homemade enchilada sauce (1 batch)
- 14 (6-inch) corn tortillas
- 3 1/2 cups cooked shredded chicken
- 1 1/2 cups shredded cheddar cheese (mild or medium)
- 1 1/2 cups shredded Monterey Jack cheese
How to Make Chicken Enchiladas
Making Chicken Enchiladas is a delightful journey that fills your kitchen with mouthwatering aromas. The process is quite straightforward, and it’s all about layering those delicious ingredients. Follow these steps, and you’ll be on your way to serving up a dish that’s sure to impress.
Preheat your oven to 400 degrees F. It’s important to make sure your oven is hot enough for that delicious cheesy topping later on. Prepare two casserole dishes by spraying them with non-stick cooking spray. This will help prevent the enchiladas from sticking.
Spread about 3 tablespoons of the enchilada sauce evenly in each prepared dish. This not only adds flavor but also keeps the enchiladas from drying out as they bake.
Heat an electric griddle over moderately high heat. Once it’s hot, carefully add the corn tortillas (as many as can fit in a single layer). Cook each tortilla for about 10 seconds on each side, just until they’re slightly pliable. This step is crucial to avoid breaking the tortillas when you roll them.
Immediately transfer the cooked tortillas to a gallon-sized resealable bag. Seal the bag to keep the tortillas warm and pliable while you continue with the rest. Repeat this process until all tortillas are cooked.
In a bowl, toss together the cheddar cheese and Monterey Jack cheese. Set aside about two-thirds of the cheese (or 2 cups) for topping later. This combination of cheeses adds a rich, creamy texture to the enchiladas.
Now, working with about five tortillas at a time, spread about 1/4 cup of the shredded chicken in a row across the center of each tortilla. Then, add about 1 tablespoon of cheese and a scant tablespoon of the enchilada sauce on top of the chicken.
Gently roll up each tortilla tightly and transfer them to the prepared baking dish, fitting about seven enchiladas per dish. Repeat until all tortillas and filling are used.
Drizzle the remaining enchilada sauce over the filled tortillas, using a spoon to ensure the sauce seeps down between each enchilada. This will keep everything nice and moist while baking.
Finally, sprinkle the reserved cheese over the top of the enchiladas. Place them in the preheated oven and bake until the cheese is melted and bubbly, about 10 minutes. You’ll know they’re ready when the cheese is golden and delicious.
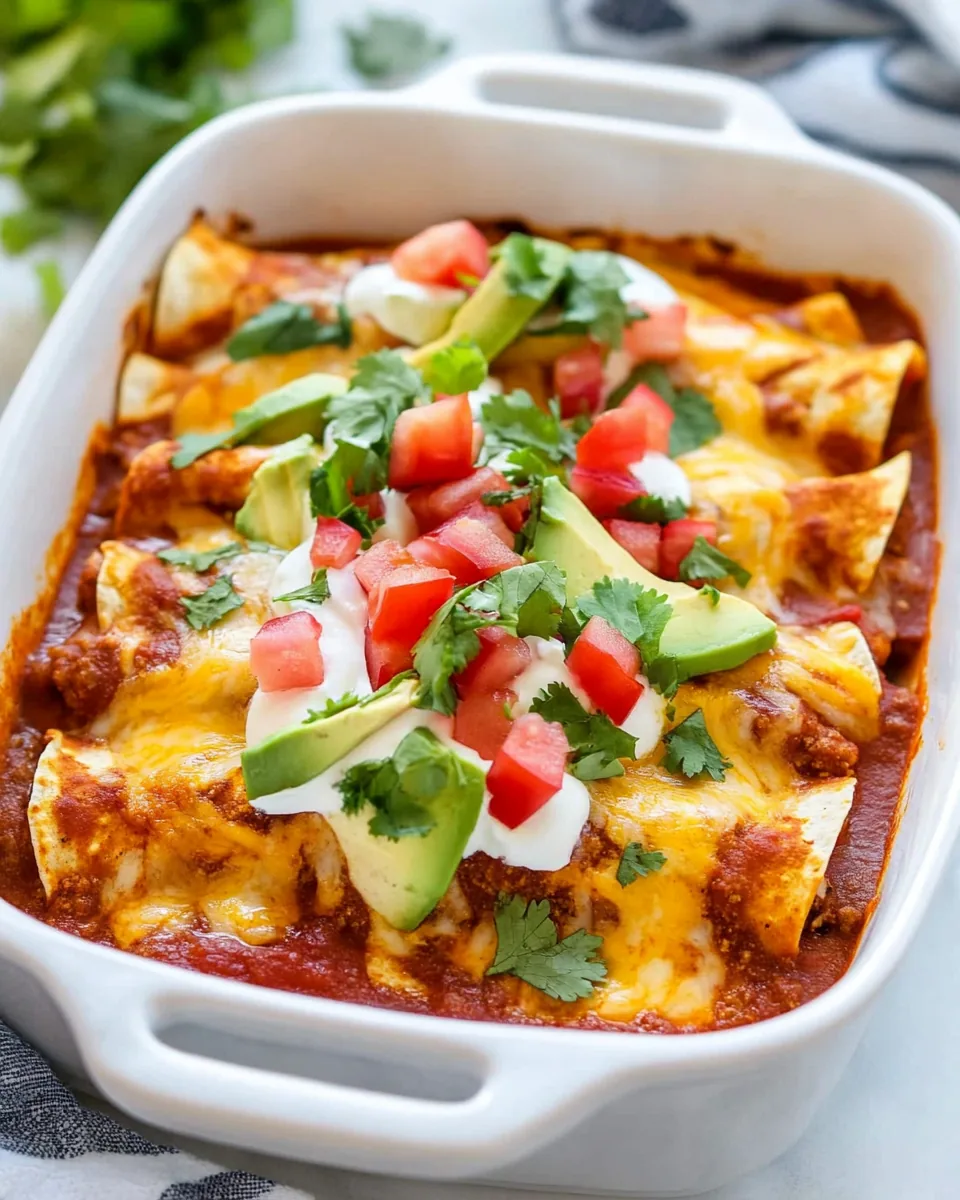
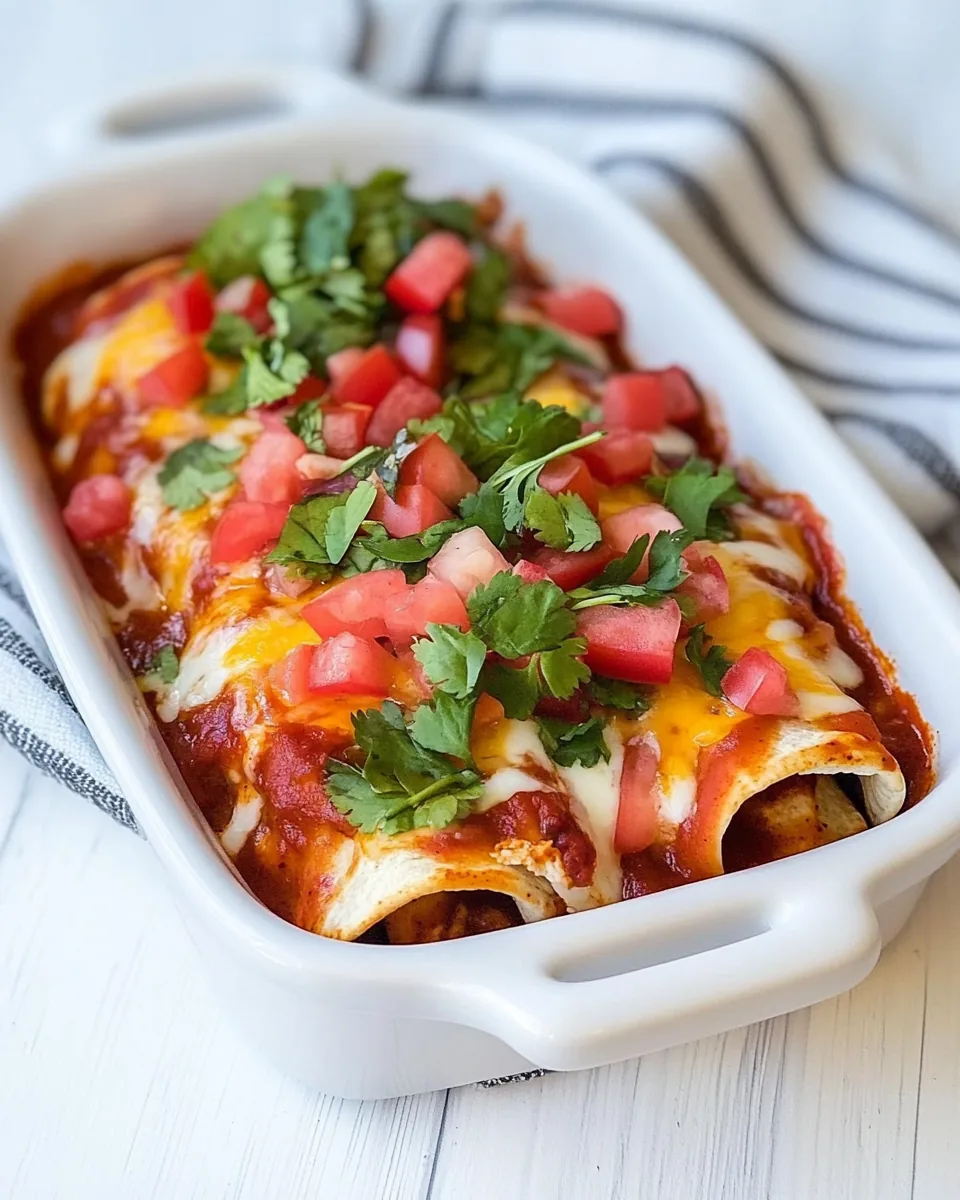
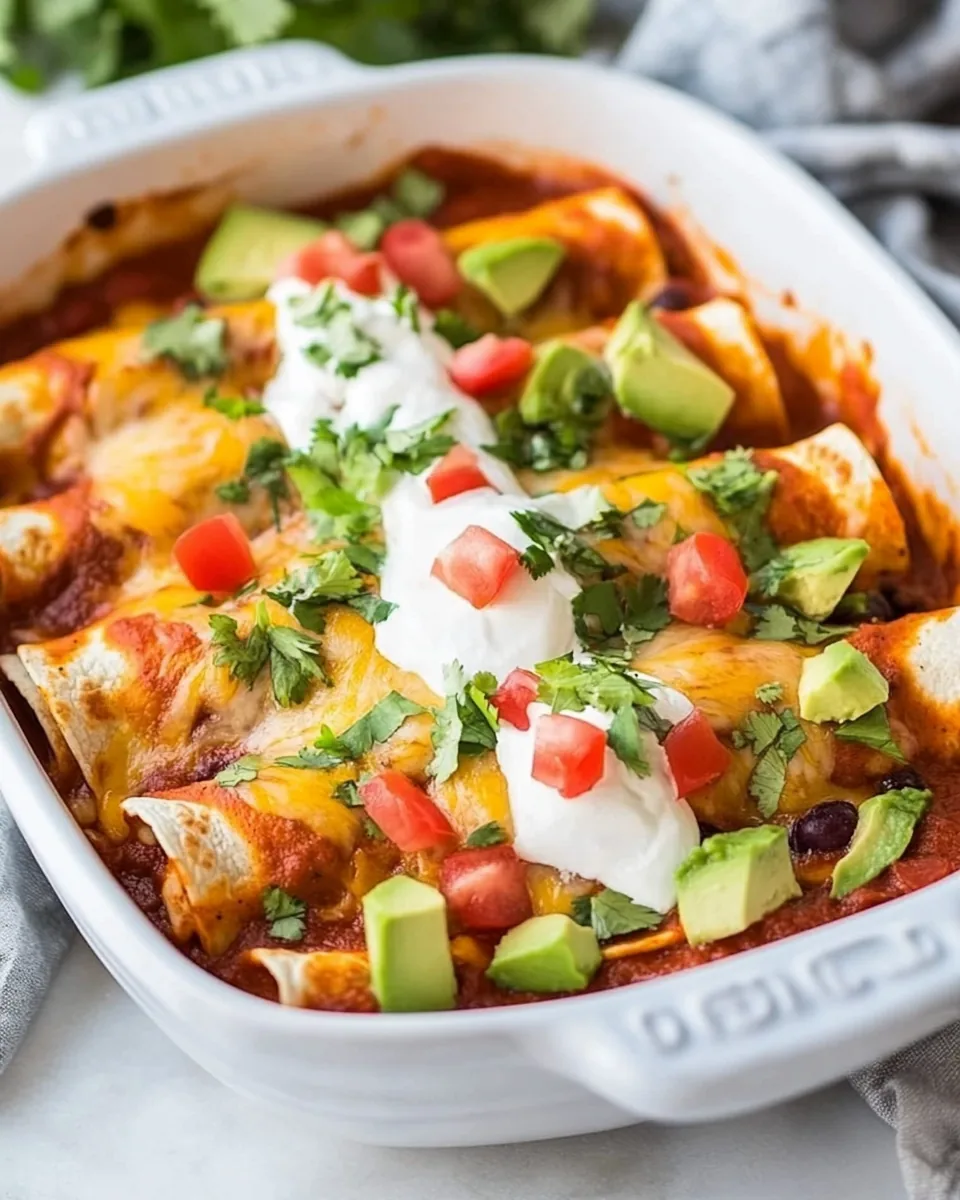
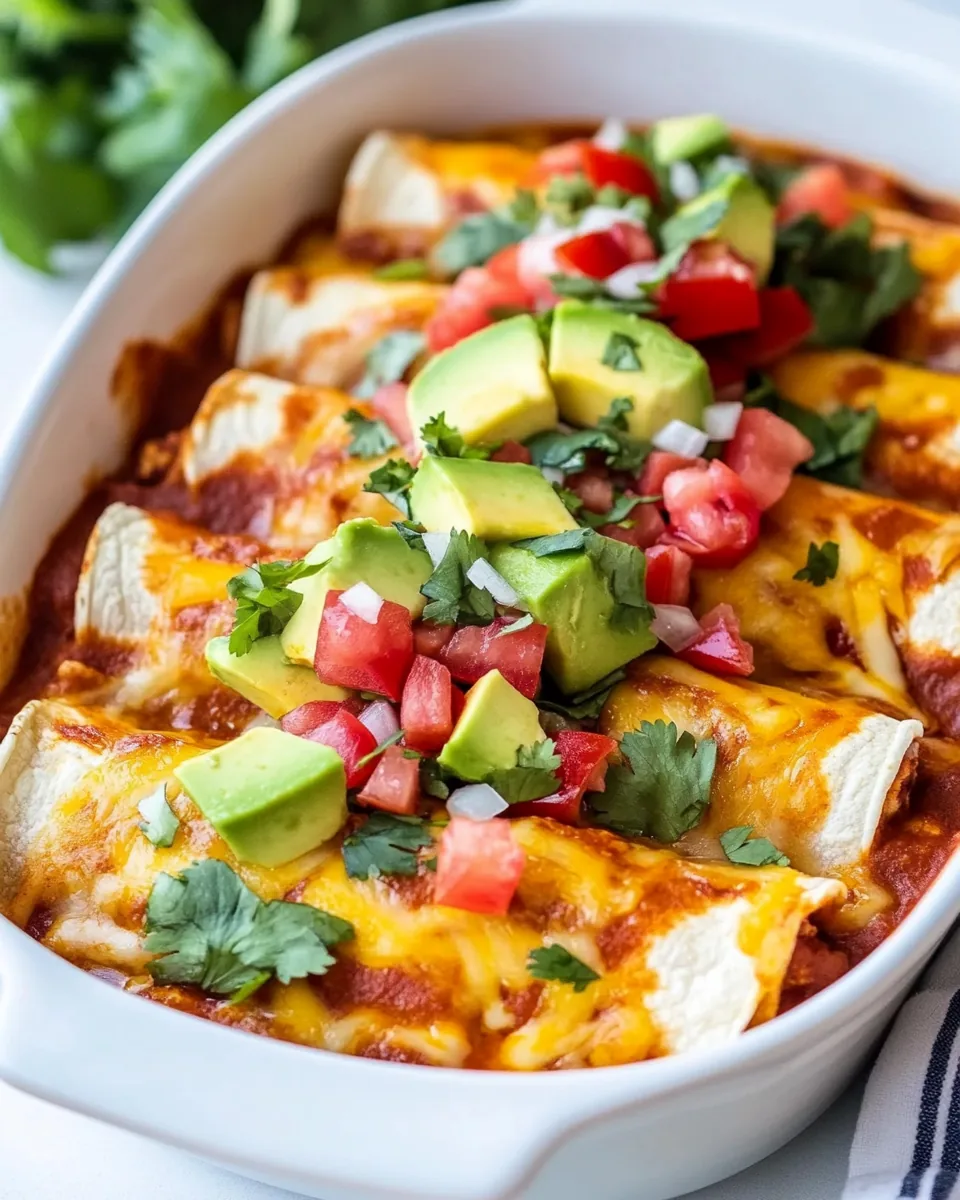
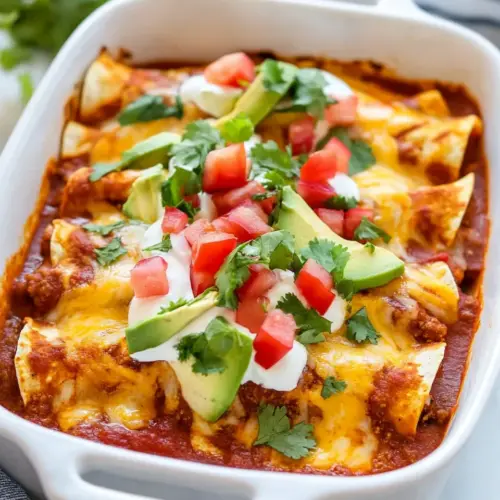
If desired, garnish with sliced avocados, diced tomatoes, diced onions, cilantro, sour cream, or hot sauce. I often skip the garnishes, but they add a lovely pop of color and flavor. Serve immediately and enjoy the smiles around the table!
Things Worth Knowing
- Choosing the Right Tortillas: For the best results, use soft corn tortillas. They hold up well and provide a traditional flavor.
- Cooking Chicken: You can use rotisserie chicken or any leftover cooked chicken for convenience. It saves time and adds a wonderful flavor.
- Cheese Melting: Make sure to use a blend of cheeses for the best melting texture. Cheddar and Monterey Jack are excellent choices!
- Keeping Tortillas Warm: Keeping the cooked tortillas in a sealed bag allows them to stay warm and prevents them from cracking when you roll them.
Change It Up
There are countless ways to customize your Chicken Enchiladas. Here are some fun ideas to make them your own:
- Storage: Store any leftovers in an airtight container in the fridge for up to three days. Reheat in the oven for the best texture.
- Freezing: You can freeze assembled but unbaked enchiladas. Just wrap them tightly and store in the freezer. Bake them straight from frozen, adding extra time.
- Vegetarian Option: Substitute the chicken with sautéed vegetables like bell peppers and zucchini for a vegetarian twist.
- Add Spices: For a kick, add some jalapeños or chipotle powder to the filling or sauce.
- Serving Variety: Try serving with a side of Mexican rice or a fresh salad to balance the meal.
What to Serve With Chicken Enchiladas
Pairing your Chicken Enchiladas with the right sides can enhance the meal experience. Here are some delicious ideas:
- Mexican Rice: A side of fluffy Mexican rice complements the enchiladas perfectly, adding a satisfying grain to the meal.
- Black Beans: Serve with seasoned black beans for an additional protein boost and a lovely contrast in texture.
- Guacamole: Fresh guacamole adds a creamy texture and a burst of flavor that pairs wonderfully with the enchiladas.
- Simple Green Salad: A light salad with lime vinaigrette helps balance the richness of the enchiladas.
- Sour Cream: A dollop of sour cream on top of the enchiladas provides a cool and tangy contrast to the flavors.
- Occasions: Consider serving Chicken Enchiladas for family gatherings, game days, or even casual dinner parties.
FAQ
Conclusion
In conclusion, Chicken Enchiladas are the ultimate comfort food that brings joy to the table. With their rich flavors and cheesy goodness, they’re sure to become a family favorite. I encourage you to try making them at home and experience the happiness they bring. You won’t regret it!
Chicken Enchiladas
Equipment
- Chef's Knife
- Cutting Board
- Oven
- Baking Sheet
Ingredients
- 2 1/2 cups homemade enchilada sauce 1 batch
- 14 (6-inch) corn tortillas
- 3 1/2 cups cooked shredded chicken
- 1 1/2 cups shredded cheddar cheese mild or medium
- 1 1/2 cups shredded Monterey Jack cheese
Instructions
- Preheat your oven to 400 degrees F. It’s important to make sure your oven is hot enough for that delicious cheesy topping later on. Prepare two casserole dishes by spraying them with non-stick cooking spray. This will help prevent the enchiladas from sticking.
- Spread about 3 tablespoons of the enchilada sauce evenly in each prepared dish. This not only adds flavor but also keeps the enchiladas from drying out as they bake.
- Heat an electric griddle over moderately high heat. Once it's hot, carefully add the corn tortillas (as many as can fit in a single layer). Cook each tortilla for about 10 seconds on each side, just until they’re slightly pliable. This step is crucial to avoid breaking the tortillas when you roll them.
- Immediately transfer the cooked tortillas to a gallon-sized resealable bag. Seal the bag to keep the tortillas warm and pliable while you continue with the rest. Repeat this process until all tortillas are cooked.
- In a bowl, toss together the cheddar cheese and Monterey Jack cheese. Set aside about two-thirds of the cheese (or 2 cups) for topping later. This combination of cheeses adds a rich, creamy texture to the enchiladas.
- Now, working with about five tortillas at a time, spread about 1/4 cup of the shredded chicken in a row across the center of each tortilla. Then, add about 1 tablespoon of cheese and a scant tablespoon of the enchilada sauce on top of the chicken.
- Gently roll up each tortilla tightly and transfer them to the prepared baking dish, fitting about seven enchiladas per dish. Repeat until all tortillas and filling are used.
- Drizzle the remaining enchilada sauce over the filled tortillas, using a spoon to ensure the sauce seeps down between each enchilada. This will keep everything nice and moist while baking.
- Finally, sprinkle the reserved cheese over the top of the enchiladas. Place them in the preheated oven and bake until the cheese is melted and bubbly, about 10 minutes. You’ll know they’re ready when the cheese is golden and delicious.
- If desired, garnish with sliced avocados, diced tomatoes, diced onions, cilantro, sour cream, or hot sauce. I often skip the garnishes, but they add a lovely pop of color and flavor. Serve immediately and enjoy the smiles around the table!
Notes
- Tip 1: Shredded chicken breasts or thighs work great. Leftover chicken or rotisserie chicken is a good option.