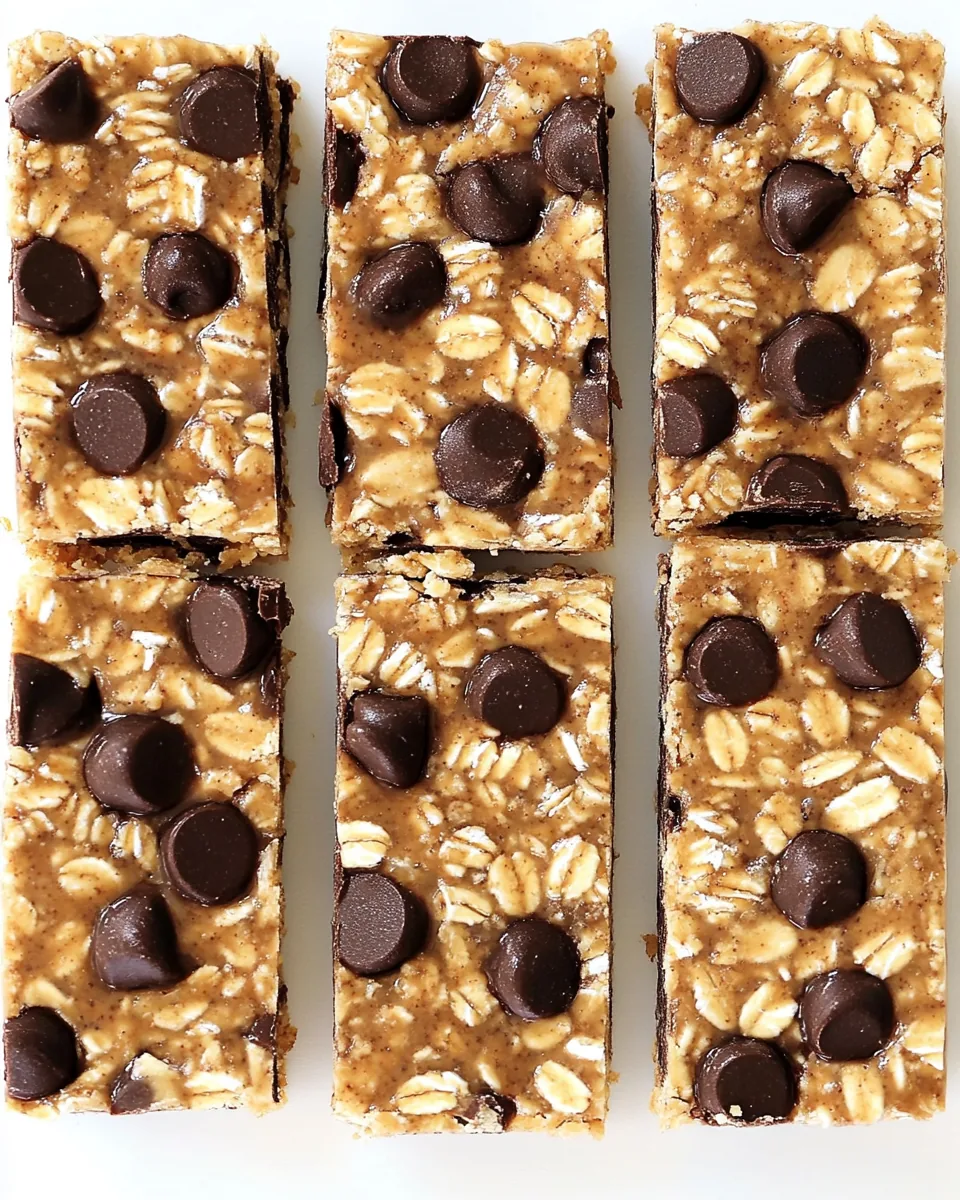
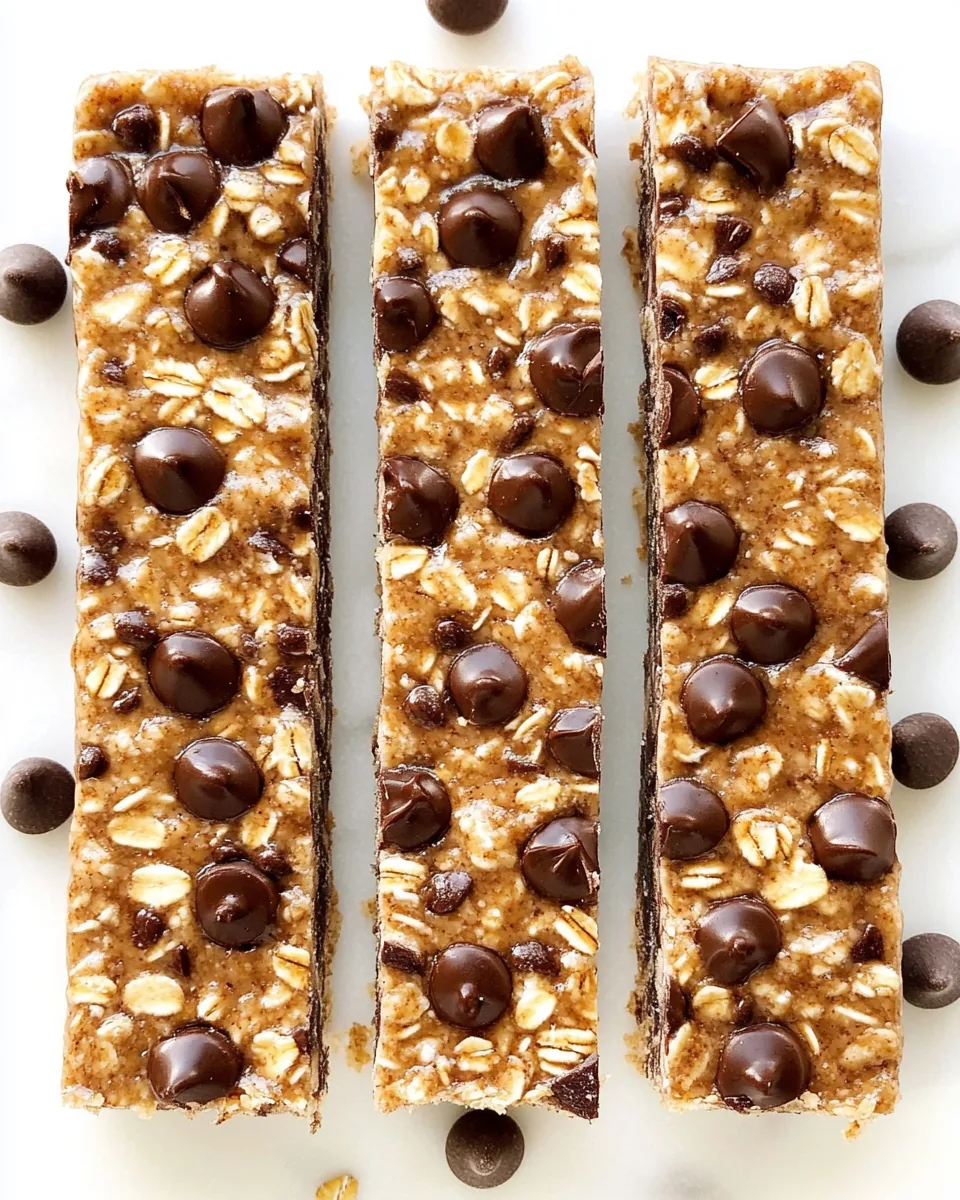
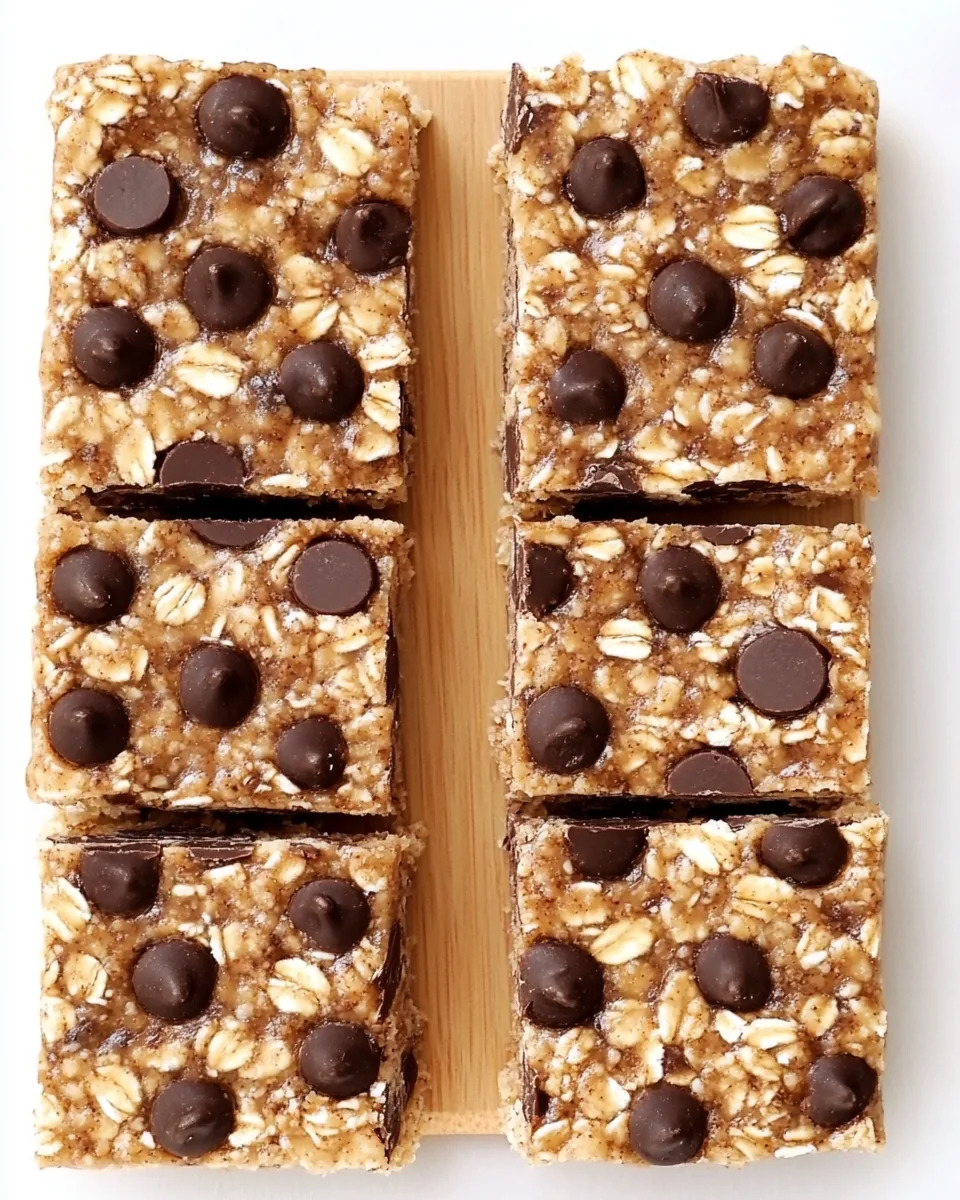
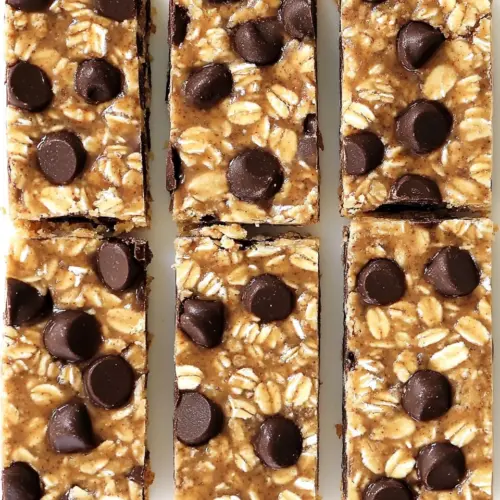
Chewy Granola Bars
Whenever I’m on the go and need a quick snack, I turn to my favorite recipe: Chewy Granola Bars. They’re not just any snack; they’re a delightful combination of wholesome ingredients that keep me energized throughout my busy day. Whether I’m heading out for a hike, packing for a road trip, or just looking for something to satisfy my midday cravings, these bars are a lifesaver. Each bite is filled with the perfect balance of chewy texture and sweet flavor, making them an ideal treat for both kids and adults alike. I remember the first time I made them; I was skeptical about how they would turn out. But to my surprise, they exceeded my expectations with their deliciously satisfying taste, and my family couldn’t get enough of them! The best part? They’re easy to make and incredibly customizable! You can add your favorite nuts, seeds, or dried fruits to tailor them to your preferences. So let’s embrace the goodness of homemade snacks and dive into how to make these scrumptious Chewy Granola Bars!
Recipe Snapshot
12 mins
0 mins
12 mins
Easy
180 kcal
4 g
Gluten-Free
8 g
Frying Pan, Oven, Wooden Spoon, Mixing Bowl, Baking Sheet
What Makes This Chewy Granola Bars Special
Nutritious and Wholesome
One of the main reasons I love these Chewy Granola Bars is their nutritious profile. They contain oats, which are a fantastic source of fiber. Fiber is essential for digestion and can help keep you feeling full longer. Plus, they provide a slow release of energy, making them perfect for a mid-afternoon pick-me-up!
Customizable Ingredients
Another standout feature of this recipe is how versatile it is. You can easily swap out ingredients to suit your taste or dietary needs. Want to make it vegan? Use peanut butter and maple syrup! Prefer it nut-free? Substitute with sunbutter and leave out the nuts. This flexibility means everyone can enjoy these bars!
Budget-Friendly Snack
When it comes to snacks, homemade is almost always more economical than store-bought options. These Chewy Granola Bars are incredibly cost-effective to make. The basic ingredients like oats and peanut butter are usually inexpensive and can be bought in bulk. Plus, you can customize the batch size according to your needs, saving you money in the long run.
Perfect for Meal Prep
These bars are fantastic for meal prepping! I often make a batch on the weekend, so I have grab-and-go snacks ready for the week. It saves me time and helps me avoid unhealthy snacking options when I’m busy. Just cut them into bars, store them in an airtight container, and you’re set!
Family-Friendly and Fun to Make
Making Chewy Granola Bars can be a fun family activity. Kids love to help mix the ingredients, and they’ll be thrilled to add their favorite toppings like mini chocolate chips or dried fruit. It’s a wonderful way to spend time together while teaching them about healthy eating habits.
Ingredients Required for Chewy Granola Bars
When creating the perfect Chewy Granola Bars, the choice of ingredients is essential. Each component works together to create a delightful texture and flavor that is both satisfying and nourishing. The star of the recipe, oats, provide a hearty base, while peanut butter adds richness. Natural sweeteners like maple syrup enhance the flavor while keeping it wholesome. Let’s explore the key players that make this recipe shine!
- 1 and 1/2 cups of quick or rolled oats – The foundation of our bars, providing a chewy texture and essential fiber.
- 1/2 cup of butter or peanut butter – This adds creaminess and richness, helping to bind the ingredients together.
- 1/2 cup of pure maple syrup, honey, or agave – The natural sweetener that brings all the flavors together beautifully.
- 1/4 tsp of salt – Just a pinch to enhance the flavors and balance the sweetness.
- 2/3 cup of oat flour or flour of choice – Helps to bind the mixture, adding to the texture.
- Handful of mini chocolate chips, optional – A fun addition for a touch of sweetness and indulgence!
Putting Together Chewy Granola Bars
Creating these Chewy Granola Bars is a simple and enjoyable process that yields delicious results. You’ll love how quickly they come together, and soon enough, you’ll have a healthy snack on hand. Here’s how to make them step by step:
First, gather all your ingredients and prepare your workspace. It’s important to have everything ready to create a smooth process. Preheat your oven to 325 degrees Fahrenheit if you choose to bake them.
In a large mixing bowl, combine the oats, oat flour, and salt. Mix them well to ensure even distribution of the ingredients.
Add in the butter or peanut butter and maple syrup. Stir everything together until the mixture is well-combined. You want to ensure that the butter is fully integrated into the dry ingredients for a uniform texture.
If you’re using mini chocolate chips, fold them in gently at this stage. This is where you can customize your bars by adding nuts or dried fruits if you prefer.
Next, line an 8×8 inch baking pan with parchment paper. This will make it easier to remove the bars once they’re set. Transfer the mixture into the pan, pressing it down evenly with your hands or a spatula.
Cover the mixture with another sheet of parchment paper and press down firmly to compact it. This step is crucial to help the bars hold their shape.
If you’re baking, place the pan in the preheated oven and allow it to bake for 12 minutes. The bars should turn a light golden color. If you prefer a no-bake option, simply refrigerate or freeze the mixture until firm, typically about 1 to 2 hours.
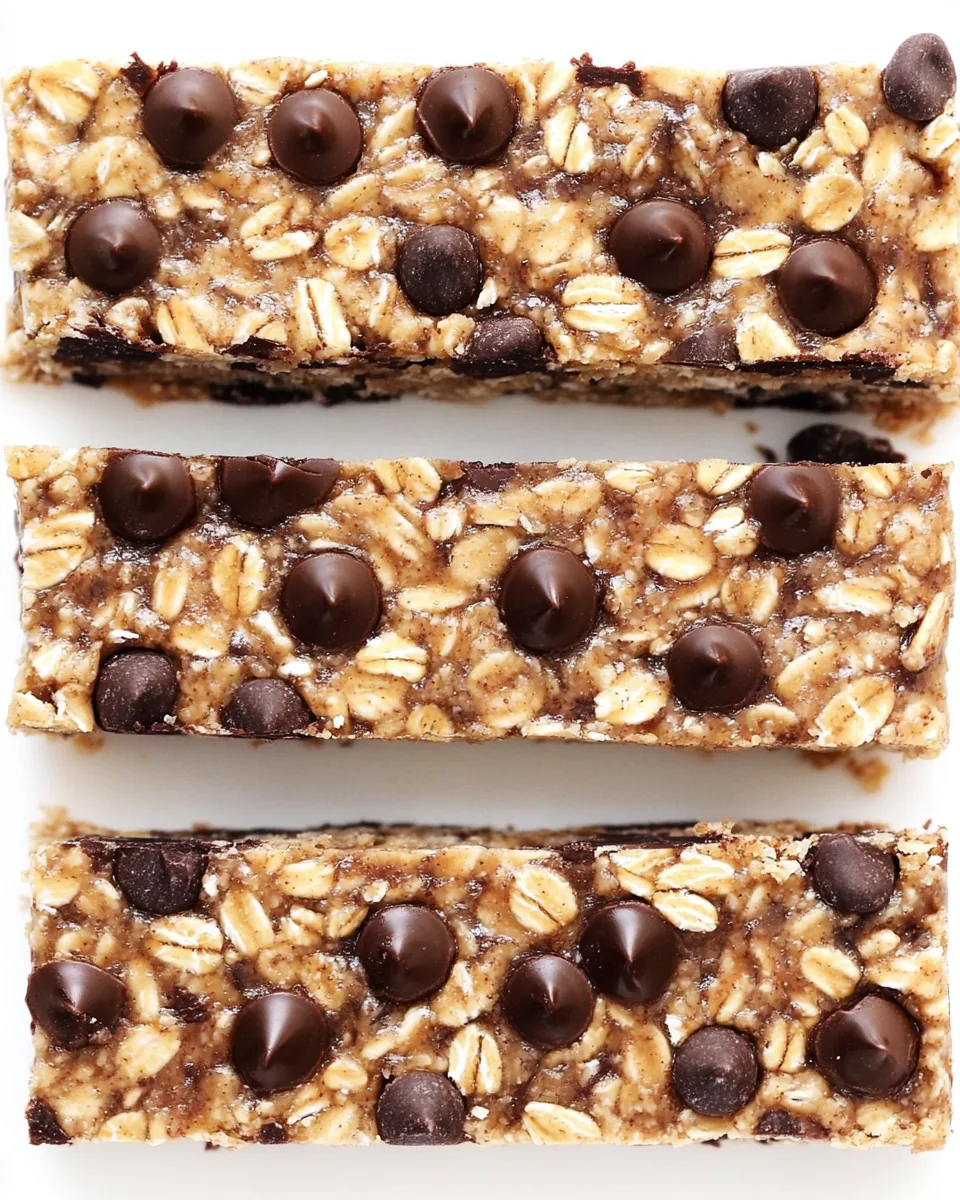
Once the bars have set, remove them from the pan using the parchment paper. Cut them into squares or rectangles of your desired size. You can enjoy them right away or store them for later!
Finally, if you’re feeling creative, drizzle some melted dark chocolate on top for an extra touch of sweetness and elegance!
Things Worth Knowing
- Perfect Texture: Make sure to pack the mixture tightly in the pan so the bars hold together well.
- Natural Sweetness: Adjust the sweetness by adding more or less of the maple syrup according to your taste.
- Storage: Keep the bars in an airtight container in the refrigerator for up to a week. They can also be frozen for longer storage.
- Customizable Mix-ins: Feel free to add your favorite seeds, nuts, or dried fruits for added nutrition and flavor!
Substitutions and Tips
If you’re looking to personalize your Chewy Granola Bars or need some helpful advice, here are some tips and substitutions to keep in mind:
- Storage: To keep your bars fresh, wrap them individually in parchment paper and store them in an airtight container.
- Freezing: You can freeze these bars for up to 3 months. Just make sure they’re well wrapped to avoid freezer burn.
- Pairing: These bars are perfect for breakfast or as a snack. Pair them with yogurt and fresh fruit for a delightful meal.
- Variations: Try substituting peanut butter with almond butter or sunflower seed butter for a nut-free option.
- Serving Size: Depending on your appetite, you can cut the bars into larger or smaller pieces.
How to Serve Chewy Granola Bars
When it comes to serving your Chewy Granola Bars, there are countless options to make them even more enjoyable. Here’s how you can serve them:
- Breakfast on the Go: These bars make for a quick breakfast option when you’re in a hurry. Just grab one and pair it with a piece of fruit for a balanced start to your day.
- Snack Time Delight: Perfect for kids’ lunchboxes, these bars are a great way to provide a healthy snack during school hours. They’re easy to pack and eat!
- Post-Workout Fuel: The combination of oats and peanut butter makes these bars an excellent post-workout snack to replenish your energy levels.
- Seasonal Treat: During the holidays, consider adding festive ingredients like dried cranberries or pumpkin seeds to give your bars a seasonal touch.
- Sharing with Friends: These bars are great for gatherings or picnics. Slice them into bite-sized pieces for sharing!
- Pairing with Beverages: Serve your bars with a warm beverage like tea or coffee to complement the flavors beautifully.
FAQ
Conclusion
The Chewy Granola Bars are not only a satisfying snack, but they are also incredibly easy to make and customize. I encourage you to try your hand at making these delightful bars, as they’ll become a staple in your home. Whether you’re rushing out the door in the morning or looking for a healthy afternoon treat, these bars are sure to impress with their delicious flavor and wholesome ingredients. So, gather your ingredients, and let’s get cooking!
Chewy Granola Bars
Equipment
- Frying Pan
- Oven
- Wooden Spoon
- Mixing Bowl
- Baking Sheet
Ingredients
- 1.5 cups quick or rolled oats
- 0.5 cups butter or peanut butter
- 0.5 cups pure maple syrup or honey
- 0.25 tsps salt
- 0.67 cups oat flour or flour of choice
- handful mini chocolate chips optional
Instructions
- Stir everything until well-mixed. Transfer to an 8×8 pan lined with parchment or wax paper. Place another sheet of parchment or wax over the top, smush down and spread until it fills the bottom of the pan. Either preheat the oven to 325 F and bake for 12 minutes, or simply refrigerate or freeze until firm. Cut into bars.
Notes
- Leftover oatmeal: Make these Overnight Oats.