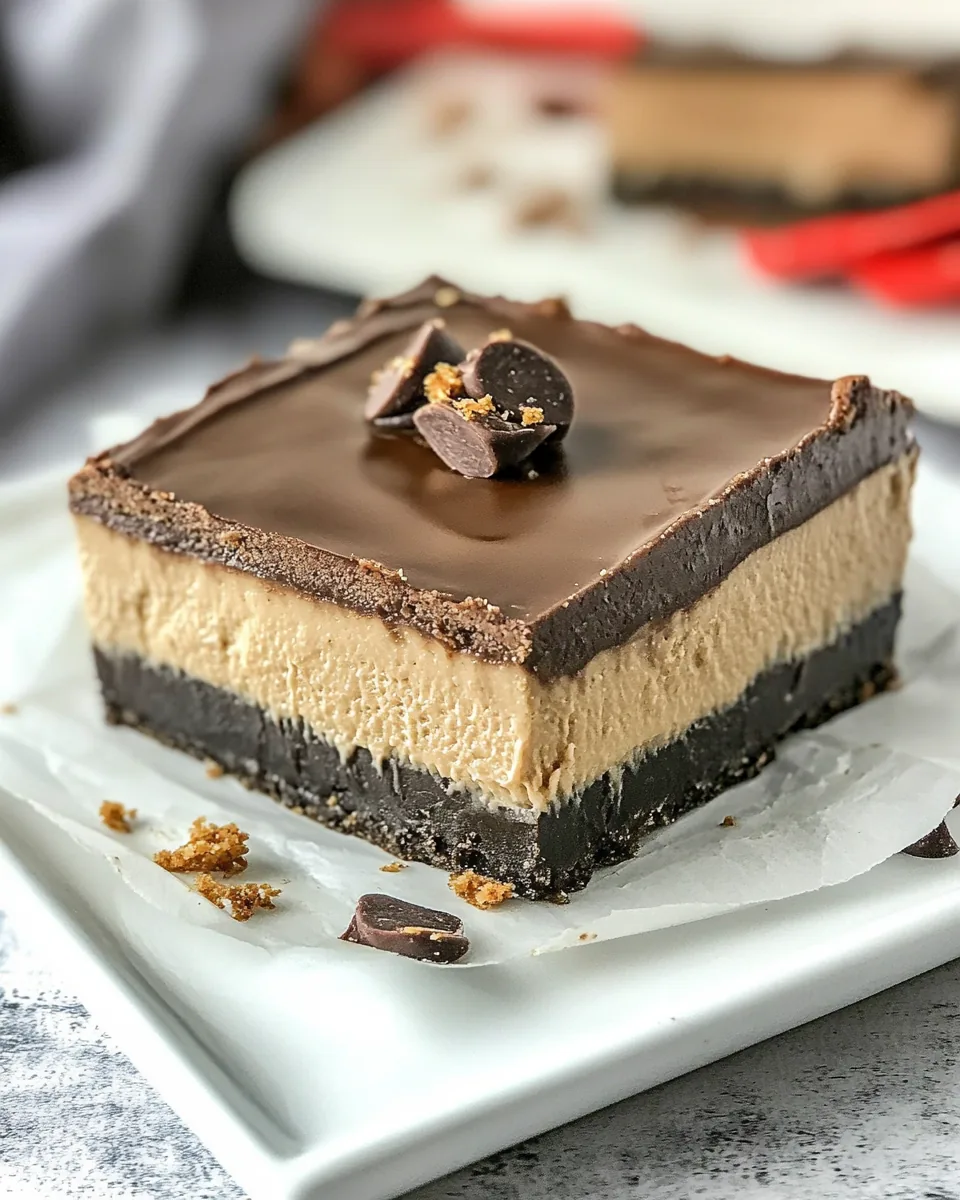
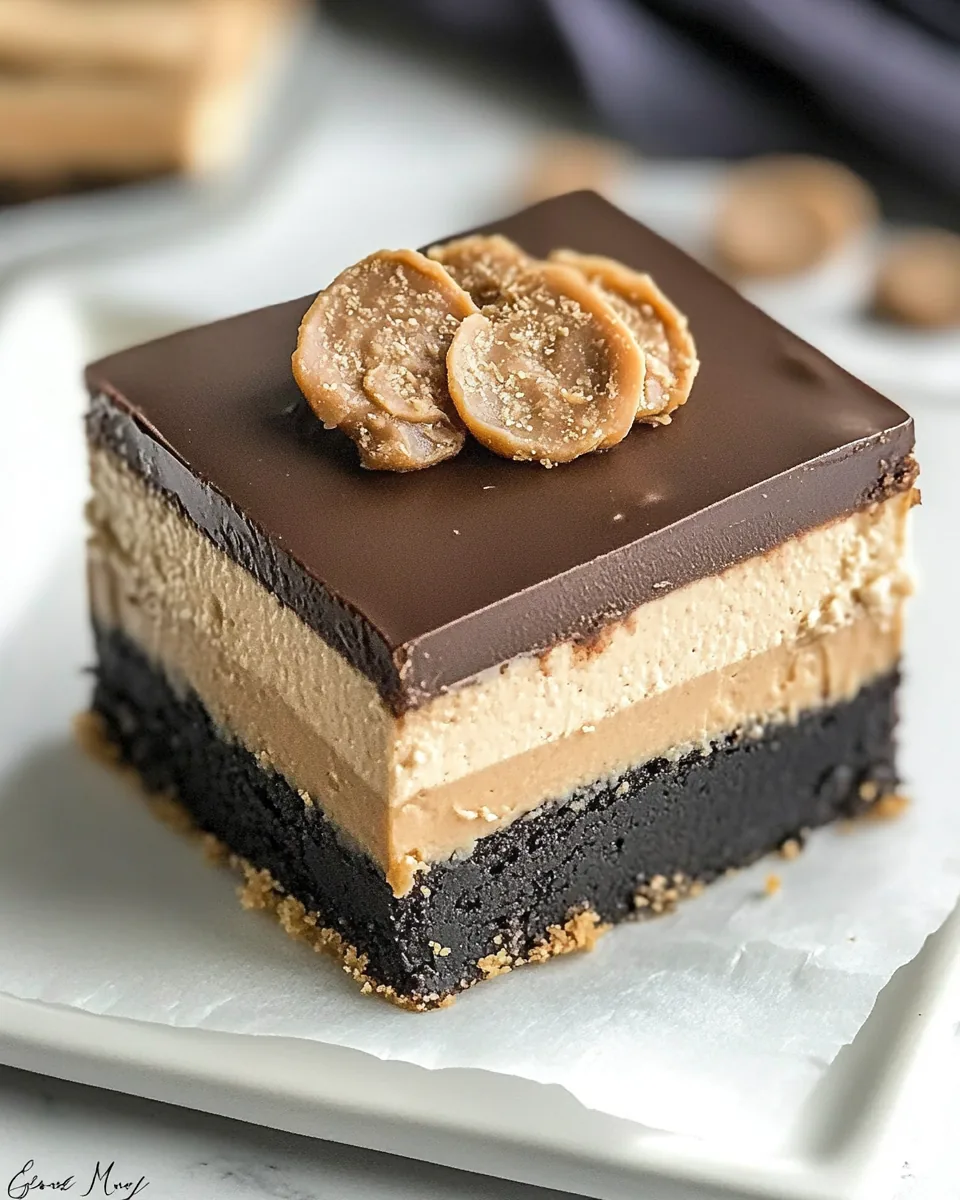
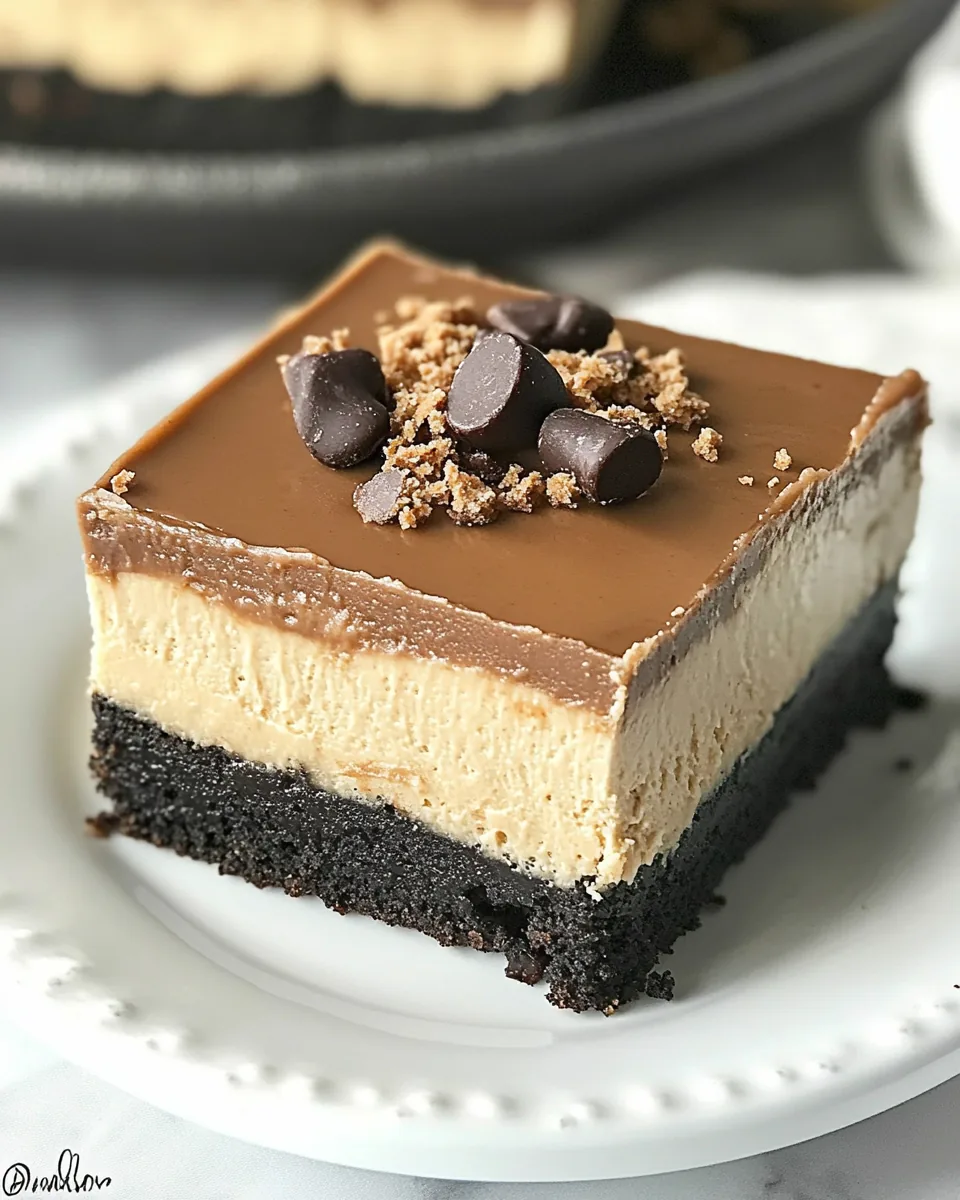
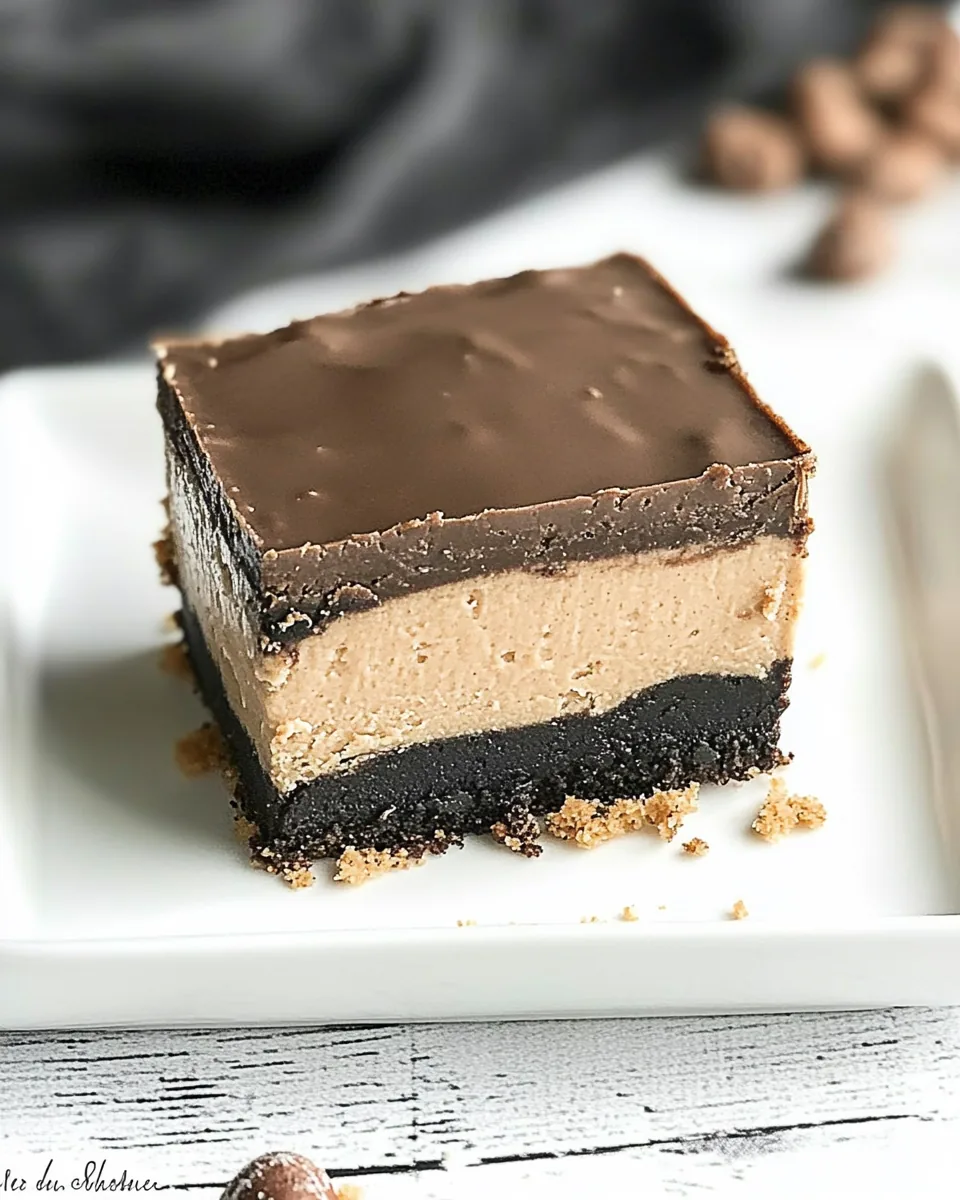
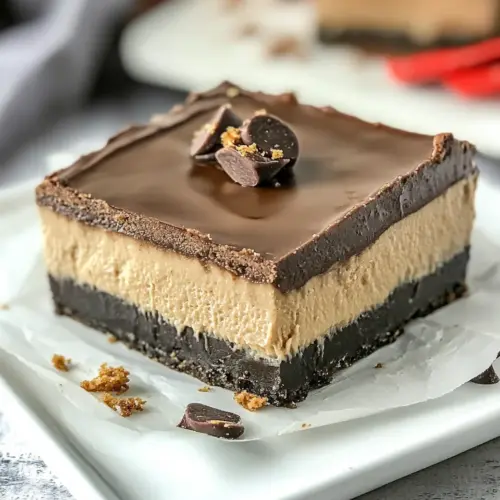
Cheesecake Peanut Butter Bars
Whenever I think about sweet treats that make my heart skip a beat, Cheesecake Peanut Butter Bars come to mind. These bars have a magical way of bringing back memories of family gatherings, where everyone eagerly awaited dessert. The combination of creamy cheesecake with rich peanut butter and a crunchy Oreo crust is simply irresistible. I remember the first time I baked these bars; the aroma filled my kitchen, making it hard to resist sneaking a taste before they even cooled. Every bite is a delightful explosion of flavors, and I can never make enough to satisfy everyone’s cravings. It’s the kind of dessert that brings people together, sparking laughter and joy. Whether it’s a casual Sunday afternoon or a special occasion, these bars never fail to impress. So, let’s dive into this wonderful recipe that makes every moment sweeter!
Recipe Snapshot
55 mins
15 mins
40 mins
Medium
280 kcal
4 g
Keto, Gluten-Free, Low FODMAP
17 g
Frying Pan, Food Processor, Oven, Wooden Spoon, Mixing Bowl, Baking Sheet
Why This Cheesecake Peanut Butter Bars Stands Out
Decadent Flavor Fusion
The first reason I absolutely love Cheesecake Peanut Butter Bars is the fantastic flavor combination. The creamy cheesecake melds beautifully with the nutty richness of peanut butter, creating a taste that’s hard to forget. Each layer contributes its own personality, making every bite a delightful experience.
Easy to Make
These bars are surprisingly easy to whip up! Even if you’re not a seasoned baker, you’ll find the steps simple to follow. With just a few ingredients, you can create a stunning dessert that looks as good as it tastes. It’s the perfect recipe for beginners who want to impress their friends and family.
Perfect for Any Occasion
What I love about Cheesecake Peanut Butter Bars is their versatility. They’re great for everything from birthday parties to casual get-togethers. You can serve them on a fancy dessert table or just enjoy them as an after-dinner treat. No matter the occasion, they always fit right in!
Make Ahead and Store
You can easily make these bars ahead of time, which is a lifesaver for busy weeks. Just prepare them, chill them in the fridge, and they’re ready to serve when you need them. Plus, they store well, so they make a great option if you want to have a sweet treat on hand.
Fun to Customize
These bars can also be customized to suit your taste. Want a little more chocolate? Add some chocolate chips to the batter or drizzle melted chocolate on top before serving. There’s plenty of room for creativity, and that’s part of what makes baking these bars so much fun!
Kid-Friendly Delight
Lastly, kids absolutely adore these Cheesecake Peanut Butter Bars. They are the perfect dessert to introduce children to baking. Involving them in the kitchen is a wonderful way to create lasting memories, and they’ll love helping to mix and pour the ingredients. Plus, who doesn’t love the satisfaction of sharing something they helped make?
Ingredients Required for Cheesecake Peanut Butter Bars
Every great recipe starts with the right ingredients, and the Cheesecake Peanut Butter Bars are no exception. The combination of these ingredients creates a perfect balance of flavors and textures. The standout players here are the Oreos, which form the delicious crust, and the creamy filling that brings everything together. Let’s explore the key ingredients that make this dessert a true delight.
- 36 Oreos, processed to crumbs in food processor: These iconic cookies form the base of our dessert, providing a sweet and crunchy foundation.
- ½ cup salted butter, melted: The melted butter binds the Oreo crumbs together, ensuring a rich flavor and perfect texture for the crust.
Cooking Instructions for Cheesecake Peanut Butter Bars
Creating Cheesecake Peanut Butter Bars is a rewarding experience that fills your kitchen with lovely aromas. Follow these steps to craft your bars with precision and care. Remember, each step is essential to achieving the perfect balance of flavors and textures!
- Preheat your oven to 350°. This initial step is crucial for ensuring your bars bake evenly. A well-preheated oven helps achieve the perfect crust texture.
- Line a 9×13 pan with nonstick foil. This makes it easy to remove the bars once they’re set. Ensure the foil hangs over the edges of the pan for easy lifting.
- In a mixing bowl, combine the cookie crumbs from the Oreos with the melted butter. Stir until the crumbs are fully coated and the mixture resembles wet sand.
- Press the crumb mixture evenly into the bottom of the prepared pan. Use the back of a measuring cup or your fingers to pack it down tightly. This forms a solid crust that holds up well after baking.
- Bake the crust for 10 minutes. This step helps set the crust and gives it a slight crunch. Keep an eye on it; it should be firm but not too dark.
- While the crust is baking, prepare the cheesecake filling. In a mixing bowl, beat cream cheese and sugar until smooth and creamy. This creates the luscious filling.
- Add in sour cream, followed by peanut butter, vanilla extract, and a pinch of salt. Beat until everything is well blended. The mixture should be smooth and slightly fluffy.
- Now, add the eggs one at a time, mixing just until incorporated. Be careful not to overmix, as this can lead to cracks in your cheesecake.
- Pour the creamy filling over the crust, smoothing it out with an offset spatula. This step ensures an even layer of cheesecake on top of the crust.
- Bake for 30 to 35 minutes or until the cheesecake looks mostly set. The center may still have a slight jiggle, which is perfectly fine. This indicates it will firm up as it cools.
- Once done, cool the bars to room temperature on a wire rack. This cooling step is essential for them to set properly.
- Chill the cheesecake in the refrigerator until cold. This helps the flavors meld together and makes cutting the bars easier.
- For the chocolate topping, melt butter and chocolate together in the microwave. Stir until smooth, then pour over the cold cheesecake. The melted chocolate adds a delicious finish!
- Chill again for at least an hour before cutting into squares. This final step ensures every piece is clean and beautifully presented.
Things Worth Knowing
- Room Temperature Ingredients: Make sure your cream cheese and sour cream are at room temperature before mixing. This helps create a smoother batter without lumps.
- Don’t Overmix: Once you add the eggs, mix just until incorporated. Overmixing can lead to cracks in your cheesecake.
- Chill Thoroughly: Allow enough time for chilling the cheesecake. This step is crucial for achieving the right texture and flavor.
- Use a Sharp Knife: When cutting the bars, use a sharp knife dipped in hot water for clean edges. This ensures each piece looks polished and appetizing.
Recipe Notes about Cheesecake Peanut Butter Bars
These tips will help you get the best results with your Cheesecake Peanut Butter Bars. With just a few careful practices, you can ensure your dessert turns out perfect every time.
- Storage: Store leftover bars in an airtight container in the refrigerator for up to five days. They can also be kept at room temperature for a few hours for serving.
- Freezing: Yes, you can freeze these bars! Cut them into squares, wrap them tightly in plastic wrap, and place them in a freezer-safe container. Thaw in the refrigerator before serving.
- Pairing: These bars pair wonderfully with a scoop of vanilla ice cream or a dollop of whipped cream for an extra treat.
- Variations: Feel free to get creative! Add chocolate chips to the batter or sprinkle crushed Oreos on top for added texture.
- Serving Size: A little goes a long way with these rich bars. One square is often enough to satisfy your sweet tooth!
Best Served With
When it comes to serving Cheesecake Peanut Butter Bars, there are several delightful pairings that can enhance the experience. Here are some ideas:
- Chocolate Sauce: Drizzle some warm chocolate sauce on top for an indulgent treat. It complements the peanut butter flavor wonderfully.
- Whipped Cream: A dollop of whipped cream adds a light and fluffy texture that balances the richness of the bars.
- Fresh Berries: Serve with fresh strawberries or raspberries to add a tart contrast to the sweet bars.
- Ice Cream: Pairing these bars with a scoop of vanilla or chocolate ice cream creates a harmonious dessert duo.
- Events: They’re perfect for birthdays, potlucks, or holiday gatherings. Their rich flavors make them a standout dessert at any event.
- Seasonal Variations: For a festive touch, consider adding seasonal toppings like crushed peppermint in winter or coconut flakes in summer.
FAQ
Conclusion
The Cheesecake Peanut Butter Bars combine rich flavors and textures, making them a dessert that’s always a hit. I encourage you to try making these bars for your next gathering or even for a cozy night at home. They’re not just a treat; they’re a way to create beautiful memories with friends and family. Don’t miss out on the joy these bars bring to the table!
Cheesecake Peanut Butter Bars
Equipment
- Frying Pan
- Food Processor
- Oven
- Wooden Spoon
- Mixing Bowl
- Baking Sheet
Ingredients
- 36 Oreos processed to crumbs in food processor
- ½ cup salted butter melted
Instructions
- Preheat your oven to 350°. This initial step is crucial for ensuring your bars bake evenly. A well-preheated oven helps achieve the perfect crust texture.
- Line a 9x13 pan with nonstick foil. This makes it easy to remove the bars once they’re set. Ensure the foil hangs over the edges of the pan for easy lifting.
- In a mixing bowl, combine the cookie crumbs from the Oreos with the melted butter. Stir until the crumbs are fully coated and the mixture resembles wet sand.
- Press the crumb mixture evenly into the bottom of the prepared pan. Use the back of a measuring cup or your fingers to pack it down tightly. This forms a solid crust that holds up well after baking.
- Bake the crust for 10 minutes. This step helps set the crust and gives it a slight crunch. Keep an eye on it; it should be firm but not too dark.
- While the crust is baking, prepare the cheesecake filling. In a mixing bowl, beat cream cheese and sugar until smooth and creamy. This creates the luscious filling.
- Add in sour cream, followed by peanut butter, vanilla extract, and a pinch of salt. Beat until everything is well blended. The mixture should be smooth and slightly fluffy.
- Now, add the eggs one at a time, mixing just until incorporated. Be careful not to overmix, as this can lead to cracks in your cheesecake.
- Pour the creamy filling over the crust, smoothing it out with an offset spatula. This step ensures an even layer of cheesecake on top of the crust.
- Bake for 30 to 35 minutes or until the cheesecake looks mostly set. The center may still have a slight jiggle, which is perfectly fine. This indicates it will firm up as it cools.
- Once done, cool the bars to room temperature on a wire rack. This cooling step is essential for them to set properly.
- Chill the cheesecake in the refrigerator until cold. This helps the flavors meld together and makes cutting the bars easier.
- For the chocolate topping, melt butter and chocolate together in the microwave. Stir until smooth, then pour over the cold cheesecake. The melted chocolate adds a delicious finish!
- Chill again for at least an hour before cutting into squares. This final step ensures every piece is clean and beautifully presented.