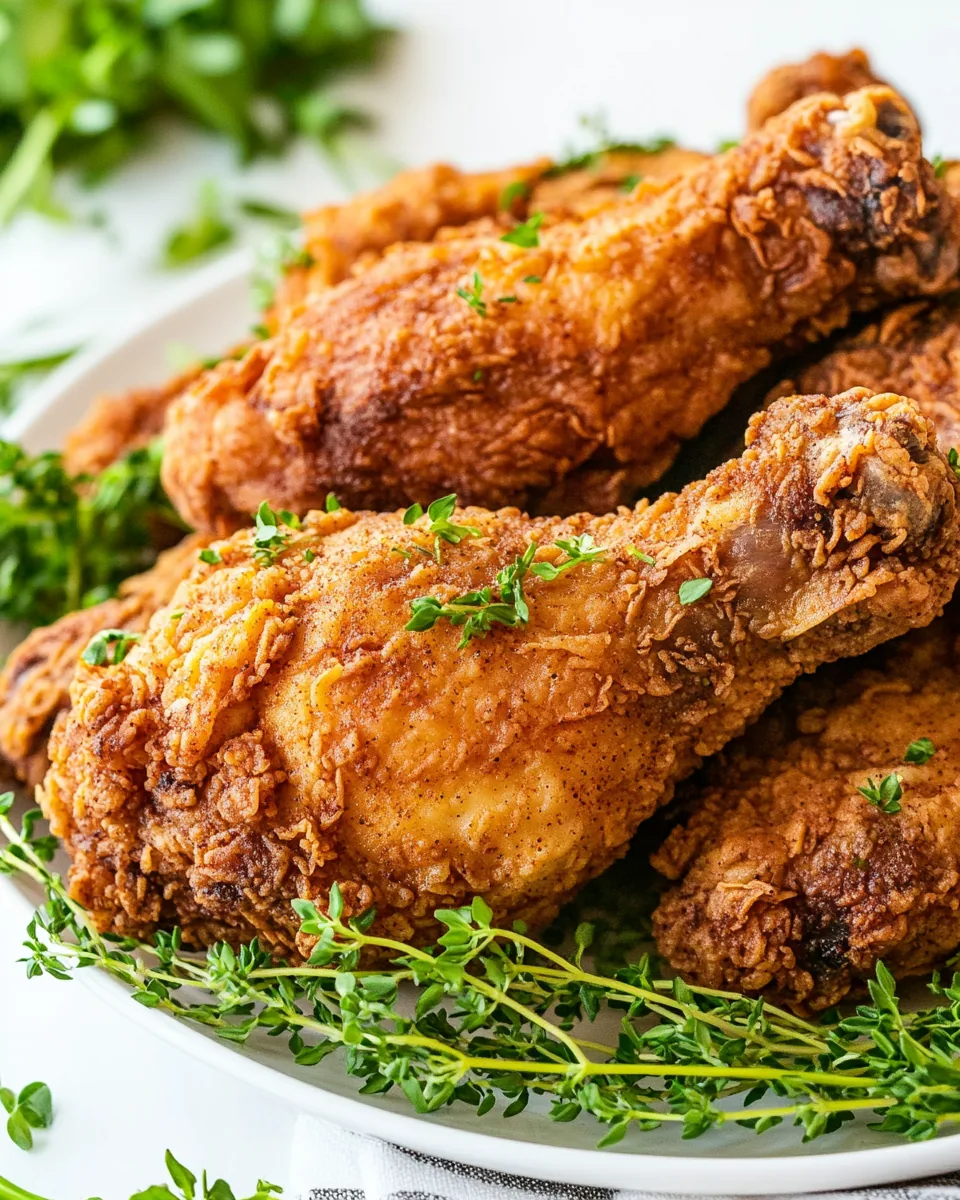
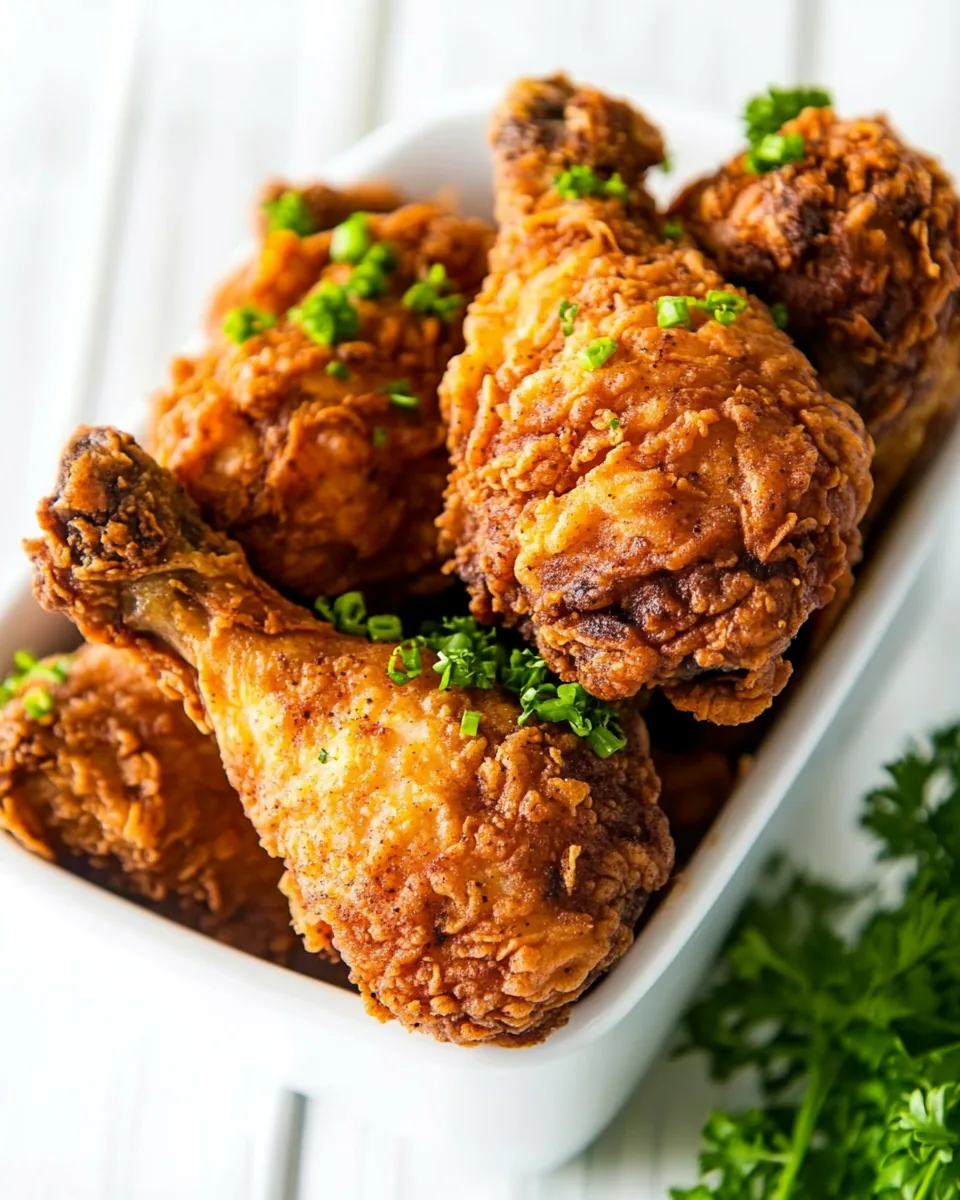
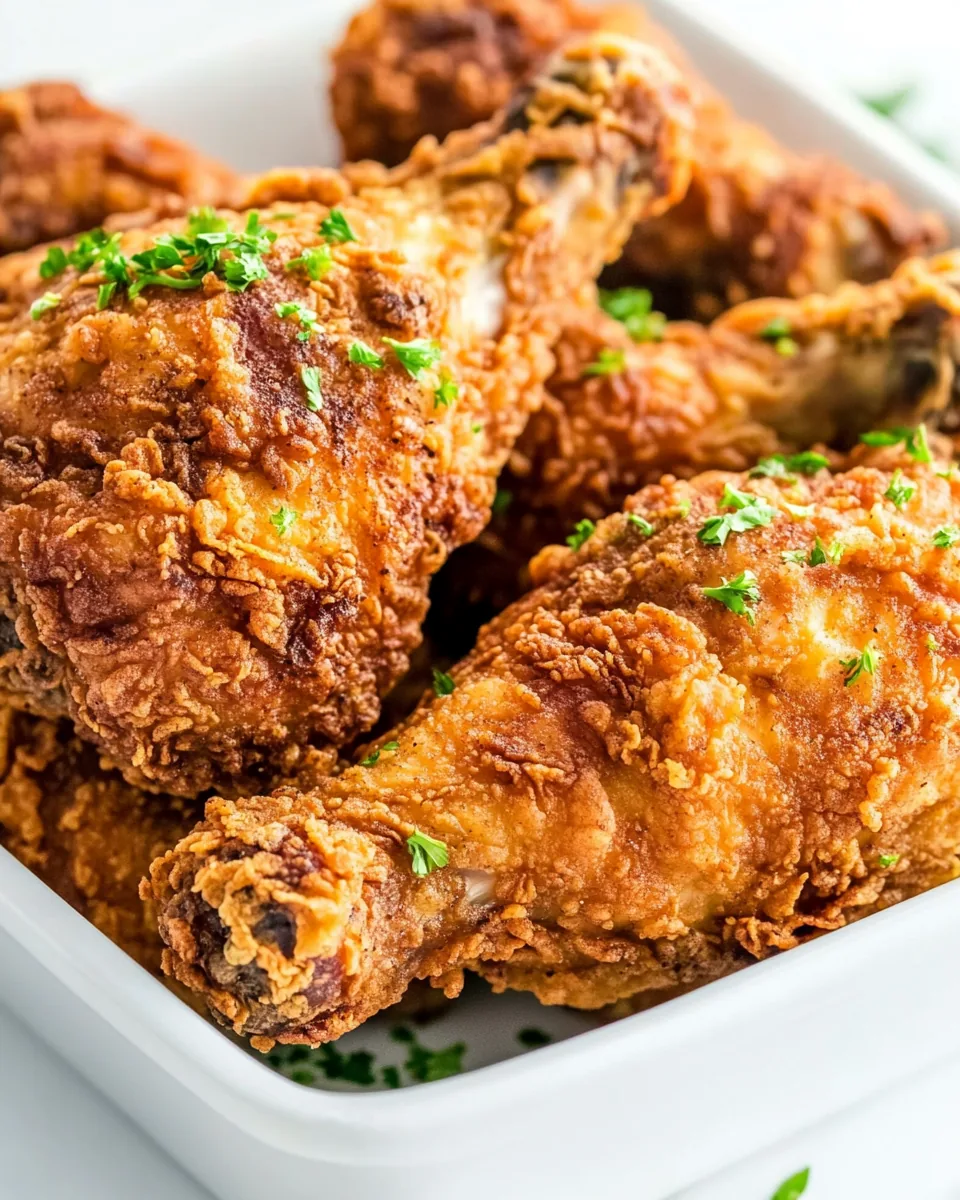
Buttermilk Fried Chicken
There’s something incredibly comforting about a plate of Buttermilk Fried Chicken. Growing up, nothing brought the family together quite like the aroma of crispy fried chicken wafting through the house. I remember those weekends when my parents would gather us around the kitchen, and the sound of sizzling chicken would fill the air, promising a hearty meal ahead. The secret? Marinating the chicken in rich, creamy buttermilk to achieve that perfect tenderness and flavor. As we waited in anticipation, my mouth would water at the thought of the golden-brown, crispy coating that was to come. Whether it’s a Sunday family dinner or a special gathering with friends, this dish never fails to impress.
Recipe Snapshot
26 mins
10 mins
16 mins
Easy
400 kcal
25 g
Paleo, Whole30, Vegan
20 g
Baking Sheet, Dutch Oven or Deep Fryer, Deep Fry Oil Thermometer
Why You Need This Buttermilk Fried Chicken
1. Unmatched Flavor
The Buttermilk Fried Chicken boasts a flavor profile that’s truly irresistible. The combination of spices, together with the tangy buttermilk, creates a depth of flavor that elevates this dish far beyond your average fried chicken.
2. Perfect Crispiness
What sets this recipe apart is the perfectly crispy coating. The seasoned flour mixture adhered to the marinated chicken creates a delightful crunch with every bite. You’ll find that it’s not just about frying chicken; it’s about achieving that golden, crispy exterior.
3. Family Tradition
As I prepare this dish, I feel a sense of nostalgia. My family has made Buttermilk Fried Chicken for generations, passing down tips and tricks that make it even more special. Cooking it is almost like a celebration of love, family, and tradition.
4. Versatile Meal
This fried chicken isn’t just for weekends; it’s perfect for any occasion. Whether you’re hosting a summer barbecue, celebrating a holiday, or simply enjoying a cozy dinner at home, this dish fits right in as the centerpiece of the meal.
5. Customization Options
What I love most about this recipe is its versatility. You can adjust the spice levels to fit your family’s taste. Want it extra spicy? Add more cayenne pepper. Prefer it milder? Simply hold back on the spices. The possibilities are endless!
6. A Crowd-Pleaser
Whenever I serve Buttermilk Fried Chicken, it never fails to be a hit. Friends and family rave about the crispy texture and juicy flavor, making it a go-to choice for gatherings. Everyone leaves satisfied, and that’s the best part of cooking!
What You’ll Need for Buttermilk Fried Chicken
Gathering the right ingredients is essential for making incredible Buttermilk Fried Chicken. Each component plays a vital role in achieving that perfect flavor and texture. From the tangy buttermilk to the blend of spices, these ingredients come together to create a dish that’s as comforting as it is delicious.
- 1 cup buttermilk: The key ingredient for a moist and tender chicken.
- 2 cups all-purpose flour: For a crispy coating that holds flavor.
- 2 tablespoons kosher salt: Essential for seasoning and enhancing flavors.
- 1 tablespoon ground black pepper: Adds a nice kick to the seasoning blend.
- ½ tablespoon garlic powder: Infuses a subtle garlic flavor.
- 2 teaspoons onion powder: Complements the garlic for a deeper flavor.
- 1 teaspoon ground paprika: Offers a slight sweetness and color.
- ½ teaspoon ground cayenne pepper (optional): For those who like it spicy!
- 4 pounds chicken thighs and drumsticks: The star of the dish, juicy and flavorful.
- 2 quarts cooking oil (for frying): Necessary for achieving that crispy texture.
Directions for Buttermilk Fried Chicken
Frying chicken can seem daunting, but once you get the hang of it, you’ll find it’s quite straightforward. Let’s take this step by step for the best results. Follow these instructions to ensure your Buttermilk Fried Chicken turns out perfectly every time.
- Begin by pouring the buttermilk into one large bowl. This is where the magic begins, as the chicken will soak in this creamy mixture, enhancing its tenderness.
- In a second large bowl, mix together the flour, kosher salt, black pepper, garlic powder, onion powder, ground paprika, and cayenne pepper. Whisk them together until evenly combined. This blend will create a flavorful crust.
- Take each piece of chicken (the thighs and drumsticks) and first dust them in the seasoned flour mixture. Make sure to coat them well, tapping off any excess.
- Next, dip the coated chicken pieces into the buttermilk, ensuring they’re fully submerged for maximum flavor and moisture.
- Return the chicken to the flour mixture for a second coating, pressing down slightly to ensure the flour sticks to the chicken. This double dip is crucial for that crispy crust.
- Once coated, place the chicken pieces on a baking sheet lined with wax paper. Cover with wax paper and allow them to rest for about 20 to 40 minutes. This helps the coating adhere better.
- While the chicken is resting, heat the cooking oil in a heavy pot or deep fryer to 375°F. Use a thermometer to monitor the temperature for best results.
- Once the oil reaches the right temperature, carefully add the chicken in batches, ensuring not to overcrowd the pot. Fry until golden brown, which usually takes about 7 to 8 minutes per side.
- To check for doneness, insert a thermometer into the thickest part of the chicken; it should read between 165°F and 175°F.
- Once cooked, remove the chicken and let it drain on paper towels. This step helps remove any excess oil while keeping the crust crispy.
Things Worth Knowing
- Marinating is key: For extra tender and juicy fried chicken, marinate the chicken pieces in buttermilk with a pinch of salt for 4 hours or overnight.
- Resting time matters: After coating the chicken in flour, let it rest to allow the crust to set. This helps prevent it from falling off while frying.
- Oil temperature is crucial: Ensure the cooking oil registers at 375°F before frying. This prevents the chicken from becoming greasy and ensures a crispy finish.
- Avoid overcrowding: Fry the chicken in small batches to maintain the oil temperature. Overcrowding can lead to soggy chicken.
- Use the right tools: Employ tongs to carefully place and turn the chicken in the hot oil for safety and ease.
- Drain properly: Allow fried chicken to rest on a wire rack or paper towels for a few minutes to let excess oil drip off.
Substitutions and Tips
When making Buttermilk Fried Chicken, there are a few helpful tips to keep in mind for the best results. Here’s what you should know:
- Storage: Store any leftover fried chicken in an airtight container in the refrigerator for up to 3 days. Reheat in the oven to restore crispiness.
- Freezing: You can freeze fried chicken for up to 2 months. Ensure it’s completely cooled before wrapping it tightly in foil or freezer bags.
- Pairing: Serve with classic sides like coleslaw, mashed potatoes, or cornbread for a comforting meal.
- Spice it up: Adjust the cayenne pepper to your preference for added heat or try different spices to create unique flavors.
- Coating alternatives: For a gluten-free option, substitute regular flour with gluten-free all-purpose flour.
- Serving occasions: This chicken is perfect for picnics, potlucks, or a cozy family dinner. It’s a crowd-pleaser!
Serving Ideas for Buttermilk Fried Chicken
When it comes to serving Buttermilk Fried Chicken, the options are as delicious as they are diverse. Here’s how to enjoy this classic dish:
- With Classic Sides: Serve your fried chicken with sides like creamy mashed potatoes, buttery corn on the cob, or fresh coleslaw for a traditional meal.
- Picnic Style: Pack this chicken for a picnic, pairing it with potato salad and fresh fruit for a delightful outdoor meal.
- Sandwiches: Transform leftovers into mouthwatering sandwiches with lettuce, tomato, and your favorite sauce on a soft bun.
- Family Gatherings: This dish is perfect for holidays or family reunions, where everyone can enjoy generous helpings together.
- Kid-Friendly: Serve with an assortment of dipping sauces like honey mustard or ranch for a fun meal that kids will love.
- Comfort Food: Enjoy it on a chilly evening with a side of biscuits and gravy for a warm, comforting dinner.
FAQ
Conclusion
The Buttermilk Fried Chicken is a special recipe that combines tradition with flavor, making it a must-try for any comfort food lover. This dish not only satisfies your taste buds but also brings friends and family together around the table. I encourage you to give this recipe a try and savor the crispy, juicy goodness that it has to offer. You won’t regret it!
Buttermilk Fried Chicken
Equipment
- Baking Sheet
- Dutch Oven or Deep Fryer
- Deep Fry Oil Thermometer
Ingredients
- 1 cup buttermilk
- 2 cups all-purpose flour
- 2 tablespoons kosher salt
- 1 tablespoon ground black pepper
- ½ tablespoon garlic powder
- 2 teaspoons onion powder
- 1 teaspoon ground paprika
- ½ teaspoon ground cayenne pepper (optional)
- 4 pounds chicken thighs and drumsticks
- 2 quarts cooking oil (for frying)
Instructions
- Pour the buttermilk into one large bowl. In a second large bowl, mix together the flour, kosher salt, black pepper, garlic powder, onion powder, ground paprika, and cayenne pepper (optional). One piece at a time, dust the chicken thighs and drumsticks with the seasoned flour, then dip into the buttermilk. Dredge the chicken back in the flour mixture, making sure it’s thoroughly coated. Place the coated chicken pieces on a baking sheet, and cover them with wax paper, allowing them to rest until the flour coating is pasty, about 20-40 minutes. While the chicken is resting, preheat the cooking oil, in either a heavy pot on the stove or a deep fryer, to 375℉. Fry the chicken in batches until golden brown, about 7-8 minutes on each side. A thermometer inserted into the thickest part should read between 165-175℉. Remove and drain the chicken on paper towels before serving.
Notes
- Marinate for tenderness: For extra tender and juicy fried chicken, marinate the chicken pieces in buttermilk with a little salt for 4 hours or up to overnight.
- Let it rest: Allow the chicken to rest once you’ve coated it in the flour mixture to help the crust set.
- Oil temperature: Ensure the cooking oil registers at 375°F before adding the chicken.
- Avoid overcrowding: Don’t add too many chicken pieces to the oil to prevent sogginess.
- Use tongs: Use tongs to place the chicken in the hot oil and to turn it while cooking.
- Drain properly: Let the fried chicken rest on a wire rack or paper towel for about 5 minutes to help any excess oil drip off.