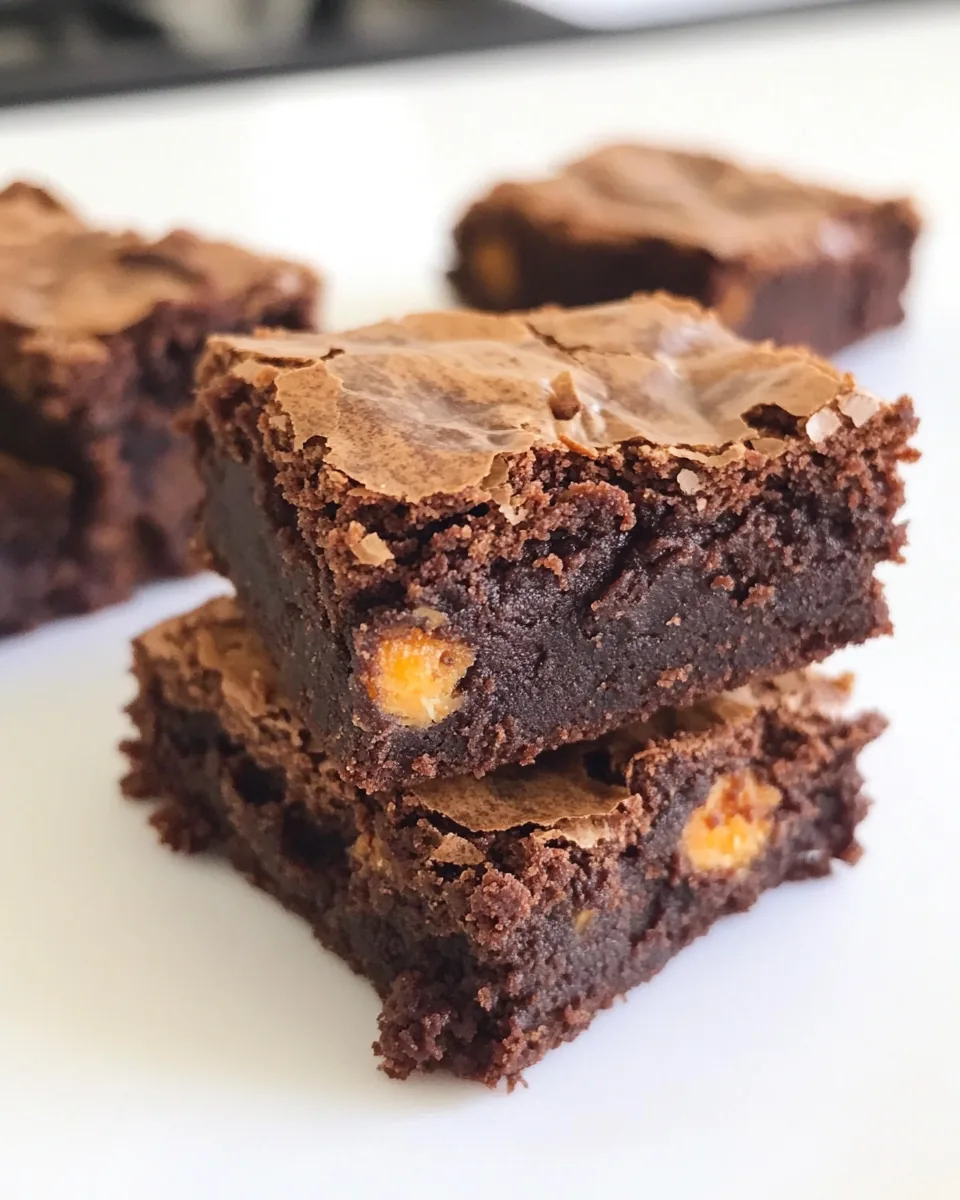
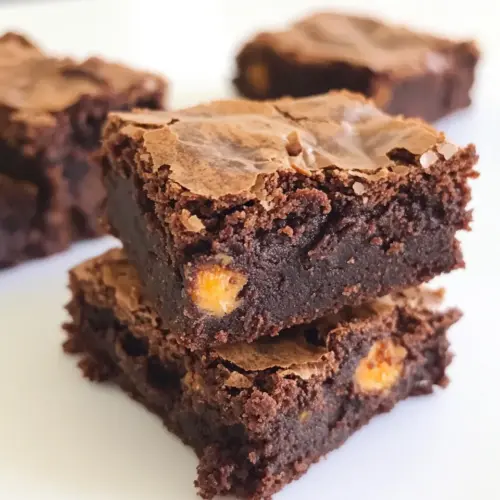
Butterfinger Brownies
When it comes to indulgent treats, nothing quite beats the sheer joy of a good brownie. That’s why I absolutely love making Butterfinger Brownies. It all started one rainy afternoon when I found myself craving something chocolatey and sweet. I rummaged through my pantry and stumbled upon a stash of leftover Butterfinger candy bars. It hit me—why not incorporate those into a brownie recipe? The combination of rich, fudgy chocolate and crunchy, peanut-buttery bits created an explosion of flavor that delighted my taste buds. Friends and family raved about these brownies, and I couldn’t help but share the recipe. You’ll find that they’re a crowd-pleaser, perfect for birthdays, potlucks, or simply satisfying a sweet tooth.
Recipe Snapshot
1 hr 5 mins
40 mins
25 mins
Medium
210 kcal
2 g
Gluten-Free, Low FODMAP
10 g
Frying Pan, Oven, Large Pot, Wooden Spoon, Mixing Bowl, Baking Sheet
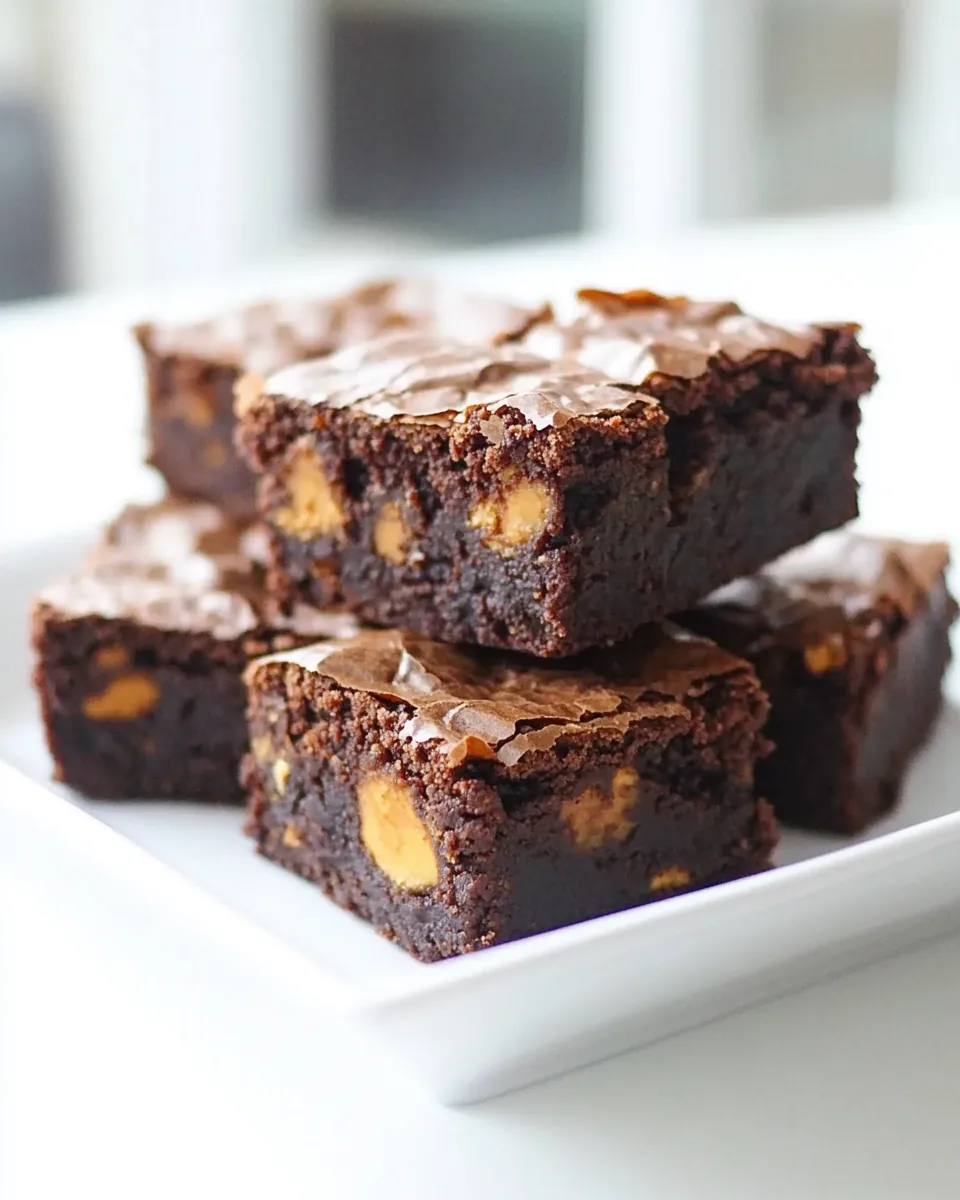
Now, let’s talk about why Butterfinger Brownies stand out from the sea of dessert options. First, they offer a perfect balance of textures, with the chewy brownie base contrasting beautifully with the crunchy Butterfinger pieces. Second, the rich chocolate flavor is complemented by the unique taste of Butterfingers, making every bite an experience. Third, they’re incredibly easy to make, so you don’t need to be a baking expert to whip them up. You’ll impress your friends with minimal effort! Plus, they store well, meaning you can enjoy them throughout the week—if they last that long. Trust me, once you try these brownies, you’ll want to make them again and again.
What Sets This Butterfinger Brownies Apart
1. Irresistible Flavor
The first thing that draws me to Butterfinger Brownies is their unique flavor profile. The combination of rich chocolate and the sweet, crunchy texture of Butterfinger candy adds a delightful twist that you won’t find in traditional brownies. Every bite is like a little party in your mouth!
2. Simple Ingredients
Another reason these brownies shine is the simplicity of the ingredients. You likely have most of them in your pantry already: butter, eggs, flour, and, of course, those iconic Butterfinger bars. It makes for a stress-free baking experience.
3. Perfect for Any Occasion
Whether you’re celebrating a birthday, hosting a game night, or just want a sweet treat after dinner, Butterfinger Brownies fit the bill perfectly. They impress guests and satisfy cravings at the same time.
4. Easy Storage
These brownies also store incredibly well. Just keep them in an airtight container at room temperature, and they’ll stay fresh for several days. If you happen to have leftovers (which is rare), you can refrigerate them for even longer shelf life.
5. Kid-Friendly Fun
Making Butterfinger Brownies can be a fun activity for kids, too! Get them involved in the kitchen by letting them help crush the candy bars or mix the batter. It’s a great way to create lasting memories while enjoying a delicious treat.
What Goes Into Butterfinger Brownies

The ingredients for Butterfinger Brownies work harmoniously to create a rich, decadent treat that everyone loves. Each component plays a vital role: the butter ensures a moist texture, while the chocolate provides that deep, rich flavor we all crave in brownies. The addition of Butterfinger pieces adds a delightful crunch and unique taste that elevates this recipe.
- 1/2 cup salted butter: Provides a rich base for the brownies and enhances flavor.
- 4 oz semi-sweet chocolate chips: Contributes richness and helps create that fudgy texture.
- 1 1/2 oz unsweetened baking chocolate: Deepens the chocolate flavor profile.
- 2 medium eggs: Binds the ingredients together and helps the brownies rise.
- 1 1/2 teaspoons vanilla: Adds aromatic sweetness to the brownies.
- 1/2 cup sugar + 1 tablespoon: Sweetens the brownies while balancing the bitterness of the chocolate.
- 1/4 cup all-purpose flour: Provides structure to the brownies.
- 3/4 teaspoon baking powder: Helps the brownies rise and become fluffy.
- Pinch of salt: Enhances the overall flavor.
- 3/4 cup Butterfinger pieces: The star ingredient that adds delicious crunch and sweetness.
- 3 oz mini chocolate chips (optional): Extra chocolate goodness for chocolate lovers!
Preparation Steps for Butterfinger Brownies
Making Butterfinger Brownies is a straightforward process that yields incredibly delicious results. Follow these steps, and you’ll have a tray of mouthwatering brownies in no time.
Preheat your oven to 350 degrees Fahrenheit. This step is essential for ensuring your brownies bake evenly. As it heats, prepare a 9×9 square glass baking dish by lining it with parchment paper and lightly spraying it with nonstick cooking spray. This will prevent the brownies from sticking and make for easy removal after baking.
In a double boiler, melt the butter, semi-sweet chocolate chips, and unsweetened chocolate together. Stir occasionally until everything is completely smooth and melted. This process allows the chocolate to melt gently without burning. Remove the mixture from heat and let it cool for about 15 minutes.
In a large mixing bowl, stir together the eggs, vanilla, and sugar. Make sure not to beat the eggs—just mix until blended. Pour in the warm chocolate-butter mixture and stir until well combined. Allow this mixture to cool to room temperature for about another 15 minutes. This step ensures your brownies have a fudgy texture instead of being cakey.
Next, stir in the flour, baking powder, and salt until just combined. Be careful not to over-mix, as this can make your brownies tough. In a separate bowl, toss the Butterfinger pieces with the mini chocolate chips and 1 tablespoon of flour. This will help prevent them from sinking to the bottom during baking.
Pour the batter into the prepared baking pan and spread it evenly. Then, gently fold in the Butterfinger and mini chocolate chip mixture into the batter. This is where the magic happens—those delectable chunks of candy will create pockets of joy in every bite!
Place the pan in the preheated oven and bake for approximately 15 minutes. After that time, gently rap the pan against the oven shelf to release any air bubbles that may have formed. Continue baking for another 10 minutes. To check if they’re done, insert a toothpick into the center. If it comes out clean, your brownies are ready. Be cautious not to overbake them; they should remain moist and fudgy.
Once baked, remove the brownies from the oven and allow them to cool thoroughly in the pan. For extra richness, refrigerate them for at least 30 minutes before cutting them into squares. This step helps them set and makes it easier to get clean cuts. Enjoy your homemade Butterfinger Brownies!
Things Worth Knowing
- Cooling Time Matters: Make sure to let your brownies cool completely before slicing. This allows them to set and makes cutting much easier.
- Check for Doneness: Use a toothpick to test for doneness. Remember that it should come out with a few moist crumbs attached—not wet batter!
- Use Quality Chocolate: The better the chocolate, the better your brownies will taste. Invest in good quality chocolate for the best results.
- Experiment with Toppings: Feel free to add nuts or drizzle melted chocolate over the top for extra flair!
Recipe Notes about Butterfinger Brownies
When it comes to Butterfinger Brownies, a few tips can help you achieve the best results every time. Here are some important notes to remember.
- Storage: To keep your brownies fresh, store them in an airtight container at room temperature for up to a week.
- Freezing: Yes, you can freeze these brownies! Just wrap them tightly in plastic wrap and then place them in a freezer-safe container. They should be fine for up to three months.
- Pairing: These brownies pair wonderfully with a scoop of vanilla ice cream or a dollop of whipped cream for an extra special treat.
- Serving: Cut the brownies into smaller squares for parties or events to make them more shareable.
- Variations: Try adding chopped nuts or different types of chocolate chips for added flavor. The possibilities are endless!
Serving Ideas for Butterfinger Brownies
When it comes to serving Butterfinger Brownies, the options are as delicious as the brownies themselves! Here are some creative ideas to elevate your brownie experience:
- With Ice Cream: Serve warm brownies with a scoop of vanilla ice cream on top. The melting ice cream complements the fudgy texture beautifully.
- At Parties: These brownies are perfect for birthday parties or gatherings. They’re easy to cut into bite-sized pieces, making them ideal for guests to enjoy.
- During Holidays: Whether it’s for a festive gathering or a cozy night in, Butterfinger Brownies make for a delightful dessert any time of year.
- With Coffee: Pair these brownies with a cup of rich coffee or a creamy latte for a delightful afternoon treat.
- For Movie Nights: Cut them into small squares for a perfect movie night snack. Everyone loves a sweet treat while binge-watching their favorite shows!
- Store in the Fridge: If you want to enhance the flavors, store the brownies in the fridge for a few hours before serving. Chilled brownies have an intensified flavor that is simply irresistible.
FAQ
Conclusion
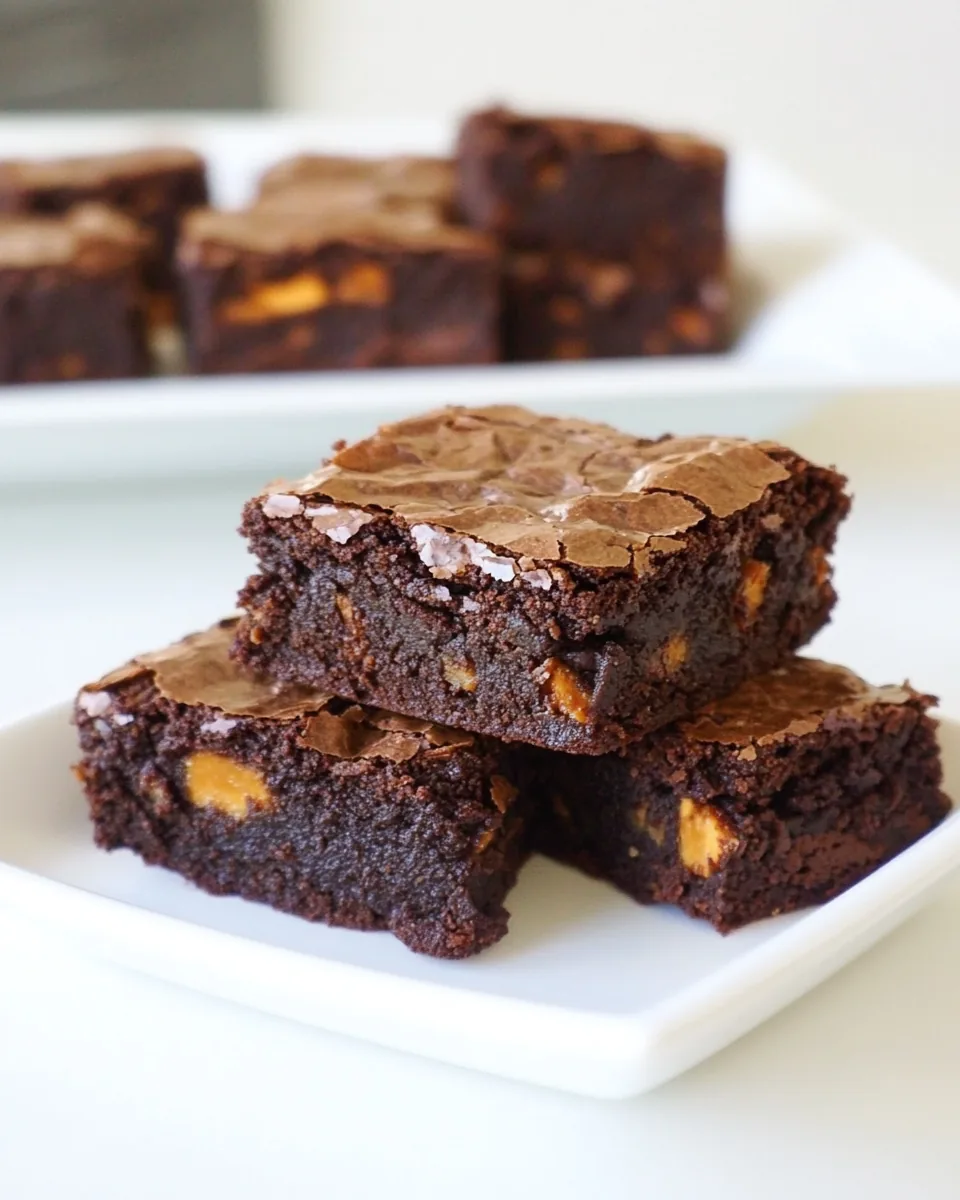
The magic of Butterfinger Brownies lies in their rich, fudgy texture paired with the delightful crunch of Butterfinger pieces. You’ll find that they are not only easy to make but also incredibly satisfying to eat. I encourage you to whip up a batch soon; your friends and family will thank you for it! These brownies are a sweet treat that’s perfect for any occasion, and once you try them, they’ll become a regular in your dessert rotation.
Butterfinger Brownies
Equipment
- Frying Pan
- Oven
- Large Pot
- Wooden Spoon
- Mixing Bowl
- Baking Sheet
Ingredients
- 1/2 cup salted butter
- 4 oz semi-sweet chocolate chips about 2/3 cup
- 1 1/2 oz unsweetened baking chocolate
- 2 medium eggs
- 1 1/2 teaspoons vanilla
- 1/2 cup sugar + 1 tablespoon
- 1/4 cup all purpose flour
- 3/4 teaspoon baking powder
- pinch salt
- 3/4 cup Butterfinger pieces
- 3 oz mini chocolate chips about 1/2 cup, optional
Instructions
- Preheat your oven to 350 degrees Fahrenheit. Line a 9×9 square glass baking dish with parchment paper and spray lightly with nonstick cooking spray. Set aside.
- In a double boiler, melt the butter, chocolate chips, and unsweetened baking chocolate. Stir occasionally until completely smooth and melted. Remove from heat and cool 15 minutes.
- In a large bowl, stir eggs, vanilla, and sugar (do not beat). Pour in warm chocolate butter mixture and stir. Set aside to cool to room temperature, another 15 minutes or so.
- Stir in flour, baking powder, and salt until combined. In a separate bowl, stir Butterfinger pieces with mini chocolate chips and 1 tablespoon of flour. Pour into batter and stir.
- Pour batter into prepared pan and bake for 15 minutes. Rap pan against the oven shelf to force the air to escape from between the pan and the brownie dough. Bake for about 10 minutes, until a toothpick comes out clean. Do not overbake! Allow to cool thoroughly, refrigerate, and cut into squares.
Notes
- Tip 1: To keep your brownies fresh, store them in an airtight container at room temperature for up to a week.
- Tip 2: Yes, you can freeze these brownies! Just wrap them tightly in plastic wrap and then place them in a freezer-safe container. They should be fine for up to three months.
- Tip 3: These brownies pair wonderfully with a scoop of vanilla ice cream or a dollop of whipped cream for an extra special treat.
- Tip 4: Cut the brownies into smaller squares for parties or events to make them more shareable.
- Tip 5: Try adding chopped nuts or different types of chocolate chips for added flavor. The possibilities are endless!