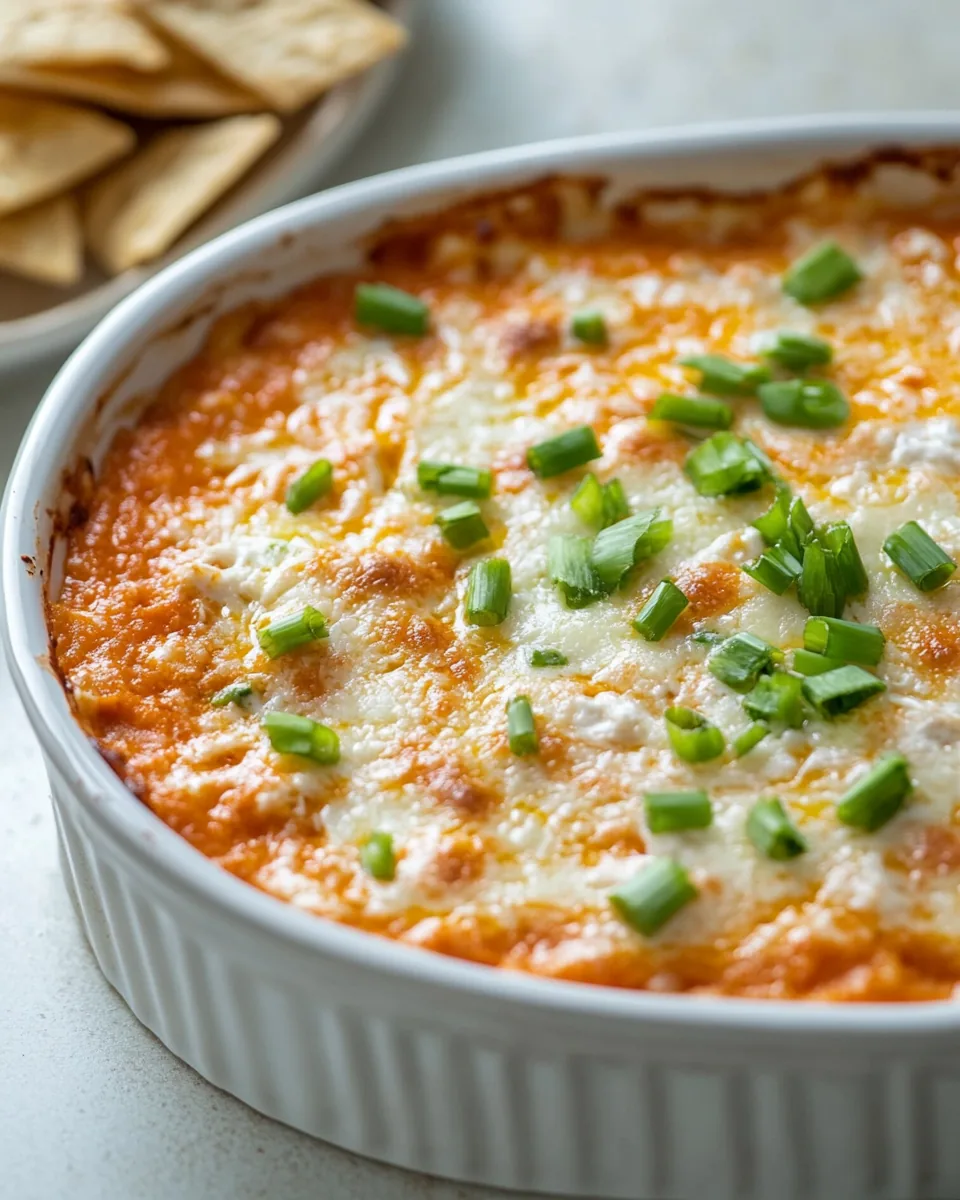
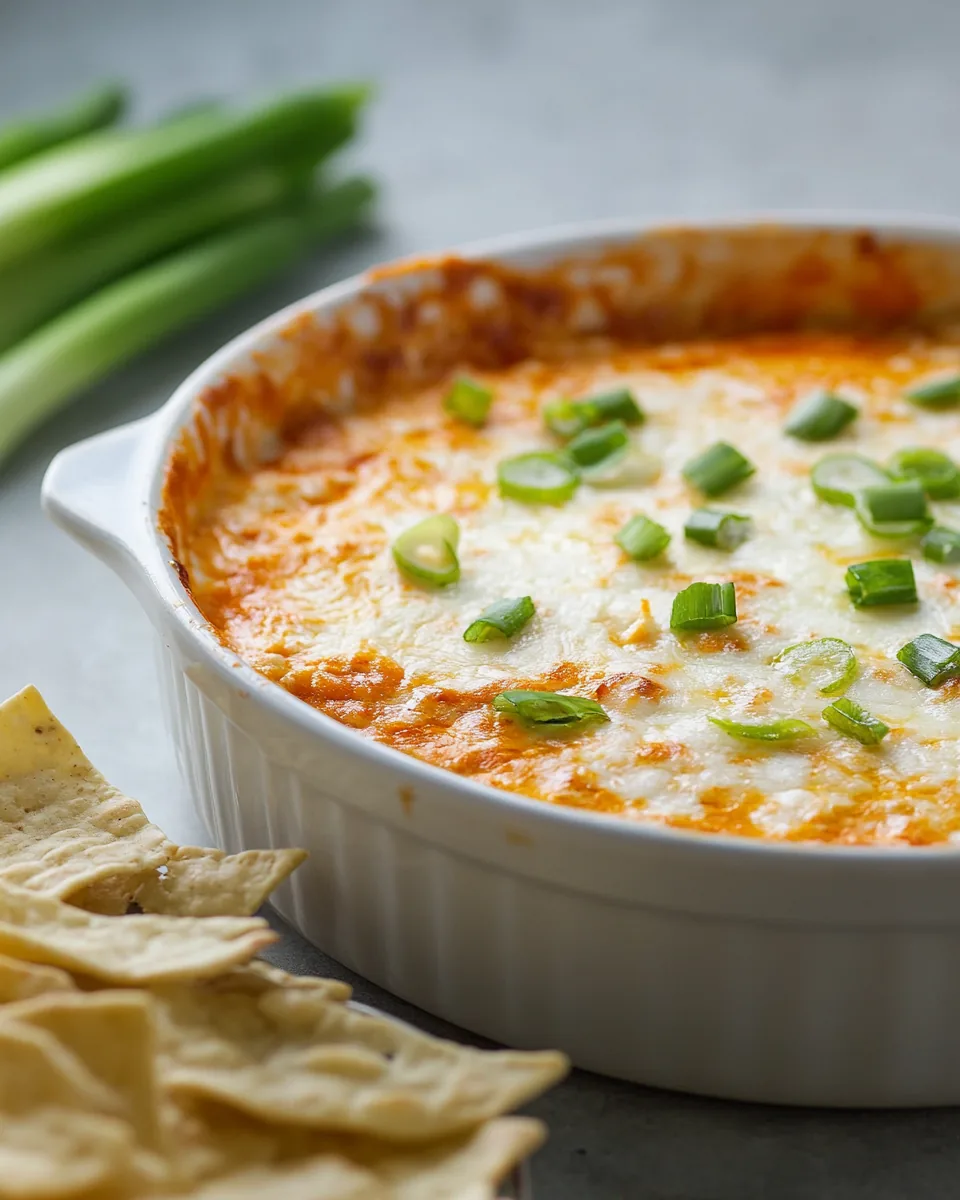
Buffalo Chicken Dip
There’s nothing quite like a gathering of friends over a game or movie night, and the star of the show is often a warm, cheesy dip. My go-to for such occasions is always Buffalo Chicken Dip. As the spicy aroma wafts through the house, it instantly ignites the senses and gets everyone excited. I still remember the first time I made this dip, watching my friends scoop it up with tortilla chips, their eyes lighting up with every bite. This dip has a way of bringing people together, sparking laughter, and creating memories. It’s rich, creamy, and has that perfect kick that keeps you coming back for more. Every time I serve it, I get asked for the recipe, and it never fails to impress. So, if you’re looking to elevate your next get-together, trust me, this Buffalo Chicken Dip is a must-have!
Recipe Snapshot
40 mins
15 mins
25 mins
Medium
290 kcal
10 g
Gluten-Free
24 g
Whisk, Oven, Chef’s Knife, Mixing Bowl, Wooden Spoon, Baking Sheet
What Sets This Buffalo Chicken Dip Apart
1. Crowd-Pleaser
One of the reasons I adore Buffalo Chicken Dip is how it brings everyone together. No matter the occasion, this dip always finds its way onto the table, with folks eagerly gathering around it. There’s something so satisfying about watching people dive into it, and it creates a lively atmosphere filled with laughter and conversation.
2. Easy to Make
You don’t have to be a culinary expert to whip up this delicious dip. With just a few ingredients like cream cheese, chicken, and hot sauce, you can create a dish that feels gourmet. Plus, the preparation is straightforward, making it perfect for busy days.
3. Versatile Flavor
The flavor profile of this dip is incredibly versatile. The combination of cream cheese and hot sauce creates a rich, creamy base that’s both spicy and savory. You can adjust the heat level based on your preferences, making it suitable for everyone—whether they prefer mild flavors or a fiery kick.
4. Great for Meal Prep
Another bonus is that this dip can be made ahead of time. I love preparing it a day in advance, allowing the flavors to meld together beautifully. Just pop it in the oven when your guests arrive, and you’ll have a warm, bubbly treat ready in no time.
5. Perfect for Any Occasion
Whether it’s game day, a holiday party, or a casual get-together, Buffalo Chicken Dip fits right in. It’s a fantastic appetizer that pairs well with various dippers like vegetables or tortilla chips. It’s truly a versatile option that never disappoints.
6. Customizable
This recipe is a blank canvas! You can easily add extra ingredients like blue cheese or even different types of cheese to suit your taste. The possibilities are endless, allowing you to make it uniquely yours.
Buffalo Chicken Dip Ingredients
When it comes to making a delicious Buffalo Chicken Dip, the ingredients are key to achieving that perfect blend of flavors. Each component plays a significant role in creating a rich and savory dip that everyone will love. Here’s a closer look at the essential ingredients that make this dish a crowd favorite.
- 8 oz cream cheese – Provides a rich and creamy base for the dip.
- ½ cup mayonnaise, best quality such as Hellmann’s or Duke’s – Adds a layer of creaminess and flavor.
- ½ cup hot sauce, preferably Frank’s RedHot Original Cayenne Pepper Sauce – Gives the dip its signature spicy kick.
- 1 clove garlic, minced – Enhances flavor with a subtle aromatic touch.
- 2 cups shredded cooked chicken, from 1 rotisserie chicken – The main protein that makes the dip hearty.
- 2 cups shredded Pepper Jack cheese, divided – Adds a melty, cheesy goodness with a hint of spice.
- ½ cup crumbled blue cheese, divided (optional) – A tangy addition that complements the heat of the dip.
- ¼ cup finely chopped scallions, light and dark green parts only, from 3 to 4 scallions, plus more for garnish – Provides a fresh crunch and beautiful color.
- Tortilla chips, carrots, and celery sticks, for serving – Perfect dippers to enjoy with the dip.
How to Cook Buffalo Chicken Dip
Cooking the perfect Buffalo Chicken Dip is a breeze, and it’s all about combining the ingredients in a way that maximizes flavor. Follow these easy steps, and you’ll have a delicious dish ready in no time!
- Preheat your oven to 375°F (190°C). This ensures the dip will bake evenly and get that perfect bubbly texture on top.
- In a large bowl, warm cream cheese in the microwave for about 45 seconds until softened. This will make it easier to mix with the other ingredients.
- Add mayonnaise, hot sauce, and garlic to the softened cream cheese, and whisk until everything is well combined. The mixture should be smooth and creamy.
- Stir in the shredded cooked chicken, 1½ cups of Pepper Jack cheese, 6 tablespoons of blue cheese (if using), and the chopped scallions. Fold these ingredients gently to maintain a nice texture.
- Transfer the mixture into a 1½-quart (1.5-L) baking dish, spreading it out evenly. You want to ensure every bite has that delightful blend of flavors.
- Sprinkle the remaining Pepper Jack cheese and 2 tablespoons of blue cheese on top. This creates a delicious cheesy crust that will melt beautifully.
- Place the dish in the preheated oven and bake the dip for about 20 minutes, or until it’s bubbling. You’ll know it’s ready when you see those delightful bubbles popping up!
- Next, turn on the broiler and broil the dip 6 inches (15 cm) from the heat for a few minutes until the top is lightly browned. Keep a close eye on it to avoid burning!
- Once it’s golden and bubbly, let the dip stand for 5 minutes. This allows it to firm up slightly and makes it easier to serve.
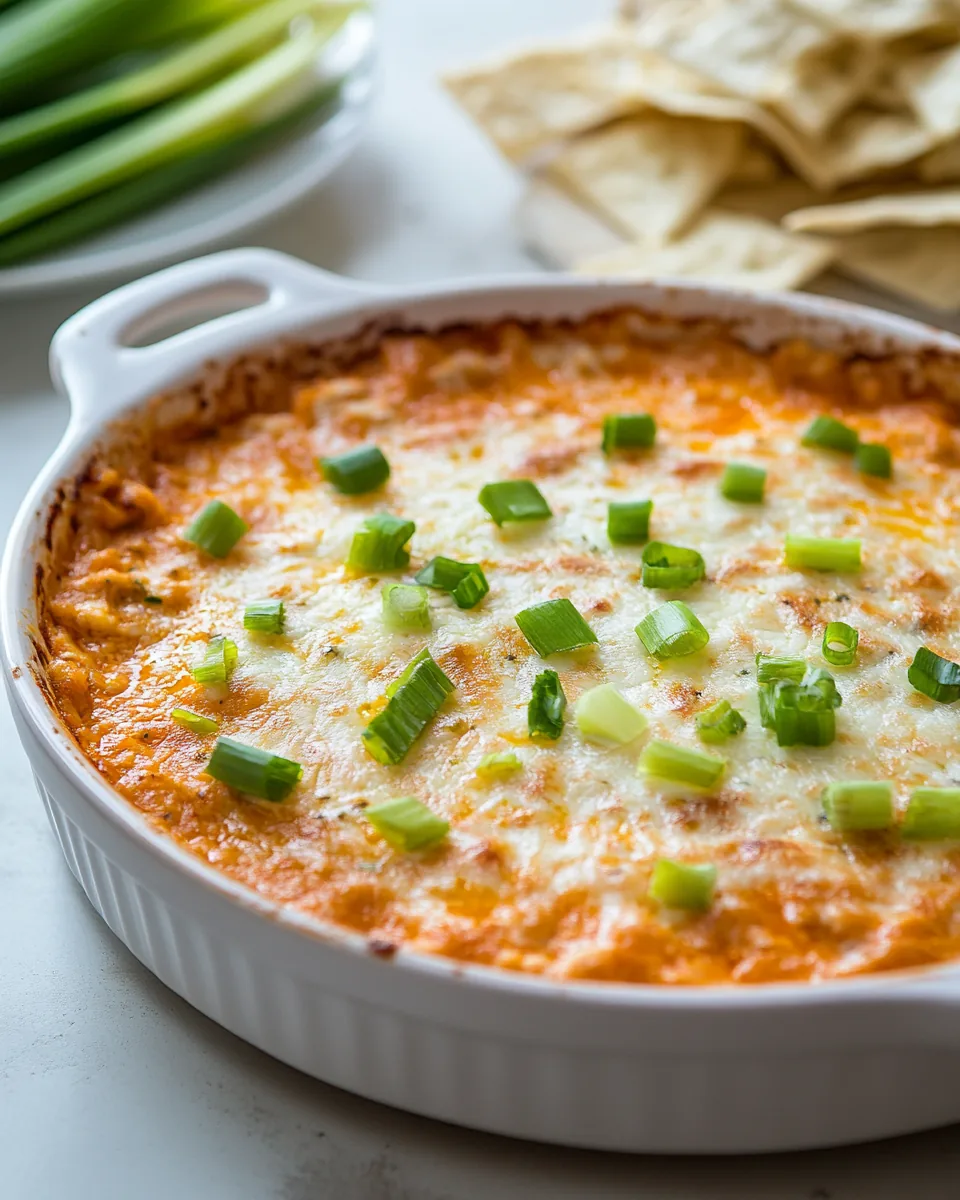
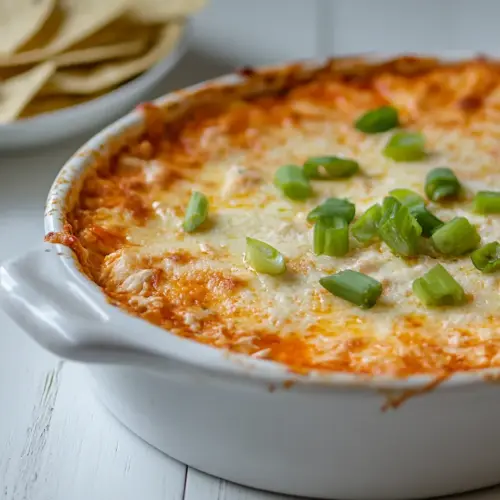
- Finally, sprinkle with additional scallions for garnish and serve warm with tortilla chips, carrots, and celery sticks. Enjoy!
Things Worth Knowing
- Use Room Temperature Ingredients: Ensure your cream cheese is at room temperature for smoother mixing. This helps to avoid lumps in your dip.
- Don’t Overbake: Keep an eye on the dip while it’s baking. You want it bubbling but not dried out.
- Use Fresh Ingredients: Fresh scallions and good-quality hot sauce will enhance the flavor significantly. It makes a noticeable difference.
- Adjust Spice Level: Feel free to modify the amount of hot sauce based on your heat preference. Start with less and add more as needed.
Customization Ideas
One of the best things about making Buffalo Chicken Dip is that it’s incredibly customizable. You can tailor it to suit your taste or dietary preferences with a few simple tweaks. Here are some ideas.
- Add Vegetables: For a healthy boost, consider adding finely chopped bell peppers or spinach to the dip.
- Change the Cheese: Experiment with different cheeses like cheddar or Monterey Jack for varied flavors.
- Spice it Up: For those who love heat, add diced jalapeños or a sprinkle of cayenne pepper to the mixture.
- Make it Smoky: Use smoked chicken for an extra depth of flavor that pairs excellently with the dip’s heat.
- Try Different Dippers: Switch up your dipping options with pita chips, crackers, or even sliced baguette.
- Vegan Option: Substitute cream cheese with a vegan alternative and use shredded jackfruit instead of chicken for a plant-based version.
Serve This Buffalo Chicken Dip With
- Vegetable Platter: Pair your dip with a colorful spread of fresh vegetables like carrots, celery, and bell peppers for a fresh contrast.
- Game Day Snacks: It’s the perfect addition to any game day spread, served alongside wings or nachos.
- Casual Get-Togethers: Whether you’re hosting friends or family, serve this dip as a crowd-pleasing snack during casual gatherings.
- Holiday Parties: Its warm and comforting nature makes it an ideal appetizer for holiday celebrations.
- Picnics and BBQs: This dip travels well, so it’s a fantastic choice for outdoor events and barbecues.
- Leftover Management: Leftover dip can be stored in the fridge for a few days, making it a great option for easy meals later on.
FAQ
Conclusion
This Buffalo Chicken Dip is a true crowd-pleaser that stands out at any gathering. Its creamy texture paired with the spicy kick makes it irresistible. I encourage you to give it a try at your next event—you won’t regret it! Your friends and family will be asking for seconds, and you’ll be the star of the show.
Buffalo Chicken Dip
Equipment
- Whisk
- Oven
- Chef's Knife
- Mixing Bowl
- Wooden Spoon
- Baking Sheet
Ingredients
- 8 oz cream cheese
- ½ cup mayonnaise best quality such as Hellmann’s or Duke’s
- ½ cup hot sauce preferably Frank’s RedHot Original Cayenne Pepper Sauce
- 1 clove garlic minced
- 2 cups shredded cooked chicken from 1 rotisserie chicken
- 2 cups shredded Pepper Jack cheese divided
- ½ cup crumbled blue cheese divided (optional)
- ¼ cup finely chopped scallions light and dark green parts only, from 3 to 4 scallions, plus more for garnish
- Tortilla chips for serving
- carrots for serving
- celery sticks for serving
Instructions
- Preheat your oven to 375°F (190°C). This ensures the dip will bake evenly and get that perfect bubbly texture on top.
- In a large bowl, warm cream cheese in the microwave for about 45 seconds until softened. This will make it easier to mix with the other ingredients.
- Add mayonnaise, hot sauce, and garlic to the softened cream cheese, and whisk until everything is well combined. The mixture should be smooth and creamy.
- Stir in the shredded cooked chicken, 1½ cups of Pepper Jack cheese, 6 tablespoons of blue cheese (if using), and the chopped scallions. Fold these ingredients gently to maintain a nice texture.
- Transfer the mixture into a 1½-quart (1.5-L) baking dish, spreading it out evenly. You want to ensure every bite has that delightful blend of flavors.
- Sprinkle the remaining Pepper Jack cheese and 2 tablespoons of blue cheese on top. This creates a delicious cheesy crust that will melt beautifully.
- Place the dish in the preheated oven and bake the dip for about 20 minutes, or until it’s bubbling. You’ll know it’s ready when you see those delightful bubbles popping up!
- Next, turn on the broiler and broil the dip 6 inches (15 cm) from the heat for a few minutes until the top is lightly browned. Keep a close eye on it to avoid burning!
- Once it’s golden and bubbly, let the dip stand for 5 minutes. This allows it to firm up slightly and makes it easier to serve.
- Finally, sprinkle with additional scallions for garnish and serve warm with tortilla chips, carrots, and celery sticks. Enjoy!
Notes
- Make-Ahead Instructions: The dip can be prepared and refrigerated up to one day ahead of time. Allow a few extra minutes in the oven if baking from cold.