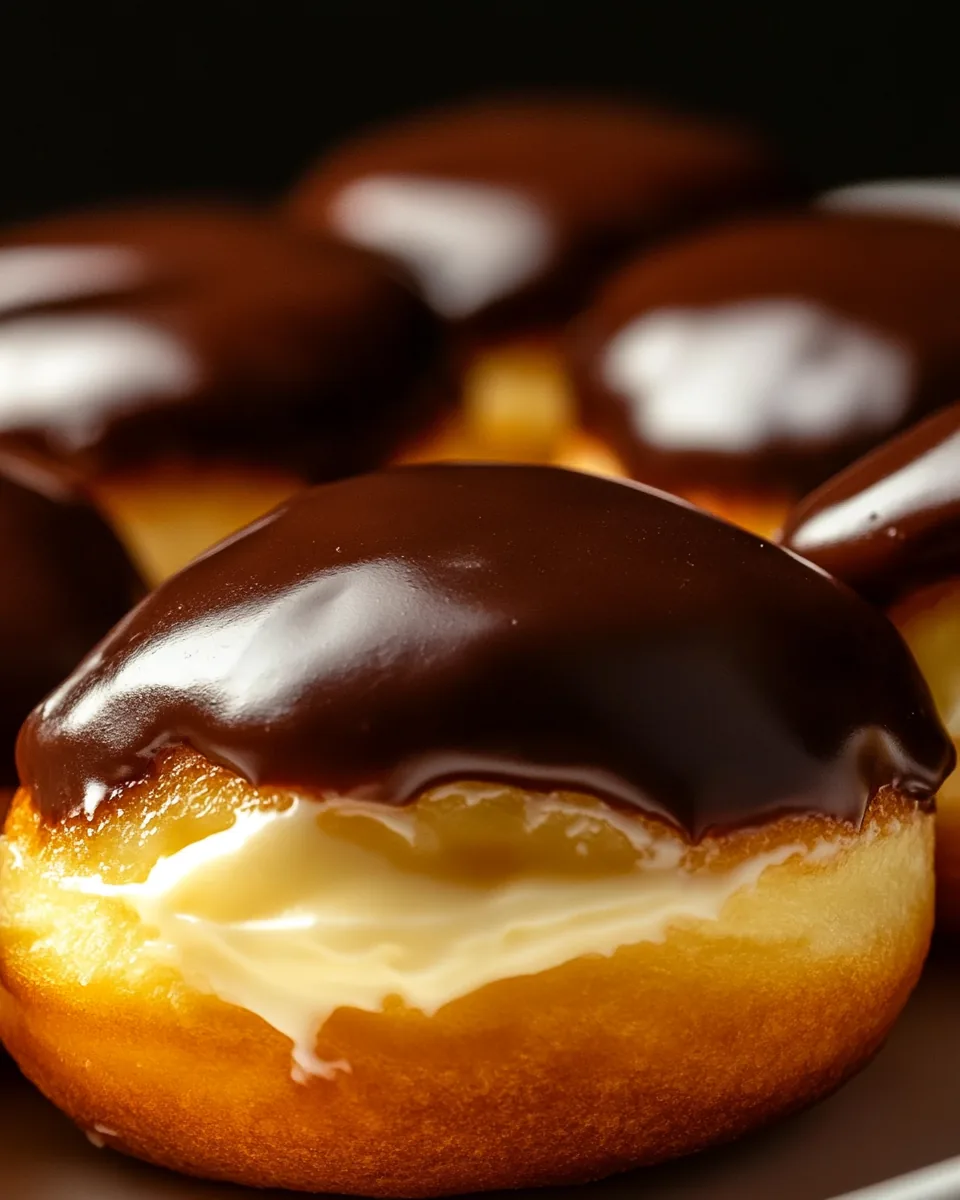
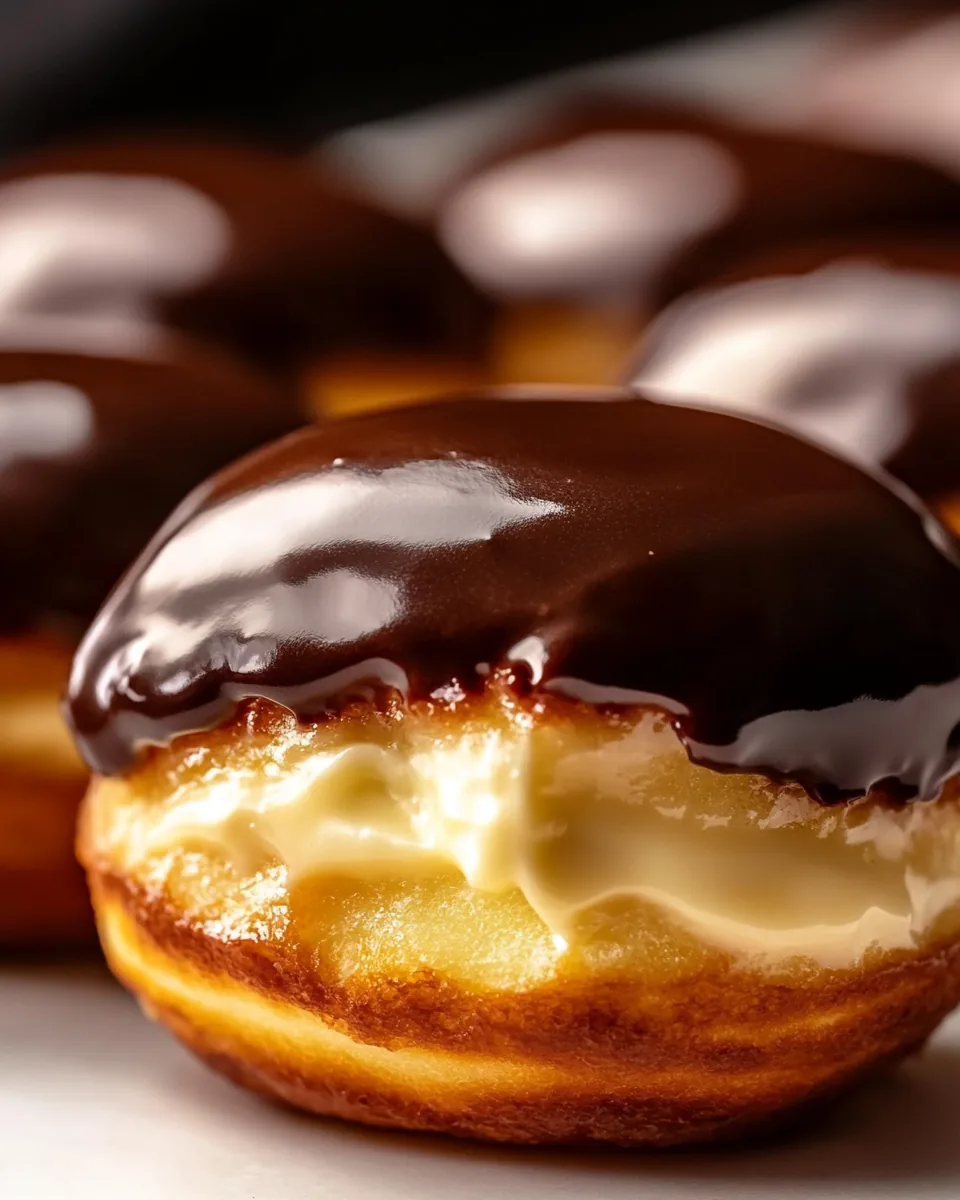
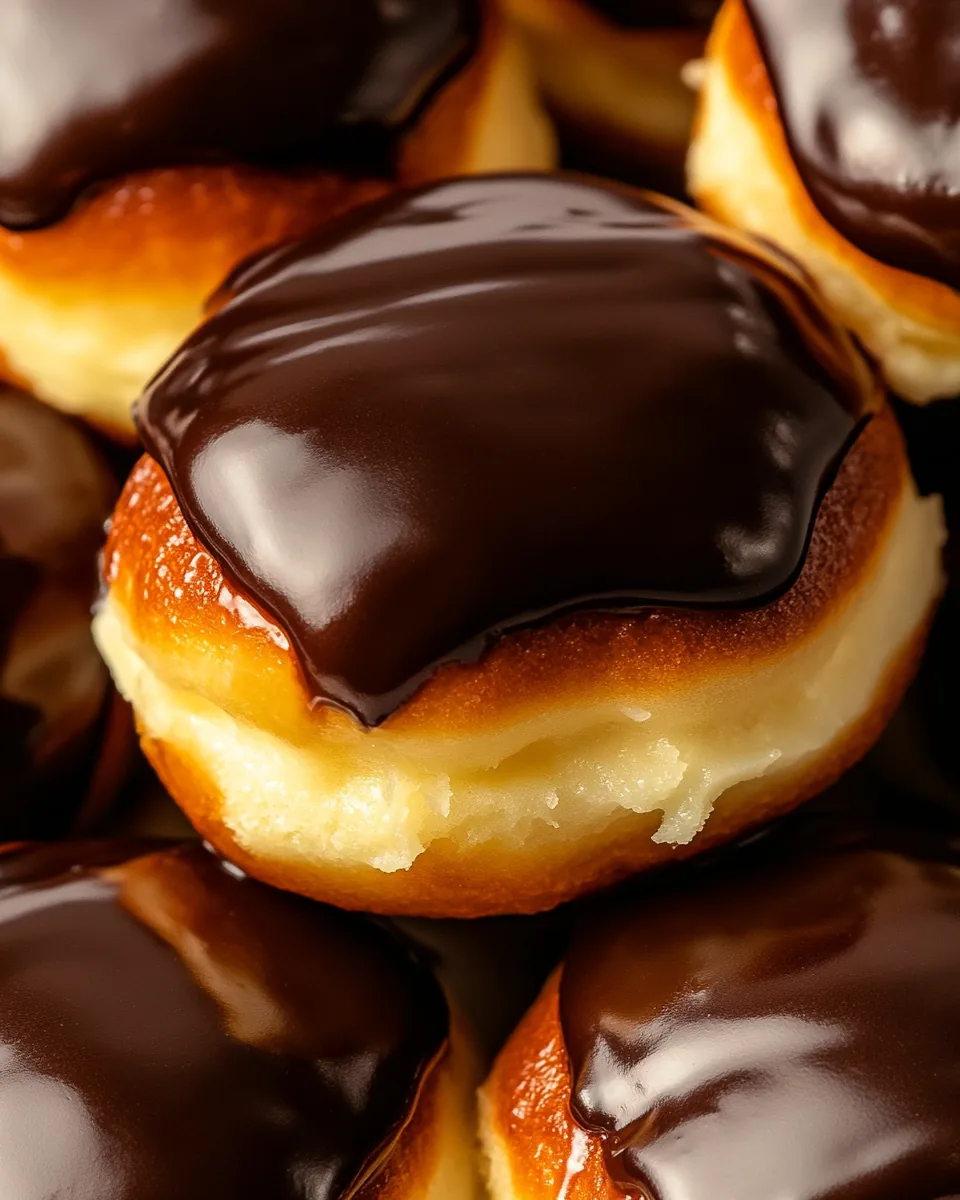
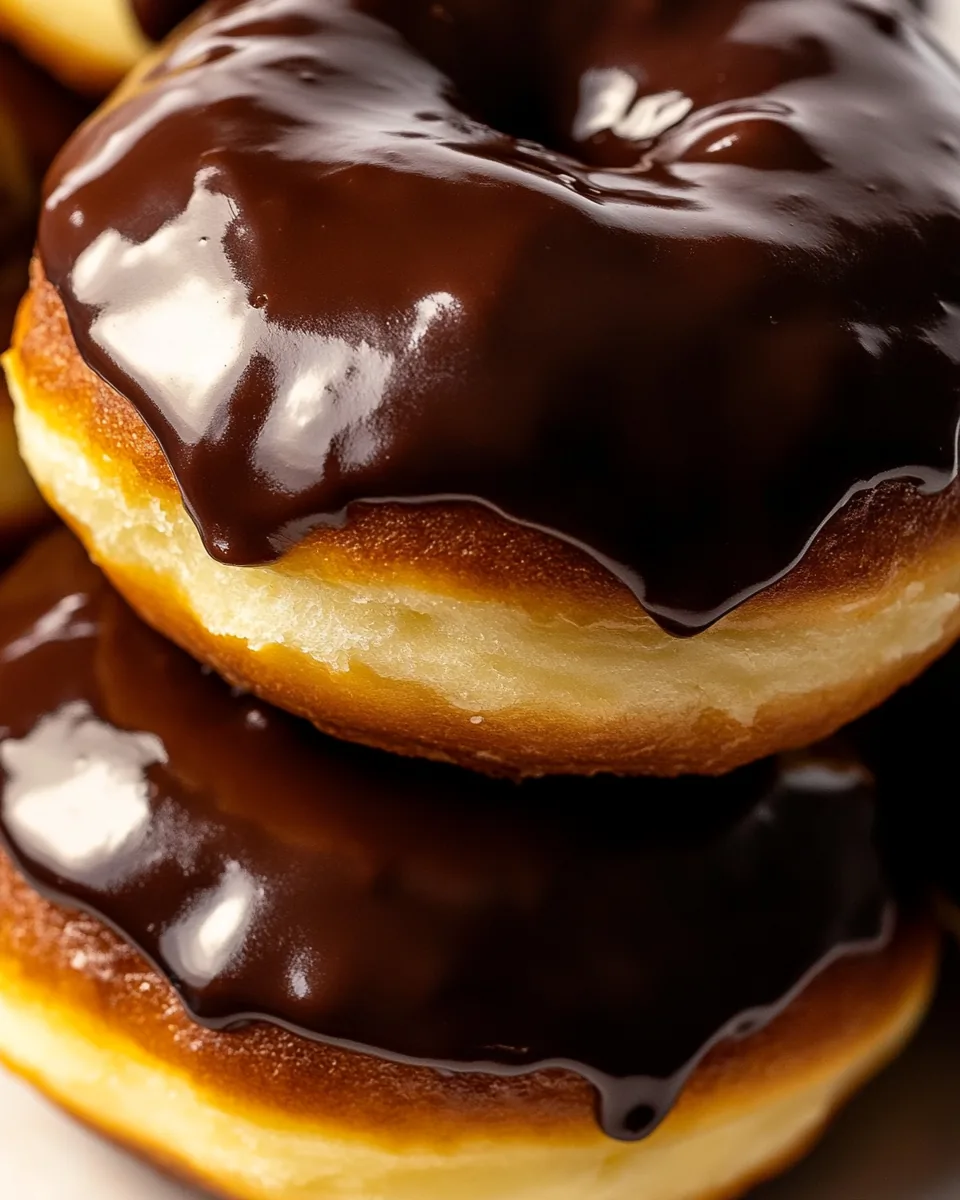
Boston Cream Doughnuts
Every time I think of Boston Cream Doughnuts, I’m transported back to lazy Sunday mornings spent in the kitchen with my family. There’s something magical about the combination of soft, fluffy dough, a rich and creamy custard filling, and a shiny chocolate glaze. I can still remember the first time I took a bite of one; the creamy filling bursting out with each chew, the chocolate glaze making everything feel indulgent yet comforting. This delightful treat is not just a dessert; it’s a celebration of flavors that brings people together. Whether you’re making them for a special occasion or simply to satisfy a sweet tooth, these doughnuts are sure to please. They’re perfect for sharing with friends or savoring on your own with a cup of coffee. So, roll up your sleeves and let’s dive into the world of delicious homemade Boston Cream Doughnuts!
Recipe Snapshot
1 hr 45 mins
75 mins
30 mins
Hard
320 kcal
5 g
Gluten-Free, Low FODMAP
15 g
Skillet, Frying Pan, Whisk, Large Pot, Chef’s Knife, Mixing Bowl, Wooden Spoon
The Appeal of This Boston Cream Doughnuts
Why They Stand Out
The allure of Boston Cream Doughnuts is undeniable, and here’s why they hold a special place in my heart:
1. A Perfect Balance of Flavors
Each bite offers a delightful contrast between the sweetness of the custard and the richness of the chocolate glaze. This balance creates a taste sensation that is both satisfying and indulgent.
2. Nostalgic Comfort
For many, Boston Cream Doughnuts evoke feelings of nostalgia. They remind us of family gatherings, Sunday brunches, and that one special bakery we all loved as kids. They’re not just doughnuts; they’re a trip down memory lane.
3. Homemade Delight
Making these doughnuts from scratch at home allows you to control the quality of your ingredients. You can use fresh, wholesome components, making each doughnut not only delicious but also a little healthier compared to store-bought options.
4. Fun to Make
The process of making Boston Cream Doughnuts is an enjoyable adventure. From mixing the dough to frying, filling, and glazing, each step is fulfilling and creates a sense of accomplishment when you finally bite into one.
Essential Ingredients for Boston Cream Doughnuts
The ingredients for Boston Cream Doughnuts work harmoniously to create a delicious final product. From rich, creamy custard to the soft, fluffy dough, each component plays a vital role in the overall experience. Let’s break down the essential elements:
- Active Dry Yeast: The star ingredient that helps your dough rise beautifully, giving it that light and airy texture.
- Warm Water: Activates the yeast, ensuring a good rise and fluffy dough.
- Whole Milk: Adds richness to the dough, making it moist and flavorful.
- Unsalted Butter: Brings a rich flavor and a tender crumb to the doughnut.
- Granulated Sugar: Sweetens the dough while also feeding the yeast for a better rise.
- Eggs: Provides structure and richness, contributing to the dough’s overall flavor.
- All-Purpose Flour: The base of your dough, giving it structure and stability.
- Frying Oil: Essential for deep-frying your doughnuts to achieve that golden-brown exterior.
- Egg Yolks: Essential for the custard filling, adding richness and color.
- Cornstarch: Thickens the custard, giving it that silky smooth texture.
- Heavy Cream: Adds richness to the chocolate glaze, making it luscious and decadent.
- Chocolate Chips: The star of the glaze, providing that rich chocolatey flavor we all crave.
Step by Step Guide for Boston Cream Doughnuts
Making Boston Cream Doughnuts is a labor of love, but the results are absolutely worth it. You’ll find joy in every step, from making the dough to filling and glazing these delightful treats. Let’s get started!
Start by lining a large baking sheet with a few layers of paper towels and lightly greasing another large baking sheet with butter or nonstick baking spray. Set both aside for later use.
In a small bowl, combine active dry yeast and warm water; set aside until it foams up, about 5 minutes. This step is crucial as it activates the yeast, ensuring your dough rises properly.
In the bowl of a stand mixer fitted with the hook attachment, combine warm milk and unsalted butter. Using a silicone whisk, stir until the butter has completely dissolved. This creates a warm mixture that’s perfect for yeast activation.
Add in granulated sugar, large egg, large egg yolk, salt, and the yeast mixture. Mix this on medium-low speed until smooth. Then, gradually add in the all-purpose flour, beating until a soft ball of dough forms around the hook. Be careful not to knead the dough just yet!
Transfer the dough to a large, lightly greased bowl, turning it once to coat the top. Cover tightly with plastic wrap and set aside in a warm area to rise until it appears to have tripled in size, about 1 hour. This is where the magic of yeast happens!
Once risen, gently punch the dough down and turn it out onto a lightly floured work surface. Knead the dough into a smooth ball about 7 to 8 times or until it’s uniform in texture. You want to develop the gluten for a good structure.
Using a rolling pin, gently roll the dough out into a large rectangle, approximately 1/2 to 3/4 inch in thickness. Using a lightly floured 2 and 1/2-inch round dough cutter, cut out circles from the rectangle. Don’t forget to roll any dough scraps into tiny balls for donut holes!
Transfer the cut doughnuts to the prepared baking sheet, spacing them an inch apart to allow for rising. Cover the pan lightly with plastic wrap and set aside for 45 minutes, or until they’ve almost doubled in size.
When you’re ready to fry, heat frying oil in a large, heavy-bottomed pot to 360°F. Fry the doughnuts a few at a time for 1 to 2 minutes on each side or until golden brown. Keep an eye on the temperature to ensure they cook evenly.
Once fried, transfer the cooked doughnuts onto the prepared paper towel-lined baking sheet, continuing this process until all the doughnuts are fried. Let’s move on to making the luscious custard filling.
In a medium-sized bowl, whisk together egg yolks, granulated sugar, and cornstarch. Set aside while you prepare the milk.
In a medium saucepan, warm whole milk over medium heat until it comes to a gentle boil. Remove the pan from heat and slowly whisk 1 cup of the hot milk into the egg yolk mixture. It’s crucial to whisk constantly to prevent scrambling!
Return the egg mixture to the pan with the remaining milk. Place over medium-high heat and cook, whisking constantly, until it comes to a boil. Once boiling, continue to whisk for 2 minutes, or until it thickens. You want a custard that’s thick enough to hold up inside the doughnuts.
Remove from heat, scraping the bottom and sides of the pan with a spatula, and whisk until smooth. Stir in unsalted butter, pure vanilla extract, and salt. Strain the custard through a fine-mesh sieve into a medium glass bowl. Cover with plastic wrap, pressing it directly onto the surface to avoid a skin forming, and cool to room temperature before refrigerating for at least 2 hours.
When ready to fill the doughnuts, scrape the cooled custard into a large pastry bag fitted with a small round nozzle. Using a large straw or your pinky finger, make a small hole on the side of each doughnut and carefully fit the nozzle of the bag into the doughnut. Squeeze until you see the center begin to puff up. You can fill them generously, just be careful not to overfill!
For the glaze, place finely chopped chocolate in a medium-sized heatproof bowl. Set aside. In a separate pot, warm heavy cream over medium heat until it comes to a boil. If you’re using espresso powder, whisk it in now for added depth.
Pour the hot cream over the chocolate and let it sit for 1 minute before whisking until smooth. Dip the top of each doughnut into the glaze, allowing excess chocolate to drip off. Repeat with all doughnuts and allow the glaze to set for about 20 minutes.
For the best flavor, serve the doughnuts the same day they are made. If you have leftovers, store them in the fridge, wrapped in plastic wrap for up to 48 hours. Enjoy!
Things Worth Knowing
- Perfect Temperature: Make sure your oil is at the right temperature (360°F) for frying. Too hot and the doughnuts will burn; too cool and they’ll absorb too much oil.
- Don’t Skip the Rise: Allowing the dough to rise properly is crucial in achieving fluffy doughnuts. Don’t rush this step!
- Fill Gently: When filling, be careful not to overstuff the doughnuts to prevent them from tearing.
- Chill the Custard: Make sure your custard is well-chilled before filling to ensure it holds up nicely inside the doughnut.
Helpful Notes about Boston Cream Doughnuts
To make the most of your Boston Cream Doughnuts, here are some handy tips to keep in mind:
- Storage: Store leftover doughnuts in the fridge, wrapped in plastic. They’re best eaten within 48 hours for optimal freshness.
- Freezing: Unfilled doughnuts can be frozen for up to 2 months. Just thaw and fill when you’re ready to enjoy!
- Pairing: These doughnuts pair wonderfully with coffee, tea, or a rich hot chocolate.
- Variations: Feel free to get creative! You can add flavors to the custard like lemon or raspberry for a twist on the classic.
- Frying Alternatives: If you prefer a healthier option, consider baking the doughnuts instead of frying them.
How to Enjoy Boston Cream Doughnuts
Serving Boston Cream Doughnuts is a delightful experience. Here are a few ideas to elevate your serving game:
- Perfect for Breakfast: These doughnuts make for an indulgent breakfast treat, especially paired with a hot cup of coffee.
- Brunch Hit: Serve them at brunch gatherings to impress your guests; they’ll love the homemade touch!
- Kids’ Parties: Ideal for kids’ parties or celebrations, these doughnuts are always a hit among younger guests.
- Seasonal Treat: While perfect year-round, consider them for seasonal celebrations or holiday gatherings.
- Gift Idea: Wrap them up as a sweet gift for friends or family, showcasing your baking skills and thoughtfulness.
- Storage Tips: Make sure to keep any leftovers in an airtight container to maintain their softness and flavor.
FAQ
Conclusion
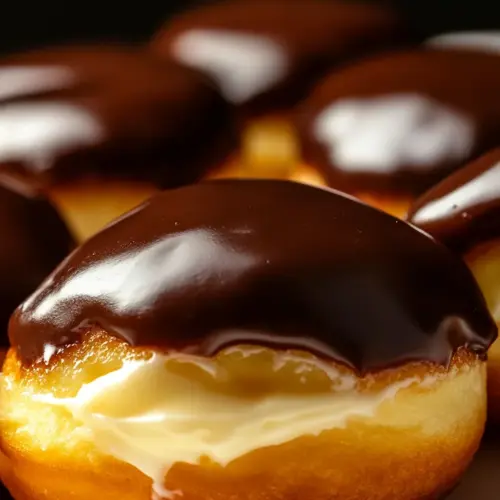
Boston Cream Doughnuts are a true indulgence that combines soft dough with rich custard and silky chocolate glaze. They offer a delightful balance of flavors and textures that make them irresistible. I encourage you to try making them; you’ll find the process rewarding and the results absolutely delicious!
Boston Cream Doughnuts
Equipment
- Skillet
- Frying Pan
- Whisk
- Large Pot
- Chef's Knife
- Mixing Bowl
- Wooden Spoon
Ingredients
- 2 Active Dry Yeast packages (1/4 ounce each)
- 1/4 Warm Water cup (57 grams) (110° to 115° F)
- 3/4 Whole Milk cup (170 grams) (110° to 115° F)
- 5 Unsalted Butter Tablespoons (67 grams) at room temperature
- 1/3 Granulated Sugar cup (67 grams)
- 1 Large Egg at room temperature
- 1 Large Egg Yolk at room temperature
- 3/4 Salt teaspoons
- 3 and 3/4 All-Purpose Flour cups (450 grams) - weigh your flour for best results
- 1 Frying Oil Liter (canola, vegetable, peanut, or refined coconut oil all work)
- 8 Large Egg Yolks at room temperature
- 1 Granulated Sugar cup (198 grams)
- 1/2 Corn Starch cup (57 grams)
- 2 and 3/4 Whole Milk cups (624 grams) (full-fat)
- 5 Unsalted Butter Tablespoons (67 grams) cut into tiny pieces
- 2 Pure Vanilla Extract teaspoons
- 1/8 Salt teaspoons (fine sea salt, if possible)
- 1 Chocolate Chips cup (170 grams) OR finely chopped semi-sweet chocolate
- 2/3 Heavy Cream cup (152 grams)
- 1/2 Espresso Powder teaspoon (optional)
Instructions
- Line a large baking sheet with a few layers of paper towels. Lightly grease another large baking sheet with butter or nonstick baking spray. Set both aside for later use.
- In a small bowl, combine the active dry yeast and warm water; set aside until it foams up, about 5 minutes.
- In the bowl of a stand mixer fitted with the hook attachment, combine the warm milk and unsalted butter and, using a silicon whisk, stir until the butter has completely dissolved.
- Add in the granulated sugar, large egg, large egg yolk, salt, and the yeast mixture and mix on medium-low speed until smooth. Gradually beat in the remaining all-purpose flour until a soft ball of dough forms around the hook. Don't knead the dough yet!
- Transfer the dough to a large, lightly greased bowl, turning once to coat the top. Cover tightly with saran wrap and set aside to rise in a warm area until it appears to have tripled in size, about 1 hour.
- Gently punch the dough down and turn it out onto a lightly floured work surface. Knead the dough into a smooth ball, about 7 to 8 times, or until it's uniform in texture.
- Using a rolling pin, gently roll the dough out into a large rectangle, approximately 1/2 to 3/4 inch in thickness. Using a lightly floured 2 and 1/2-inch round dough cutter, cut equal circles from the rectangle.
- Transfer the doughnuts to the prepared lightly greased baking sheet, spacing them an inch apart (they will rise). Cover the pan lightly with saran wrap and set aside for 45 minutes, or until the doughnuts have almost doubled in size.
- When ready to fry, heat frying oil in a large, heavy-bottomed pot to 360°F. Fry doughnuts, a few at a time, for 1 to 2 minutes on each side, or until golden brown.
- Transfer cooked doughnuts onto the prepared paper towel lined baking sheet, continuing until all doughnuts have been fried.
- In a medium-sized bowl, whisk together the large egg yolks, granulated sugar, and cornstarch. Set aside.
- In a medium-sized saucepan, warm the whole milk over medium heat until it comes to a gentle boil.
- Remove the pan from heat and slowly whisk 1 cup of the hot milk into the egg yolk mixture, whisking constantly.
- Return the mixture to the pan containing the remaining milk and place over medium-high heat. Cook, whisking constantly, until it comes to a boil. Once boiling, continue to cook, whisking constantly, for 2 minutes, or until very thick.
- Remove from heat. Scrape the bottom and sides of the pan with a spatula then whisk until smooth. Whisk in the unsalted butter until completely melted. Then whisk in the pure vanilla extract and salt.
- Strain the custard through a fine-mesh sieve into a medium-sized glass bowl. Cover with plastic wrap, pressing the wrap directly onto the surface to avoid a skin forming. Cool to room temperature, then refrigerate for at least 2 hours.
- When ready to fill doughnuts, scrape the filling into a large pastry bag fitted with a small round nozzle. Using a large straw, or your pinky finger, make a small hole on the side of each doughnut. Carefully fit the nozzle of the bag into a doughnut and squeeze until you see the center begin to puff up.
- Place finely chopped chocolate in a medium-sized heatproof bowl. Set aside.
- Warm the heavy cream over medium heat until it comes to a boil. Add in the espresso powder, if using, and whisk until smooth.
- Pour the cream over the chopped chocolate and let it sit for 1 minute, then whisk until smooth. Dip the top of each doughnut into the glaze, allowing excess chocolate to drip off before placing it on a large serving platter. Repeat with all doughnuts. Allow glaze to set for about 20 minutes.
- Donuts are best served the day they are made. Store leftovers in the fridge, wrapped in saran wrap, for up to 48 hours.
Notes
- Tip 1: Donut dough can be made the day before you plan on using it. Instead of placing in a warm area to rise, cover the bowl and place in the fridge for at least 2 hours, and up to 24 hours. Then follow the recipe as directed.