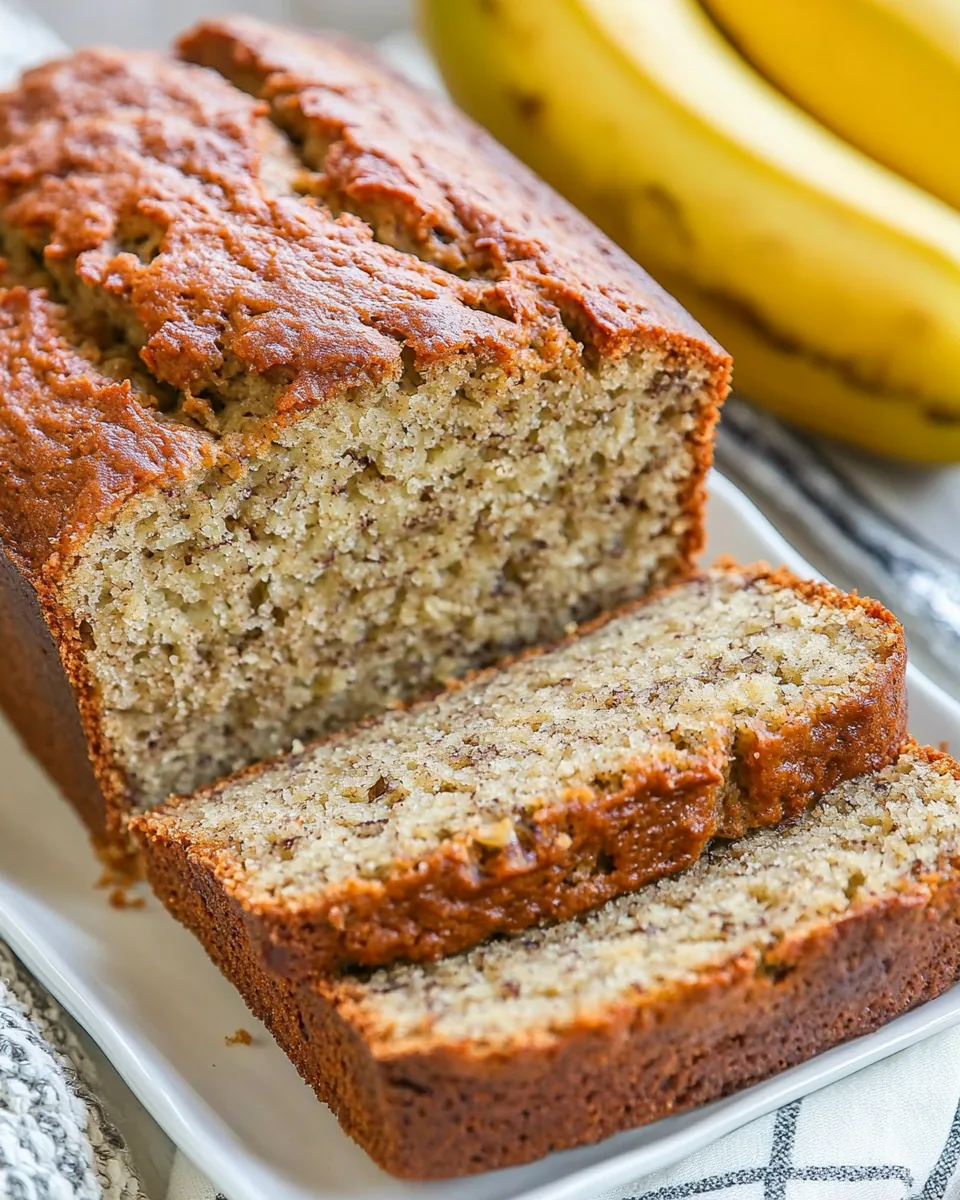
Banana Nut Bread
Hello fellow bakers! Today, I’m excited to share my go-to recipe for Banana Nut Bread. There’s something incredibly comforting about the smell of freshly baked bread wafting through the house, especially when it’s made with ripe bananas and crunchy walnuts. I remember the first time I baked this delightful treat; my kitchen was filled with warmth and sweet aromas that made my heart flutter. It was a rainy afternoon, and a few overripe bananas were staring at me from the counter, begging not to be wasted. That’s when I decided to turn them into something magical. Every time I whip up a batch of Banana Nut Bread, I’m transported back to those cozy moments, and it always brings a smile to my face.
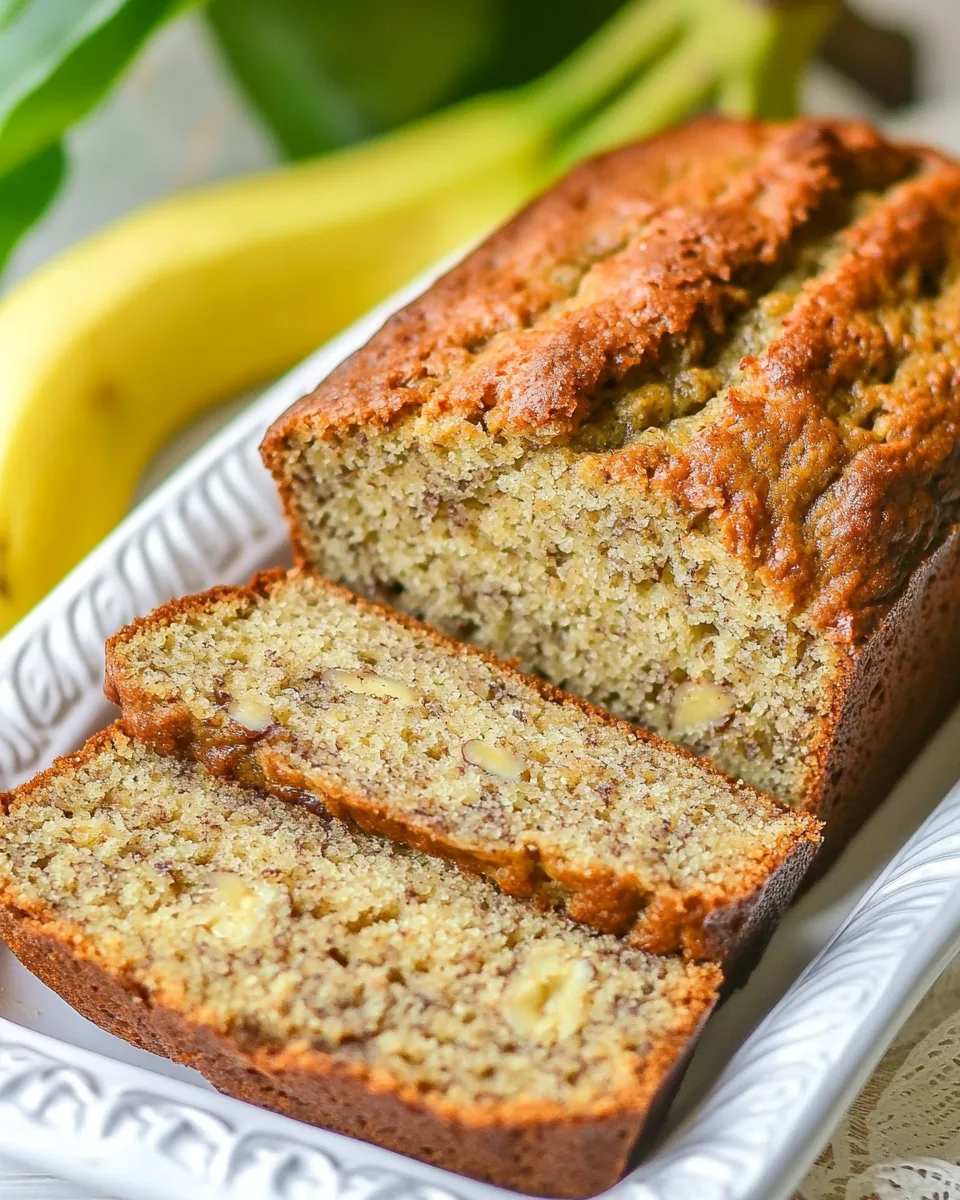
This recipe is not just a way to use up overripe bananas; it’s a celebration of flavors and textures. The combination of mashed bananas and toasted nuts creates a wonderful harmony that keeps you coming back for more. Whether it’s for breakfast with a cup of coffee, a snack during the day, or a delightful dessert after dinner, Banana Nut Bread never fails to impress. It’s soft, moist, and simply divine, making it one of my favorite recipes to share with family and friends.
So, if you’re ready to fill your home with that sweet banana aroma, let’s dive into this recipe that’s bound to become a staple in your kitchen!
Recipe Snapshot
1 hr 10 mins
15 mins
55 mins
Medium
210 kcal
3 g
Vegan, Gluten-Free, AIP
9 g
Frying Pan, Oven, Chef’s Knife, Mixing Bowl, Wooden Spoon, Baking Sheet
Why This Banana Nut Bread Hits Different
It’s Incredibly Easy to Make
One of the reasons I adore Banana Nut Bread is how simple it is to whip up. You don’t need any fancy equipment—just a bowl and a whisk will do! Even if you’re a novice baker, this recipe is foolproof. You’ll be amazed at how quickly it comes together, making it perfect for those impromptu baking sessions.
Perfect Use of Overripe Bananas
Have you ever found yourself with a bunch of overripe bananas? Instead of tossing them out, transform them into a delicious loaf of Banana Nut Bread. The riper the bananas, the sweeter your bread will be. It’s a great way to minimize food waste while creating something delightful!
Versatile and Customizable
This recipe is incredibly versatile. While I love the classic combination of bananas and walnuts, feel free to experiment! You can add chocolate chips, other nuts, or even spices like cinnamon for a different twist. Every loaf can be a new adventure, keeping your baking experience fresh and exciting.
Great for Sharing
Nothing says “I care” quite like sharing a homemade loaf of Banana Nut Bread with someone special. It’s perfect for gifting during the holidays or bringing to a potluck. Trust me, everyone will appreciate your effort, and it’s a wonderful way to connect with others over food.
It Freezes Well
If you happen to have leftovers (though I doubt it!), this bread freezes beautifully. Simply slice it, wrap it tightly, and pop it in the freezer. You can enjoy a slice any time you crave that comforting banana flavor without needing to bake again!
Ingredients You’ll Need for Banana Nut Bread
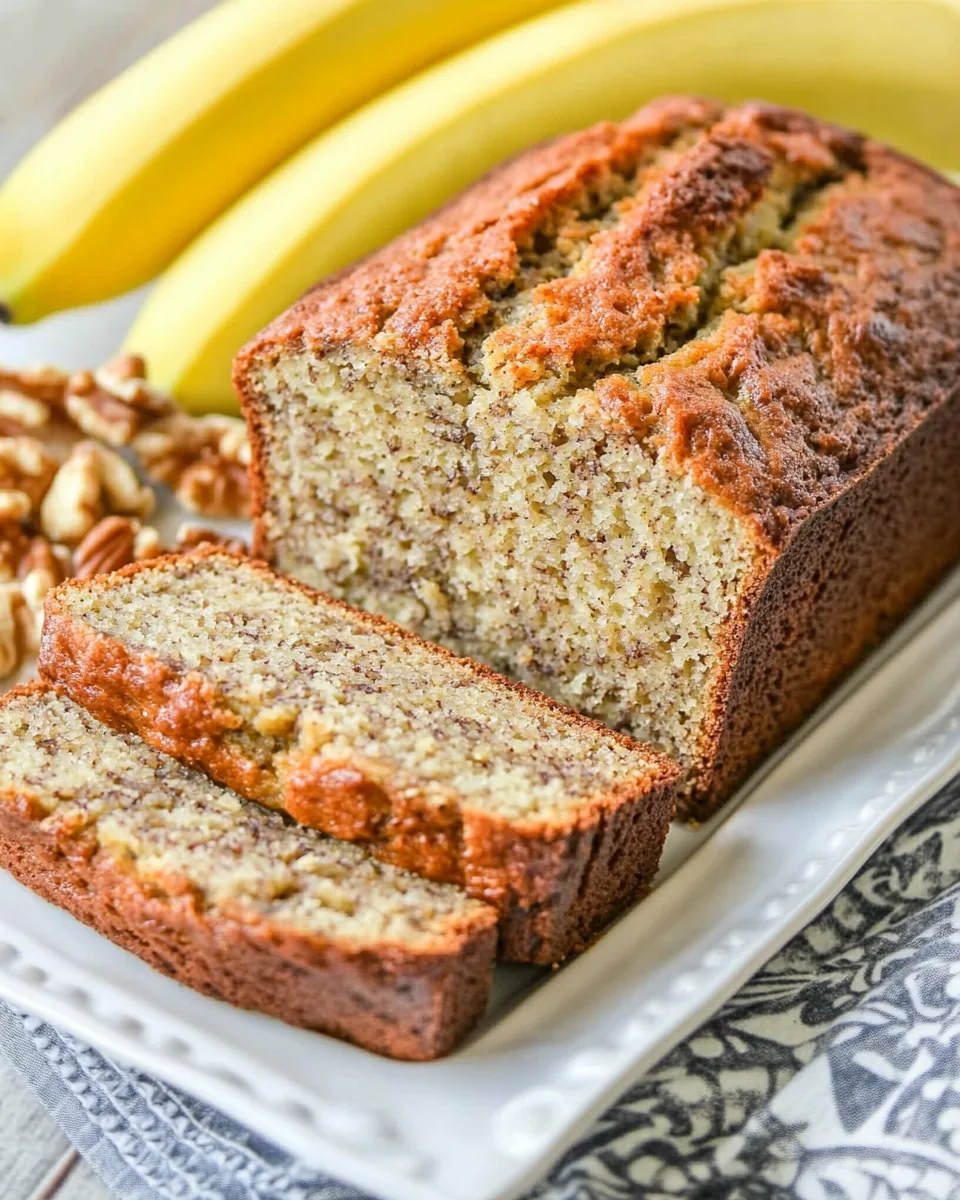
When it comes to making Banana Nut Bread, the ingredients are simple yet essential. Each element plays a crucial role in creating that moist, flavorful loaf we all adore. Ripe bananas bring natural sweetness, while the nuts add a satisfying crunch. Let’s take a look at what you’ll need to gather for this delightful recipe.
- 1½ cups all-purpose flour: The foundation of your bread, providing structure and texture.
- 1 teaspoon baking powder: Helps the bread rise for a light and fluffy loaf.
- 1 teaspoon baking soda: Works in tandem with the baking powder for the perfect rise.
- ½ teaspoon salt: Enhances the flavors and balances the sweetness of the bananas.
- 3 large overripe bananas, mashed: The star ingredient, bringing moisture and natural sweetness to the bread.
- ½ cup sugar: Adds sweetness and helps caramelize the crust.
- ½ cup packed brown sugar: Provides depth of flavor and a hint of molasses.
- 1 egg: Binds the ingredients together and contributes to the bread’s texture.
- 4 tablespoons unsalted butter, melted: Adds richness and moisture to the bread.
- ½ cup chopped walnuts: Adds a delightful crunch and nutty flavor.
Cooking Instructions for Banana Nut Bread
Now that we have our ingredients ready, it’s time to bring them together and create something wonderful! This process is straightforward and enjoyable, so let’s dive into the steps of making your own Banana Nut Bread.
- Preheat your oven to 325°F (165°C). This is important to ensure even baking. While it’s heating up, lightly grease a 5×9-inch loaf pan with cooking spray to prevent sticking.
- In a medium bowl, sift together flour, baking powder, baking soda, and salt. Sifting helps to aerate the flour and combine the dry ingredients evenly, which is crucial for a light loaf.
- In another bowl, combine the mashed bananas, sugar, and brown sugar. Mix well until everything is combined. The mixture should be smooth and creamy, reflecting the sweetness of the ripe bananas.
- Add the egg to the banana mixture and mix until fully incorporated. You want the egg to blend seamlessly, adding richness to your loaf.
- Next, pour in the melted butter and mix until everything is well combined. The butter adds moisture and flavor, making your bread rich and delicious.
- Now, slowly fold in the dry mixture into the wet mixture. Use a spatula to gently combine until just smooth. Be careful not to overmix; a few lumps are okay.
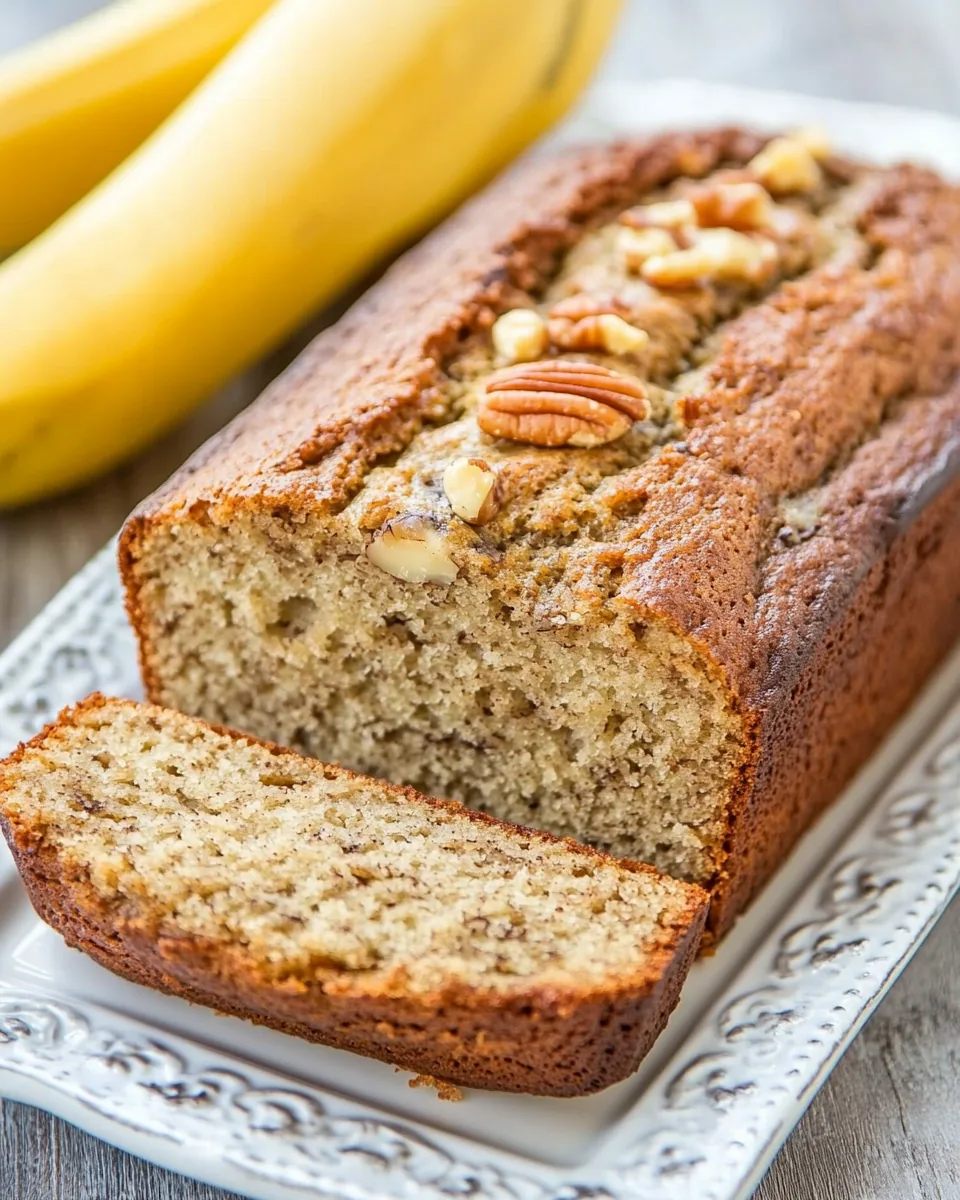
- Finally, fold in the chopped walnuts. This will add a wonderful crunch to your bread, making every bite memorable.
- Scoop the batter into the prepared loaf pan, smoothing the top with a spatula. This helps it rise evenly.
- Bake in the preheated oven for 35 minutes, then cover with foil. This prevents the top from over-browning. Continue baking for another 20 to 25 minutes, or until a toothpick inserted in the center comes out clean.
- Once done, remove from the oven and let it cool in the pan for about 10 minutes before transferring to a wire rack. This allows the bread to firm up and makes it easier to slice.
Pro Tips and Tweaks
To make your baking experience even better, here are some pro tips for perfecting your Banana Nut Bread.
- Storage: To keep your bread fresh, store it in an airtight container at room temperature. It will stay moist for up to four days.
- Freezing: If you want to enjoy your bread later, slice it and wrap each piece tightly in plastic wrap. Place it in a freezer bag; it can last up to three months.
- Pairing: Enjoy your Banana Nut Bread with a spread of butter or cream cheese for an extra touch of indulgence.
- Variations: Feel free to experiment! Add in chocolate chips, different nuts, or spices like cinnamon for a unique twist on the classic recipe.
- Check for Doneness: Always use a toothpick to check if your bread is done. It should come out clean, indicating the inside is cooked through.
What to Pair With Banana Nut Bread
Serving Banana Nut Bread can be just as delightful as baking it! Here are some ideas on how to enjoy this lovely loaf.
- Breakfast Delight: Serve slices with a side of fresh fruit and a cup of coffee for a complete breakfast. The sweetness of the bread complements the acidity of fruits perfectly.
- Snack Time: It makes a fantastic afternoon snack. Pair it with a cup of tea or milk while you unwind.
- Brunch Crowd-Pleaser: If you’re hosting brunch, slice the bread and offer it as part of a sweet table along with pastries and other treats. It’s sure to impress your guests!
- Holiday Treat: During the holidays, wrap slices in cellophane with a festive ribbon as thoughtful gifts for friends and family.
- Storage Tips: If you have leftovers, consider storing them in the fridge to keep them fresh longer, especially if your kitchen tends to be warm.
FAQ
Conclusion
In conclusion, Banana Nut Bread is a timeless recipe that brings warmth and joy to any table. Its delightful combination of sweetness and crunch makes it a favorite for many. I encourage you to try this recipe and share it with your loved ones, as it’s bound to create cherished memories around the kitchen. Happy baking!

Banana Nut Bread
Equipment
- Frying Pan
- Oven
- Chef's Knife
- Mixing Bowl
- Wooden Spoon
- Baking Sheet
Ingredients
- 1.5 cups All-Purpose Flour
- 1 teaspoon Baking Powder
- 1 teaspoon Baking Soda
- 0.5 teaspoon Salt
- 3 large Overripe Bananas, mashed
- 0.5 cup Sugar
- 0.5 cup Packed Brown Sugar
- 1 Egg
- 4 tablespoons Unsalted Butter, melted
- 0.5 cup Chopped Walnuts
Instructions
- Preheat your oven to 325°F (165°C). This is important to ensure even baking. While it’s heating up, lightly grease a 5x9-inch loaf pan with cooking spray to prevent sticking.
- In a medium bowl, sift together flour, baking powder, baking soda, and salt. Sifting helps to aerate the flour and combine the dry ingredients evenly, which is crucial for a light loaf.
- In another bowl, combine the mashed bananas, sugar, and brown sugar. Mix well until everything is combined. The mixture should be smooth and creamy, reflecting the sweetness of the ripe bananas.
- Add the egg to the banana mixture and mix until fully incorporated. You want the egg to blend seamlessly, adding richness to your loaf.
- Next, pour in the melted butter and mix until everything is well combined. The butter adds moisture and flavor, making your bread rich and delicious.
- Now, slowly fold in the dry mixture into the wet mixture. Use a spatula to gently combine until just smooth. Be careful not to overmix; a few lumps are okay.
- Finally, fold in the chopped walnuts. This will add a wonderful crunch to your bread, making every bite memorable.
- Scoop the batter into the prepared loaf pan, smoothing the top with a spatula. This helps it rise evenly.
- Bake in the preheated oven for 35 minutes, then cover with foil. This prevents the top from over-browning. Continue baking for another 20 to 25 minutes, or until a toothpick inserted in the center comes out clean.
- Once done, remove from the oven and let it cool in the pan for about 10 minutes before transferring to a wire rack. This allows the bread to firm up and makes it easier to slice.
Notes
- Storage: To keep your bread fresh, store it in an airtight container at room temperature. It will stay moist for up to four days.
- Freezing: If you want to enjoy your bread later, slice it and wrap each piece tightly in plastic wrap. Place it in a freezer bag; it can last up to three months.
- Pairing: Enjoy your Banana Nut Bread with a spread of butter or cream cheese for an extra touch of indulgence.
- Variations: Feel free to experiment! Add in chocolate chips, different nuts, or spices like cinnamon for a unique twist on the classic recipe.
- Check for Doneness: Always use a toothpick to check if your bread is done. It should come out clean, indicating the inside is cooked through.