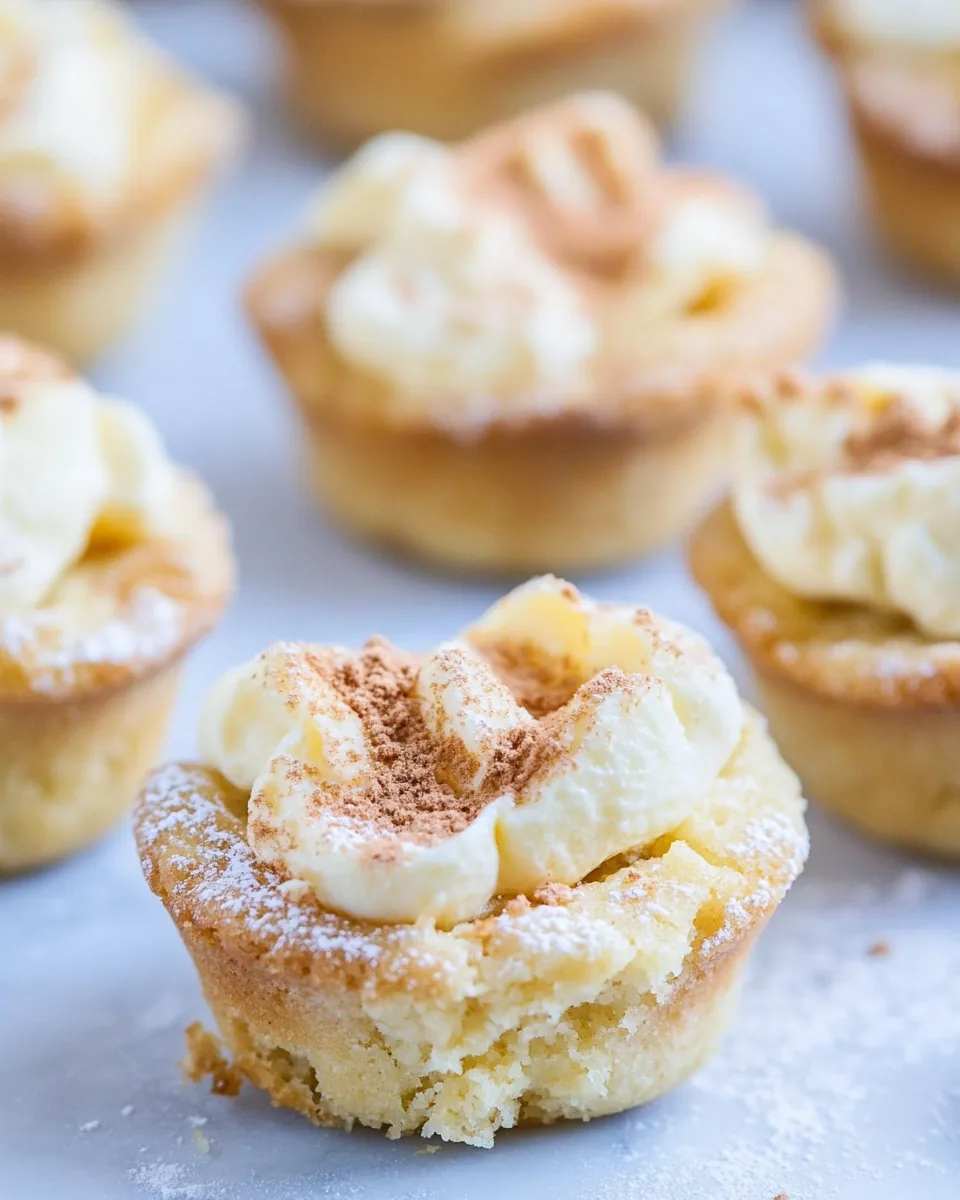
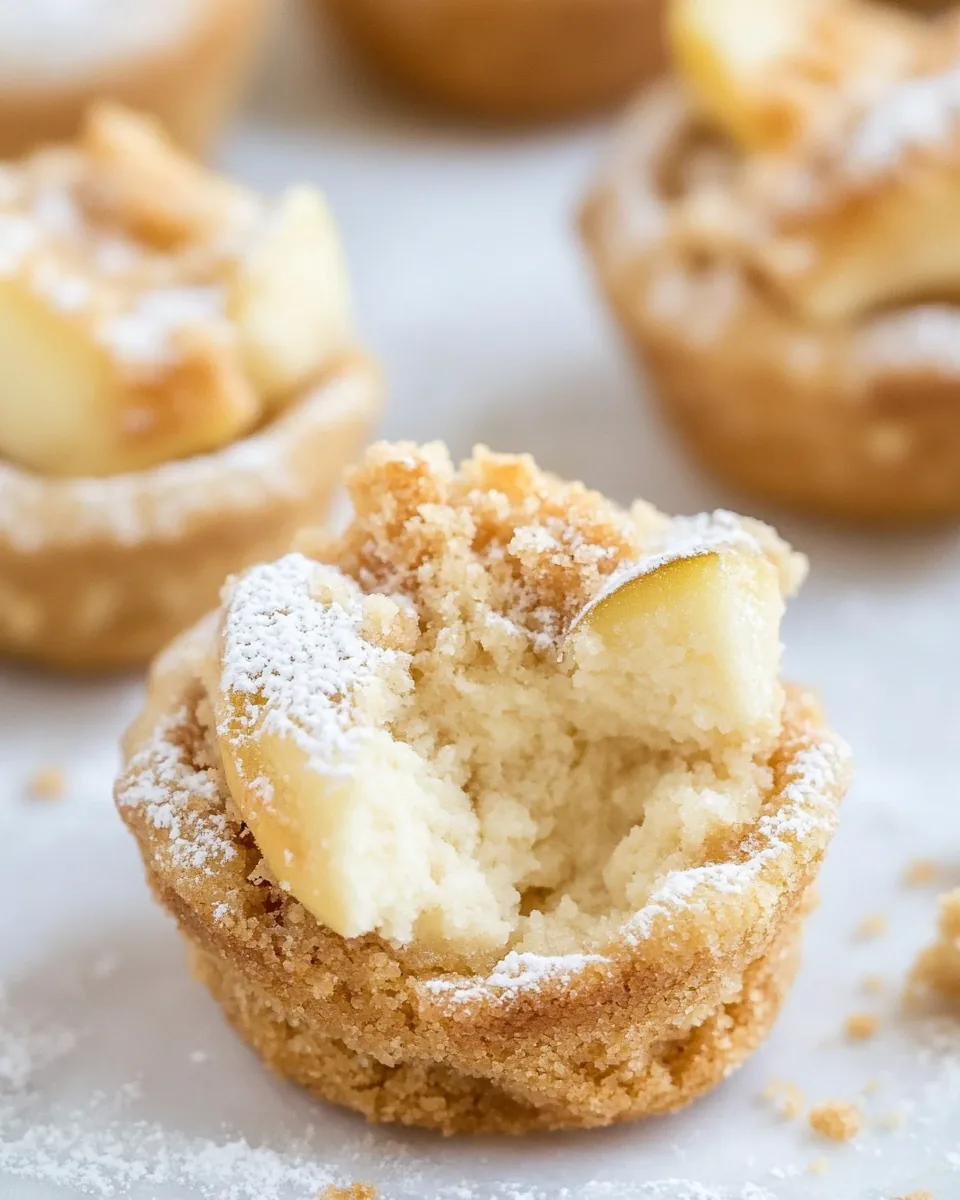
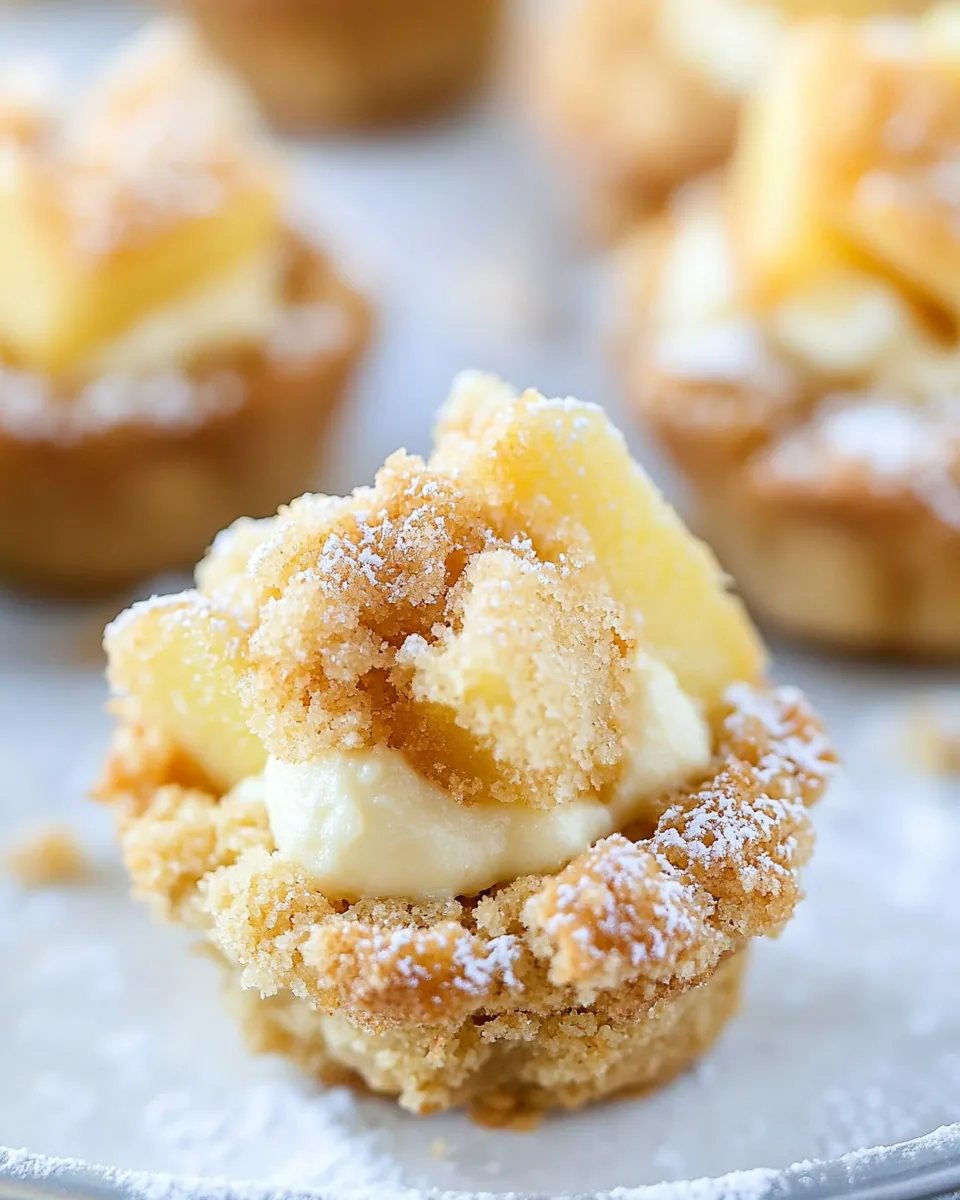
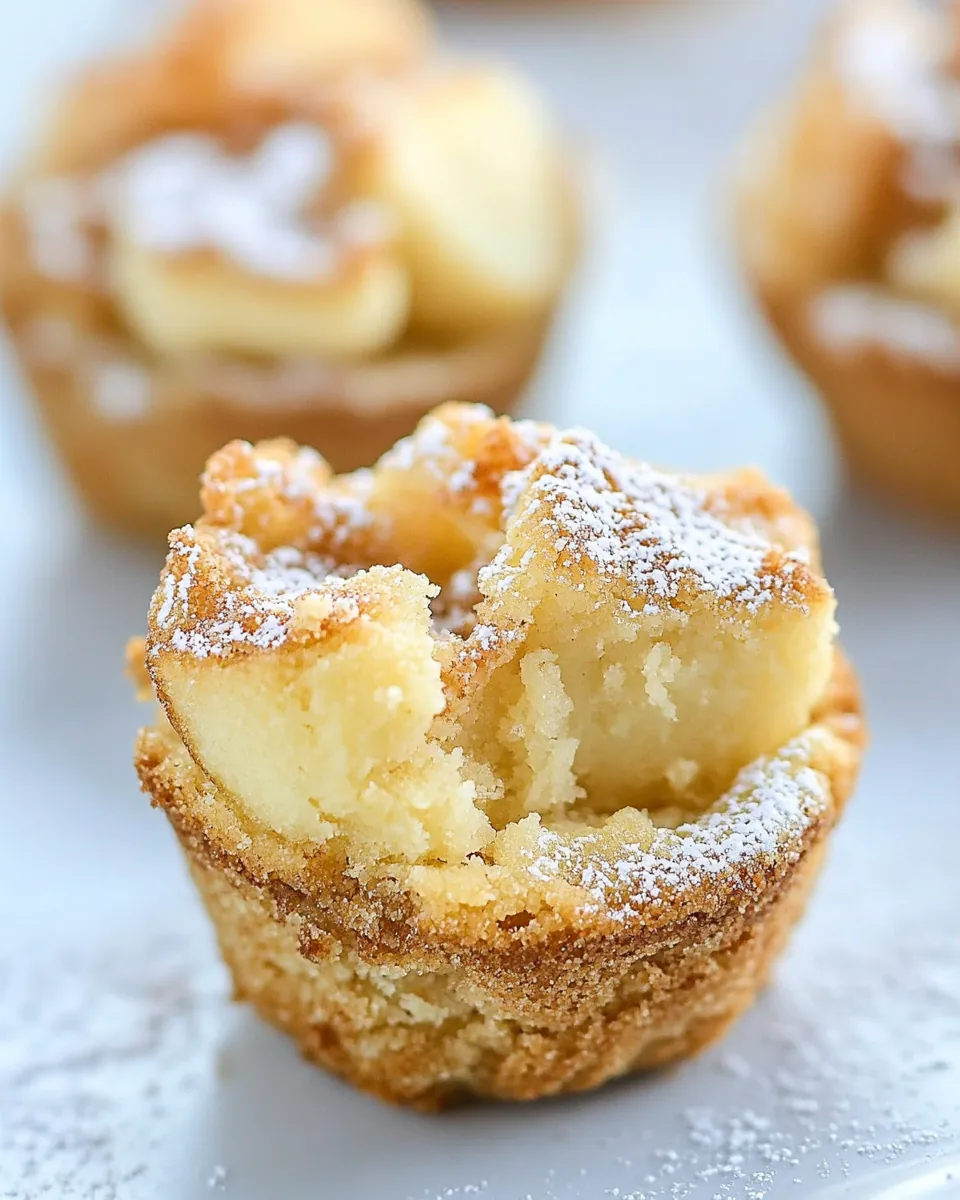
Apple Cheesecake Cookie Cups
The first time I made Apple Cheesecake Cookie Cups, I was in a frenzy trying to impress my friends at a cozy fall gathering. The air was crisp, and the scent of apples filled my kitchen, evoking memories of my childhood. We were all in good spirits, and I couldn’t wait to share these delicious little treats that perfectly combined the flavors of apple pie and cheesecake. Each bite was a delightful surprise, as the soft cookie cradled a creamy cheesecake filling, punctuated by bits of tart Granny Smith apples. It was a hit! Since then, these Apple Cheesecake Cookie Cups have become a staple for all my gatherings, and I often find myself making them just to relive that moment.
Recipe Snapshot
60 mins
0 mins
0 mins
Medium
150 kcal
2 g
Gluten-Free, Low FODMAP
7 g
Frying Pan, Oven, Peeler, Wooden Spoon, Cutting Board, Mixing Bowl, Baking Sheet
The Appeal of This Apple Cheesecake Cookie Cups
Perfect for Fall Celebrations
One of the best things about Apple Cheesecake Cookie Cups is how they embrace the essence of fall. The combination of fresh apples and warm spices like cinnamon transports you to a pumpkin patch on a sunny autumn day. Every bite feels like a celebration of the season.
Versatile for Any Occasion
Whether it’s a family gathering, a potluck, or just a cozy night in, these cookie cups fit into any occasion seamlessly. Their bite-sized form makes them perfect for sharing, and they bring a touch of elegance to your dessert table.
Easy to Make
Don’t let the fancy appearance fool you! The Apple Cheesecake Cookie Cups are surprisingly easy to whip up. With just a handful of ingredients and straightforward steps, even novice bakers can impress their friends and family.
Customizable
Feel free to get creative! You can swap out the apples for other fruits or experiment with different spices in the cheesecake filling. This recipe allows for a fun personal touch, making it unique to your taste.
Kid-Friendly Fun
Kids love these little treats! Not only are they delicious, but they can also get involved in the process. Let them help scoop and press the dough into the muffin tin for some interactive fun and learning in the kitchen.
Perfect for Meal Prep
If you’re someone who loves to plan ahead, these cookie cups are ideal. You can make them in batches and freeze them for later. Just pull them out, dust with powdered sugar, and you have a homemade dessert ready to impress at a moment’s notice.
What’s In This Apple Cheesecake Cookie Cups
In the world of baking, the ingredients you choose play a crucial role in how the final product turns out. For Apple Cheesecake Cookie Cups, we focus on quality ingredients that blend together harmoniously. The rich and creamy cream cheese pairs perfectly with the sweet and slightly tangy apples, while the baking soda and baking powder ensure that your cookie cups rise beautifully. Together, they create a delightful texture and flavor that makes each bite irresistible.
- 1/4 cup unsalted Challenge Butter, softened – Adds richness and flavor to the cookie base.
- 4 ounces Challenge Cream Cheese, softened – Provides that creamy cheesecake filling and balances the sweetness.
- 3/4 cup packed brown sugar – Sweetness with a hint of molasses for depth of flavor.
- 1 egg yolk – Helps bind the ingredients together and adds richness.
- 1 teaspoon vanilla extract – Enhances the overall flavor with its warm notes.
- 1/2 teaspoon baking powder – Helps the cookies rise beautifully.
- 1/4 teaspoon baking soda – Works with the baking powder to ensure the right texture.
- 1/2 teaspoon cinnamon – Adds a warm spice that complements the apples perfectly.
- 1/4 teaspoon salt – Balances sweetness and enhances flavors.
- 1 1/4 cups all-purpose flour – Forms the base of the cookie, giving it structure.
- 1 large Granny Smith Apple, peeled, cored, and diced small – Provides tartness and moisture, making the cookies irresistible.
How to Make Apple Cheesecake Cookie Cups
Making Apple Cheesecake Cookie Cups is a breeze and so rewarding! Let’s dive into the steps to create these delightful treats together. You’ll be amazed at how quickly they come together and how delicious your kitchen will smell!
- Preheat your oven to 350°F. It’s essential to get your oven hot before baking so that your cookie cups rise properly. While the oven is warming, grab your mini muffin pans and spray them generously with nonstick cooking spray. This will ensure that your cookie cups come out easily after baking.
- In a mixing bowl, beat the unsalted butter and cream cheese together until the mixture is smooth and creamy. This step typically takes about 2 to 3 minutes. You want to make sure there are no lumps, as this will affect the texture of your final product.
- Once smooth, gradually mix in the brown sugar until the mixture becomes creamy. This will take another 2 minutes. The brown sugar adds a lovely caramel flavor that pairs beautifully with the apples. Next, incorporate the egg yolk and vanilla extract, mixing until well combined.
- Now, it’s time to add the dry ingredients. Add in the baking powder, baking soda, cinnamon, and salt, mixing until everything is just combined. Be careful not to overmix, as this can make your cookie cups dense.
- Slowly add the all-purpose flour to the mixture. You can do this in increments, allowing the dough to form naturally. Once the dough has come together, gently fold in the diced Granny Smith apple pieces. They’ll provide that delightful texture and flavor contrast in your cookie cups.
- Using a cookie scoop or your hands, scoop about 2 tablespoons of the dough into each muffin cavity. Press down lightly to compact the dough, but don’t overdo it; you want them to have a bit of air for baking.
- Place the muffin pans in the preheated oven and bake for 10 to 20 minutes. The cookies are done when they are golden brown around the edges. Keep an eye on them, as baking times can vary depending on your oven.
- Once baked, remove the muffin pans from the oven and let them cool for at least 10 minutes before attempting to remove the cookie cups. This cooling time allows them to set properly.
- Transfer the cooled cookie cups to a wire rack to cool completely. They can be stored in an airtight container for up to 3 days, or you can freeze them for up to one month. If you’re serving them for a special occasion, consider dusting with powdered sugar right before serving for that extra touch!
Things Worth Knowing
- Cooling Time Matters: Allowing the cookie cups to cool before removing them helps them maintain their shape and prevents them from breaking apart.
- Batch Baking: If you’re making these for a crowd, consider doubling the recipe. They disappear quickly!
- Flavor Pairings: Serve these with a scoop of vanilla ice cream or a dollop of whipped cream for an indulgent treat.
- Apple Variety: While Granny Smith apples are tart and ideal for this recipe, feel free to try other varieties to discover your favorite.
Ways to Adapt This Recipe
If you’re looking to put your spin on the Apple Cheesecake Cookie Cups, here are some ideas to adapt this recipe! With a few tweaks, you can create a variety of flavors and styles that will keep things interesting.
- Storage: Store leftover cookie cups in an airtight container at room temperature for up to 3 days. They can also be refrigerated for freshness.
- Freezing: To freeze, ensure they are completely cooled, then place them in a single layer in a freezer-safe container. They can last for up to one month frozen.
- Flavor Variations: Experiment by adding spices like nutmeg or allspice for a different flavor profile.
- Chocolate Chip Option: Add mini chocolate chips to the dough for a gooey surprise.
- Gluten-Free Version: Substitute the all-purpose flour with a gluten-free blend for a gluten-free treat.
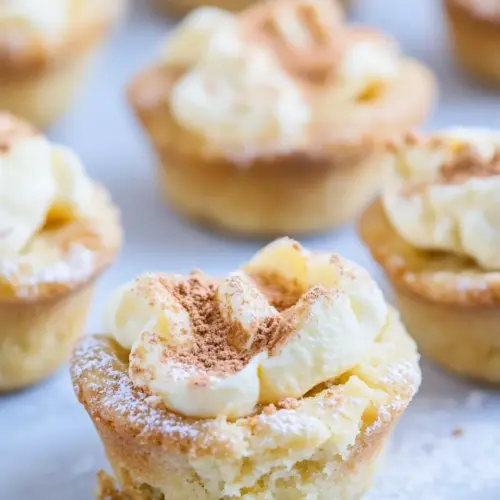
How to Serve Apple Cheesecake Cookie Cups
Serving Apple Cheesecake Cookie Cups can be just as fun as making them! Here are a few serving suggestions to elevate your dessert experience.
- Dust with Powdered Sugar: A light dusting of powdered sugar right before serving adds a beautiful presentation and extra sweetness.
- Pair with Ice Cream: These cookie cups go wonderfully with vanilla or caramel ice cream, creating a delightful contrast of warm and cold.
- Perfect for Parties: Serve them on a decorative platter during gatherings or celebrations. They make for an eye-catching dessert.
- Festive Occasions: Incorporate them into your holiday dessert spread. They fit right in among pies and cakes.
- Child-Friendly Treat: Consider these as a sweet treat for kids’ parties. They are the perfect size for little hands.
- Coffee Pairing: Enjoy these with a cup of coffee or tea for an afternoon treat. The flavors complement each other beautifully.
FAQ
Conclusion
The Apple Cheesecake Cookie Cups are truly a delightful treat that brings together the flavors of cheesecake and apple pie in one bite-sized dessert. Their versatility makes them perfect for any occasion, and I encourage you to give them a try. Trust me, your friends and family will be asking for seconds, and you might just find yourself making them again and again!
Apple Cheesecake Cookie Cups
Equipment
- Frying Pan
- Oven
- Peeler
- Wooden Spoon
- Cutting Board
- Mixing Bowl
- Baking Sheet
Ingredients
- 1/4 cup unsalted Challenge Butter
- 4 ounces Challenge Cream Cheese
- 3/4 cup brown sugar
- 1 egg yolk
- 1 teaspoon vanilla extract
- 1/2 teaspoon baking powder
- 1/4 teaspoon baking soda
- 1/2 teaspoon cinnamon
- 1/4 teaspoon salt
- 1 1/4 cups all-purpose flour
- 1 large Granny Smith Apple peeled, cored, and diced small
Instructions
- Preheat your oven to 350°F. It's essential to get your oven hot before baking so that your cookie cups rise properly. While the oven is warming, grab your mini muffin pans and spray them generously with nonstick cooking spray. This will ensure that your cookie cups come out easily after baking.
- In a mixing bowl, beat the unsalted butter and cream cheese together until the mixture is smooth and creamy. This step typically takes about 2 to 3 minutes. You want to make sure there are no lumps, as this will affect the texture of your final product.
- Once smooth, gradually mix in the brown sugar until the mixture becomes creamy. This will take another 2 minutes. The brown sugar adds a lovely caramel flavor that pairs beautifully with the apples. Next, incorporate the egg yolk and vanilla extract, mixing until well combined.
- Now, it’s time to add the dry ingredients. Add in the baking powder, baking soda, cinnamon, and salt, mixing until everything is just combined. Be careful not to overmix, as this can make your cookie cups dense.
- Slowly add the all-purpose flour to the mixture. You can do this in increments, allowing the dough to form naturally. Once the dough has come together, gently fold in the diced Granny Smith apple pieces. They’ll provide that delightful texture and flavor contrast in your cookie cups.
- Using a cookie scoop or your hands, scoop about 2 tablespoons of the dough into each muffin cavity. Press down lightly to compact the dough, but don’t overdo it; you want them to have a bit of air for baking.
- Place the muffin pans in the preheated oven and bake for 10 to 20 minutes. The cookies are done when they are golden brown around the edges. Keep an eye on them, as baking times can vary depending on your oven.
- Once baked, remove the muffin pans from the oven and let them cool for at least 10 minutes before attempting to remove the cookie cups. This cooling time allows them to set properly.
- Transfer the cooled cookie cups to a wire rack to cool completely. They can be stored in an airtight container for up to 3 days, or you can freeze them for up to one month. If you’re serving them for a special occasion, consider dusting with powdered sugar right before serving for that extra touch!
Notes
- Tip 1: Store leftover cookie cups in an airtight container at room temperature for up to 3 days. They can also be refrigerated for freshness.
- Tip 2: To freeze, ensure they are completely cooled, then place them in a single layer in a freezer-safe container. They can last for up to one month frozen.
- Tip 3: Experiment by adding spices like nutmeg or allspice for a different flavor profile.
- Tip 4: Add mini chocolate chips to the dough for a gooey surprise.
- Tip 5: Substitute the all-purpose flour with a gluten-free blend for a gluten-free treat.