Red Velvet Cookies
There’s something truly magical about baking cookies, and when it comes to Red Velvet Cookies, the excitement is amplified. I remember the first time I tried these vibrant treats at a friend’s gathering. The moment I took a bite, I was smitten by their rich color and deliciously soft texture. That’s when I knew I had to recreate them in my own kitchen. The combination of buttery goodness, slight tang from the vinegar, and that signature red hue makes these cookies a perfect treat for any occasion. Whether you’re celebrating Valentine’s Day or simply indulging yourself, these cookies never fail to impress!
Recipe Snapshot
35 mins
15 mins
20 mins
Medium
120 kcal
2g g
Whole30, Gluten-Free, Low FODMAP
5g g
Whisk, Food Processor, Oven, Chef’s Knife, Mixing Bowl, Baking Sheet
Why This Red Velvet Cookies Is a Winner
They’re Visually Stunning
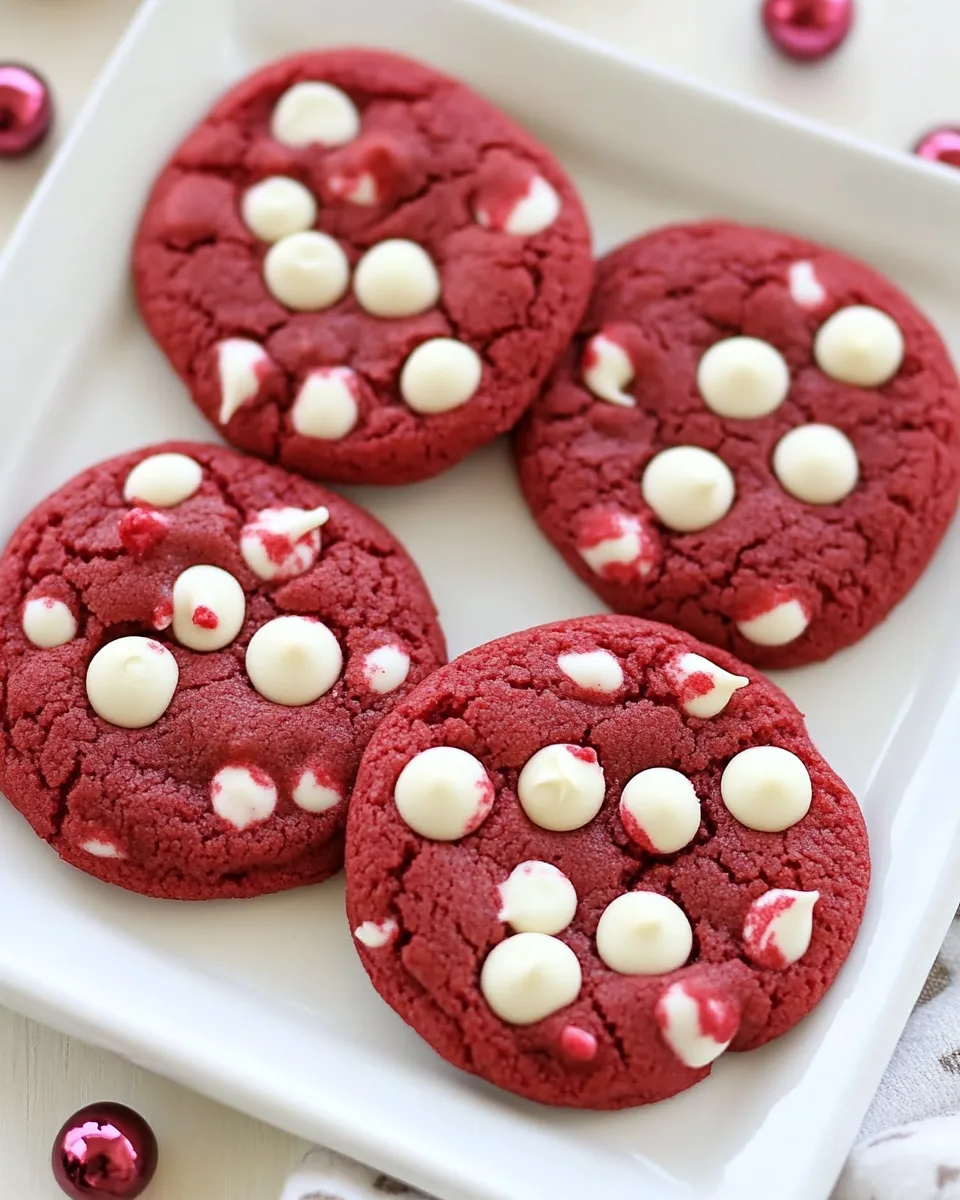
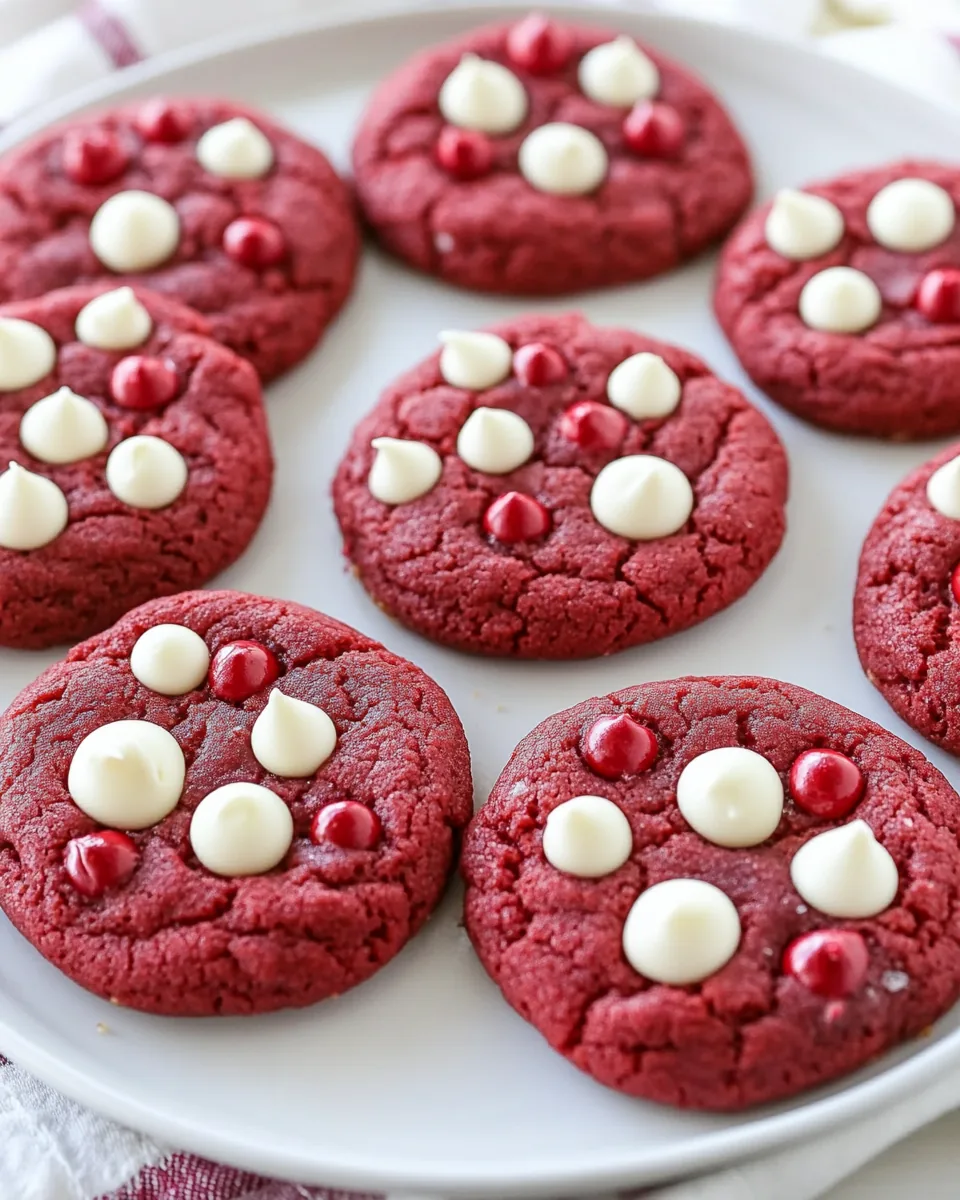
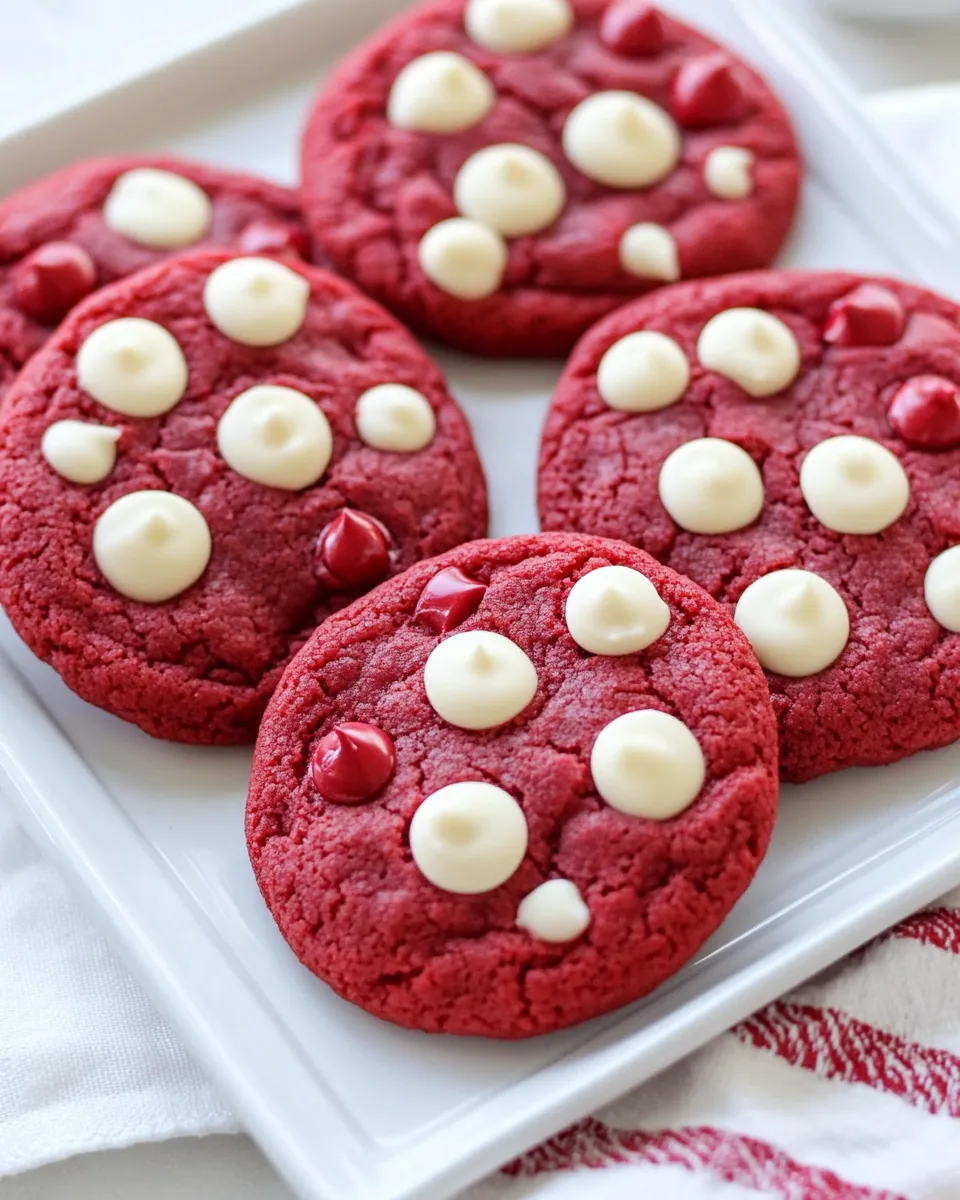
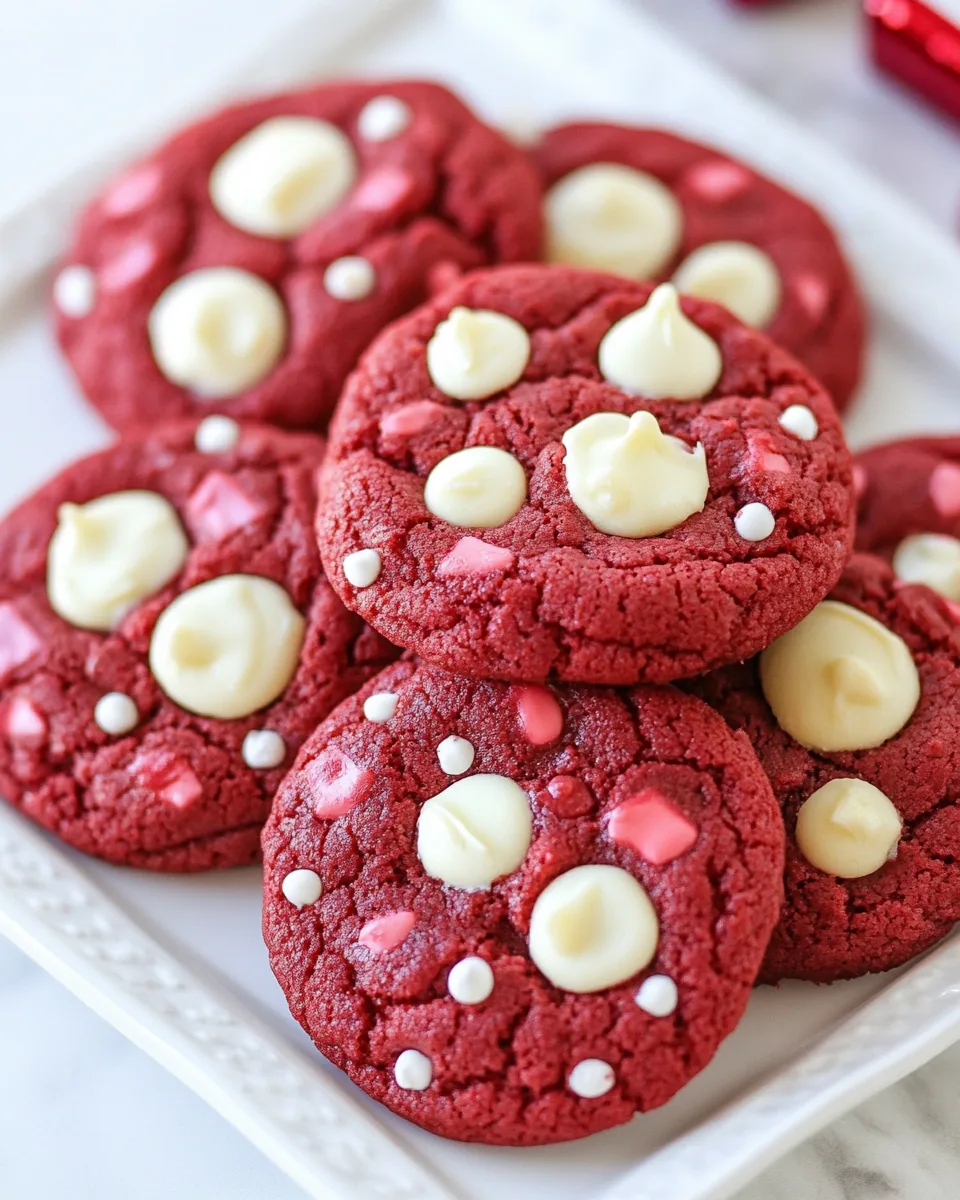
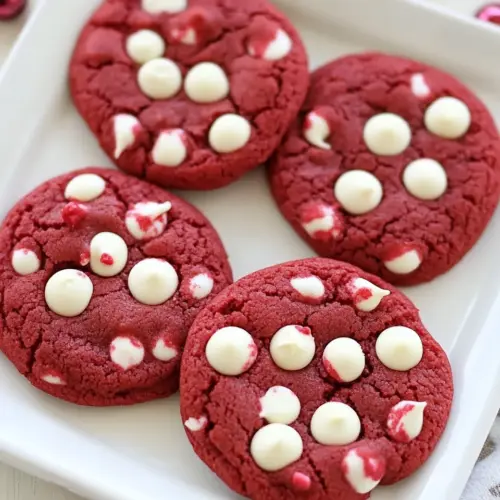
The first thing that catches your eye is the stunning red hue of the Red Velvet Cookies. Their rich color makes them a showstopper at any gathering. The contrast of white chocolate chips against the red dough creates a delightful visual appeal that’s hard to resist.
Perfect for Any Occasion
While these cookies are a classic choice for Valentine’s Day, they’re suitable for any occasion! Whether it’s a birthday party, family gathering, or a simple treat for yourself, these cookies will surely brighten the day and bring smiles all around.
Soft and Chewy Texture
One of the best things about Red Velvet Cookies is their texture. They have the perfect balance of softness and chewiness, making each bite melt in your mouth. This combination of textures elevates these cookies to a whole new level that you simply have to experience!
Rich Flavor Profile
The flavor of Red Velvet Cookies is multi-dimensional. The blend of cocoa, butter, and the hint of vinegar creates a rich, complex taste that keeps you coming back for more. Each cookie is a delightful explosion of flavors that pairs beautifully with a glass of milk.
Fun to Make
Baking these cookies is a fun and rewarding experience! From mixing the bright red dough to shaping it into balls and watching them puff up in the oven, the entire process is enjoyable. Plus, it’s a fun activity to do with kids or friends!
Great for Sharing
Nothing warms the heart quite like sharing freshly baked cookies with loved ones. The Red Velvet Cookies are perfect for gift-giving or sharing at a potluck. Their unique flavor and appearance will make you the star of the gathering!
What’s In This Red Velvet Cookies
When it comes to the philosophy of baking, the ingredients play a crucial role in creating the perfect cookie. In the case of Red Velvet Cookies, a combination of staple baking ingredients like all-purpose flour, cocoa powder, and unsalted butter work together to create a rich and decadent treat. Each ingredient brings its unique properties to the table, contributing to the flavor and texture we all adore.
- All-Purpose Flour: 1 1/3 cups (189g) – This is the foundation of our cookies, providing structure and body.
- Cocoa Powder: 4 tsp (6g) – Adds a subtle chocolate flavor, creating a depth in the overall taste.
- Baking Soda: 1/2 tsp – This leavening agent provides the necessary rise for soft and fluffy cookies.
- Salt: 1/4 tsp (heaping) – Enhances the sweetness and balances the flavors in the cookie.
- Unsalted Butter: 1/2 cup – The fat content that gives our cookies their rich and chewy texture.
- Granulated Sugar: 1/2 cup (100g) – Sweetens the cookies and helps them achieve a lovely golden color.
- Light Brown Sugar: 1/4 cup (55g) – Adds moisture and a hint of caramel flavor to the cookie.
- Egg: 1 large – Binds the ingredients together while also adding moisture.
- Liquid Red Food Coloring: 2 tsp – Creates the signature red appearance; gel can be used for a deeper color.
- Vanilla Extract: 1 1/2 tsp – Offers a warm and comforting flavor that complements the richness of the cookies.
- White Vinegar: 1 tsp – Contributes a slight tanginess that enhances the chocolate flavor.
- Chocolate Chips: 3/4 cup + 1/3 cup – Use these for a delightful chocolatey finish, with extra chips pressed on top after baking.
The Method for Red Velvet Cookies
Baking Red Velvet Cookies is as much about the process as it is about the ingredients. Get ready to immerse yourself in the world of baking with these simple yet detailed steps. You’ll love how the dough comes together and the sweet aroma that fills your kitchen!
- In a mixing bowl, whisk together all-purpose flour, cocoa powder, baking soda, and salt. This step is crucial as it ensures the dry ingredients are well combined, providing an even distribution of flavors and leavening. Set this mixture aside.
- In the bowl of an electric stand mixer fitted with a paddle attachment, cream together unsalted butter, granulated sugar, and light brown sugar until well combined. The mixture should be light and fluffy, which usually takes about 2 to 3 minutes. This process incorporates air into the mixture, giving the cookies a lovely texture.
- Next, add in the egg and mix until fully incorporated. You’ll notice the mixture becoming even smoother and creamier at this point.
- Now, add in the liquid red food coloring, vanilla extract, and white vinegar. Mix until everything is combined, and the batter takes on a vibrant red hue.
- Slowly add the dry flour mixture to the wet ingredients while mixing on low speed. Do not over mix; just combine until the mixture is uniform. The goal here is to develop the dough without overworking it.
- Gently fold in 3/4 cup of chocolate chips with a spatula, reserving the remaining 1/3 cup for later. This adds that delightful melty chocolate to the cookies.
- Cover the bowl with plastic wrap and chill the dough in the fridge for about 1 to 2 hours, or until it is nearly firm. This step helps the flavors meld and makes the dough easier to handle.
- Preheat your oven to 350 degrees Fahrenheit near the end of the chilling time. This ensures that your oven is ready to bake the cookies when the dough is ready.
- Once chilled, scoop the dough out and shape it into balls about 1 1/2 tbsp each (or approximately 28g). Place them on a parchment paper-lined baking sheet, spacing them about 2 inches apart to allow for spreading.
- Bake one sheet at a time until the cookies appear set on the edges but are slightly under-baked in the center, which should take about 10 to 11 minutes. Keep an eye on them; they continue to bake a little on the sheet after being removed from the oven.
- When you take the cookies out, gently press some of the remaining chocolate chips into the tops of the cookies for a pretty finish.
- Let the cookies cool on the baking sheet for 5 minutes before transferring them to a wire rack to cool completely. This resting time allows them to firm up slightly.
- Store the cookies in an airtight container. To keep them soft, you can place a few slices of bread or large flour tortillas in the container with the cookies.
Things Worth Knowing
- Chilling the Dough: It’s vital to chill the dough as it helps control the spread of the cookies in the oven, resulting in a thicker cookie.
- Oven Temperature: Always ensure your oven is preheated to the correct temperature for even baking. An oven thermometer can help with accuracy.
- Texture Check: Don’t be alarmed if the cookies look a bit undercooked when you take them out. They’ll continue to firm up as they cool.
- Storage Tips: Keep cookies in an airtight container with a slice of bread to keep them soft. They can last up to a week.
- Color Vibrancy: For a more vibrant color, you can opt for gel food coloring instead of liquid, as it provides a more intense hue.
Ways to Customize
Customizing Red Velvet Cookies is part of the fun! You can tweak the recipe to suit your taste or even the occasion. Here are some ideas to get you started:
- Mix-in Variations: Consider adding chopped nuts like pecans or walnuts for a delightful crunch.
- Different Chips: Swap out the chocolate chips for white chocolate, dark chocolate, or even butterscotch chips for a unique flavor twist.
- Frosting: For an extra indulgent treat, top your cookies with a cream cheese frosting after baking.
- Sprinkles: Add festive sprinkles on top before baking to make them extra special for parties.
- Thinner Cookies: If you prefer a thinner cookie, you can skip the chilling step and bake immediately after mixing.
- Flavor Boost: A pinch of cinnamon or nutmeg can add a warm and cozy flavor to your cookies.
- Baking Time: Adjust the baking time slightly if you prefer softer or crunchier cookies.
Serving This Red Velvet Cookies
Serving Red Velvet Cookies is an experience in itself! They are perfect for various occasions and can be paired with delightful accompaniments. Here’s how you can serve these cookies:
- With Milk: There’s nothing better than enjoying these cookies with a glass of cold milk! The sweetness of the cookies pairs perfectly with milk’s creaminess.
- For Dessert: Serve at the end of a dinner party as a sweet finish. They can be presented alongside a scoop of vanilla ice cream for a decadent dessert.
- Picnic Treats: These cookies travel well, making them an excellent addition to a picnic or outdoor gathering. Just pack them in a cute container!
- Holiday Parties: With their festive appearance, Red Velvet Cookies are a hit during holiday celebrations. They can brighten up any dessert table.
- Gift Giving: Package these cookies in a lovely tin or basket for a thoughtful homemade gift for friends and family.
- Seasonal Pairing: They are fantastic for special occasions like Valentine’s Day or birthdays, adding a pop of color to the celebrations.
- Storage Tips: Store any leftover cookies in an airtight container to maintain their freshness. You might also want to keep some bread slices inside to keep them soft.
FAQ
Conclusion
The Red Velvet Cookies recipe is a delightful blend of rich flavors and stunning colors that always impresses. Whether you’re making them for a special occasion or just to satisfy a sweet craving, they never disappoint. I encourage you to gather your ingredients and try making these delicious cookies tonight. You won’t regret it!
Red Velvet Cookies
Equipment
- Whisk
- Food Processor
- Oven
- Chef's Knife
- Mixing Bowl
- Baking Sheet
Ingredients
- 1 1/3 cups All-Purpose Flour (189g)
- 4 tsp Cocoa Powder (6g)
- 1/2 tsp Baking Soda
- 1/4 tsp Salt (heaping)
- 1/2 cup Unsalted Butter softened
- 1/2 cup Granulated Sugar (100g)
- 1/4 cup Light Brown Sugar (55g)
- 1 large Egg
- 2 tsp Liquid Red Food Coloring or 1 1/2 tsp gel red food coloring
- 1 1/2 tsp Vanilla Extract
- 1 tsp White Vinegar or lemon juice
- 3/4 cup White Chocolate Chips or semi-sweet chocolate chips, divided
- 1/3 cup White Chocolate Chips or semi-sweet chocolate chips, for topping
Instructions
- In a mixing bowl, whisk together all-purpose flour, cocoa powder, baking soda, and salt. Set aside.
- In the bowl of an electric stand mixer fitted with a paddle attachment, cream together unsalted butter, granulated sugar, and light brown sugar until combined.
- Mix in egg. Add in liquid red food coloring, vanilla extract, and white vinegar. Mix until combined.
- Add the flour mixture and mix just until combined. Mix in 3/4 cup white chocolate chips (set aside remaining 1/3 cup to use after baking).
- Cover bowl and chill dough 1 to 2 hours until nearly firm.
- Preheat oven to 350 degrees near the end of chilling.
- Scoop dough out and shape into balls about 1 1/2 tbsp each (or 28g). Transfer to parchment paper-lined baking sheet spacing 2 inches apart.
- Bake one sheet at a time until cookies appear set on the edges but slightly under-baked in the center, about 10 to 11 minutes.
- Remove cookies from the oven and gently press some of the remaining white chocolate chips into tops.
- Let cool on baking sheet for 5 minutes, then transfer to a wire rack to cool.
- Store cookies in an airtight container. Keep a few bread slices or large flour tortillas in container with cookies to keep them soft.
Notes
- Tip 1: Sift cocoa powder into the flour mixture if it's clumpy.
- Tip 2: Recipe has been updated December 2020.