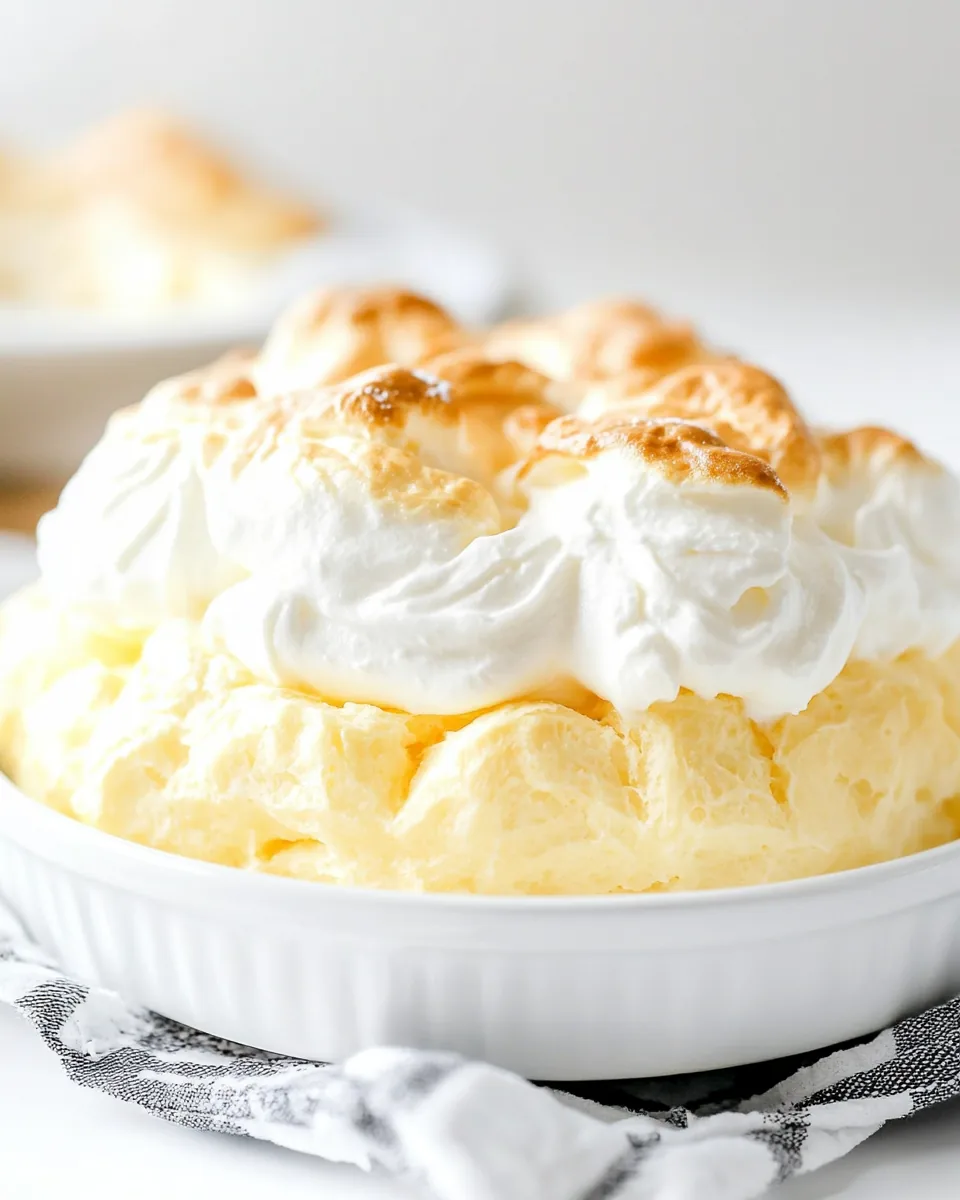
Cream Puff Cake
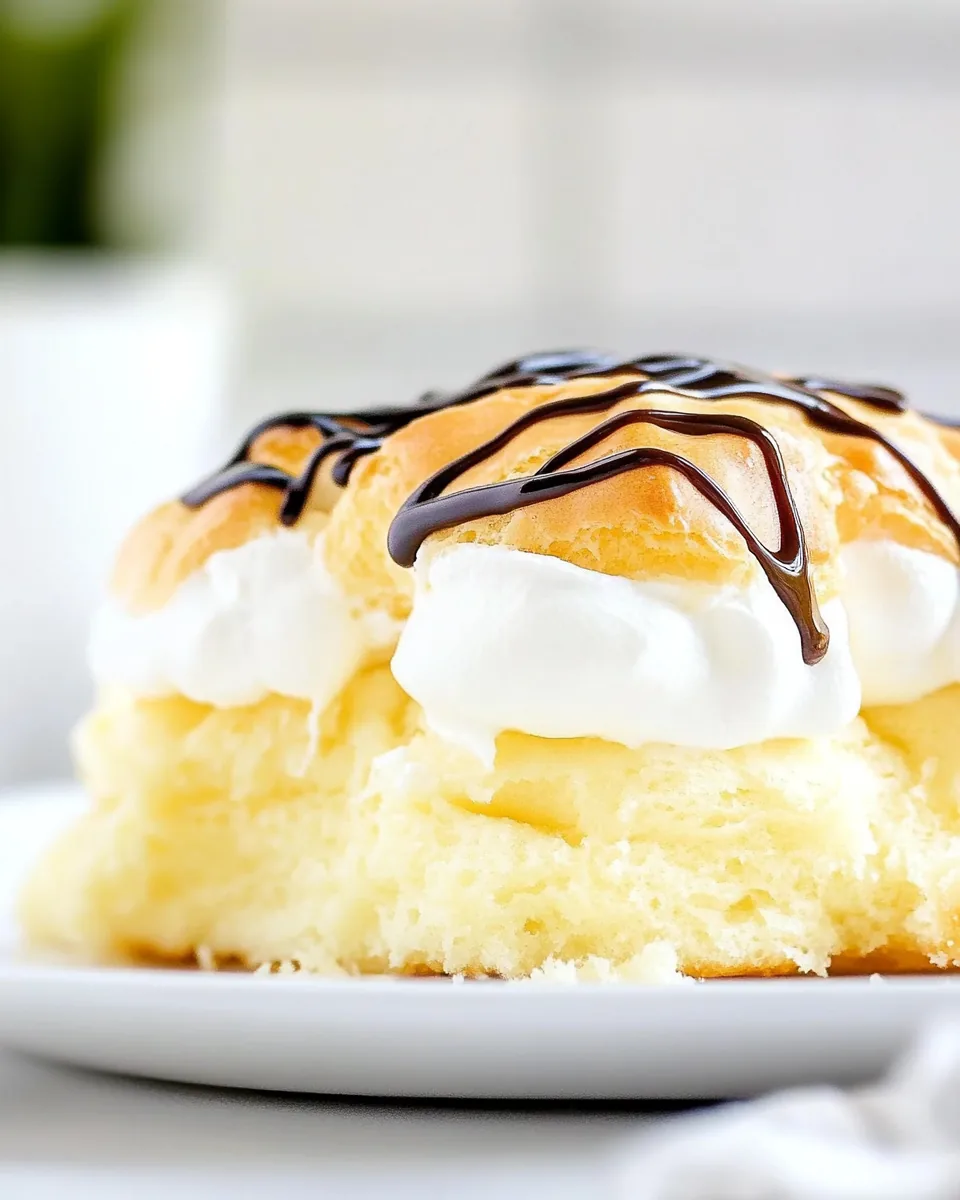
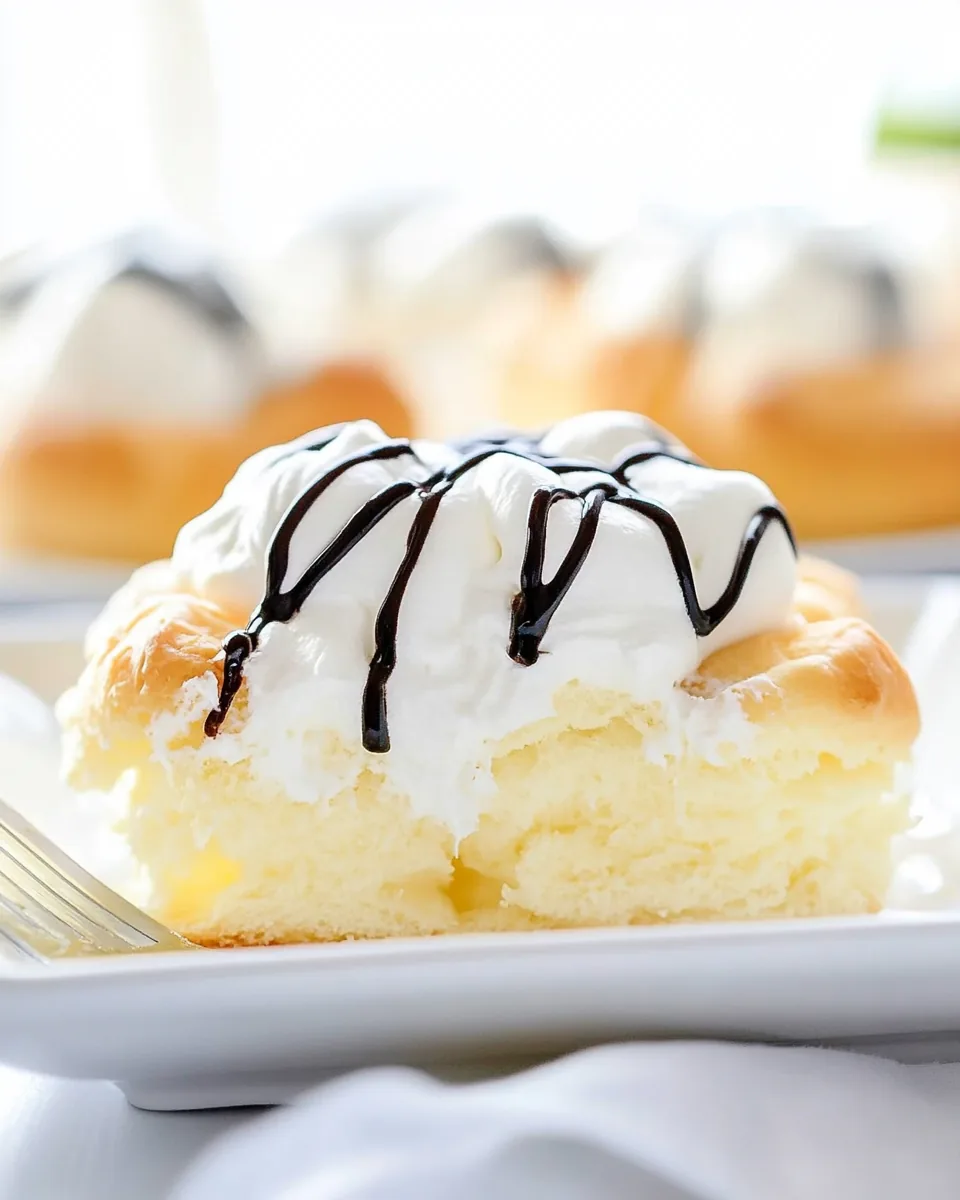
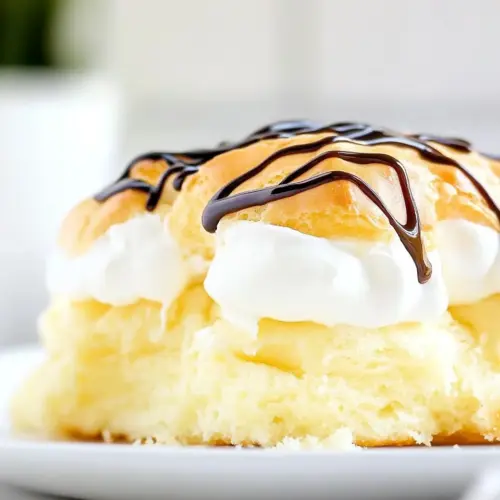
The moment I first tasted Cream Puff Cake, I knew I had stumbled upon something extraordinary. Picture a cake that’s both light and airy, with a rich, creamy filling that dances on your palate. It was a sunny afternoon at my friend’s house, and she had just pulled this masterpiece from the refrigerator. The layers of fluffy crust, topped with whipped cream and chocolate syrup, beckoned us to dive in. As we gathered around the table, laughter filled the air, and I couldn’t help but marvel at how this delightful dessert brought everyone together. From that day forward, Cream Puff Cake became a staple at our gatherings—a sweet treat that embodies joy and the simple pleasures of life.
Recipe Snapshot
50 mins
20 mins
30 mins
Medium
320 kcal
5 g
Gluten-Free, Low FODMAP
17 g
Whisk, Oven, Large Pot, Wooden Spoon, Mixing Bowl, Baking Sheet
Why We Love This Cream Puff Cake
A Unique Twist on Traditional Desserts
What I love most about Cream Puff Cake is its unique twist on traditional desserts. Unlike regular cakes that are dense and heavy, this one boasts a lightness that’s almost ethereal. When you take a bite, you’re met with the perfect balance of flavors and textures—a buttery crust, a creamy filling, and a cloud of whipped cream.
Perfect for Any Occasion
This dessert isn’t just about taste; it’s a showstopper for any occasion. Whether it’s a birthday, holiday, or just a casual get-together, Cream Puff Cake fits right in. Its elegant presentation and diverse flavors make it a crowd-pleaser, sure to impress family and friends alike.
Make-Ahead Convenience
One of the key reasons I adore this recipe is its make-ahead convenience. You can prepare the crust, filling, and whipped cream in advance, allowing you to enjoy the party without the stress of last-minute preparations. Just assemble before serving, and you’re good to go!
Versatile and Customizable
The versatility of Cream Puff Cake is another fantastic aspect. You can customize the filling with different pudding flavors or toppings, like fresh fruit or chocolate curls. This flexibility allows you to cater to various tastes and preferences, making it a go-to dessert for everyone.
Memorable Flavor Combinations
Finally, the flavor combinations in Cream Puff Cake are simply unforgettable. The rich cream cheese filling melds beautifully with the light sweetness of the whipped topping, creating a perfectly balanced dessert that excites your taste buds. Each slice is a delightful experience, leaving you longing for just one more bite.
Cream Puff Cake Ingredients
When it comes to the ingredients for Cream Puff Cake, each one plays a crucial role in creating that perfect balance of flavor and texture. The combination of buttery crust, creamy filling, and fluffy whipped topping makes this dessert irresistible. Let’s take a closer look at the key players in this delightful concoction.
- ½ cup unsalted butter: Adds richness and flavor to the crust.
- 1 cup water: Hydrates the dough, creating a smooth texture.
- 1 cup all-purpose flour: The base of the crust that provides structure.
- 4 eggs: Contributes to the dough’s rise and lightness.
- 1 (8-ounce) package cream cheese, softened: Creates a rich filling that balances the sweetness.
- 2 (3.4-ounce) boxes instant vanilla or white chocolate pudding: Adds sweetness and creaminess to the filling.
- 3 cups milk: Used to prepare the pudding, enhancing the filling’s smoothness.
- 1 (8-ounce) tub whipped topping or 2 cups whipped cream: A light, airy topping that completes the dessert.
- Chocolate syrup or white chocolate curls: Optional toppings that add visual appeal and extra sweetness.
Cream Puff Cake Instructions
Making Cream Puff Cake is a delightful journey, combining simple steps to create a stunning dessert. Follow along as I explain the process in detail, ensuring you achieve that perfect texture and flavor.
- Preheat your oven to 400 degrees Fahrenheit. This will ensure your crust bakes evenly and rises beautifully.
- In a large pot, combine unsalted butter and water. Bring the mixture to a boil over high heat, stirring occasionally to avoid burning.
- Once boiling, reduce the heat to low and add all-purpose flour. Stir quickly with a wooden spoon until the mixture forms a ball and pulls away from the sides of the pot.
- Remove the pot from the heat and let it cool slightly. This step is crucial to avoid cooking the eggs.
- After cooling for a minute or two, beat in the eggs one at a time. Mix well between each addition. The goal is to achieve a smooth, glossy dough that holds together.
- Spread the dough into a greased 9×13-inch baking dish, smoothing out the top with a spatula. This will form the base of your cake.
- Bake the crust for 30 minutes. You’ll know it’s done when it’s golden brown and has risen significantly, forming a lovely puffy top.
- Once baked, remove the crust from the oven and let it cool completely. It’s important to allow it to cool so the filling doesn’t melt.
- In a large bowl, beat the softened cream cheese until smooth. This will be the creamy texture foundation for your filling.
- In another bowl, whisk together the instant vanilla pudding, milk, and the creamy mixture until smooth and well combined. Take your time to ensure there are no lumps.
- Pour the filling into the cooled crust, spreading it evenly across the surface.
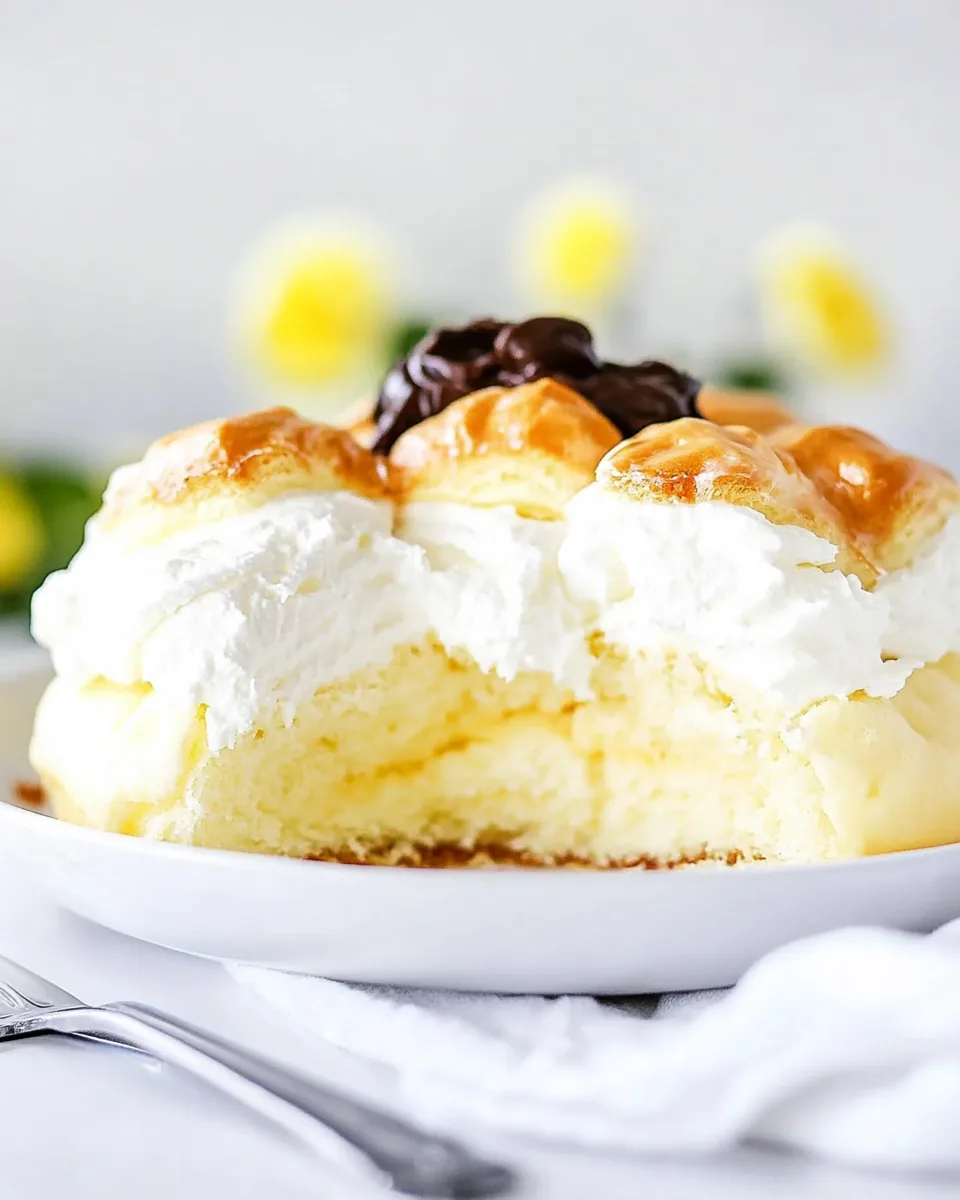
- Top the filling with the whipped topping or whipped cream, creating a nice layer on top.
- Cover and refrigerate for at least one hour before serving. This allows the flavors to meld together beautifully.
- When ready to serve, drizzle with chocolate syrup or sprinkle with white chocolate curls for that finishing touch.
Things Worth Knowing
Things Worth Knowing
- Preheating your oven is essential; it ensures even baking.
- Beat the eggs well into the dough for a light, airy texture, crucial for a successful rise.
- Allowing the crust to cool completely is key to preventing the filling from melting.
- Refrigerating the assembled cake helps the flavors combine and gives it a better texture.
Helpful Notes about Cream Puff Cake
Here are some important notes to ensure you make the best Cream Puff Cake possible. These tips will help streamline your preparation and enhance the overall experience.
- Storage: Keep any leftovers covered in the refrigerator. It will stay fresh for up to three days.
- Freezing: You can freeze the crust before adding the filling, but it’s best to assemble it fresh when serving.
- Pairing: This cake pairs wonderfully with fresh fruits like strawberries or raspberries.
- Serving Size: Each slice can be quite indulgent; consider cutting smaller portions to share among guests.
- Variations: Feel free to experiment with different pudding flavors like butterscotch or chocolate for a unique twist.
Serving Suggestions
When it comes to serving Cream Puff Cake, the possibilities are endless. Here are some ideas to elevate your dessert experience:
- Garnish with Fresh Berries: Adding strawberries or raspberries on top provides a burst of color and flavor.
- Serve at Gatherings: It’s perfect for celebrations like birthdays, holidays, or even casual family dinners.
- Pair with Coffee: The lightness of the cake makes it an excellent companion for your morning coffee or afternoon tea.
- Layered Dessert: Try serving the cake in individual glasses for a stunning presentation.
- Seasonal Toppings: Use seasonal fruits or flavored syrups to keep the dessert fresh and exciting.
FAQ
Conclusion
Cream Puff Cake is truly a special dessert that brings joy with its light crust and rich filling. Whether for a celebration or a casual family gathering, this cake is bound to impress. I encourage you to try making it—it’s easier than you think and absolutely delicious!
Cream Puff Cake
Equipment
- Whisk
- Oven
- Large Pot
- Wooden Spoon
- Mixing Bowl
- Baking Sheet
Ingredients
- ½ cup Unsalted Butter
- 1 cup Water
- 1 cup All-Purpose Flour
- 4 count Eggs
- 1 8-ounce package Cream Cheese softened
- 2 3.4-ounce boxes Instant Vanilla or White Chocolate Pudding
- 3 cups Milk
- 1 8-ounce tub Whipped Topping or 2 cups whipped cream
- 1 amount Chocolate Syrup or white chocolate curls
Instructions
- Preheat your oven to 400 degrees Fahrenheit. This will ensure your crust bakes evenly and rises beautifully.
- In a large pot, combine unsalted butter and water. Bring the mixture to a boil over high heat, stirring occasionally to avoid burning.
- Once boiling, reduce the heat to low and add all-purpose flour. Stir quickly with a wooden spoon until the mixture forms a ball and pulls away from the sides of the pot.
- Remove the pot from the heat and let it cool slightly. This step is crucial to avoid cooking the eggs.
- After cooling for a minute or two, beat in the eggs one at a time. Mix well between each addition. The goal is to achieve a smooth, glossy dough that holds together.
- Spread the dough into a greased 9×13-inch baking dish, smoothing out the top with a spatula. This will form the base of your cake.
- Bake the crust for 30 minutes. You'll know it's done when it’s golden brown and has risen significantly, forming a lovely puffy top.
- Once baked, remove the crust from the oven and let it cool completely. It’s important to allow it to cool so the filling doesn’t melt.
- In a large bowl, beat the softened cream cheese until smooth. This will be the creamy texture foundation for your filling.
- In another bowl, whisk together the instant vanilla pudding, milk, and the creamy mixture until smooth and well combined. Take your time to ensure there are no lumps.
- Pour the filling into the cooled crust, spreading it evenly across the surface.
- Top the filling with the whipped topping or whipped cream, creating a nice layer on top.
- Cover and refrigerate for at least one hour before serving. This allows the flavors to meld together beautifully.
- When ready to serve, drizzle with chocolate syrup or sprinkle with white chocolate curls for that finishing touch.
Notes
- Storage: Keep any leftovers covered in the refrigerator. It will stay fresh for up to three days.
- Freezing: You can freeze the crust before adding the filling, but it’s best to assemble it fresh when serving.
- Pairing: This cake pairs wonderfully with fresh fruits like strawberries or raspberries.
- Serving Size: Each slice can be quite indulgent; consider cutting smaller portions to share among guests.
- Variations: Feel free to experiment with different pudding flavors like butterscotch or chocolate for a unique twist.