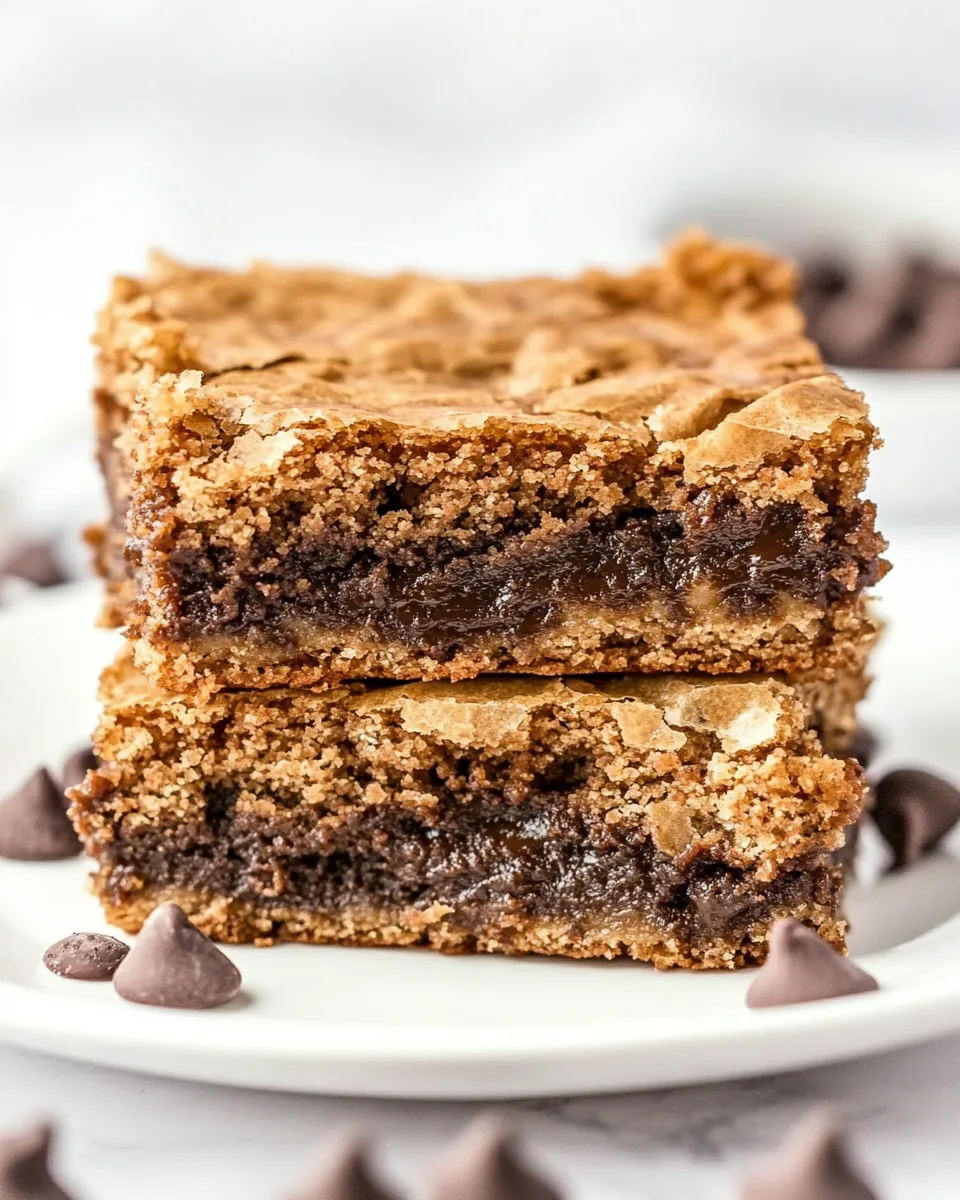
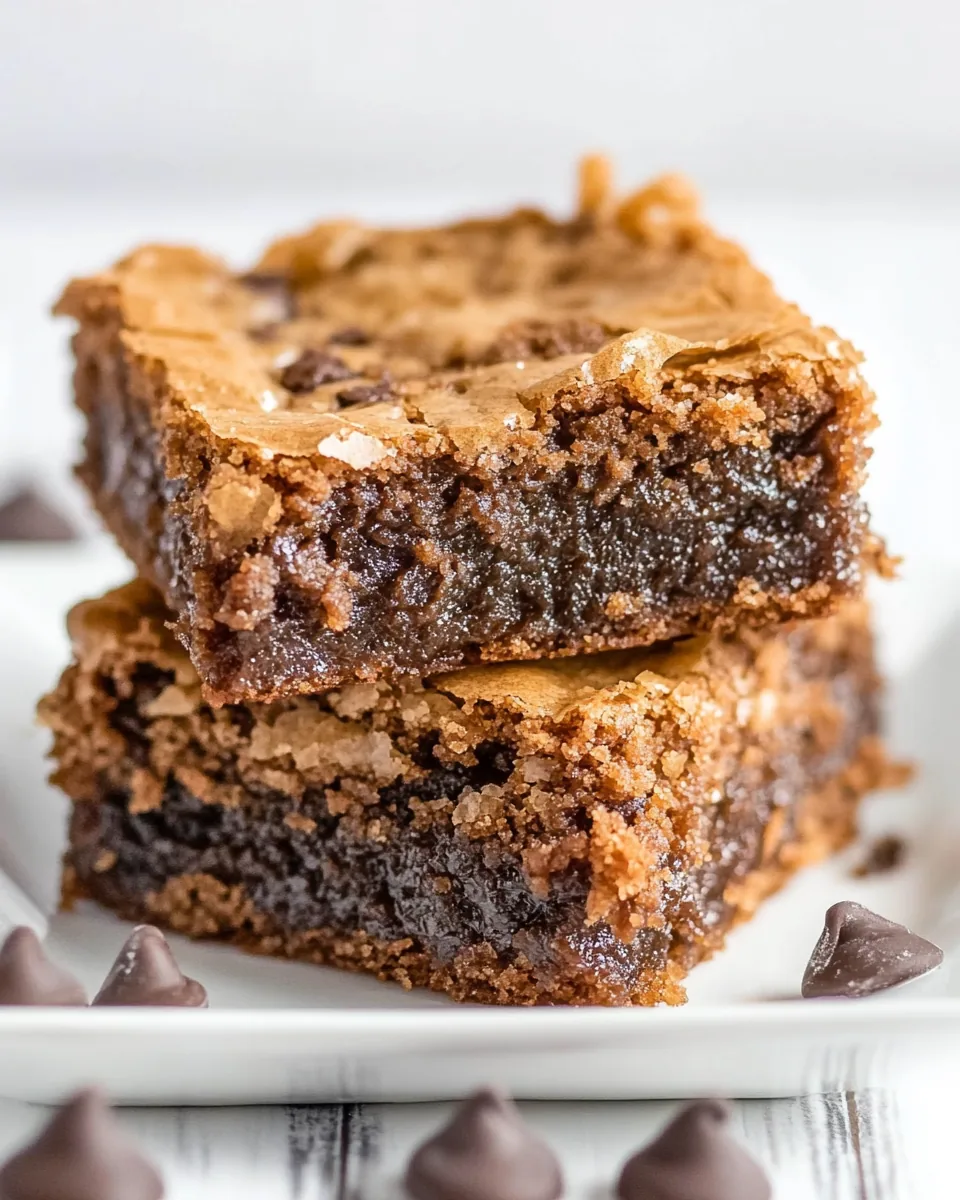
Brown Butter Blondies
There’s something magical about the aroma of Brown Butter Blondies wafting through the kitchen. It takes me back to my childhood, where warm, sweet treats signaled the end of a long day and the beginning of cozy evenings spent with family. I remember the first time I made these blondies—it was a rainy afternoon, and I had a craving for something sweet. As I stirred the ingredients together, I felt an overwhelming sense of nostalgia. The rich, nutty scent of browned butter mixing with the sweetness of brown sugar is simply irresistible. These Brown Butter Blondies are the perfect treat for gatherings, snack time, or just a little indulgence after a busy day. Trust me, once you try them, you’ll be hooked!
Recipe Snapshot
40 mins
15 mins
25 mins
Medium
190 kcal
2 g
Gluten-Free, Low FODMAP
8 g
Frying Pan, Oven, Chef’s Knife, Wooden Spoon, Baking Sheet
Why This Brown Butter Blondies Is So Good
Unforgettable Flavor
The rich, nutty flavor of brown butter elevates these blondies to a whole new level. It adds depth and a delightful toasty note that I absolutely love. Unlike regular blondies, these have that extra ‘wow’ factor that keeps everyone coming back for more.
Chewy Texture
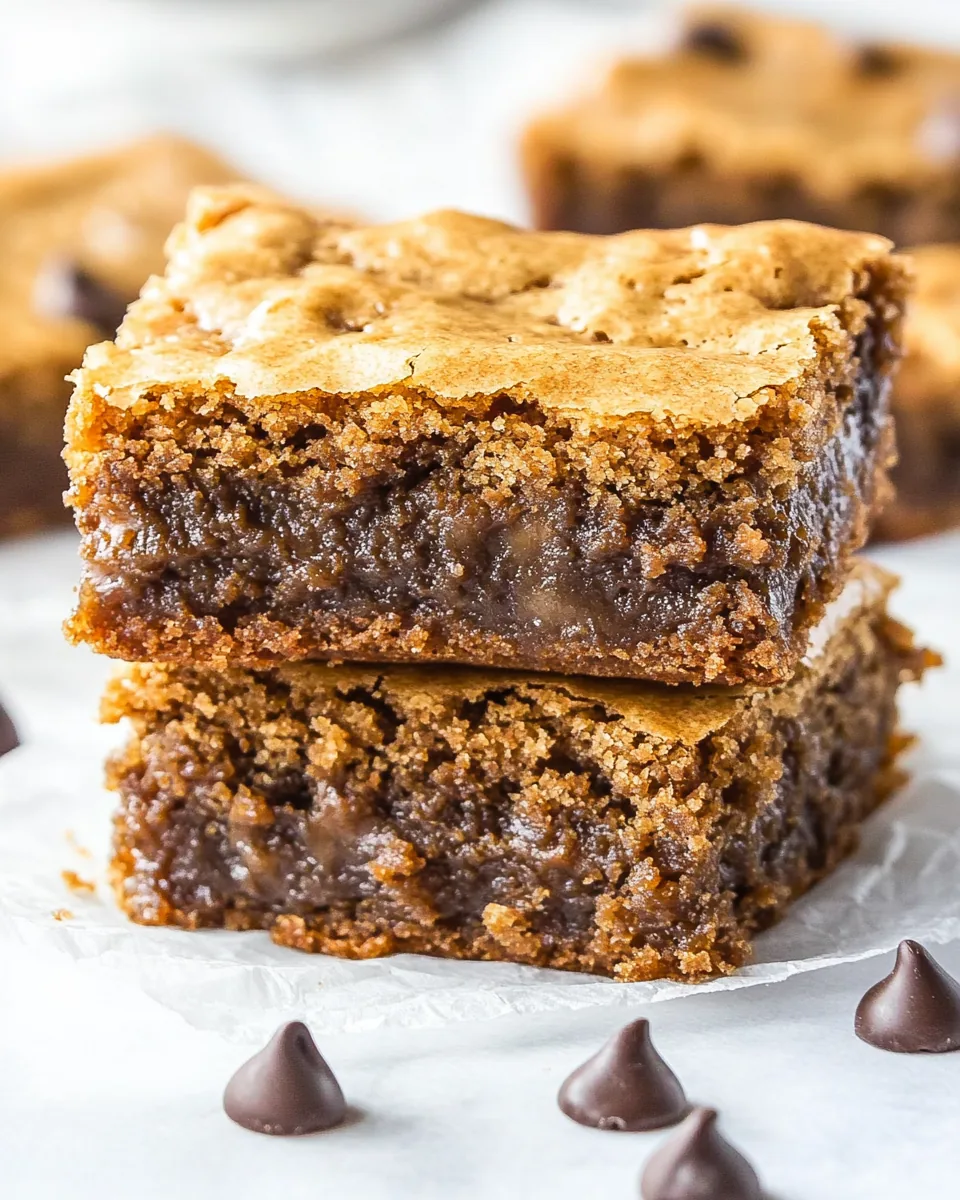
What I adore about these Brown Butter Blondies is their perfect chewy texture. They’re not too cakey and not too dense; they strike a wonderful balance that makes each bite satisfying. You’ll find the edges slightly crispy while the center remains soft and gooey.
Easy to Make
Even if you’re not a baking pro, these blondies are incredibly straightforward to whip up. With just a handful of ingredients and minimal steps, you can have a delicious batch ready in no time. I love that I can make these on a whim when the sweet tooth strikes!
Versatile Treat
The versatility of Brown Butter Blondies is another reason why they hold a special place in my heart. You can easily customize them by adding nuts or swapping in different types of chocolate. They’re perfect for any occasion, whether it’s a potluck, a birthday party, or a cozy night in.
Perfect for Sharing
These blondies are a hit wherever they go. I often make a double batch to ensure there’s enough to share with friends and family. There’s something about pulling out a tray of freshly baked blondies that brings smiles all around!
What to Buy for Brown Butter Blondies
When it comes to making Brown Butter Blondies, choosing the right ingredients is key for achieving that perfect flavor and texture. Each component plays a crucial role in creating that melt-in-your-mouth experience that we all crave. From the nutty brown butter to the rich chocolate chips, these ingredients combine beautifully to bring this delightful treat to life.
- Browned Butter: 1/2 cup of browned butter is the star of this recipe. It brings a rich, nutty flavor that is unparalleled.
- Light Brown Sugar: 1 cup of packed light brown sugar adds sweetness and depth, contributing to the chewy texture.
- Egg: 1 large egg binds the ingredients together and helps create that perfect texture.
- All-Purpose Flour: 1 cup of all-purpose flour provides the structure needed for the blondies.
- Kosher Salt: 1/2 teaspoon of kosher salt balances the sweetness and enhances the flavors.
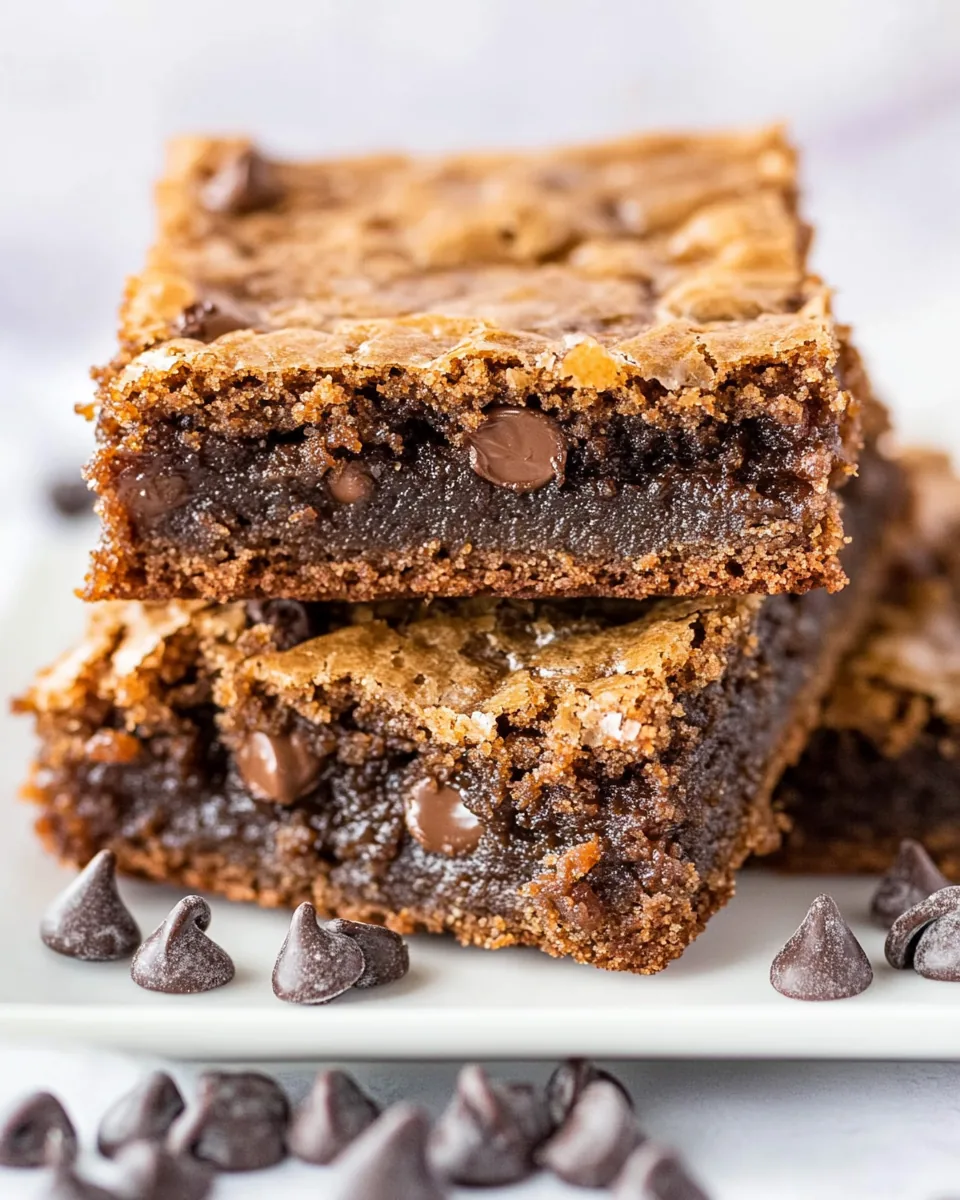
- Chocolate Chips: 3/4 cup of chocolate chips add a melty, sweet surprise in every bite!
Brown Butter Blondies Instructions
Making these Brown Butter Blondies is an enjoyable experience! Each step is simple and straightforward, allowing you to truly savor the process. Let’s dive into how to create these delicious treats!
Preheat your oven to 350 degrees F. This is a crucial step as it ensures that your Brown Butter Blondies bake evenly. Prepare an 8-inch square pan by lining it with parchment paper or foil, and don’t forget to spray it with non-stick cooking spray for easy removal.
In a large bowl, combine the browned butter and light brown sugar. Stir them together until the mixture is smooth and well combined. You’ll notice a delightful aroma filling the air as the flavors meld together.
Add in the large egg and vanilla, stirring until everything is combined. The mixture should take on a lighter color and look creamy.
Now, it’s time to incorporate the dry ingredients. Gently fold in the all-purpose flour and kosher salt just until combined. Be careful not to overmix; we want to maintain that chewy texture!
Next, stir in the chocolate chips. This is where the magic happens! Ensure they’re evenly distributed throughout the batter. You’ll want chocolate in every bite.
Scoop the batter into your prepared pan and spread it evenly. Use a spatula to smooth the top; this helps achieve an even bake.
Place the pan in the oven and bake for 22 to 28 minutes. Keep an eye on them; you want them slightly browned around the edges with a toothpick coming out with moist crumbs.
Once baked, remove them from the oven and allow them to cool in the pan on a wire rack for at least 20 minutes. This cooling period is essential for setting the texture just right.
After cooling, transfer the blondies to the wire rack to cool completely. Once cooled, slice them into squares and serve. Store any leftovers tightly covered to keep them fresh.
Things Worth Knowing
- Brown Butter: Browning the butter involves cooking it until it turns a lovely golden brown. This process enhances its flavor and adds a delicious nuttiness to your blondies.
- Don’t Overmix: Mixing just until combined is key to achieving a chewy texture. Overmixing can lead to dense blondies.
- Testing for Doneness: Keep an eye on the edges. They should look set and slightly golden, while the center remains soft for that perfect fudgy texture.
- Cooling Time: Letting them cool in the pan before transferring helps maintain their structure and prevents them from falling apart.
Tips and Variations
Here are some great tips to enhance your Brown Butter Blondies experience! Whether you’re looking to store them or make them a bit different, these tips will come in handy.
- Storage: Store your blondies in an airtight container at room temperature for up to three days. They’re best enjoyed fresh but will still be tasty!
- Freezing: These blondies freeze wonderfully. Just wrap them tightly in plastic wrap and then in foil. They’ll last for up to three months.
- Add Nuts: For a delightful crunch, consider adding chopped nuts like walnuts or pecans into the batter.
- Swirl in Caramel: For an extra indulgent treat, swirl some caramel sauce into the batter before baking.
- Experiment with Chips: Try using different types of chips—like white chocolate or butterscotch—for a fun twist on the flavor!
What to Serve With Brown Butter Blondies
- Coffee or Tea: Pair these blondies with a cup of coffee or tea for a delightful afternoon treat.
- Ice Cream: Serve warm blondies with a scoop of vanilla ice cream for an indulgent dessert.
- Fresh Berries: Add a side of fresh berries for a refreshing contrast to the sweetness of the blondies.
- Milk: A tall glass of milk is the classic pairing that everyone loves.
- Perfect for Potlucks: These blondies make a fantastic addition to any potluck or gathering, sure to please a crowd.
FAQ
Conclusion
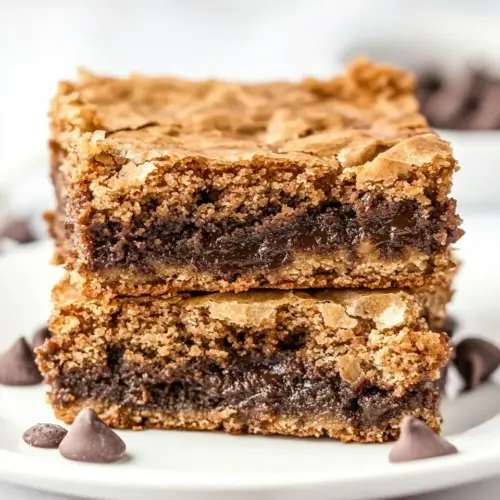
The delightful combination of rich brown butter and sweet chocolate chips makes these Brown Butter Blondies a truly special treat. Whether you’re sharing them with friends or enjoying them alone, their chewy texture and nutty flavor are sure to impress. So why not grab the ingredients and whip up a batch tonight? You deserve a delicious dessert that will leave you wanting more!
Brown Butter Blondies
Equipment
- Frying Pan
- Oven
- Chef's Knife
- Wooden Spoon
- Baking Sheet
Ingredients
- 1/2 cup browned butter melted and cooled
- 1 cup packed light brown sugar
- 1 large egg
- 2 teaspoons pure vanilla extract
- 1 cup all-purpose flour
- 1/2 teaspoon kosher salt
- 3/4 cup chocolate chips
Instructions
- Preheat your oven to 350 degrees F. This is a crucial step as it ensures that your Brown Butter Blondies bake evenly. Prepare an 8-inch square pan by lining it with parchment paper or foil, and don't forget to spray it with non-stick cooking spray for easy removal.
- In a large bowl, combine the browned butter and light brown sugar. Stir them together until the mixture is smooth and well combined. You'll notice a delightful aroma filling the air as the flavors meld together.
- Add in the large egg and vanilla, stirring until everything is combined. The mixture should take on a lighter color and look creamy.
- Now, it’s time to incorporate the dry ingredients. Gently fold in the all-purpose flour and kosher salt just until combined. Be careful not to overmix; we want to maintain that chewy texture!
- Next, stir in the chocolate chips. This is where the magic happens! Ensure they’re evenly distributed throughout the batter. You’ll want chocolate in every bite.
- Scoop the batter into your prepared pan and spread it evenly. Use a spatula to smooth the top; this helps achieve an even bake.
- Place the pan in the oven and bake for 22 to 28 minutes. Keep an eye on them; you want them slightly browned around the edges with a toothpick coming out with moist crumbs.
- Once baked, remove them from the oven and allow them to cool in the pan on a wire rack for at least 20 minutes. This cooling period is essential for setting the texture just right.
- After cooling, transfer the blondies to the wire rack to cool completely. Once cooled, slice them into squares and serve. Store any leftovers tightly covered to keep them fresh.