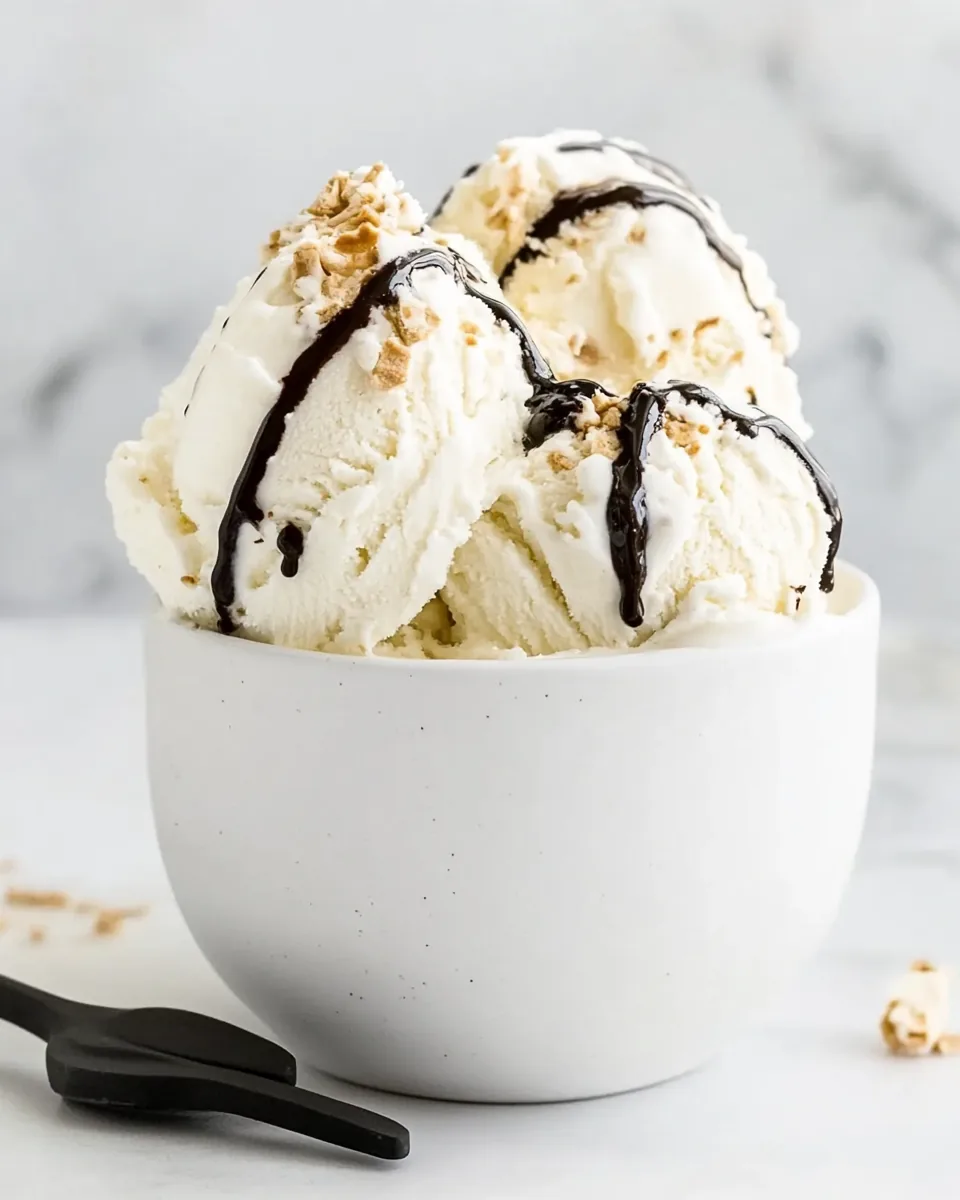
Sugar Free Ice Cream
When summer hits, there’s nothing quite like a refreshing treat to cool you down. That’s precisely why I love making Sugar Free Ice Cream. Every bite evokes memories of sunny afternoons spent in the backyard, indulging in something sweet without the guilt. I was always on the lookout for a way to enjoy ice cream without the sugar crash that follows. This recipe has been a delightful discovery. The creamy texture paired with the rich flavors makes it an indulgence that I can enjoy any day of the week. Plus, it’s an excellent way to surprise my friends and family when they come over! They can’t believe it’s sugar-free.
Recipe Snapshot
20 mins
0 mins
20 mins
Medium
180 kcal
2 g
Gluten-Free, Low FODMAP
18 g
Frying Pan, Whisk, Large Pot, Wooden Spoon, Mixing Bowl
Why Try This Sugar Free Ice Cream
Guilt-Free Indulgence
One of my favorite aspects of this Sugar Free Ice Cream is that it allows me to indulge without compromising my dietary goals. Unlike traditional ice creams loaded with refined sugars, this recipe uses natural sweeteners, which makes it a much healthier alternative. You can still satisfy your sweet tooth while enjoying a creamy treat!
Customizable Flavors
You can easily customize this ice cream to suit your preferences. Whether you want to add some fresh fruits, nuts, or even a hint of cocoa powder, the base recipe provides a fantastic canvas for your favorite flavors. This versatility keeps things fun in the kitchen!
Perfect for All Occasions
This Sugar Free Ice Cream recipe is ideal for any occasion, from casual summer get-togethers to more formal celebrations. It’s a crowd-pleaser that can cater to various dietary needs. Everyone loves ice cream, and having a sugar-free option means no one gets left out!
Simple Ingredients
The ingredients are simple and straightforward, making this recipe accessible to everyone, even if you’re not a seasoned cook. You don’t need any extra equipment; all you need is a good ice cream maker and a few pantry staples to create something special.
Health Benefits
Not only is this ice cream delicious, but it’s also nutritious. By using almond milk and heavy cream, you’re getting healthy fats and some protein. The egg yolks add richness along with essential nutrients. It feels great to serve something that’s not just tasty but also good for you!
Fun to Make Together
Making ice cream can be a fun activity to do with family and friends. Kids especially love to help out, whether it’s cracking the eggs or stirring the mixture. It’s a great way to create lasting memories while enjoying a delicious treat at the end!
What to Buy for Sugar Free Ice Cream
When making Sugar Free Ice Cream, the ingredients you choose can make all the difference. This recipe focuses on wholesome components that not only contribute to flavor but also to a creamy texture. Each ingredient plays a vital role in ensuring your ice cream is delicious and satisfying.
- Vanilla bean pods (or vanilla powder / vanilla extract): These bring in a warm, aromatic essence, enhancing the overall flavor of the ice cream. The use of real vanilla beans elevates the taste, making it feel luxurious.
- Double / heavy cream: This is the backbone of the creaminess in your ice cream. The higher fat content gives it that rich texture we all crave.
- Almond milk: A great low-calorie alternative to regular milk, almond milk helps lighten the overall mixture while still adding creaminess.
- Egg yolks: They not only stabilize the mixture but also add richness and enhance the flavor profile of your ice cream.
- Allulose: This low-calorie sweetener mimics sugar’s sweetness without the carbs, making it a perfect choice for sugar-free recipes. You can adjust the quantity to suit your taste.
- Salt: Just a pinch is enough to enhance the sweetness and bring out all the flavors.
Making Sugar Free Ice Cream
Making Sugar Free Ice Cream is a straightforward process that can be completed in just a few steps. With a little patience and creativity, you’ll be rewarded with a delightful treat that’s perfect for any occasion. Here’s how to do it:
Begin by pre-freezing the canister of your ice cream maker for at least 2 hours or overnight. This step ensures that your ice cream churns properly, leading to a smoother texture.
While your canister is chilling, split the vanilla bean pods lengthways with a sharp knife. Using the back of the knife, scrape out the seeds and set them aside.
In a medium saucepan, pour in the heavy cream and almond milk. Add the vanilla seeds and the scraped pods. Heat this mixture over medium heat, bringing it to a low boil. Make sure to keep an eye on it; when you see the edges starting to bubble, remove it from the heat.
Let the cream and milk mixture cool for about 30 minutes, stirring regularly to avoid a skin forming on the surface. Once cooled, remove the vanilla pods.
In a mixing bowl, add the egg yolks along with the allulose and a tiny pinch of salt. Using an electric whisk, beat them together until the mixture becomes pale and slightly thickened – this usually takes about 2 minutes.
Slowly whisk the cooled cream mixture into the beaten eggs, making sure to combine it gradually. Once all the cream is incorporated, pour the mixture back into the saucepan.
Heat the mixture on low, stirring regularly for about 8 to 10 minutes. You want it to thicken slightly without boiling. As soon as you see the first sign of bubbles, carefully remove it from the heat.
Transfer the mixture to a bowl and cover it with cling film, allowing it to cool for about an hour at room temperature.
After it has cooled down, transfer it to the fridge and chill for at least 2 hours, or preferably overnight. This chilling step is crucial for a rich flavor.
Once chilled, churn the mixture in your ice cream maker according to the manufacturer’s instructions, which typically takes around 20 minutes. If you prefer soft serve, you can enjoy it immediately!
For scoopable ice cream, transfer the churned mixture to a loaf pan. Cover it with cling film and freeze for 1 to 2 hours, or until fully set and ready to be scooped.
Things Worth Knowing
Things Worth Knowing
- Experiment with flavors: You can add cocoa powder for chocolate ice cream, or mix in your favorite fruits!
- Churning time matters: Ensure you churn until it reaches a thick, creamy consistency for the best results.
- Storage tips: Store your ice cream in an airtight container to prevent freezer burn.
- Serving suggestions: Serve with fresh berries or nuts for added texture and flavor.
Variations to Try
If you’re looking to add a twist to your Sugar Free Ice Cream, here are some creative variations to consider:
- Chocolate Delights: For a delicious chocolate version, simply add unsweetened cocoa powder to the mixture before churning.
- Fruit-Infused: Incorporate pureed berries or chunks of your favorite fruits for a refreshing twist. Strawberries and raspberries work wonderfully!
- Nuts and Crunch: Add chopped nuts like almonds or walnuts to the ice cream mixture for a delightful crunch.
- Minty Fresh: For a mint chocolate chip version, mix in some fresh mint leaves during the heating process and top with sugar-free chocolate chips before freezing.
- Coconut Dream: Substitute some of the almond milk with coconut milk for a tropical flavor.
- Seasonal Flavors: Experiment with spices like cinnamon or nutmeg for a seasonal twist.
- Serving Suggestions: Consider pairing your ice cream with sugar-free cookies or a drizzle of homemade chocolate sauce for an extra treat!
Best Served With
Sugar Free Ice Cream is incredibly versatile and can be enjoyed in various ways. Here are some ideas on how to serve it:- On its own: Enjoy the creamy delight as is, allowing the flavors to shine.
- With fresh fruit: Pair it with sliced strawberries, blueberries, or bananas for added sweetness and texture.
- As a dessert topping: Use it as a topping for sugar-free brownies or cake for an indulgent treat.
- In a sundae: Create a sundae bar with sugar-free syrups, nuts, and fruits for a fun party treat.
- For festive gatherings: Serve it during holidays or celebrations as a refreshing and healthier dessert option.
- With beverages: Enjoy it alongside a cup of herbal tea or coffee for a delightful pairing.
- For special occasions: This ice cream also makes a fantastic addition to birthday parties and summer BBQs.
FAQ
Conclusion
This Sugar Free Ice Cream is not just a recipe; it’s a celebration of flavors without the guilt. It’s perfect for everyone, whether you’re watching your sugar intake or just looking for a delicious treat. I encourage you to give it a try; you won’t be disappointed! You can create memories while enjoying a cool, creamy delight that’s sure to impress your friends and family.
Sugar Free Ice Cream
Equipment
- Frying Pan
- Whisk
- Large Pot
- Wooden Spoon
- Mixing Bowl
Ingredients
- 2 pods Vanilla bean pods or 1 teaspoon vanilla powder / 2 teaspoons vanilla extract
- 2 cups Double / heavy cream
- 1 cup Almond milk unsweetened
- 6 large Egg yolks room temperature
- ¾ cup Allulose use up to 1 cup for a sweeter ice cream. Or use your powdered low carb sweetener of choice
- a tiny pinch Salt
Instructions
- Pre-freeze the canister of your ice cream maker for at least 2 hours or overnight.
- Split the vanilla pods lengthways with a sharp knife. Scrape out the seeds.
- Pour the cream and almond milk into a saucepan. Add the vanilla seeds and the scraped pods and bring to a low boil. When you see the edges start to bubble remove from the heat and allow to cool for about 30 minutes. Stir regularly so it doesn't form a skin. Remove the vanilla pods.
- Meanwhile, put the egg yolks in a mixing bowl. Add the sweetener and a tiny pinch of salt. Using an electric whisk, beat until pale in colour (about 2 minutes).
- Slowly whisk into the cooled cream mix into the beaten eggs using a hand balloon whisk. Then pour back into your pan. Heat on low and stir regularly for about 8 to 10 minutes until it thickens. Do not boil. At the first sign of bubbles, remove from the heat.
- Pour into a bowl, cover with cling film and allow to cool for about an hour at room temperature.
- Transfer to the fridge and chill for at least 2 hours (or overnight). Churn as per the manufacturer's instructions on your ice cream maker. Mine took about 20 minutes. For a soft serve you can enjoy straight away.
- For a scoopable ice cream, pour into a loaf pan, cover with cling film and freeze for 1 to 2 hours, or until fully set.
Notes
- 2.3g net carbs per serve: This ice cream is low in carbs, making it a great option for those watching their intake.
- Store in the freezer: You can store the ice cream in the freezer for 6 months.
- Let it soften: Allow to stand at room temperature for 20 minutes before scooping or carefully microwave at 10 second intervals until it reaches your desired consistency.
- Makes eight servings: The recipe makes eight ½ cup servings.