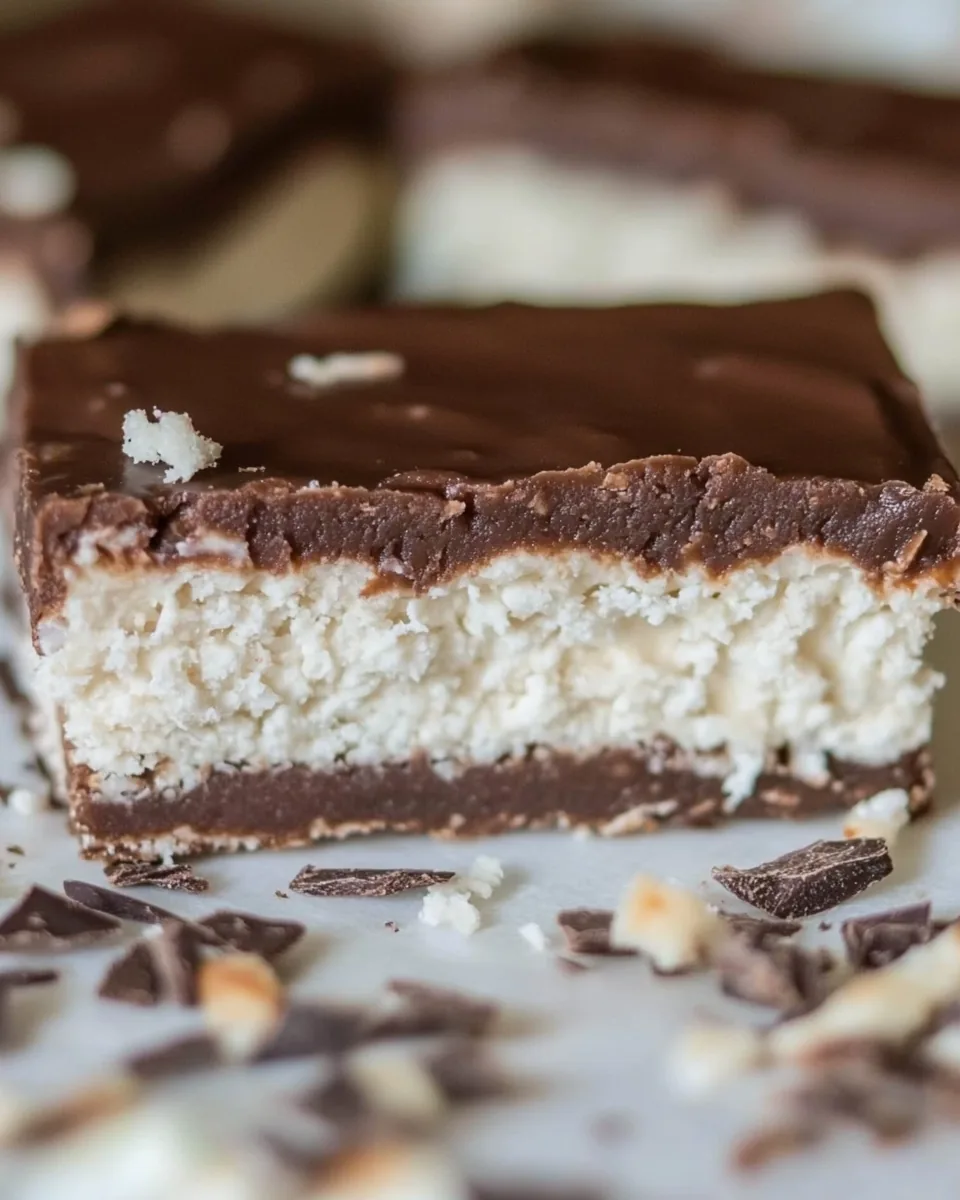
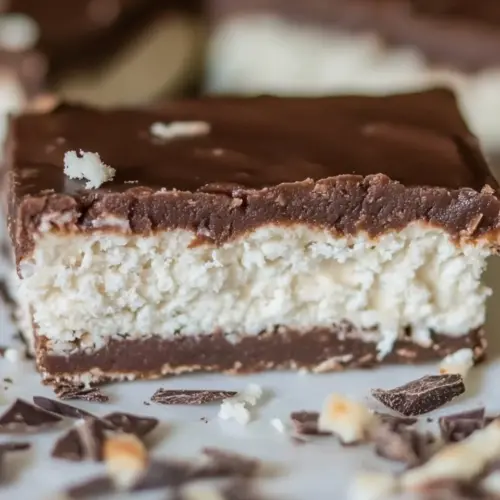
Keto Bounty Bars
The Keto Bounty Bars are not just another dessert; they’re a sweet escape that takes me back to my childhood! I remember the delight of unwrapping a chocolate bar after a long day, the promise of a rich, coconut-filled treat inside. As an adult, I’ve come to appreciate flavors that don’t compromise on health, which is why I created these Keto Bounty Bars. They bring that nostalgic joy without the sugar crash that usually follows. Every bite brings together the creamy texture of coconut and the satisfying richness of chocolate, and they are incredibly easy to make! Whether it’s a midday snack or a sweet treat after dinner, these bars have become my go-to recipe for satisfying that chocolate craving while sticking to my low-carb lifestyle.
Recipe Snapshot
1 hr 5 mins
5 mins
60 mins
Medium
120 kcal
1 g
Keto, Gluten-Free, Low FODMAP
10 g
Food Processor, Mixing Bowl, Blender
Why This Keto Bounty Bars Is So Good
There are so many reasons to love these Keto Bounty Bars! Let’s explore why this recipe stands out in the world of sweets.
Low-Carb Delight
One of the best aspects of these Keto Bounty Bars is that they fit perfectly into a low-carb lifestyle. With only 0.8g of net carbs per serving, they provide a guilt-free indulgence. This is especially beneficial for those watching their carbohydrate intake, whether for weight loss or health reasons.
Simple Ingredients
The ingredients list is both minimal and wholesome. Each element serves a purpose, from the sugar-free chocolate that satisfies your sweet tooth to the desiccated coconut that provides a chewy texture. Plus, you can easily find these ingredients at your local grocery store or online!
Quick and Easy to Make
You won’t need to spend hours in the kitchen! The Keto Bounty Bars can be whipped up in just over an hour, including chilling time. Most of the work involves melting the chocolate and blending the filling, making this a relatively quick treat to prepare.
Versatile Treat
Feel free to get creative! While the classic version is amazing, you can customize your bars by adding nuts or using flavored coconut cream. You can even adjust the sweetness to your liking. This flexibility makes it a fun recipe to experiment with.
Perfect for Meal Prep
These bars are ideal for meal prep! You can make a batch and store them in the fridge for quick snacks or desserts throughout the week. They hold up well, making them a convenient option for busy days.
Healthy Fats
Finally, the healthy fats from the coconut oil and coconut cream not only enhance flavor but also help keep you satiated. These fats are beneficial for energy and can be part of a balanced diet.
What You’ll Need for Keto Bounty Bars
These ingredients work together beautifully to create a deliciously satisfying and healthy treat. The rich flavor of sugar-free chocolate pairs perfectly with the sweetness of desiccated coconut and the creaminess of coconut cream. Together, they create the perfect blend of flavors and textures that make these bars irresistible.
- 7 oz sugar-free chocolate – This is the star ingredient! You can also use 90% dark chocolate or 100% unsweetened chocolate if you prefer a less sweet flavor.
- 1 cup desiccated coconut – This unsweetened coconut adds a chewy texture and rich flavor, essential for that classic bounty taste.
- 3 tablespoons coconut cream – Provides a creamy texture and rich mouthfeel; you can chill a can of coconut milk to separate the cream from the liquid.
- 1 tablespoon coconut oil – This helps to bind the ingredients together and gives a lovely sheen to the chocolate coating.
- 1-2 tablespoons allulose – Use this or your favorite sweetener to enhance the sweetness of the filling.
How to Prepare Keto Bounty Bars
Making Keto Bounty Bars is a delightful adventure in the kitchen! With just a few steps, you’ll create a treat that will satisfy your sweet cravings. Follow along as I guide you through the process.
Start by melting half of the chocolate. I prefer to do this in a pot over low heat, but a microwave works just as well. If you’re using unsweetened chocolate, sweeten it with drops of stevia once it cools down to a lukewarm temperature. Aim for about 12 drops per 100g of chocolate.
Prepare a small casserole dish (about 10×7 inches) by lining it with parchment paper. This makes removing the bars much easier later. Pour the melted chocolate into the dish and spread it evenly across the bottom.
Now, place the dish in the fridge or freezer to harden for about 5 to 15 minutes. While it sets, you can prepare the filling.
For the filling, combine the desiccated coconut, coconut cream, coconut oil, and allulose in a food processor. Blend it until the mixture is soft and sticky, which should take around 2 minutes. If you don’t have a food processor, an immersion blender in a tall mixing bowl works too!
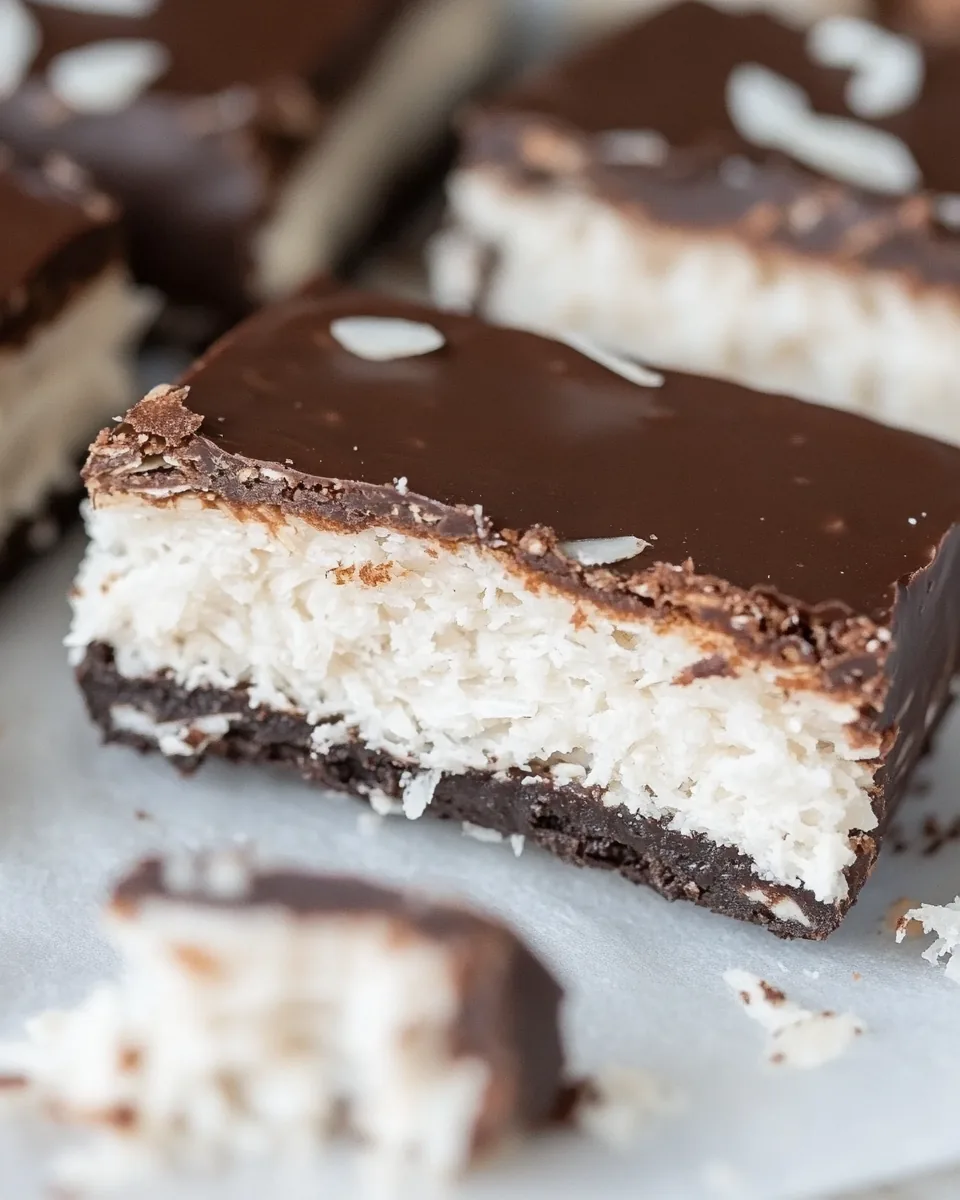
Once the chocolate base is set, spread the coconut filling over it, pressing it down firmly. I often find that using only half of the filling gives a nice chocolate-to-coconut balance, but feel free to use more if you want it more coconutty!
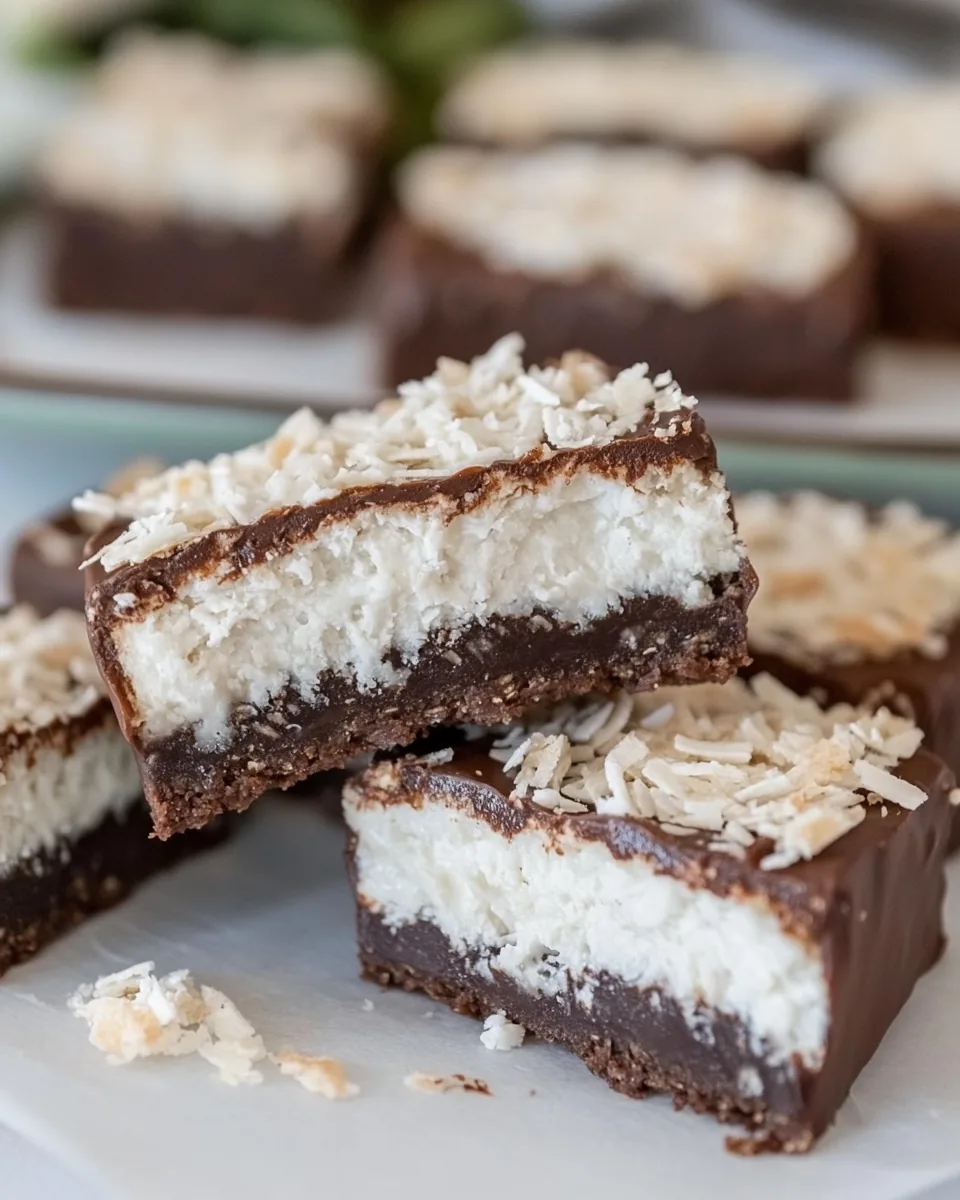
Next, melt the remaining half of the chocolate and pour it over the coconut filling, ensuring it covers it entirely. If you like, sprinkle some shredded coconut on top for added texture and decoration.
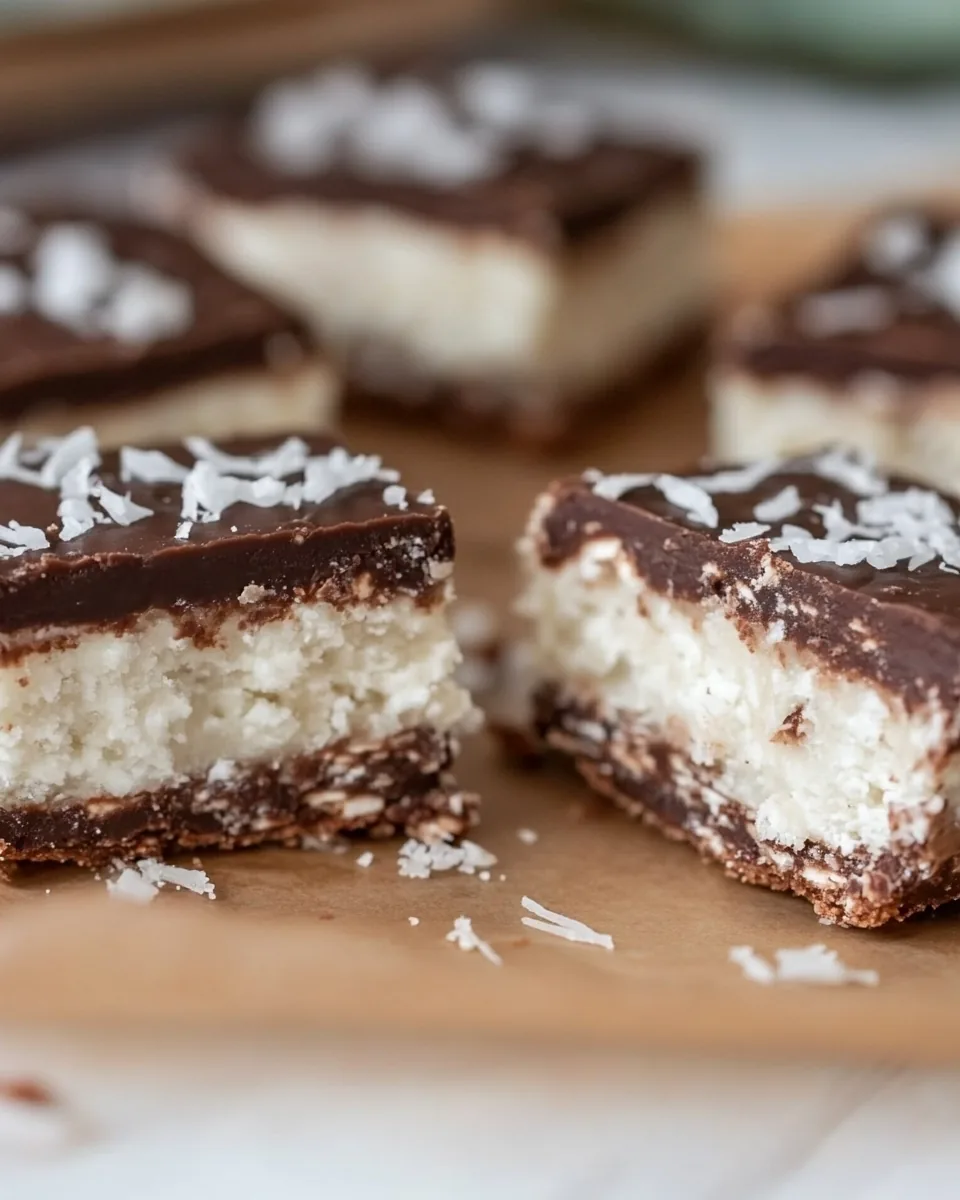
Return the dish to the fridge and let it cool until fully set, usually another 5 to 15 minutes. Once solid, use a sharp knife to cut the bars into 15 to 20 pieces, depending on your preferred size.
Things Worth Knowing
- Texture Tip: When melting chocolate, do so slowly at low heat to avoid burning. Stir frequently to ensure an even melt.
- Consistency Check: The filling should be sticky but not runny. If it’s too dry, add a bit more coconut cream.
- Chill Time: If you’re in a hurry, you can speed up the setting time by placing the bars in the freezer instead of the fridge.
- Storage Tip: Store your Keto Bounty Bars in an airtight container in the fridge for up to a week.
Recipe Notes about Keto Bounty Bars
If you’re looking to perfect your Keto Bounty Bars, here are some helpful tips to consider.
- Storage: Keep your bars in an airtight container in the fridge to maintain freshness and prevent them from becoming too soft.
- Freezing: Yes, you can freeze these bars! Wrap them individually and store them in a freezer-safe bag for up to three months.
- Flavor Variations: Experiment with different sweeteners or add a dash of coconut extract to enhance the coconut flavor.
- Serving Suggestion: Pair these bars with a cup of coffee or tea for a delightful afternoon snack.
- Nutrition Note: Each bar contains 0.8g of net carbs, making them a fantastic option for those following a keto diet.
What to Serve With Keto Bounty Bars
These Keto Bounty Bars can stand alone, but pairing them with the right accompaniments can elevate your enjoyment. Here are some ideas:
- Tea or Coffee: A warm cup of coffee or herbal tea complements the rich chocolate flavor perfectly.
- Fruit: Pair your bars with fresh berries for a refreshing contrast.
- Ice Cream: Serve these bars alongside a scoop of low-carb vanilla ice cream for an indulgent dessert.
- Nut Butters: A drizzle of almond or walnut butter on top can add an extra layer of flavor.
- Cheese Board: Include these bars on a cheese platter for a sweet addition to savory snacks.
- Special Occasions: These bars make a great treat for birthdays or gatherings, providing a deliciously healthy option for everyone.
FAQ
Conclusion
The Keto Bounty Bars aren’t just a treat; they’re a healthier alternative to a childhood favorite. With their creamy coconut filling and rich chocolate coating, they tick all the boxes for a satisfying dessert. I encourage you to try making these bars at home. You’ll be amazed at how easy they are to prepare and how delicious they taste!
Keto Bounty Bars
Equipment
- Food Processor
- Mixing Bowl
- Blender
Ingredients
- 7 oz sugar-free chocolate Can also use 90% dark chocolate or 100% unsweetened chocolate.
- 1 cup desiccated coconut Use unsweetened coconut for best results.
- 3 tablespoon coconut cream Chill a can of coconut milk to separate the cream.
- 1 tablespoon coconut oil Helps in binding and adds richness.
- 1-2 tablespoon allulose Or sweetener of choice to adjust sweetness.
Instructions
- Start by melting half of the chocolate. I prefer to do this in a pot over low heat, but a microwave works just as well. If you’re using unsweetened chocolate, sweeten it with drops of stevia once it cools down to a lukewarm temperature. Aim for about 12 drops per 100g of chocolate.
- Prepare a small casserole dish (about 10x7 inches) by lining it with parchment paper. This makes removing the bars much easier later. Pour the melted chocolate into the dish and spread it evenly across the bottom.
- Now, place the dish in the fridge or freezer to harden for about 5 to 15 minutes. While it sets, you can prepare the filling.
- For the filling, combine the desiccated coconut, coconut cream, coconut oil, and allulose in a food processor. Blend it until the mixture is soft and sticky, which should take around 2 minutes. If you don’t have a food processor, an immersion blender in a tall mixing bowl works too!
- Once the chocolate base is set, spread the coconut filling over it, pressing it down firmly. I often find that using only half of the filling gives a nice chocolate-to-coconut balance, but feel free to use more if you want it more coconutty!
- Next, melt the remaining half of the chocolate and pour it over the coconut filling, ensuring it covers it entirely. If you like, sprinkle some shredded coconut on top for added texture and decoration.
- Return the dish to the fridge and let it cool until fully set, usually another 5 to 15 minutes. Once solid, use a sharp knife to cut the bars into 15 to 20 pieces, depending on your preferred size.
Notes
- Tip 1: Each bar contains 0.8g of net carbs, making them a fantastic option for those following a keto diet.
- Tip 2: Store your bars in an airtight container in the fridge to maintain freshness and prevent them from becoming too soft.
- Tip 3: Yes, you can freeze these bars! Wrap them individually and store them in a freezer-safe bag for up to three months.
- Tip 4: Experiment with different sweeteners or add a dash of coconut extract to enhance the coconut flavor.
- Tip 5: A warm cup of coffee or herbal tea complements the rich chocolate flavor perfectly.