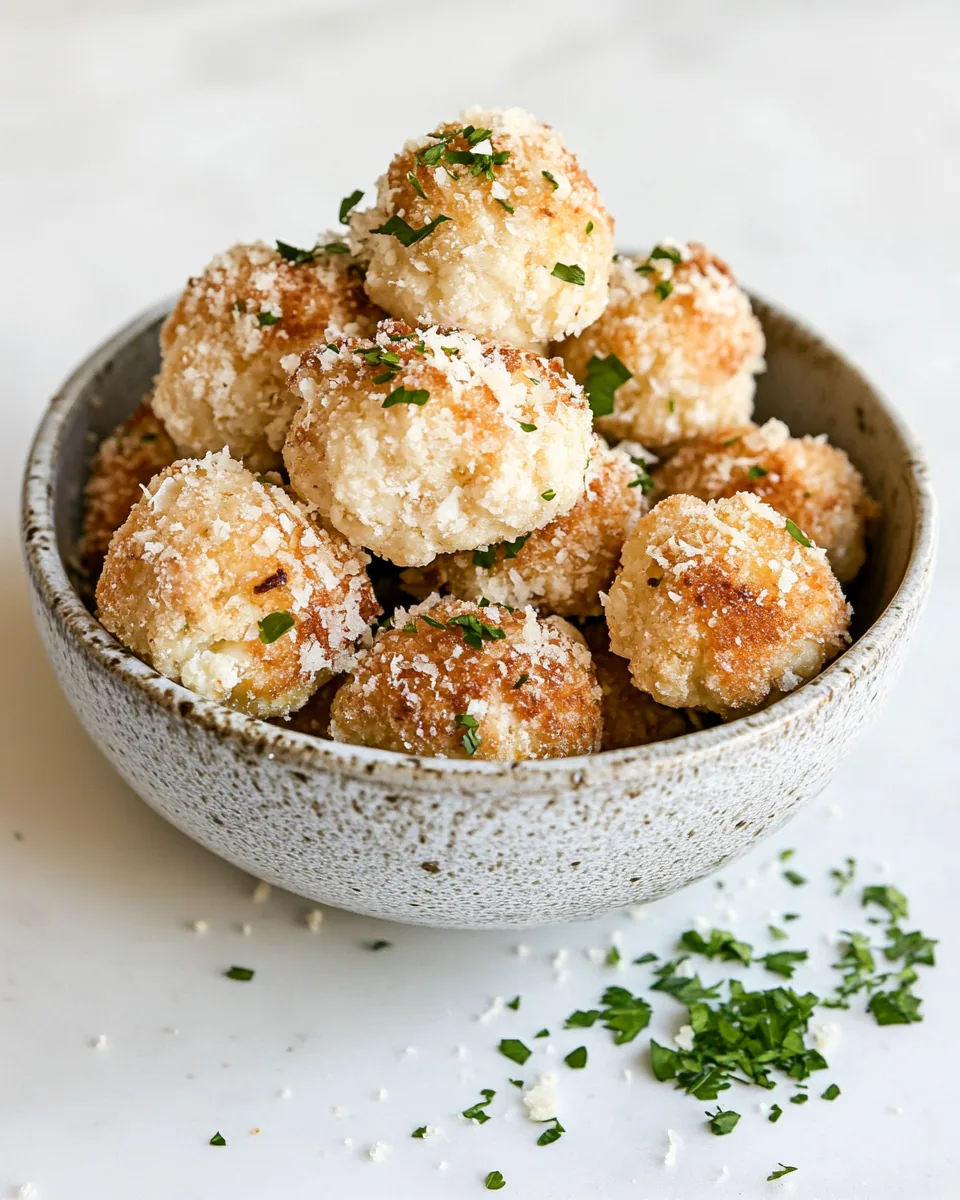
Cheesy Cauliflower Bites
The moment I discovered Cheesy Cauliflower Bites, it felt like a culinary revolution in my kitchen. A delightful blend of flavors and textures, they quickly became a family favorite. Imagine a cozy evening, the aroma of these golden bites wafting through the house, enticing everyone to gather around the table. These little morsels are not just another snack; they are a testament to the beauty of transforming humble ingredients into something extraordinary. I remember the first time I served them at a gathering; everyone was amazed at how something so simple could taste so good. They disappeared in minutes, and I was left wishing I had made double the batch!
Recipe Snapshot
60 mins
35 mins
25 mins
Medium
120 kcal
5 g
Low FODMAP
6 g
LunchBots, Glass Lunch Containers, Dips or Dressings
The Best Thing About This Cheesy Cauliflower Bites
There are countless reasons to fall in love with Cheesy Cauliflower Bites, but let me share a few that stand out the most.
Healthier Alternative
First and foremost, these bites are a fantastic way to sneak in some vegetables without sacrificing flavor. The main ingredient, cauliflower, is rich in vitamins and fiber, making it a great low-carb option for those watching their diet.
Quick and Easy
Another reason I adore this recipe is how quick and easy it is to prepare. In just a few steps, you can whip up a batch that will impress your guests and satisfy your cravings. Perfect for a busy weeknight or a last-minute party snack!
Versatile Flavor
The flavor combinations are endless. With a base of shredded cheese and various seasonings, you can tailor the recipe to suit your taste. Whether you prefer a hint of garlic or an extra kick of spice, you can easily adjust it to your liking.
Fun Cooking Activity
Making Cheesy Cauliflower Bites can also be a fun cooking activity to involve the kids. They love getting their hands messy while shaping the bites and rolling them in bread crumbs. It’s a great way to bond and introduce them to healthy cooking!
Perfect for Any Occasion
Lastly, these bites are perfect for any occasion. Whether it’s a casual lunch, a game day snack, or a fancy gathering, Cheesy Cauliflower Bites will fit right in. They’re a hit among both kids and adults, ensuring that everyone leaves happy.
Ingredients to Make Cheesy Cauliflower Bites

When it comes to creating Cheesy Cauliflower Bites, each ingredient plays a crucial role in building flavor and texture. From the creamy cheese to the crispy panko, everything works together harmoniously to deliver a satisfying bite. Here’s what you’ll need:
- 1 cup water – Essential for steaming the cauliflower to tender perfection.
- 1 head cauliflower, cleaned and diced into small pieces – The star of the dish, providing a mild taste and fluffy texture.
- ¼ teaspoon salt – Enhances the flavors of the other ingredients.
- ½ teaspoon favorite all-purpose seasoning, divided – Adds depth with your choice of spices.
- ¼ cup shredded cheese, either Cheddar or mozzarella will work – Brings a creamy, cheesy flavor that binds everything together.
- 1 tablespoon + 1 teaspoon Parmesan cheese – Gives a sharp finish and extra depth.
- ¼ cup gluten-free panko bread crumbs, plain is fine – Provides that crucial crunch on the outside.
- 2 tablespoons ground flax meal, optional – A healthy addition that can enhance texture.
How to Prepare Cheesy Cauliflower Bites
Preparing Cheesy Cauliflower Bites is not only easy but a delightful experience. Let’s dive into the steps that will take you from fresh ingredients to golden bites ready for munching.
Start by preheating your oven to 400F. This will ensure it’s nice and hot when you’re ready to bake your bites. While the oven heats up, line a large baking sheet with parchment paper to prevent sticking.
Next, in a medium saucepot, bring the water to a boil over medium-high heat. Carefully add the cauliflower pieces and steam them until they’re tender, which should take about 15 minutes. Keep an eye on them; you want them soft but not mushy.
Once the cauliflower is cooked, drain the water and let it cool down to room temperature. This is a crucial step; if it’s too hot, it can melt the cheese when you mix it.
After cooling, make sure to drain any excess moisture from the saucepan. This is vital for achieving the right texture. Add the salt and ¼ teaspoon of your favorite all-purpose seasoning to the cauliflower. Using a potato masher, mash the florets until they’re smooth and creamy.
Now, it’s time for the cheesy goodness. Stir in the shredded cheese and 1 tablespoon of Parmesan cheese. Mix well until everything is combined, and the cheese melts slightly into the warm cauliflower.
In a separate bowl, combine the panko bread crumbs, the remaining seasoning, and the optional flax meal along with the remaining Parmesan cheese. This mixture will give your bites a lovely crunch.
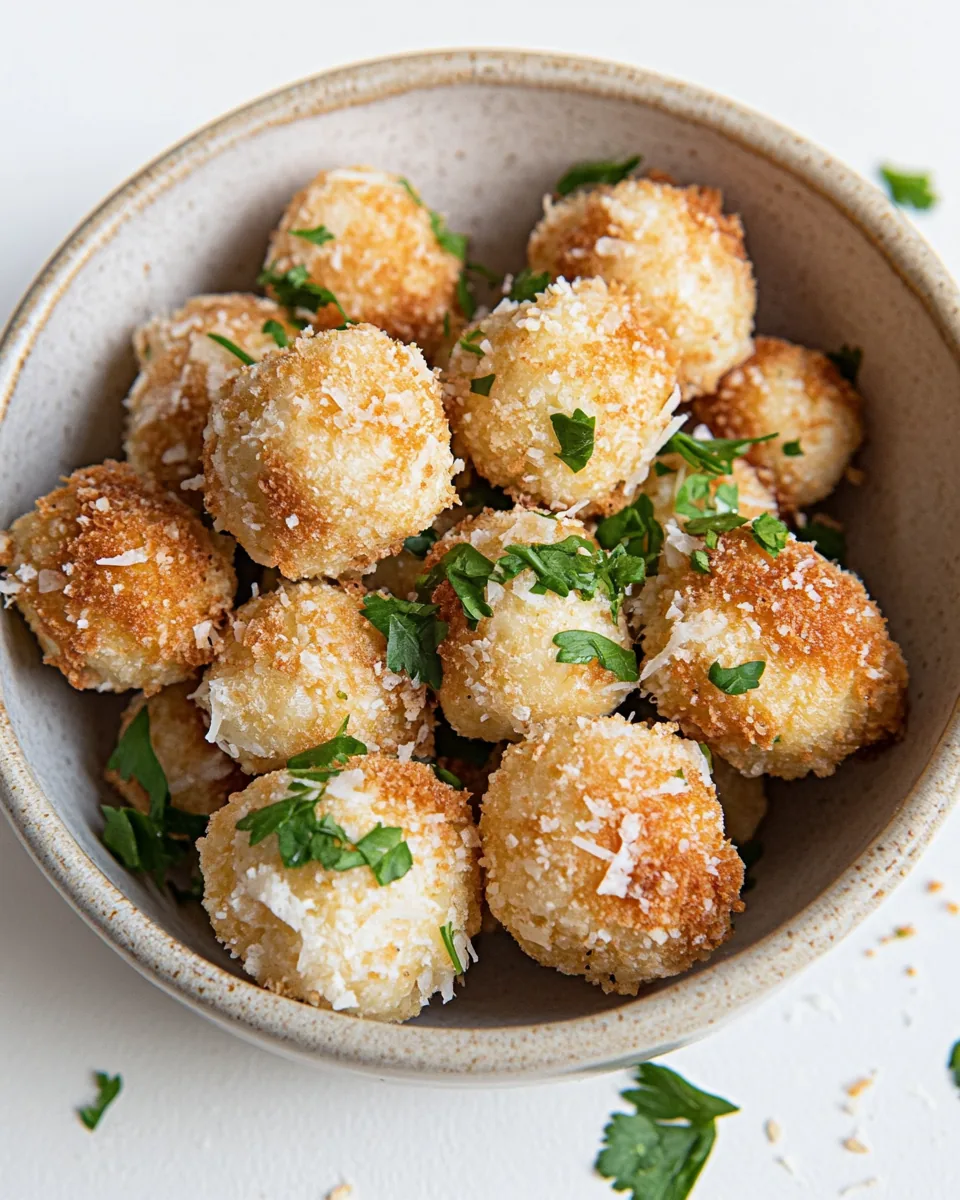
Next, it’s time to shape your bites! With clean hands, take a portion of the cauliflower mixture and form it into balls, about 1 to 1 ½ inches in diameter. Give each ball a gentle squeeze to remove any excess moisture; this prevents them from falling apart.
Roll each ball in the panko mixture, ensuring they’re thoroughly coated. Place them on your lined baking sheet. Repeat with the remaining mixture until everything is formed and coated.
Finally, pop the baking sheet into the oven and bake for 25 to 28 minutes. You’ll know they’re ready when the bread crumbs are golden brown and crispy. Once done, remove them from the oven and let them cool slightly before serving.
Things Worth Knowing
- Preventing Crumble: Always squeeze your cauliflower balls to remove excess moisture. This helps maintain their shape during baking.
- Texture Tips: If you want even crispier bites, consider baking them on a wire rack placed over the baking sheet.
- Flavor Infusion: Experiment with different seasonings to change the flavor profile. Herbs like dill or spices like paprika can add a unique twist.
- Serving Fresh: For the best experience, serve these bites right out of the oven while they’re still warm and crispy.
Pro Tips and Tweaks
To elevate your Cheesy Cauliflower Bites, here are some pro tips and tweaks that can add to your culinary adventure:
- Storage: After baking, store any leftovers in an airtight container in the fridge. They’ll last for about three to four days.
- Reheating: To reheat, place them back in a preheated oven at 350F for about 10 minutes. This will help regain their crispiness.
- Freezing: You can freeze the uncooked balls before baking. Just place them on a baking sheet until frozen, then transfer to a bag. Bake them directly from frozen, adding a few extra minutes to the cooking time.
- Pairing: These bites pair wonderfully with a side of marinara or ranch dip for a delightful contrast.
- Variations: Try adding chopped herbs or spices to the cauliflower mixture for added flavor. Fresh parsley or basil can be a great addition.
- Serving Size: Consider serving these as appetizers at parties or as a side dish during family dinners. They’re versatile and loved by all!
How to Enjoy Cheesy Cauliflower Bites
When it comes to serving Cheesy Cauliflower Bites, there’s no shortage of ideas. Here are some fun and creative ways to enjoy them:
- As Appetizers: Serve them hot as appetizers at parties or gatherings. They’re always a crowd-pleaser and disappear quickly!
- With Dips: Pair these bites with your favorite dips, such as marinara sauce, ranch dressing, or even a spicy aioli for an exciting flavor experience.
- Light Lunch: Enjoy them as a light lunch option alongside a fresh salad. The combination of textures and flavors will be satisfying and healthy.
- Game Day Snack: These are perfect for game day! Set them out as a snack alongside veggie platters and drinks for a fun, casual atmosphere.
- Meal Prep: Make a batch during the weekend and pack them for quick lunches throughout the week. They reheat well and are filling!
- Perfect for Kids: Kids love finger foods! They can be a great way to encourage your little ones to enjoy their veggies without them even realizing it.
FAQ
Conclusion
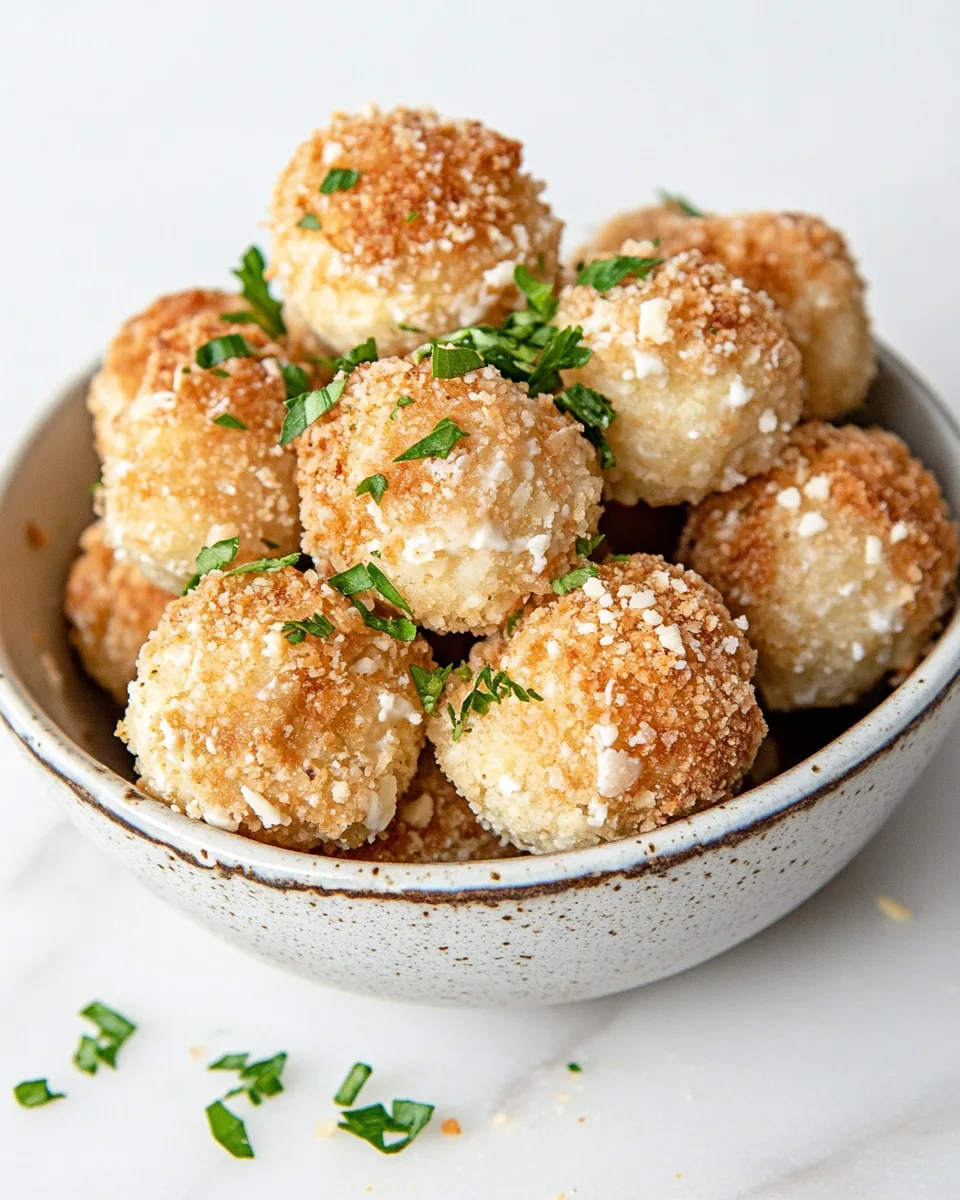
In sum, Cheesy Cauliflower Bites are a wonderfully versatile recipe that brings joy to any table. Their crispy texture and cheesy flavor make them the perfect snack or appetizer for gatherings. I hope you give them a try; they’re sure to impress your family and friends. Trust me, you won’t be able to eat just one!
Cheesy Cauliflower Bites
Equipment
- LunchBots
- Glass Lunch Containers
- Dips or Dressings
Ingredients
- 1 cup water
- 1 head cauliflower, cleaned and diced into small pieces
- ¼ teaspoon salt
- ½ teaspoon favorite all-purpose seasoning, divided
- ¼ cup shredded cheese, either Cheddar or mozzarella will work
- 1 tablespoon Parmesan cheese
- 1 teaspoon Parmesan cheese
- ¼ cup gluten-free panko bread crumbs, plain will work, but panko is recommended
- 2 tablespoons ground flax meal, optional
Instructions
- Step 1: Preheat your oven to 400F. Line a large baking sheet with parchment paper.
- Step 2: In a medium saucepot, bring the water to a boil over medium-high heat. Carefully add the cauliflower pieces and steam them until they're tender, which should take about 15 minutes.
- Step 3: Once the cauliflower is cooked, drain the water and let it cool down to room temperature.
- Step 4: After cooling, drain any excess moisture from the saucepan. Add the salt and ¼ teaspoon of your favorite all-purpose seasoning to the cauliflower. Using a potato masher, mash the florets until they're smooth and creamy.
- Step 5: Now, stir in the shredded cheese and 1 tablespoon of Parmesan cheese. Mix well until everything is combined.
- Step 6: In a separate bowl, combine the panko bread crumbs, the remaining seasoning, and the optional flax meal along with the remaining Parmesan cheese.
- Step 7: With clean hands, take a portion of the cauliflower mixture and form it into balls, about 1 to 1 ½ inches in diameter. Give each ball a gentle squeeze to remove any excess moisture.
- Step 8: Roll each ball in the panko mixture, ensuring they’re thoroughly coated. Place them on your lined baking sheet.
- Step 9: Pop the baking sheet into the oven and bake for 25 to 28 minutes until the bread crumbs are golden brown and crispy. Remove them from the oven and let them cool slightly before serving.
Notes
- Tip 1: After baking, store any leftovers in an airtight container in the fridge for about three to four days.
- Tip 2: To reheat, place them back in a preheated oven at 350F for about 10 minutes to regain their crispiness.
- Tip 3: You can freeze the uncooked balls before baking. Bake them directly from frozen, adding a few extra minutes to the cooking time.
- Tip 4: These bites pair wonderfully with a side of marinara or ranch dip.
- Tip 5: Try adding chopped herbs or spices to change the flavor profile.