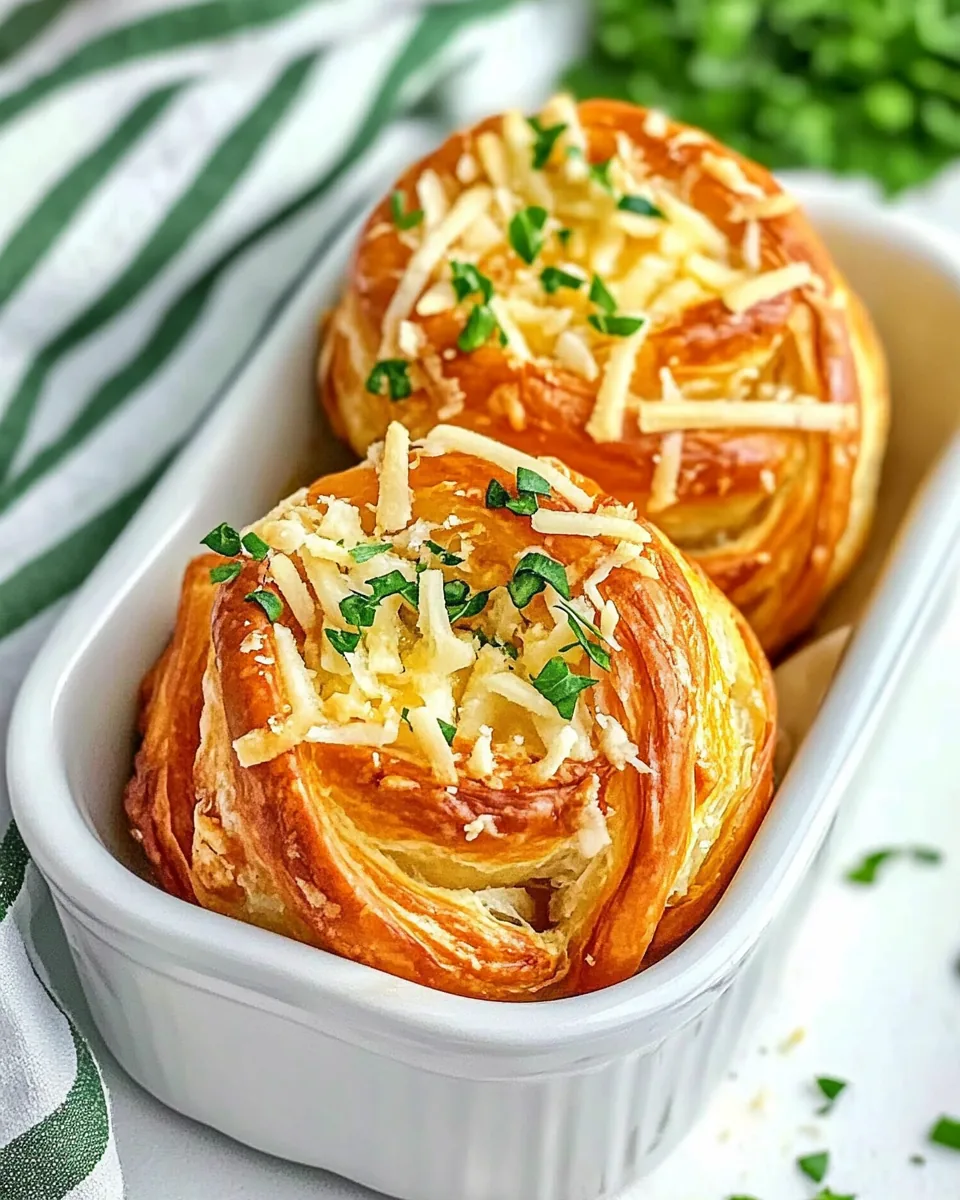
Cheesy Garlic Cruffins
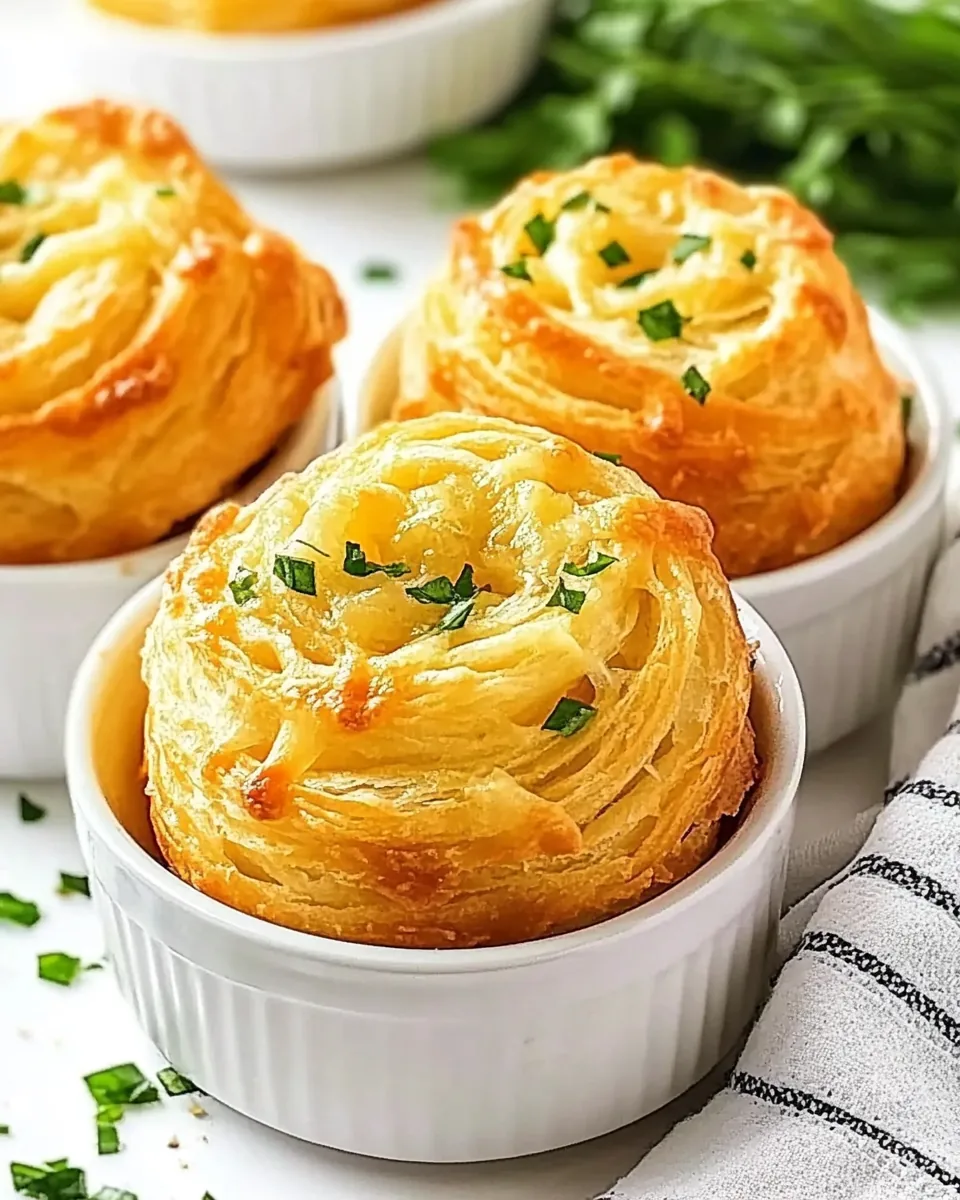
There’s something magical about the combination of melted cheese and garlic, and that’s exactly what you’ll find in Cheesy Garlic Cruffins. If you’ve ever craved that perfect blend of buttery, flaky goodness with a cheesy center, these delightful treats are just what you need. I remember the first time I made them; the smell wafting through my kitchen was simply irresistible, drawing my family in from every corner of the house. We gathered around the oven, anticipation building with each passing moment. When they finally emerged, golden brown and puffy, we couldn’t wait to dig in. Each bite was a burst of flavor, and they quickly became a family favorite for any gathering.
Recipe Snapshot
38 mins
15 mins
23 mins
Medium
180 kcal
5 g
Keto, Gluten-Free
14 g
Chef Knives, Cutting Board, Muffin Pan, Rotary Cheese Grater
Why This Cheesy Garlic Cruffins Works
Why do I adore making Cheesy Garlic Cruffins? Here are some key reasons:
Irresistibly Cheesy
First off, the cheese. With a mixture of mozzarella and parmesan, these cruffins deliver a rich, gooey center that melts in your mouth. Every bite is a cheesy delight that keeps you coming back for more.
Aromatically Delicious
The combination of minced garlic and herb seasoning adds a depth of flavor that’s simply heavenly. As the cruffins bake, your kitchen fills with the warm, inviting scent of garlic, making it hard to resist snacking before they’re even cool!
Perfect for Any Occasion
These cruffins are incredibly versatile. Whether it’s a cozy family dinner, a potluck with friends, or even just a snack while binge-watching your favorite show, they fit right in. They’re great for sharing but just as satisfying when kept all to yourself!
Fun to Make
The preparation process is enjoyable and engaging. From rolling out the crescent roll dough to assembling the layers, you can even involve your kids in the fun. Creating something delicious together brings everyone closer.
Easy to Customize
While I love the classic flavor, these cruffins can be easily customized. Want to add some herbs or spice? Go for it! You can even mix in some veggies for a different texture and taste. The possibilities are endless.
Leftover Magic
And let’s not forget about leftovers! If you happen to have any left, they store wonderfully in an airtight container. Just pop them in the microwave for a quick, satisfying snack later on.
Ingredients Overview for Cheesy Garlic Cruffins
The ingredients for Cheesy Garlic Cruffins come together to create something truly special. Each element plays a vital role: the crescent roll dough provides a flaky, buttery base, while the cheese adds a creamy richness. The unsalted butter ensures the filling is perfectly smooth, and the garlic ties everything together with its aromatic punch. Here’s what you’ll need:
- 3 (8 oz) tubes refrigerated crescent roll dough sheets: These are the foundation of your cruffins, offering a flaky and buttery texture once baked.
- ½ cup unsalted butter, room temperature: This adds richness and helps the garlic and herbs stick to the dough.
- 1 Tbsp garlic and herb seasoning: A fantastic blend that enhances the overall flavor profile.
- 1 Tbsp minced garlic: Fresh garlic provides that punchy flavor that complements the cheese perfectly.
- 2 cups shredded mozzarella cheese: This cheese melts beautifully, giving the cruffins their gooey center.
- 1 cup grated parmesan cheese: Adds a nutty flavor and a bit of texture to the filling.
How to Prepare Cheesy Garlic Cruffins
Making Cheesy Garlic Cruffins is not only delicious but also quite simple! Follow these steps to create your very own cheesy delights. Let’s dive in:
- Preheat your oven to 350ºF. Start by spraying a muffin pan with cooking spray and setting it aside. This ensures your cruffins come out easily without sticking.
- In a small bowl, mix together softened butter, minced garlic, and garlic and herb seasoning. You want it to be well combined, creating a flavorful garlic butter mixture. This will be the tasty filling for your cruffins.
- Next, unroll the crescent roll sheets. Using a rolling pin, roll each sheet into a rectangle approximately 12×16 inches. This step helps create the layers necessary for the cruffins.
- Spread the garlic butter mixture evenly over each sheet of dough, making sure to cover every inch. This ensures every bite is packed with flavor.
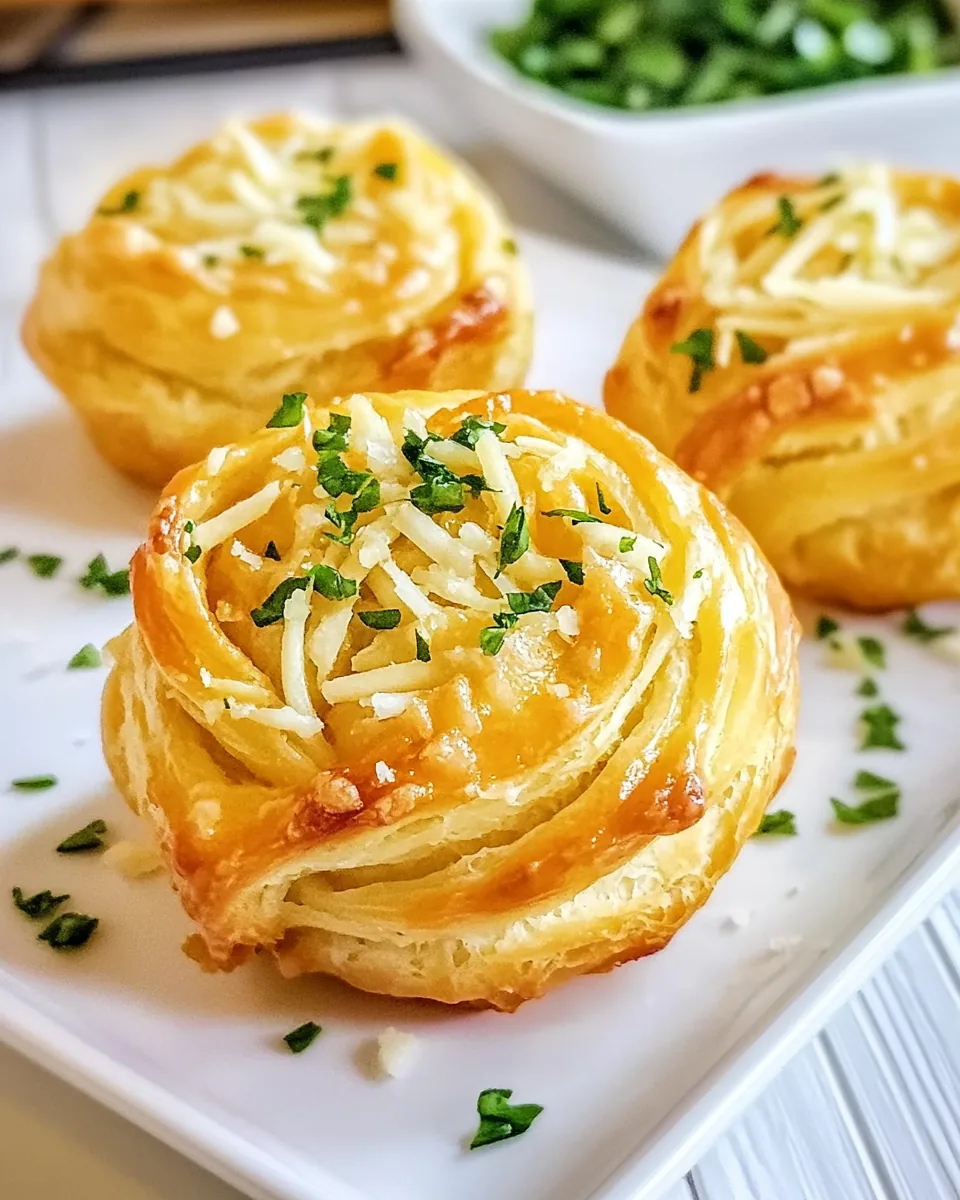
- Now, sprinkle a generous amount of shredded mozzarella cheese and grated parmesan cheese over the buttered dough. The cheese is what makes these cruffins irresistibly delicious!
- Starting on the long end of the rectangle, tightly roll it up. This creates a log shape. Once you’ve rolled it up, use a sharp knife to cut the log in half, which will give you two 8-inch logs.
- Slice each of the short logs lengthwise into 4 sections. Be careful during this step to keep the layers intact. You should have 12 equal strips of dough.
- Take one piece of dough, making sure the layered side is facing out, and roll it tightly into a small roll. This will be placed into your muffin pan.
- Repeat this process with the remaining dough strips until you’ve filled all sections of the muffin pan. Each cup should be filled with one cruffin.
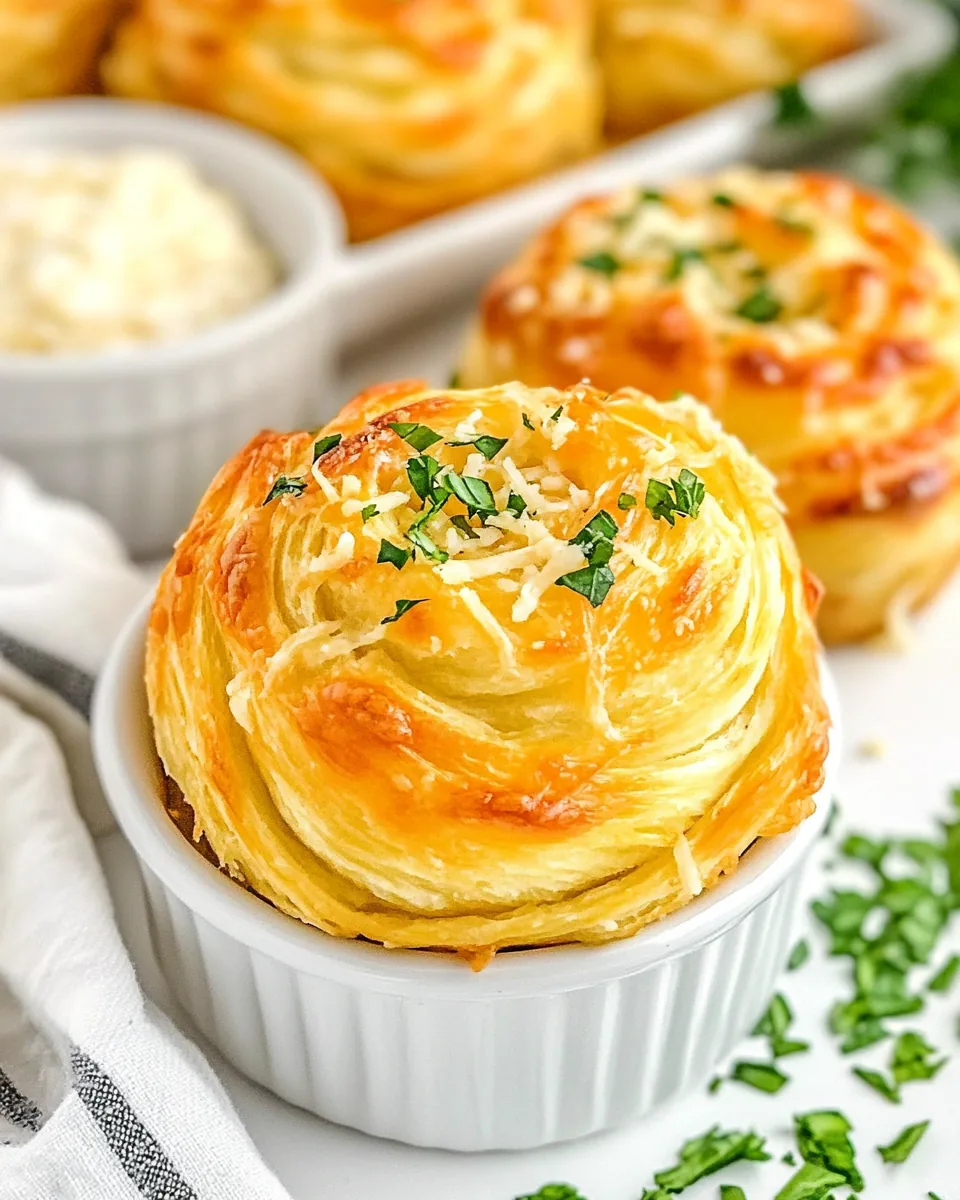
- Bake the cruffins for 22 to 25 minutes, or until they are golden brown and puffed up. The smell will be amazing as they bake!
- Once baking is complete, remove them from the oven and allow them to cool on a wire cooling rack. This helps them set up perfectly.
Things Worth Knowing
- Mixing Ingredients: Make sure your butter is at room temperature for easy mixing. This helps incorporate the ingredients seamlessly.
- Rolling Technique: When rolling the dough, apply even pressure to avoid tearing. A gentle hand will yield the flakiest results.
- Baking Time: Keep a close eye on the cruffins as they bake. Ovens can vary in temperature, and you want them perfectly golden.
- Storage Tips: Store leftovers in an airtight container to maintain freshness.
Recipe Tips about Cheesy Garlic Cruffins
When it comes to preparing Cheesy Garlic Cruffins, a few tips can make a significant difference. Here’s how you can enhance your experience:
- Storage: Store leftovers in an airtight container in the refrigerator for up to three days. The cruffins can retain their deliciousness when kept properly.
- Freezing: You can freeze unbaked cruffins. Assemble them, place them in a pan, and cover tightly to freeze. Bake directly from the freezer; just add a few extra minutes to the baking time.
- Pairing: These cruffins pair wonderfully with a fresh salad or a warm bowl of soup. They make a great accompaniment to any meal.
- Serving Suggestions: Serve them warm with a side of marinara sauce for dipping. It adds an extra layer of flavor that everyone loves!
- Customizing: Don’t hesitate to add your favorite herbs or spices to the garlic butter mixture for a personalized twist.
- Making Ahead: You can prepare the garlic butter and cheese filling a day in advance. Store it in the fridge until ready to use.
Serving Options for Cheesy Garlic Cruffins
When it’s time to serve your Cheesy Garlic Cruffins, there are so many delightful options to consider:
- Perfect for Appetizers: These cruffins make fantastic appetizers for parties. Serve them warm with a side of marinara or garlic dipping sauce for a crowd-pleaser.
- Great for Family Dinners: Pair them with your favorite pasta dishes or a fresh garden salad. They add a wonderful touch to a cozy family meal.
- Picnic Treats: Cut them into smaller bites and pack them for a picnic. They’re easy to transport and always a hit!
- Brunch Delights: Serve them at your next brunch gathering alongside some fresh fruit and a quiche for a well-rounded menu.
- Seasonal Pairing: In the fall, pair them with pumpkin soup or in winter with hearty stews to warm you up.
- Snack Time: Enjoy them as a quick snack throughout the week. They’re great to have on hand for a tasty pick-me-up!
FAQ
Conclusion
There’s no denying that Cheesy Garlic Cruffins are a fantastic treat that brings comfort and flavor to any table. Their cheesy, garlicky goodness is sure to leave everyone wanting more. I encourage you to make these cruffins and experience the joy they bring, whether for yourself or to share with loved ones. You won’t regret it!

Cheesy Garlic Cruffins
Equipment
- Chef Knives
- Cutting Board
- Muffin pan
- Rotary Cheese Grater
Ingredients
- 3 tubes refrigerated crescent roll dough sheets
- ½ cup unsalted butter, room temperature
- 1 Tbsp garlic and herb seasoning
- 1 Tbsp minced garlic
- 2 cups shredded mozzarella cheese
- 1 cup grated parmesan cheese
Instructions
- Preheat your oven to 350ºF. Spray a muffin pan with cooking spray and set aside.
- Mix together softened butter, minced garlic, and garlic and herb seasoning in a small bowl. Set aside.
- Unroll crescent roll sheets. Use a rolling pin to roll each can of dough into a 12×16-inch rectangle.
- Spread garlic butter mixture over each sheet of dough. Sprinkle shredded mozzarella cheese and grated parmesan cheese over each dough sheet.
- Starting on the long end of the rectangle, tightly roll it up into a log. Using a sharp knife, cut the log in half, making two 8-inch logs.
- Slice the short logs lengthwise to make 4 sections of dough. Repeat with the remaining dough sheets. You will have 12 equal strips of dough.
- Take one piece of dough with the layered side facing out and roll it tightly into a roll. Place the roll into a muffin pan that has been sprayed with nonstick cooking spray. Repeat with the remaining 11 sections of dough.
- Bake for 22 to 25 minutes, until golden brown.
- Cool on a wire cooling rack.
Notes
- Storage: Store leftovers in an airtight container in the refrigerator for up to three days.
- Freezing: You can freeze unbaked cruffins. Assemble them, place them in a pan, and cover tightly to freeze. Bake directly from the freezer; just add a few extra minutes to the baking time.
- Pairing: These cruffins pair wonderfully with a fresh salad or a warm bowl of soup.
- Serving Suggestions: Serve them warm with a side of marinara sauce for dipping.
- Customizing: Don’t hesitate to add your favorite herbs or spices to the garlic butter mixture for a personalized twist.
- Making Ahead: You can prepare the garlic butter and cheese filling a day in advance.