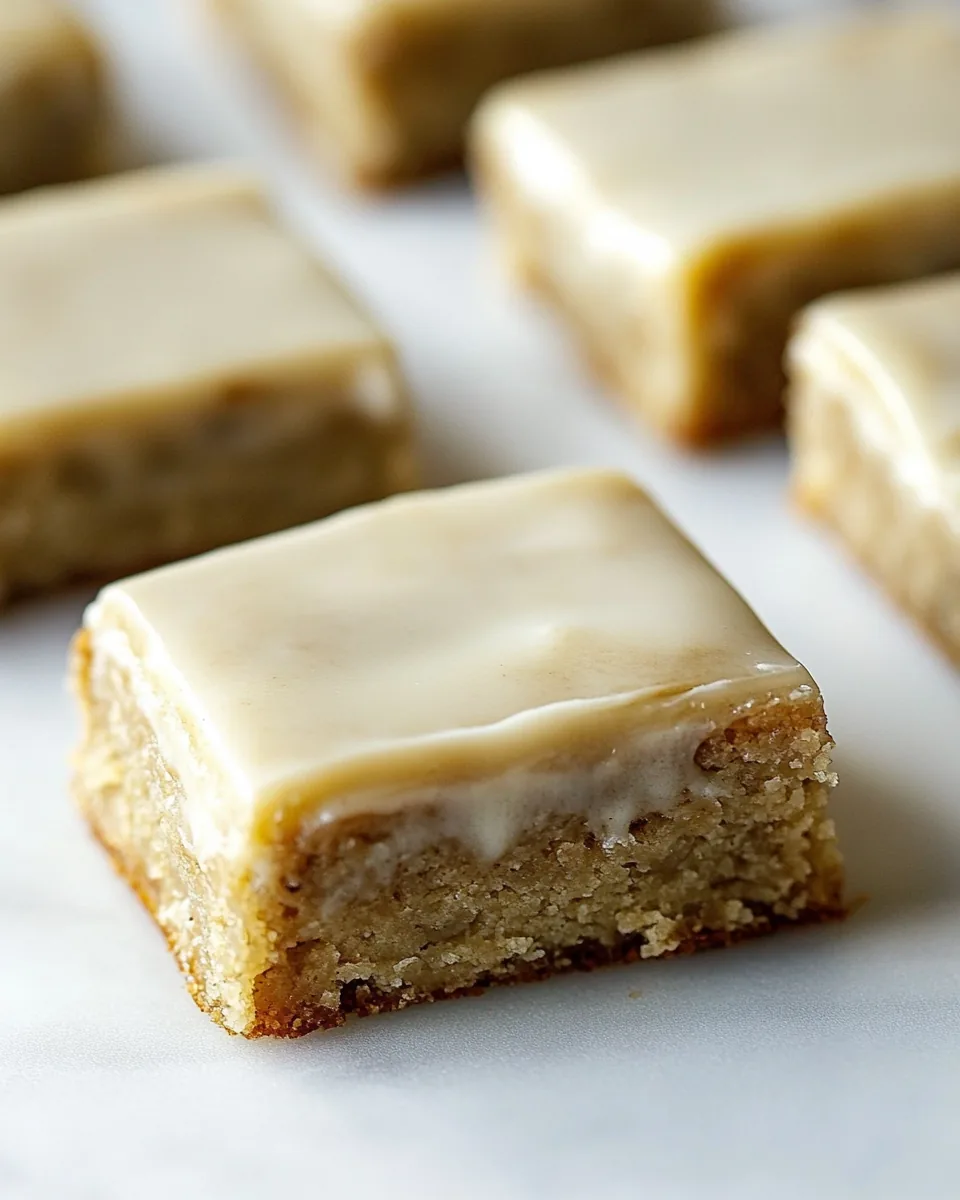
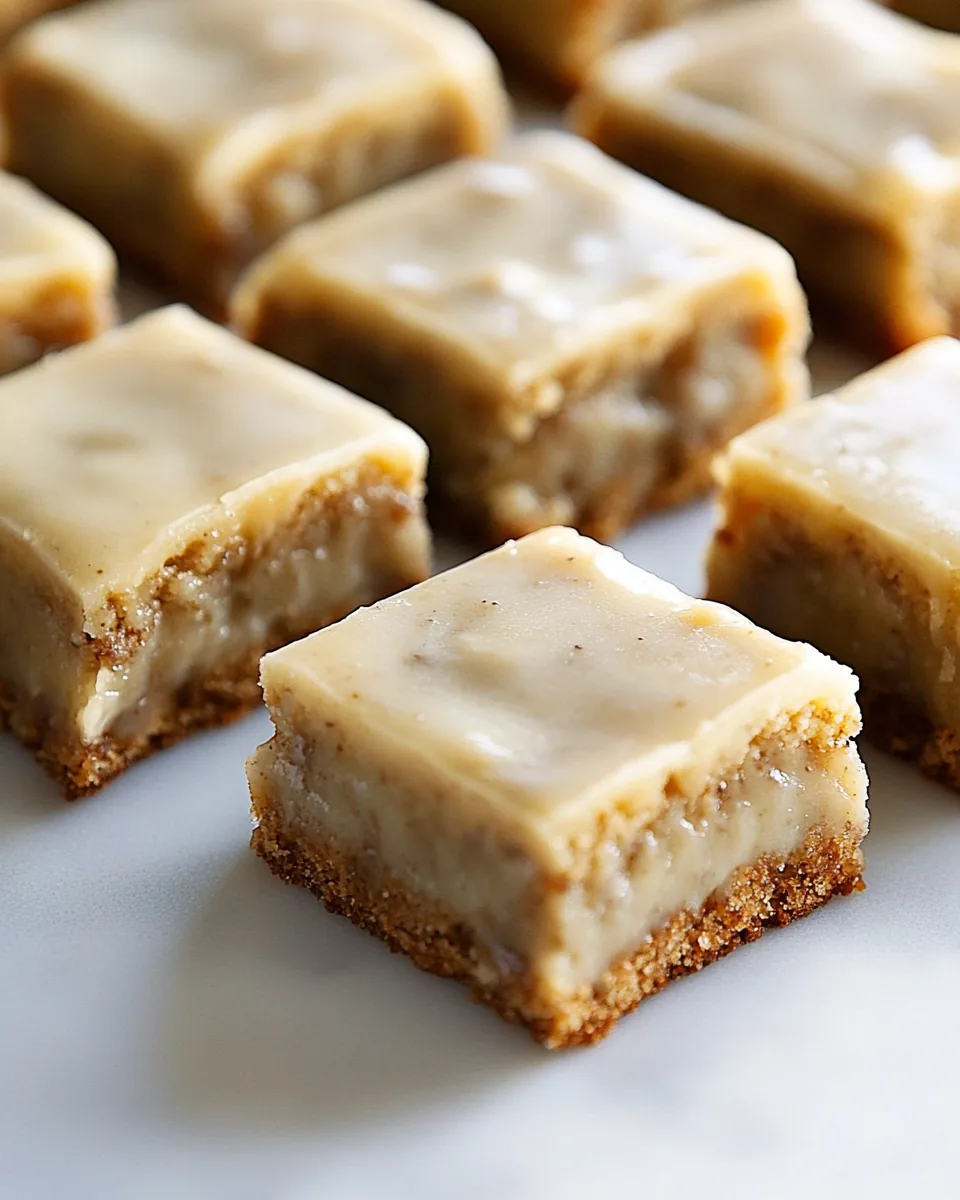
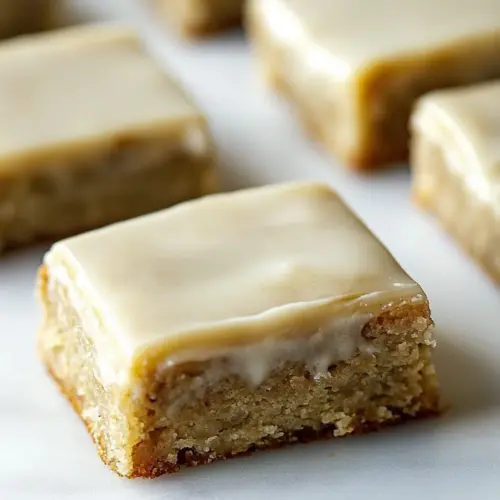
Banana Bars
There’s something incredibly comforting about the aroma of freshly baked Banana Bars wafting through the kitchen. I remember the first time I tried making them; the kitchen turned into a warm, inviting space where laughter and sweet memories mingled. With ripe bananas sitting on the counter, I thought, why not transform them into something delightful? Banana Bars quickly became one of my family’s favorites, perfect for an afternoon snack or even a sweet breakfast treat. The texture is soft and moist, while the flavor is a delightful balance of sweetness and richness. And the best part? They’re so easy to whip up! Whether you’re looking to impress guests or just enjoy a cozy afternoon at home, these bars are sure to be a hit. So, let’s dive into how to create these scrumptious Banana Bars together!
Recipe Snapshot
40 mins
10 mins
30 mins
Medium
250 kcal
3 g
Gluten-Free, Low FODMAP
10 g
Frying Pan, Blender, Oven, Large Pot, Chef’s Knife, Mixing Bowl, Wooden Spoon, Baking Sheet
Why This Banana Bars Is a Winner
Sweetness Overload
One of the best things about Banana Bars is the natural sweetness that the ripe bananas bring. As the bananas ripen, they develop a rich, sugary flavor that enhances the entire recipe. This means you can enjoy a dessert that feels indulgent without being overly sugary.
Simple Ingredients
The ingredients for Banana Bars are not only easy to find, but they also come together quickly. You’ll notice that most of them are likely already in your pantry. This simplicity makes it a go-to recipe for any occasion!
Versatile Treat
What I love about these bars is their versatility. You can enjoy them plain, or, if you’re feeling adventurous, top them with a delightful frosting or serve them with a dollop of whipped cream. They can fit perfectly into any dessert category!
Perfect for Sharing
These bars are ideal for gatherings. When I bake a batch of Banana Bars, I always find myself sharing them with friends, neighbors, and family. They never fail to bring smiles and compliments!
Comforting and Nostalgic
Lastly, Banana Bars carry a nostalgic charm. They remind me of childhood baking sessions with my grandmother, where we would experiment in the kitchen together. Each bite takes me back to those warm, cozy moments.
What to Gather for Banana Bars

Creating Banana Bars is all about gathering the right ingredients that work harmoniously together. The key players here are the ripe bananas, which bring sweetness, moisture, and flavor to the bars. Paired with flour and sugar, you’ll build a base that’s soft and tender. It’s such a satisfying combination that will have everyone asking for seconds!
- Sugar (1 ½ cups): This adds sweetness and helps create a beautiful golden crust.
- Sour Cream (1 cup): This ingredient contributes to the moisture, making the bars wonderfully soft.
- Unsalted Butter (½ cup, softened): The richness of butter enhances flavor and texture.
- Eggs (2 large): Eggs act as a binding agent, helping to hold the bars together.
- Mashed Bananas (1 ¾ cups, about 3 or 4 ripe bananas): The star ingredient that provides flavor and moisture.
- Vanilla (2 teaspoons): A splash of vanilla rounds out the flavors beautifully.
- All-Purpose Flour (2 cups): This is needed for structure and to create that lovely texture.
- Baking Soda (1 teaspoon): This helps the bars to rise and become fluffy.
- Salt (¾ teaspoon): A little salt enhances the overall flavor profile.
- Chopped Walnuts (½ cup, optional): They add a nice crunch and nuttiness.
- Powdered Sugar (3 ¾ cups): Used in the frosting for sweetness and to create a smooth finish.
- Milk or Half and Half (about 3 tablespoons): This is used to adjust the frosting consistency.
The Method for Banana Bars
Making Banana Bars is a simple yet rewarding process. You’ll find that each step is straightforward, with the result being a delightful treat that fills your home with warmth. Let’s walk through the steps together!
Start by heating your oven to 375 degrees. This is the perfect temperature for baking, ensuring even cooking and a beautiful golden crust. While the oven is preheating, prepare your baking pan by greasing and flouring a 10×15 jelly roll pan, or you can line it with parchment paper. If you prefer thicker bars, opt for a 9×13 pan and extend the baking time by 10 minutes for a perfect result.
In a large mixing bowl, combine the first four ingredients: sugar, sour cream, butter, and eggs. Using an electric mixer or a stand mixer with the paddle attachment, beat these ingredients until creamy. This should take about 2 to 3 minutes, and you’ll want to see a smooth, light mixture that’s thoroughly combined.
Next, add the mashed bananas and vanilla to the bowl. Mix this for about one minute until everything is well blended. You should notice the bananas breaking down and infusing the mixture with their delicious flavor.
Now, it’s time to incorporate the dry ingredients. Add the flour, baking soda, and salt to the mixture. Blend everything together for another minute until just combined. Be careful not to overmix; you want the batter to be slightly lumpy for the best texture.
If you’re using them, stir in the chopped walnuts gently. This adds a wonderful crunch to your bars. Once everything is mixed, pour the batter into your prepared pan. Use a spatula to spread it evenly across the pan.
Place your pan in the oven and bake for 20 to 25 minutes. Watch for the bars to turn a lovely golden brown. A toothpick inserted into the center should come out clean. If it’s still gooey, give them a few more minutes.
Once baked, remove the bars from the oven and let them cool slightly in the pan. Allow them to cool until they’re warm but not hot. This is the ideal time to frost them with the Browned Butter Frosting.
To make the frosting, heat butter in a saucepan over medium heat until it begins to boil and turns a delicate brown color. Be attentive, as it can burn quickly. Once browned, remove it from heat and mix in the remaining frosting ingredients until smooth. It should be thicker than a glaze but thinner than frosting; you can adjust the consistency with a bit of milk.
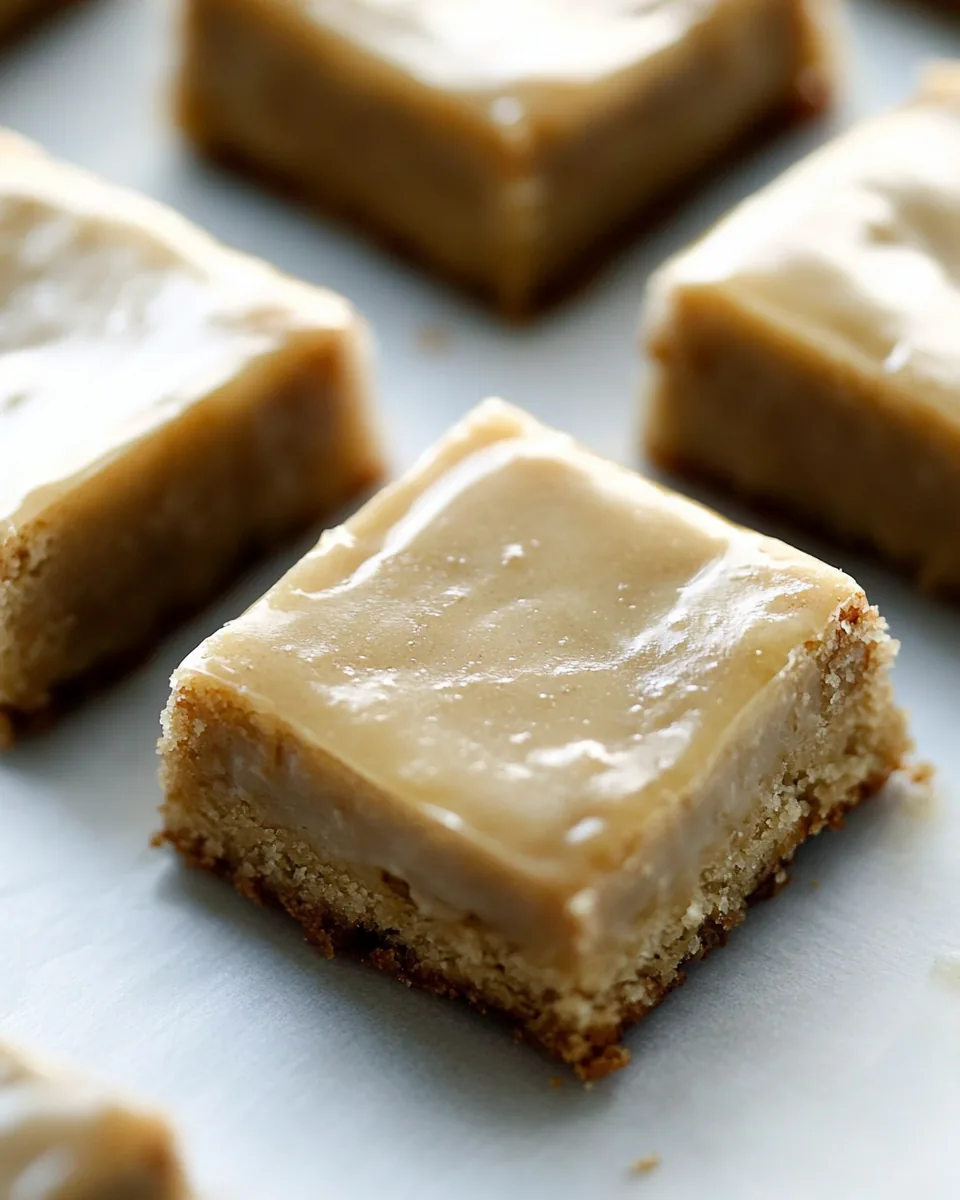
Using a rubber spatula, spread the frosting over the top of the warm banana bars. The frosting will be easier to spread while the bars are still warm, creating a beautiful finish. Allow the bars to cool completely before slicing them into squares.
Enjoy your delicious homemade Banana Bars! Store any leftovers in an airtight container to keep them fresh and tasty.
Things Worth Knowing
- Ripe Bananas: Choosing bananas that are fully ripe will enhance the sweetness of your bars. Look for bananas with brown spots for the best flavor.
- Mixing Technique: When mixing the batter, avoid overmixing after adding the dry ingredients. This keeps the bars tender and moist.
- Cooling Time: Allowing the bars to cool before frosting is essential for achieving a perfect finish. Frosting warm bars helps the frosting set nicely.
- Frosting Consistency: Adjust the frosting’s consistency with milk to your preference. Whether you like it thicker or thinner, it should spread smoothly.
Pro Tips and Tweaks
Whether you’re a seasoned baker or a novice, these tips will enhance your experience making Banana Bars.
- Storage: Store leftovers in an airtight container at room temperature for up to three days. They may also be refrigerated for a longer shelf life.
- Freezing: You can freeze Banana Bars for up to three months. Just make sure to wrap them tightly in plastic wrap and then foil.
- Variations: Experiment by adding chocolate chips or dried fruits to the batter for a unique twist.
- Serving Suggestions: Serve warm with a scoop of ice cream or a dollop of whipped cream for an extra treat.
- Nut Allergy: If you have nut allergies, feel free to skip the walnuts; the bars will still be delicious!
- Make Ahead: You can prepare the batter a day in advance, store it in the fridge, and bake it fresh the next day.
- Flavor Boost: For extra flavor, try adding cinnamon or nutmeg to the batter.
Side Dish Ideas for Banana Bars
- Pair with Coffee: These Banana Bars make a perfect pairing with your morning coffee or afternoon tea. The flavors complement each other beautifully.
- Great for Picnics: Cut the bars into bite-sized pieces and pack them for picnics. They’re easy to share and always a hit.
- Perfect for Potlucks: Bring a tray of these bars to your next potluck. They’re sure to be a crowd-pleaser!
- Seasonal Treat: Enjoy these bars year-round, but they’re particularly delightful in the fall when everyone craves comfort food.
- Kids’ Lunchboxes: Slice them into smaller pieces and add them to kids’ lunchboxes for a sweet surprise.
- Breakfast Option: Serve Banana Bars as a quick breakfast option with a side of fresh fruit for a balanced meal.
- Storage Tip: If storing for an event, consider wrapping individual pieces in parchment paper for easy grabbing.
FAQ
Conclusion
Banana Bars are not just a dessert; they’re a delightful experience that brings joy with every bite. Whether it’s the comforting aroma as they bake or the sweet flavor that dances on your palate, these bars are sure to become a favorite in your home. So why not give them a try today? Your taste buds will thank you, and your friends and family will be asking for the recipe!
Banana Bars
Equipment
- Frying Pan
- Blender
- Oven
- Large Pot
- Chef's Knife
- Mixing Bowl
- Wooden Spoon
- Baking Sheet
Ingredients
- 1 ½ cups Sugar
- 1 cup Sour Cream
- ½ cup Unsalted Butter, softened
- 2 large Eggs
- 1 ¾ cups Mashed Bananas, about 3 or 4 ripe bananas
- 2 teaspoons Vanilla
- 2 cups All-Purpose Flour
- 1 teaspoon Baking Soda
- ¾ teaspoon Salt
- ½ cup Chopped Walnuts, (optional)
- 3 ¾ cups Powdered Sugar
- 1 teaspoon Vanilla
- 3 tablespoons Milk or Half and Half
Instructions
- Start by heating your oven to 375 degrees. This is the perfect temperature for baking, ensuring even cooking and a beautiful golden crust. While the oven is preheating, prepare your baking pan by greasing and flouring a 10×15 jelly roll pan, or you can line it with parchment paper. If you prefer thicker bars, opt for a 9×13 pan and extend the baking time by 10 minutes for a perfect result.
- In a large mixing bowl, combine the first four ingredients: sugar, sour cream, butter, and eggs. Using an electric mixer or a stand mixer with the paddle attachment, beat these ingredients until creamy. This should take about 2 to 3 minutes, and you’ll want to see a smooth, light mixture that’s thoroughly combined.
- Next, add the mashed bananas and vanilla to the bowl. Mix this for about one minute until everything is well blended. You should notice the bananas breaking down and infusing the mixture with their delicious flavor.
- Now, it’s time to incorporate the dry ingredients. Add the flour, baking soda, and salt to the mixture. Blend everything together for another minute until just combined. Be careful not to overmix; you want the batter to be slightly lumpy for the best texture.
- If you’re using them, stir in the chopped walnuts gently. This adds a wonderful crunch to your bars. Once everything is mixed, pour the batter into your prepared pan. Use a spatula to spread it evenly across the pan.
- Place your pan in the oven and bake for 20 to 25 minutes. Watch for the bars to turn a lovely golden brown. A toothpick inserted into the center should come out clean. If it’s still gooey, give them a few more minutes.
- Once baked, remove the bars from the oven and let them cool slightly in the pan. Allow them to cool until they’re warm but not hot. This is the ideal time to frost them with the Browned Butter Frosting.
- To make the frosting, heat butter in a saucepan over medium heat until it begins to boil and turns a delicate brown color. Be attentive, as it can burn quickly. Once browned, remove it from heat and mix in the remaining frosting ingredients until smooth. It should be thicker than a glaze but thinner than frosting; you can adjust the consistency with a bit of milk.
- Using a rubber spatula, spread the frosting over the top of the warm banana bars. The frosting will be easier to spread while the bars are still warm, creating a beautiful finish. Allow the bars to cool completely before slicing them into squares.
- Enjoy your delicious homemade Banana Bars! Store any leftovers in an airtight container to keep them fresh and tasty.