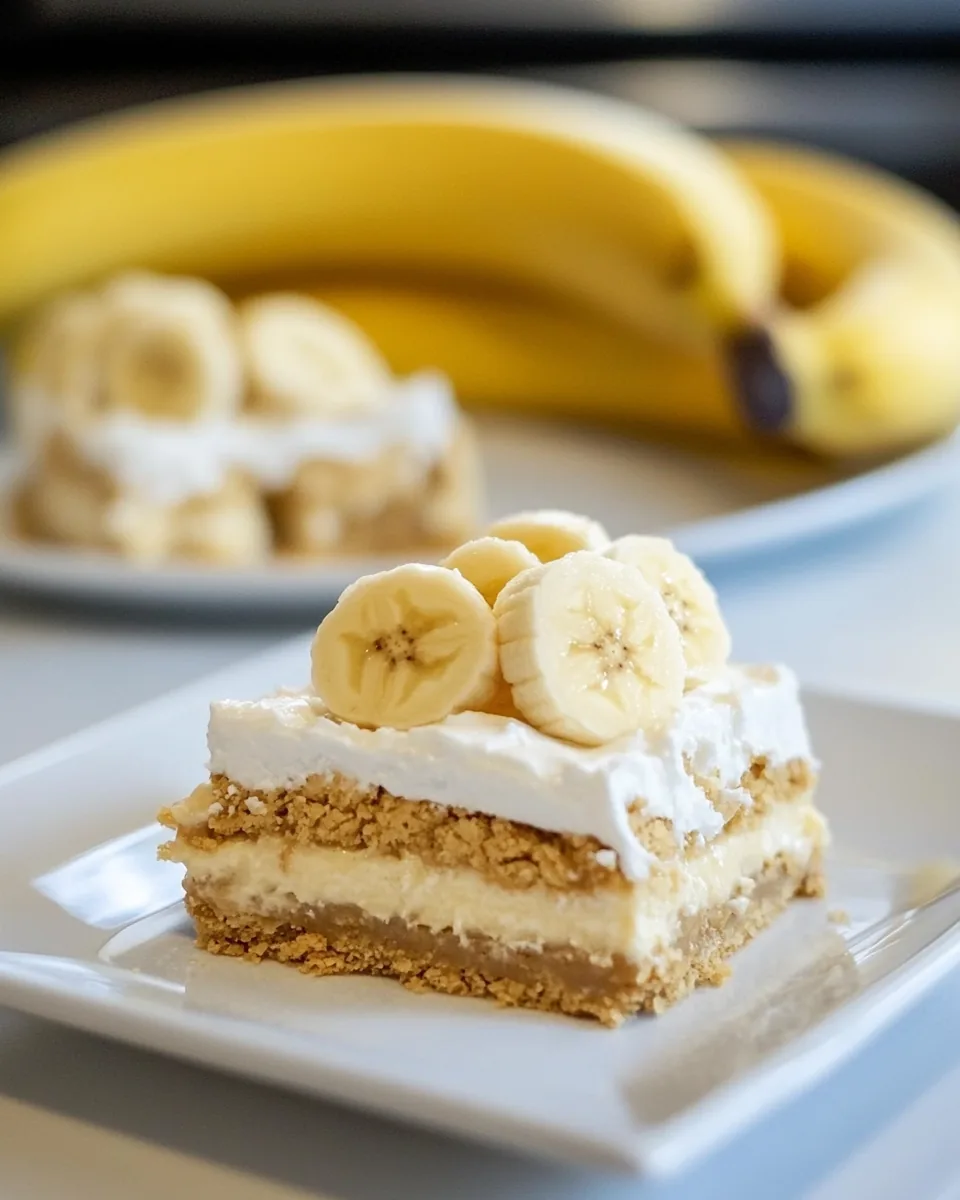
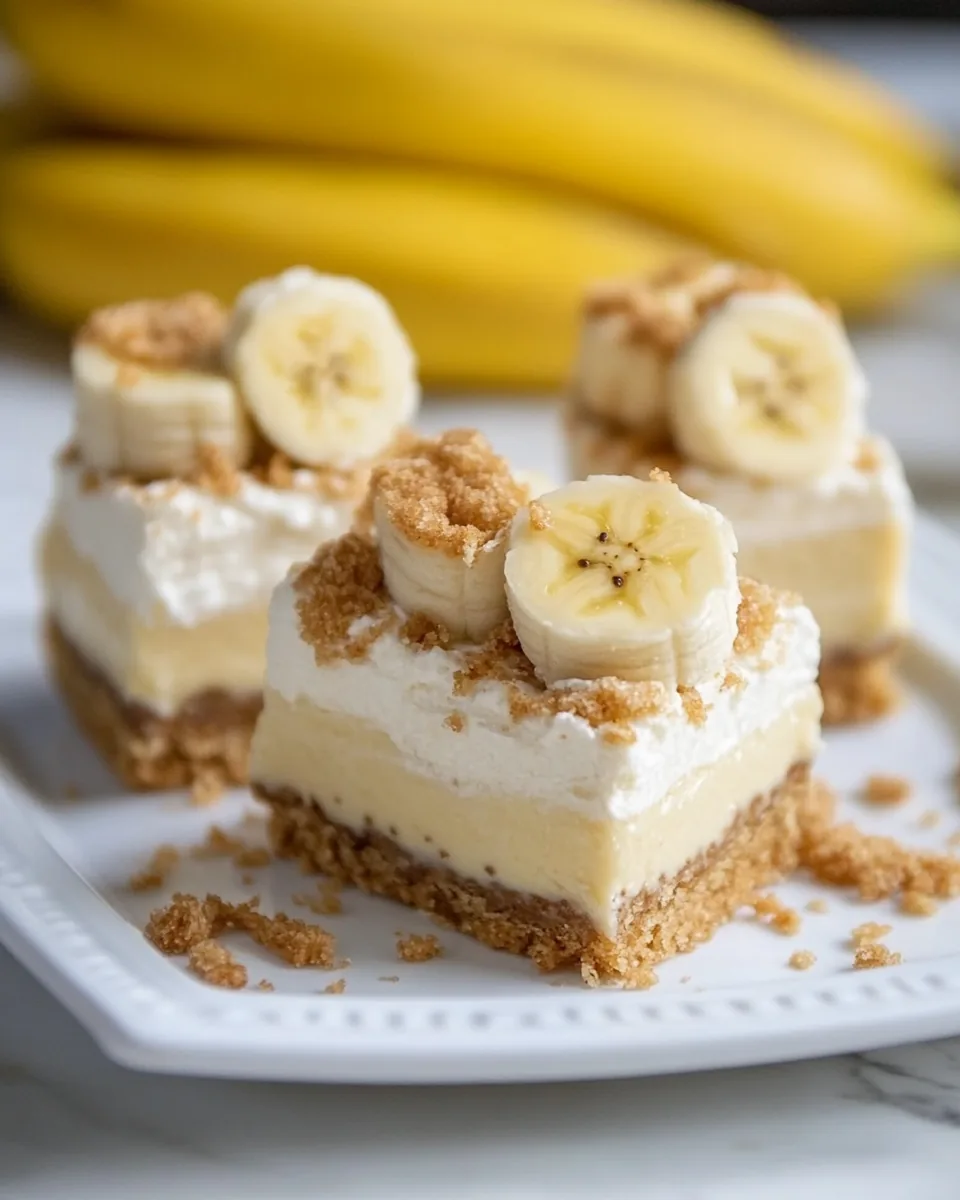
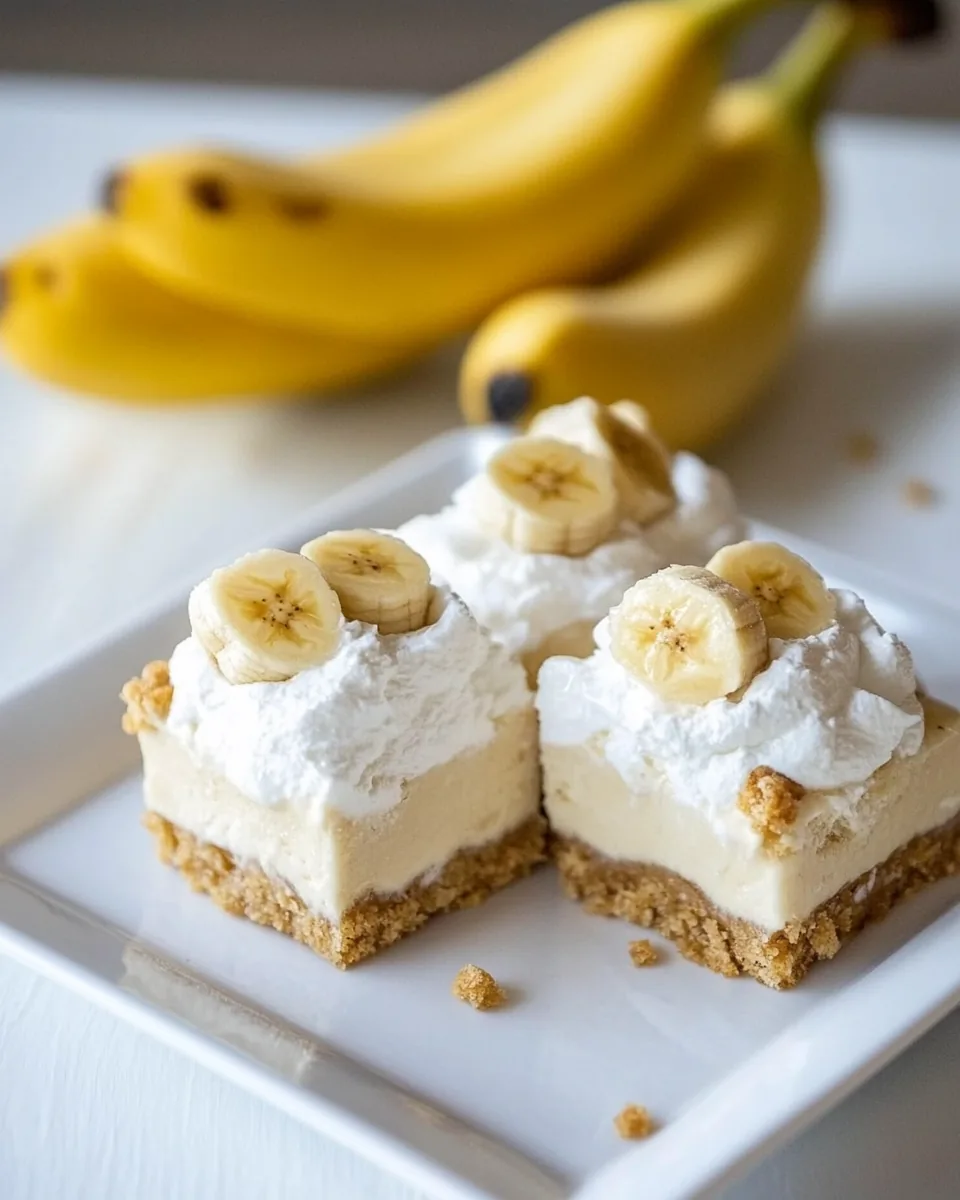
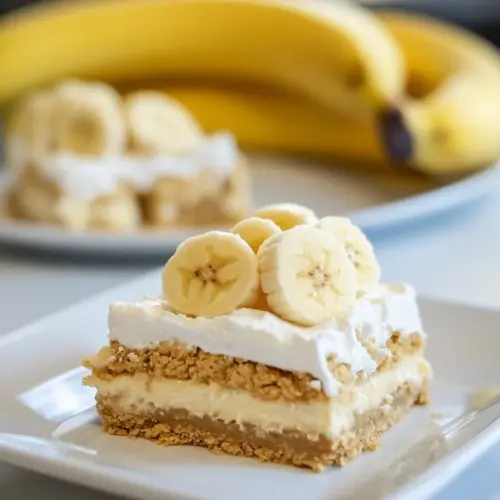
Banana Pudding Bars
There’s something truly special about the comforting flavors of Banana Pudding Bars. Growing up, my family would whip up a batch on lazy Sundays, and I can still remember the sweet aroma wafting through the kitchen. These bars combine everything you love about banana pudding but in a deliciously portable form. The layers of creamy banana filling, buttery crust, and fluffy whipped cream create a dessert that brings smiles to every face at the table. It’s a dessert that reminds me of summer picnics and family gatherings, making it the perfect treat to share. Whether you’re hosting a backyard barbecue or just want to indulge a little, these bars are a delightful way to satisfy your sweet tooth.
Recipe Snapshot
60 mins
0 mins
0 mins
Hard
310 kcal
4 g
Gluten-Free, Low FODMAP
14 g
Frying Pan, Whisk, Food Processor, Oven, Large Pot, Wooden Spoon, Mixing Bowl, Baking Sheet
The Beauty of This Banana Pudding Bars
1. A Nostalgic Classic
The first reason I adore Banana Pudding Bars is their nostalgic flavor. This dessert takes me back to childhood memories, where every bite hints at summer days spent with family. The combination of creamy textures and sweet bananas is a flavor that resonates with many, making it a timeless treat.
2. Perfect for Sharing
These bars are incredibly convenient for gatherings. Unlike traditional banana pudding, which is served in a bowl, these bars can be easily cut into squares, making them perfect for sharing. They’re great for potlucks, picnics, or just an afternoon snack!
3. Versatile Layers
The beauty of Banana Pudding Bars lies in their layers. The buttery base gives way to a creamy banana filling, which is topped with light whipped cream. Each layer is fundamental, providing a balance of flavors and textures that keep you coming back for more.
4. Easy to Make
Another reason to love these bars is how straightforward they are to make. Even if you’re not a seasoned baker, this recipe is accessible. The steps are simple and require minimal ingredients, so it’s perfect for those last-minute dessert cravings.
5. Customizable Toppings
One of the joys of making Banana Pudding Bars is the ability to customize them. Whether you want to add crushed cookies, fresh fruit, or even a drizzle of chocolate, the options are endless! Get creative and make it your own.
6. A Crowd-Pleaser
Lastly, these bars are guaranteed to please a crowd. The combination of flavors is universally loved, and you’ll find that both kids and adults enjoy every bite. You can prepare them ahead of time, making them a convenient choice for entertaining.
Banana Pudding Bars Ingredients
Creating Banana Pudding Bars requires a perfect blend of ingredients that work harmoniously together. The main players include rich butter for a flavorful crust and sweet banana puree that defines the filling. Each element contributes to a delightful balance of taste and texture, ensuring a delicious outcome.
- Graham Cracker Crumbs: 2 cups – These crumbs form the base of your bars, offering a sweet and crunchy foundation that complements the creamy filling.
- Gingersnap Crumbs: 1 ½ cups – Adding a touch of spice, these crumbs enhance the flavor profile and add a unique twist.
- Butter: ½ cup, melted – Essential for binding the crust ingredients together, it provides richness and flavor.
- Whole Milk: 3 cups, divided – This creamy ingredient is key to achieving a smooth filling.
- Fresh Banana Puree: 1 ½ cups, about 2 to 3 medium bananas – The star of the show, this puree infuses the bars with delicious banana flavor.
- Sugar: 1 cup, divided – Sweetens the filling and balances the flavors beautifully.
- Vanilla Extract: 2 teaspoons – Adds a warm, aromatic flavor that enhances the overall experience.
- Unflavored Gelatin: 3 teaspoons – Helps set the filling, giving the bars their structure.
- Egg Yolks: 8 – These provide richness and help thicken the filling.
- All-Purpose Flour: ½ cup – A key thickening agent that contributes to the filling’s texture.
- Mini Vanilla Wafers: 1 ¼ cups – These add a delightful crunch and are perfect for layering.
- Heavy Whipping Cream: 1 ½ cups – Whipped to soft peaks, this cream adds lightness and a luxurious texture on top.
- Confectioners’ Sugar: ¼ cup – Sweetens the whipped cream topping, making it even more irresistible.
Recipe Directions for Banana Pudding Bars
Let’s dive into how to prepare these delightful Banana Pudding Bars. The process is simple, and I promise you’ll be rewarded with a delicious dessert that everyone will love. Follow the steps closely and enjoy the journey!
- Preheat your oven to 350 degrees. This ensures that your crust bakes evenly and crisps up perfectly.
- In a medium bowl, combine graham cracker crumbs, gingersnap crumbs, and butter. Mix until well combined. You want a texture similar to wet sand. This will be your crust.
- Press the crumb mixture into the bottom of a 9×13-inch baking pan. Use the back of a measuring cup to compact it firmly. This step is crucial as it creates a sturdy base for your bars.
- Place the pan in the oven and bake for about 10 minutes, until golden brown. You’ll want to keep an eye on it to avoid over-browning. Once done, remove it from the oven and set the pan on a wire rack to cool.
- In a medium saucepan, combine 2 ¾ cups milk, banana puree, ¾ cup sugar, and vanilla. Cook over medium heat, whisking frequently until the mixture boils. It’s important to stir to prevent sticking and ensure a smooth mixture.
- As soon as it boils, remove the pan from the heat and set it aside to cool slightly. This mixture will become the creamy filling of your bars.
- In a small bowl, combine ¼ cup milk and gelatin. Let it sit for about 5 minutes to soften the gelatin. This step is essential for achieving the right consistency.
- While the gelatin softens, whisk together egg yolks, remaining ¼ cup sugar, and flour in a separate bowl until smooth. This mixture will help thicken your pudding.
- Once the gelatin has softened, add it to the milk and banana mixture, whisking well to combine. It’s important to incorporate it fully for an even texture.
- Ladle about 1 cup of the hot milk mixture into the yolk mixture, whisking constantly to combine. This step gradually raises the temperature of the eggs, preventing curdling. Pour the yolk mixture back into the milk mixture, whisking continuously.
- Cook this mixture over medium-high heat, stirring constantly. Keep an eye on it as it thickens. You’ll want it to boil gently for about 2 minutes.
- Remove from heat and strain the filling through a wire-mesh sieve into a bowl. This step is crucial for achieving a silky-smooth filling. I find it helpful to use the back of a spoon to push it through, although it can be a bit tedious.
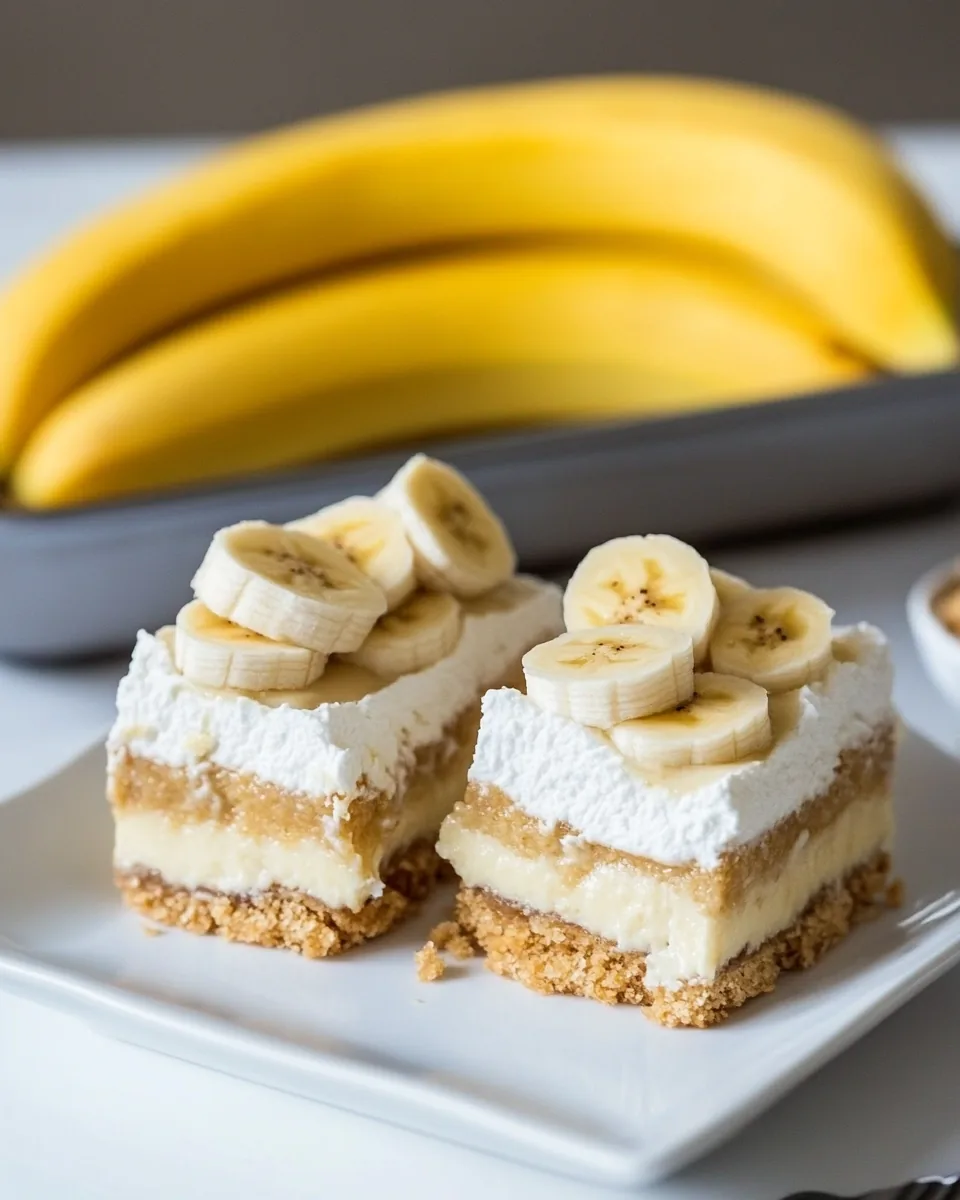
- Spread half of the filling onto your cooled crust. Layer with mini vanilla wafers, then cover with the remaining filling. This layering creates a beautiful and delicious cross-section.
- Let the bars cool to room temperature, then refrigerate for at least 6 hours. Patience is key here; the chilling time helps the bars set properly.
- Finally, in a medium bowl, combine heavy whipping cream and confectioners’ sugar. Beat at medium speed with an electric mixer until medium peaks form. This fluffy topping will be the crowning glory of your bars. Spread it evenly on top of the cooled filling.
- Cut into squares to serve and garnish with additional mini vanilla wafers if desired. These bars can be stored in the refrigerator for up to 5 days, but I doubt they’ll last that long!
Things Worth Knowing
- Make Ahead: These bars can be made a day in advance, giving the flavors time to meld. Just remember to keep them refrigerated!
- Serving Temperature: While these bars are best served chilled, letting them sit at room temperature for a few minutes before serving enhances the flavor.
- Texture Tips: For a creamier filling, ensure you whisk the custard well to incorporate air. It will give a lighter texture.
- Fresh Bananas: If you want to add fresh banana slices on top before serving, do it just before serving to avoid browning.
Make It Your Own
If you’re feeling adventurous, here are some tips to make your Banana Pudding Bars uniquely yours. Customizing recipes can be a fun way to explore new flavors!
- Alter the Crust: Feel free to substitute the gingersnap crumbs with other cookies like chocolate wafers or even digestive biscuits for a different flavor.
- Fruit Variations: Besides bananas, consider mixing in some mashed strawberries or even mango puree for a tropical twist.
- Flavor Enhancements: Add a sprinkle of cinnamon or nutmeg to the filling for a warm, cozy flavor that pairs beautifully with bananas.
- Whipped Topping Alternatives: Instead of whipped cream, try a layer of cream cheese frosting for a richer flavor.
- Serving Options: These bars can be served with a drizzle of caramel sauce or chocolate syrup for an extra touch of indulgence.
- Layering Technique: For a fun presentation, layer some crushed cookies between the filling layers for added texture.
Serving Suggestions
When it comes to serving Banana Pudding Bars, the possibilities are endless! Here are some ideas to consider:
- Picnic Treat: These bars are perfect for outdoor gatherings. Pack them in a cooler for a refreshing dessert at your next picnic.
- Family Gatherings: Serve them at family reunions or potlucks. Their portability makes them an easy option for sharing.
- Seasonal Celebrations: Ideal for summer barbecues or birthday parties, these bars will be a hit with guests of all ages.
- Afternoon Snack: Cut smaller squares for a delightful afternoon pick-me-up with coffee or tea.
- Pairing Suggestions: These bars pair well with fresh fruit salads or a scoop of vanilla ice cream for an extra indulgent treat.
- Storage Tips: Keep any leftovers in an airtight container in the refrigerator to maintain freshness for up to 5 days.
FAQ
Conclusion
In summary, Banana Pudding Bars are a delightful dessert that captures the essence of comfort food. With their creamy banana filling and crunchy crust, they are sure to impress anyone you serve them to. Don’t hesitate to try making these bars for your next gathering or as a sweet treat for yourself. They are easy, delicious, and sure to bring smiles all around!
Banana Pudding Bars
Equipment
- Frying Pan
- Whisk
- Food Processor
- Oven
- Large Pot
- Wooden Spoon
- Mixing Bowl
- Baking Sheet
Ingredients
- 2 cups Graham Cracker Crumbs
- 1 ½ cups Gingersnap Crumbs
- ½ cup Butter melted
- 3 cups Whole Milk divided
- 1 ½ cups Fresh Banana Puree about 2 to 3 medium bananas
- 1 cup Sugar divided
- 2 teaspoons Vanilla Extract
- 3 teaspoons Unflavored Gelatin
- 8 Egg Yolks
- ½ cup All-Purpose Flour
- 1 ¼ cups Mini Vanilla Wafers
- 1 ½ cups Heavy Whipping Cream
- ¼ cup Confectioners’ Sugar
Instructions
- Preheat your oven to 350 degrees. This ensures that your crust bakes evenly and crisps up perfectly.
- In a medium bowl, combine graham cracker crumbs, gingersnap crumbs, and butter. Mix until well combined. You want a texture similar to wet sand. This will be your crust.
- Press the crumb mixture into the bottom of a 9×13-inch baking pan. Use the back of a measuring cup to compact it firmly. This step is crucial as it creates a sturdy base for your bars.
- Place the pan in the oven and bake for about 10 minutes, until golden brown. You’ll want to keep an eye on it to avoid over-browning. Once done, remove it from the oven and set the pan on a wire rack to cool.
- In a medium saucepan, combine 2 ¾ cups milk, banana puree, ¾ cup sugar, and vanilla. Cook over medium heat, whisking frequently until the mixture boils. It’s important to stir to prevent sticking and ensure a smooth mixture.
- As soon as it boils, remove the pan from the heat and set it aside to cool slightly. This mixture will become the creamy filling of your bars.
- In a small bowl, combine ¼ cup milk and gelatin. Let it sit for about 5 minutes to soften the gelatin. This step is essential for achieving the right consistency.
- While the gelatin softens, whisk together egg yolks, remaining ¼ cup sugar, and flour in a separate bowl until smooth. This mixture will help thicken your pudding.
- Once the gelatin has softened, add it to the milk and banana mixture, whisking well to combine. It’s important to incorporate it fully for an even texture.
- Ladle about 1 cup of the hot milk mixture into the yolk mixture, whisking constantly to combine. This step gradually raises the temperature of the eggs, preventing curdling. Pour the yolk mixture back into the milk mixture, whisking continuously.
- Cook this mixture over medium-high heat, stirring constantly. Keep an eye on it as it thickens. You’ll want it to boil gently for about 2 minutes.
- Remove from heat and strain the filling through a wire-mesh sieve into a bowl. This step is crucial for achieving a silky-smooth filling. I find it helpful to use the back of a spoon to push it through, although it can be a bit tedious.
- Spread half of the filling onto your cooled crust. Layer with mini vanilla wafers, then cover with the remaining filling. This layering creates a beautiful and delicious cross-section.
- Let the bars cool to room temperature, then refrigerate for at least 6 hours. Patience is key here; the chilling time helps the bars set properly.
- Finally, in a medium bowl, combine heavy whipping cream and confectioners’ sugar. Beat at medium speed with an electric mixer until medium peaks form. This fluffy topping will be the crowning glory of your bars. Spread it evenly on top of the cooled filling.
- Cut into squares to serve and garnish with additional mini vanilla wafers if desired. These bars can be stored in the refrigerator for up to 5 days, but I doubt they’ll last that long!
Notes
- Make Ahead: These bars can be made a day in advance, giving the flavors time to meld. Just remember to keep them refrigerated!
- Serving Temperature: While these bars are best served chilled, letting them sit at room temperature for a few minutes before serving enhances the flavor.
- Texture Tips: For a creamier filling, ensure you whisk the custard well to incorporate air. It will give a lighter texture.
- Fresh Bananas: If you want to add fresh banana slices on top before serving, do it just before serving to avoid browning.