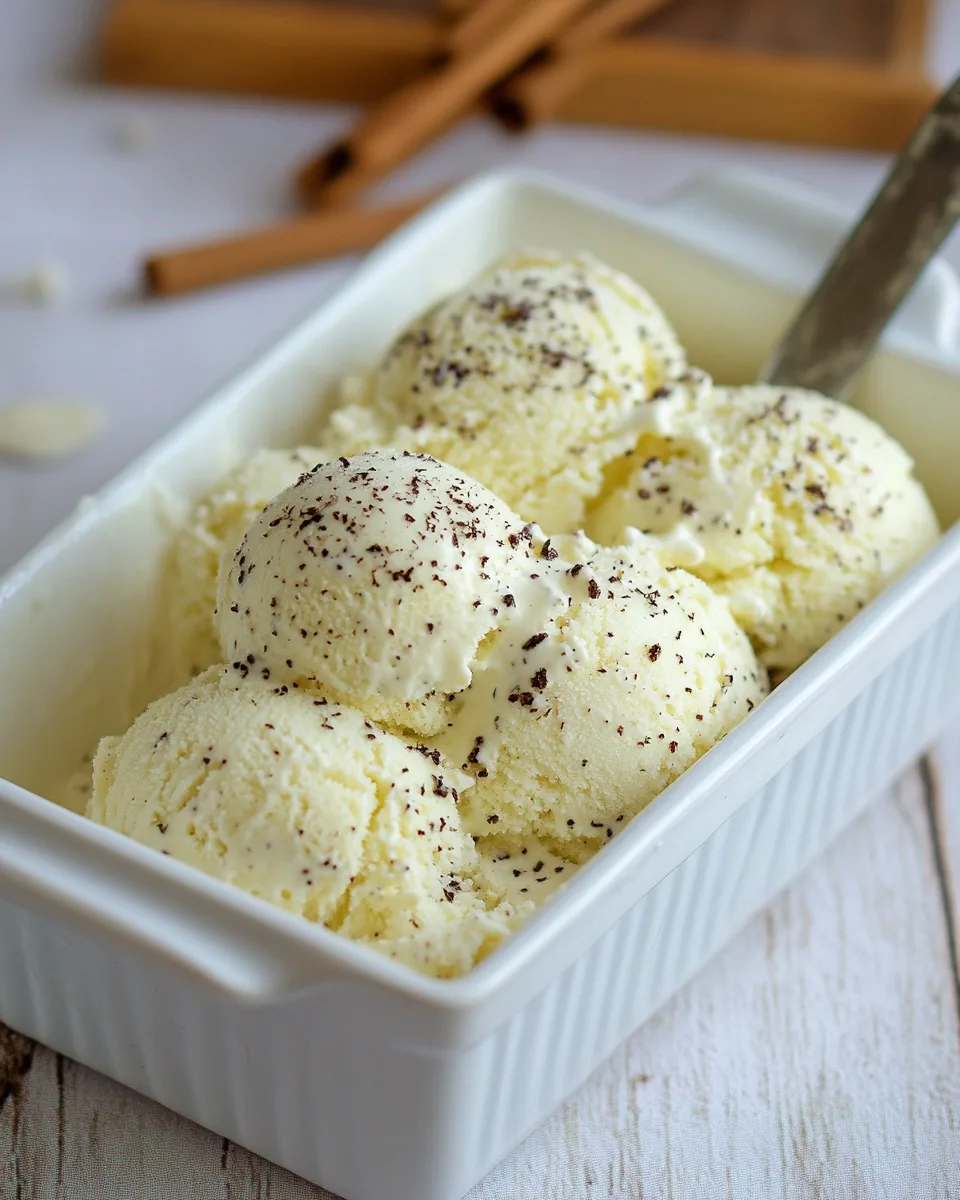
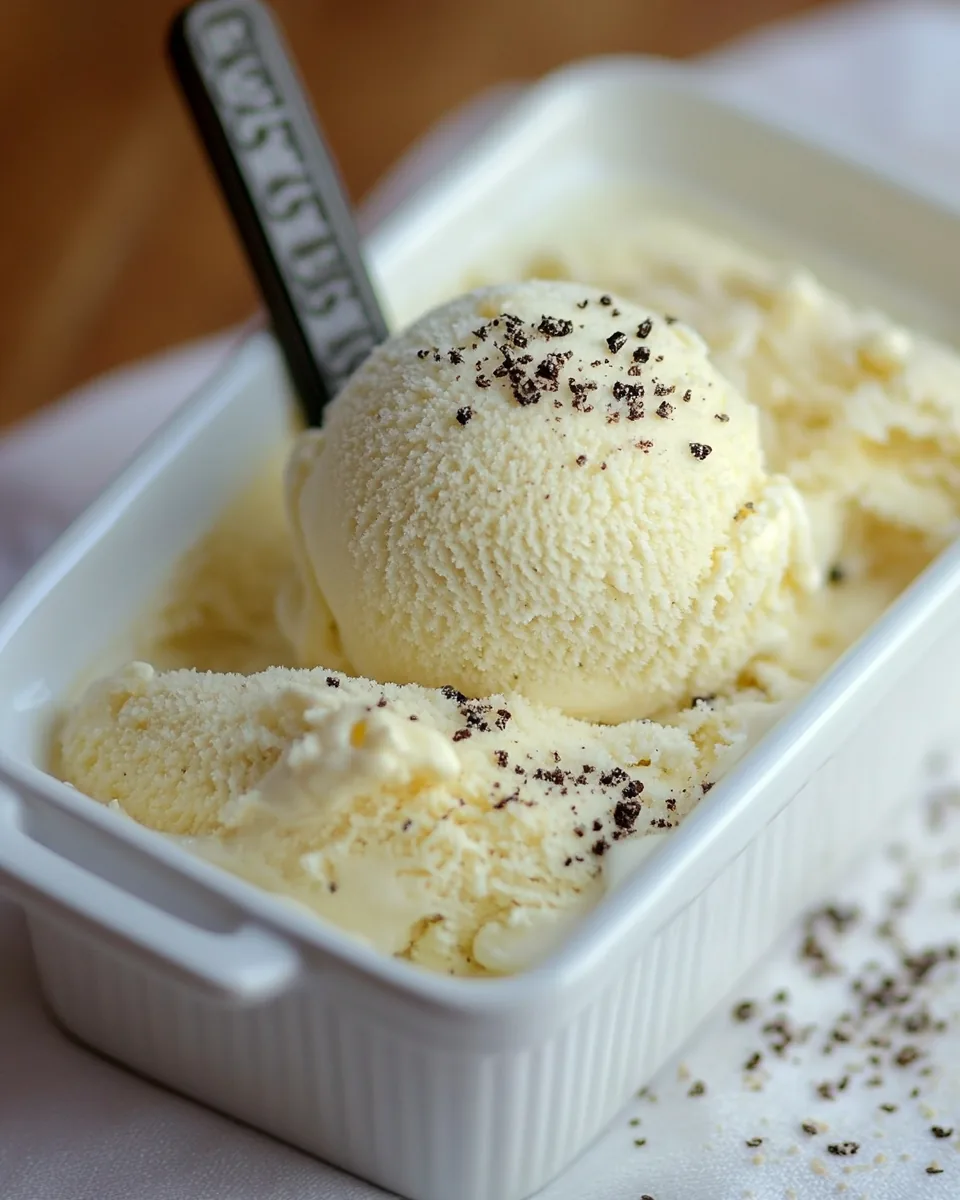
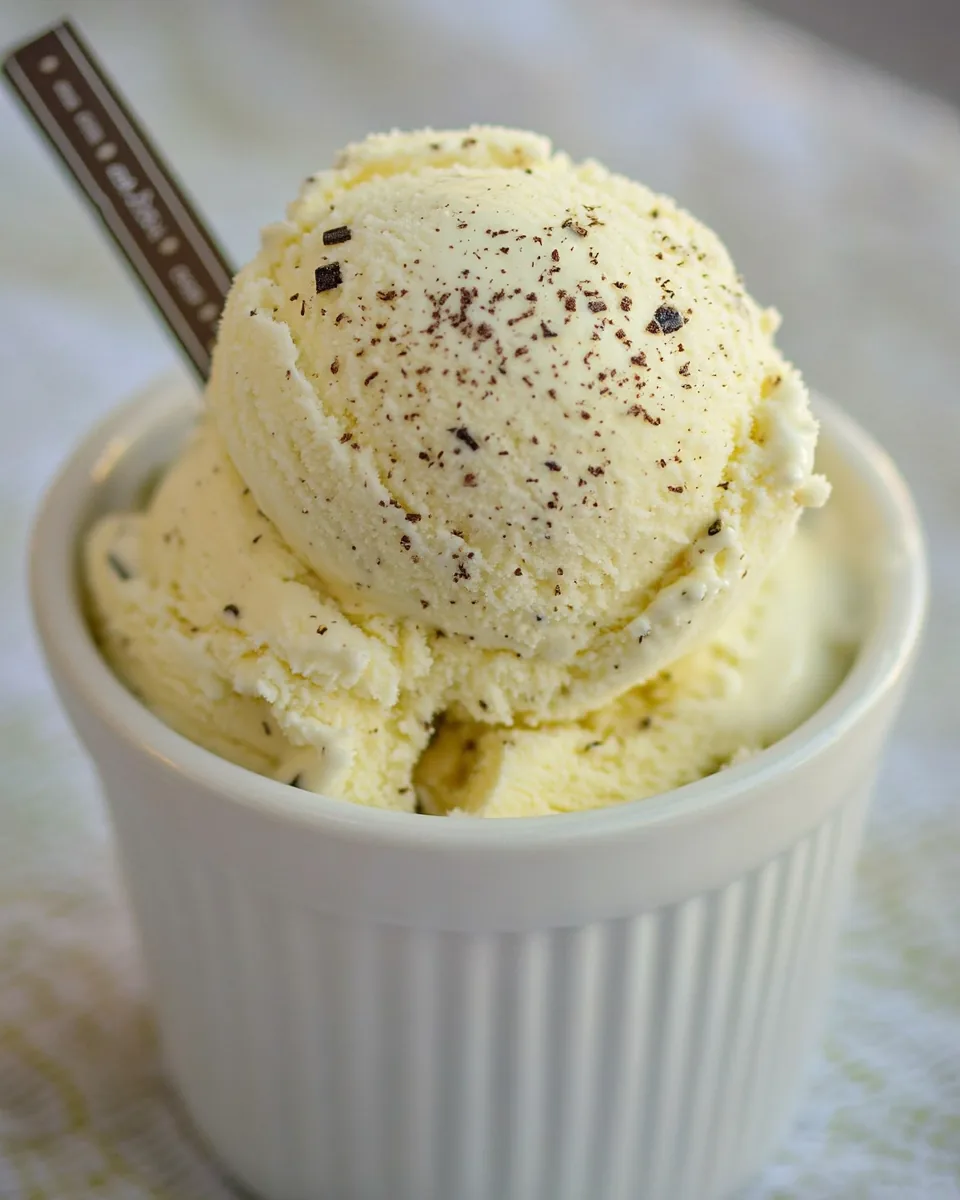
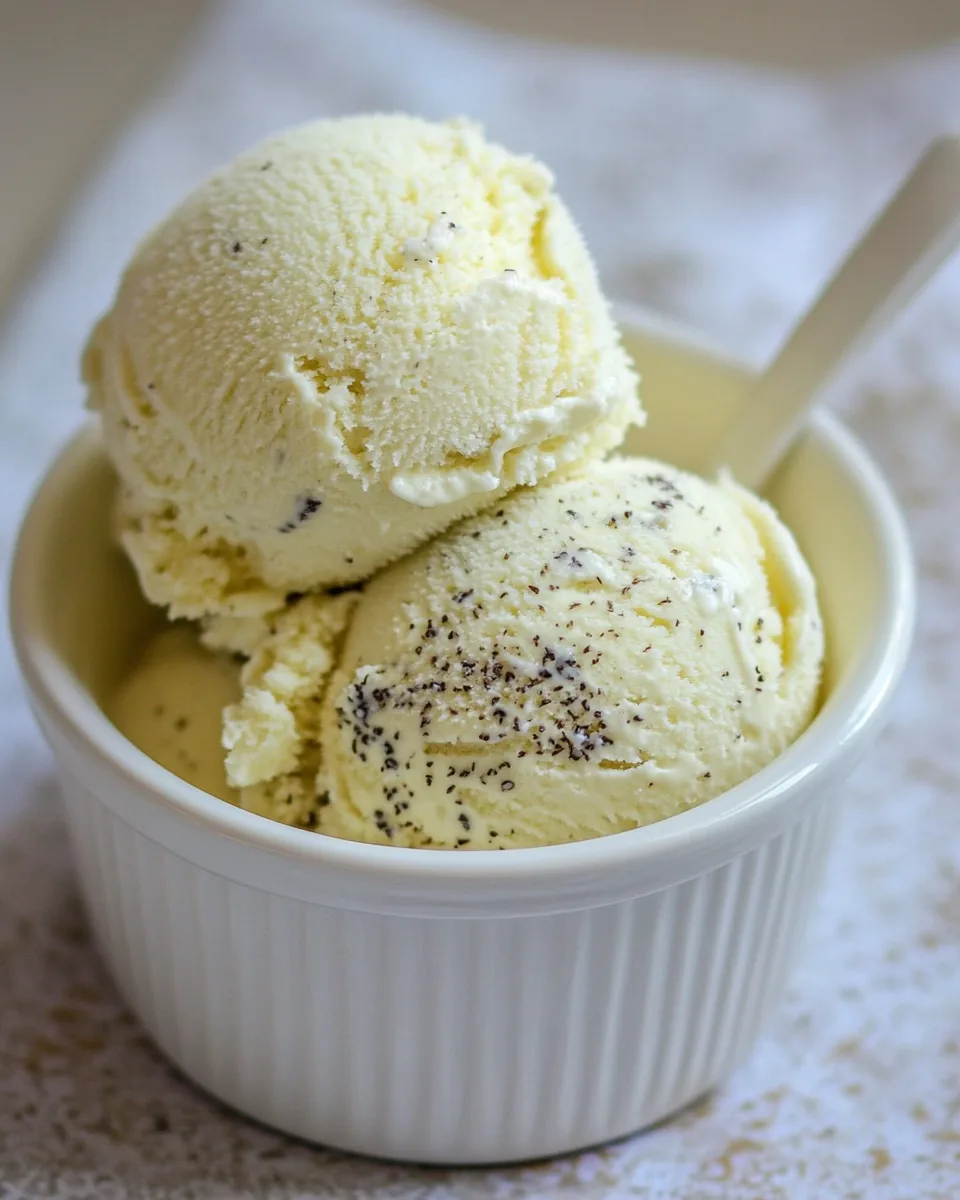
No Churn Vanilla Bean Ice Cream
There’s something incredibly nostalgic about making ice cream at home, and this No Churn Vanilla Bean Ice Cream captures that feeling perfectly. As a kid, I remember watching my mom mix together ingredients, the excitement building as I anticipated the sweet, creamy treat that would soon grace our kitchen. Fast forward to today, and that same joy fills my heart every time I whip up this easy, delightful dessert. This recipe is not just about indulgence; it’s about family moments, laughter, and the feeling of summer! With just a few ingredients, you can create a deliciously creamy ice cream that doesn’t require an ice cream maker. Whether it’s a hot summer day or a cozy night in, every scoop of this No Churn Vanilla Bean Ice Cream brings a smile. Just imagine the rich flavor of real vanilla beans swirling through the creamy goodness, transforming any ordinary occasion into something special.
Recipe Snapshot
10 mins
5 mins
5 mins
Medium
290 kcal
4 g
Gluten-Free, Low FODMAP
17 g
Wooden Spoon, Mixing Bowl
Why This No Churn Vanilla Bean Ice Cream Shines
Simple and Quick to Prepare
One of the best reasons to love this No Churn Vanilla Bean Ice Cream is how easy it is to whip up. You don’t need an ice cream machine or hours of freezing time. With just a few simple steps, you can create a creamy dessert that everyone will adore.
Perfect for Any Occasion
This ice cream is incredibly versatile, making it perfect for birthday parties, family gatherings, or even a quiet weeknight treat. Its rich flavor and creamy texture can elevate any occasion.
Customizable Flavors
While classic vanilla bean is a favorite, you can easily customize this recipe by adding your favorite mix-ins. Think chocolate chips, nuts, or even fruits. The possibilities are endless!
Great for Kids
This recipe is not just kid-approved; it’s kid-friendly to make! Kids will love helping out in the kitchen, mixing the ingredients and watching the magic happen.
Minimal Ingredients
With just three main ingredients, you know exactly what’s going into your ice cream. There are no strange additives or preservatives, just pure, delicious flavor.
Ingredients to Make No Churn Vanilla Bean Ice Cream
The ingredients for this No Churn Vanilla Bean Ice Cream are simple yet essential. The combination of rich heavy cream and sweetened condensed milk creates that luscious texture we all love in ice cream. The vanilla bean paste adds a depth of flavor that elevates this dessert from ordinary to extraordinary.
- 2 cups heavy cream: Provides the creamy base for the ice cream. When whipped, it creates a light and fluffy texture.
- 14 ounces sweetened condensed milk: Adds sweetness and richness, making the ice cream indulgent.
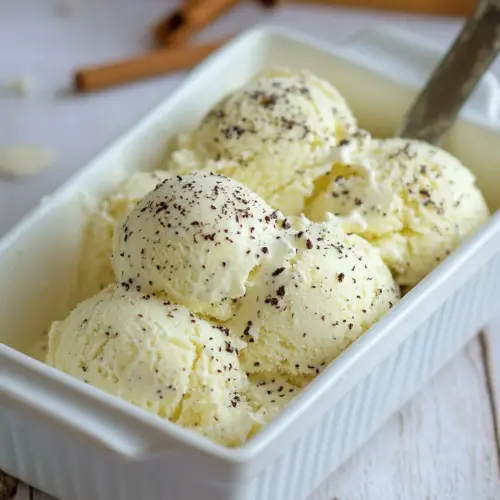
- 2 teaspoons vanilla bean paste: Gives the ice cream its signature vanilla flavor and beautiful speckles.
Preparation Steps for No Churn Vanilla Bean Ice Cream
Making this No Churn Vanilla Bean Ice Cream is a breeze. You’ll be surprised at how simple and fast it is to create a delicious treat that will impress your family and friends. Just follow these straightforward steps, and you’ll be enjoying your ice cream in no time!
- In a large mixing bowl, pour in the heavy cream. Using an electric mixer, beat the cream on high speed until it forms stiff peaks. This process usually takes about 3 to 5 minutes, and you’ll know it’s ready when the cream holds its shape and is fluffy.
- Next, gently fold in the sweetened condensed milk. It’s important to do this carefully to keep the mixture light. Use a spatula to combine the two until they are just blended.
- Add the vanilla bean paste to the mixture. Stir it in thoroughly so the vanilla flavor is evenly distributed throughout your ice cream. You’ll start to see those delightful specks of vanilla.
- Once everything is well combined, transfer the mixture into an airtight container. Smooth the top with your spatula to create an even surface.
- Now it’s time to freeze! Seal the container and place it in the freezer for 4 to 6 hours. If you can, let it freeze overnight for the best texture.
- Once frozen, remove the ice cream from the freezer and let it sit at room temperature for a few minutes before scooping. This will make it easier to serve.
- Scoop out your delicious No Churn Vanilla Bean Ice Cream into bowls or cones and enjoy! You can top it with your favorite toppings, such as chocolate syrup or fresh fruit.
Things Worth Knowing
- Whipping Cream: It’s essential to whip the heavy cream until stiff peaks form for that creamy texture. This helps incorporate air into the mixture.
- Freezing Time: The longer you freeze, the firmer your ice cream will become. Aim for at least 4 hours but overnight is ideal.
- Storage: Always use an airtight container to prevent ice crystals from forming in your ice cream.
- Mix-ins: Feel free to experiment with various add-ins like crushed cookies or fruit to suit your taste.
Variations to Try
This No Churn Vanilla Bean Ice Cream is a blank canvas for your creativity. Here are some variations that you can try to make this dessert uniquely yours:
- Chocolate Chip Cookie Dough: Add pieces of cookie dough for a fun twist.
- Fruit Swirls: Fold in pureed fruits like strawberries or mangoes for a fruity flavor.
- Nutty Delight: Incorporate chopped nuts for an added crunch.
- Chocolate Fudge: Swirl in some chocolate fudge for a richer dessert experience.
- Coffee Flavor: Add a tablespoon of instant coffee to the mixture for a delightful mocha ice cream.
- Candy Crush: Mix in your favorite crushed candies for a sweet and colorful treat.
Great Combinations for No Churn Vanilla Bean Ice Cream
- Summer Parties: This ice cream is perfect for hot summer days, bringing a refreshing treat to barbecues and picnics.
- With Fresh Fruits: Pair it with berries or sliced bananas for a delightful contrast in flavors and textures.
- As a Dessert: Serve it after a family dinner for a satisfying finale to your meal.
- On Top of Pies: Use it as a topping for warm apple pie for an indulgent dessert experience.
- For Celebrations: Whether it’s a birthday or a simple gathering, this ice cream will surely impress your guests.
FAQ
Conclusion
This No Churn Vanilla Bean Ice Cream is a delightful treat that brings joy to any occasion. Its easy preparation and rich flavor make it a recipe that you’ll want to keep in your repertoire. I encourage you to give it a try, and I promise you won’t be disappointed! There’s nothing quite like enjoying a bowl of homemade ice cream on a warm day or as a sweet end to your dinner. Enjoy the magic of making this classic dessert at home!
No Churn Vanilla Bean Ice Cream
Equipment
- Wooden Spoon
- Mixing Bowl
Ingredients
- 2 cups heavy cream
- 14 ounces sweetened condensed milk
- 2 teaspoons vanilla bean paste
Instructions
- In a large mixing bowl, pour in the heavy cream. Using an electric mixer, beat the cream on high speed until it forms stiff peaks. This process usually takes about 3 to 5 minutes, and you’ll know it’s ready when the cream holds its shape and is fluffy.
- Next, gently fold in the sweetened condensed milk. It’s important to do this carefully to keep the mixture light. Use a spatula to combine the two until they are just blended.
- Add the vanilla bean paste to the mixture. Stir it in thoroughly so the vanilla flavor is evenly distributed throughout your ice cream. You’ll start to see those delightful specks of vanilla.
- Once everything is well combined, transfer the mixture into an airtight container. Smooth the top with your spatula to create an even surface.
- Now it’s time to freeze! Seal the container and place it in the freezer for 4 to 6 hours. If you can, let it freeze overnight for the best texture.
- Once frozen, remove the ice cream from the freezer and let it sit at room temperature for a few minutes before scooping. This will make it easier to serve.
- Scoop out your delicious No Churn Vanilla Bean Ice Cream into bowls or cones and enjoy! You can top it with your favorite toppings, such as chocolate syrup or fresh fruit.
Notes
- Storage: Always use an airtight container to prevent ice crystals from forming in your ice cream.
- Freezing: The longer you freeze, the firmer your ice cream will become. Aim for at least 4 hours but overnight is ideal.
- Mix-ins: Feel free to experiment with various add-ins like crushed cookies or fruit to suit your taste.