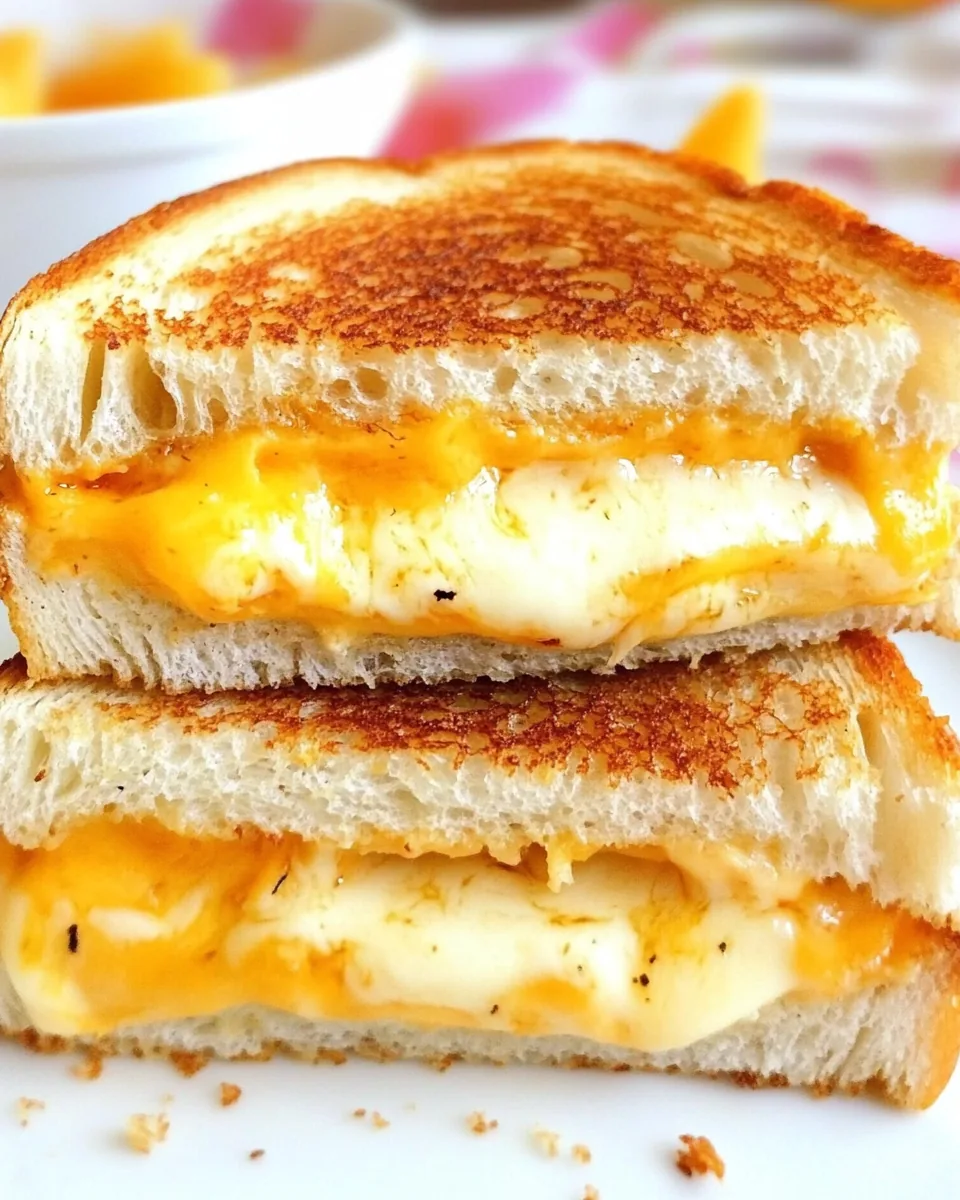
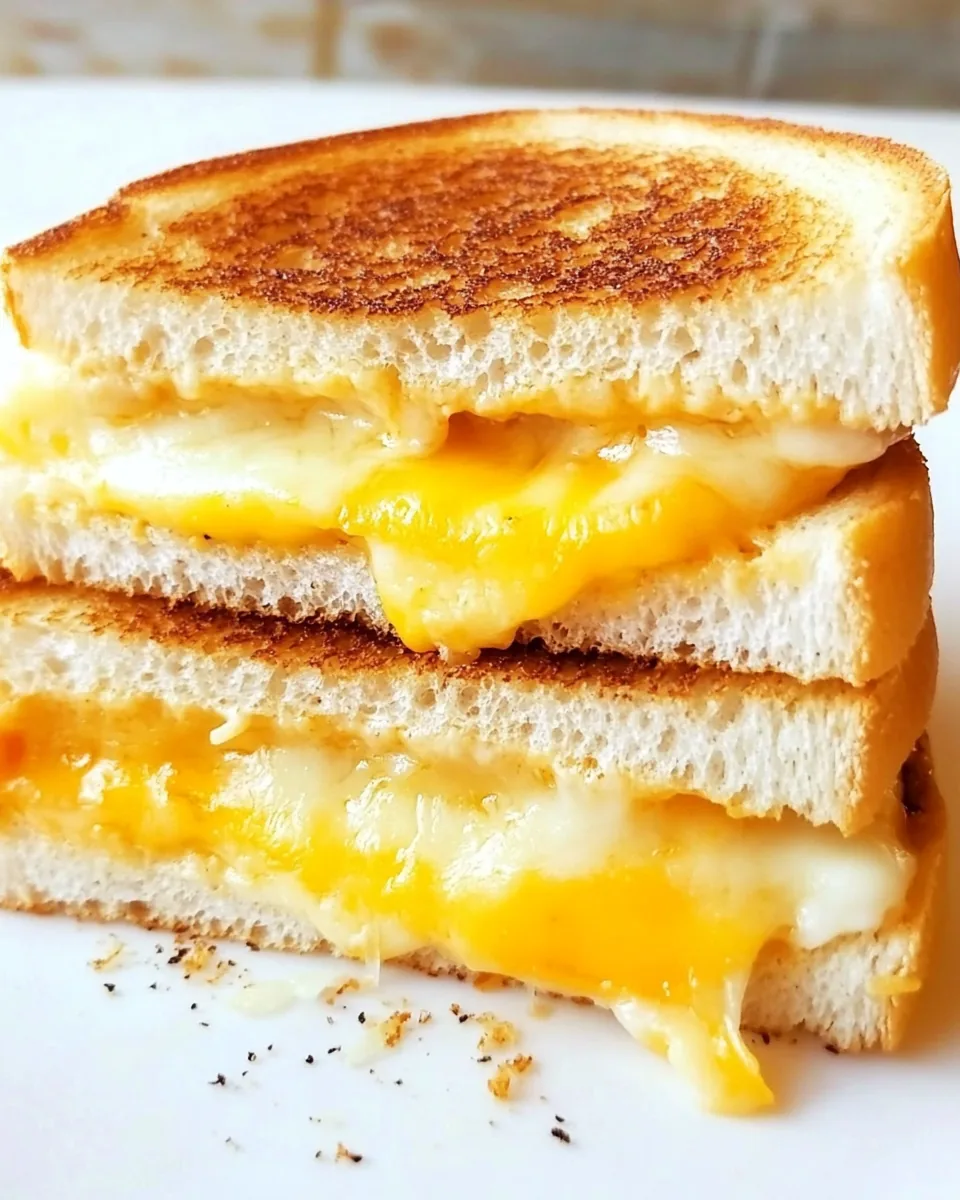
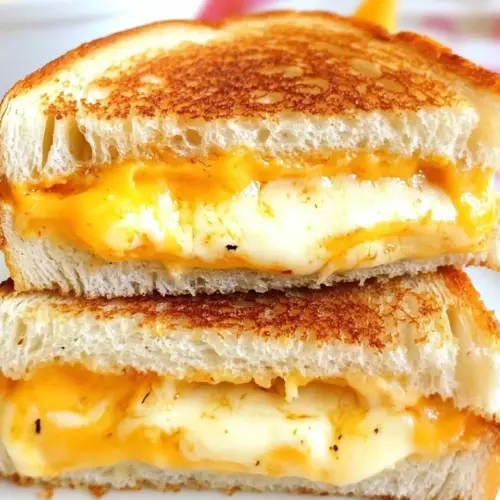
Disney Grilled Cheese
There’s something magical about a grilled cheese sandwich, especially when it’s inspired by Disney! I remember the first time I tried a Disney Grilled Cheese at one of the parks, the aroma wafting through the air drew me in. It was crispy on the outside and gooey on the inside, bringing back fond memories of childhood visits and exciting adventures. Each bite was like a hug from my favorite characters. That’s the essence of this dish – it’s not just a meal; it’s a journey back to simpler times filled with joy and nostalgia. Today, I want to share my version of that delicious Disney Grilled Cheese, perfect for satisfying those cravings whether you’re reminiscing about the happiest place on earth or just looking for a cozy meal at home.
Recipe Snapshot
15 mins
10 mins
5 mins
Easy
500 kcal
20 g
Gluten-Free
30 g
Skillet, Frying Pan, Food Processor, Oven, Chef’s Knife, Mixing Bowl
Why This Disney Grilled Cheese Is a Winner
1. Nostalgic Comfort Food
Every bite of this Disney Grilled Cheese takes you back to carefree days. The combination of melted cheeses and crispy bread invokes a sense of comfort that few meals can match.
2. Customizable to Your Taste
One of the things I love about this recipe is how easy it is to make it your own. Want a little heat? Add some cayenne. Prefer a hint of sweetness? Drizzle a bit of honey. The options are endless, allowing you to cater to your personal cravings.
3. Quick and Simple
This sandwich is perfect for busy weeknights or lazy weekends. In just a few minutes, you can whip up something that tastes gourmet without spending hours in the kitchen. It’s a lifesaver for those of us who love delicious food but don’t always have the time to make it.
4. Family-Friendly
Kids and adults alike adore grilled cheese! It’s a great way to get little ones involved in the kitchen. They can help layer the ingredients or spread the mayonnaise, making it a fun cooking project for the whole family.
5. The Perfect Pairing
Pair this Disney Grilled Cheese with a warm bowl of tomato soup or a fresh salad for a complete meal that satisfies all the senses. It’s a winning combination that elevates a simple sandwich into a delightful dining experience.
Disney Grilled Cheese Shopping List
When it comes to making the perfect Disney Grilled Cheese, the ingredients play a crucial role in achieving that dreamy texture and flavor. Using high-quality bread and cheeses will make all the difference in your sandwich experience. Each ingredient complements the others, creating a harmonious blend of tastes that is sure to please.
- 1/4 cup real mayonnaise: This creamy base adds richness and helps create a golden crust.
- 1 teaspoon garlic powder: It gives an extra layer of flavor without overpowering the cheese.
- 1/2 teaspoon coarse sea salt: Enhances the overall seasoning of the sandwich.
- 4 ounces cream cheese, softened: Adds a delightful creaminess that brings the sandwich together.
- 1/4 teaspoon coarse sea salt: A little more salt to balance the richness.
- 1/4 cup shredded Parmesan cheese: Provides a nutty flavor and a bit of texture.
- Optional: dash of cayenne: For those who like a little kick!
- 4 sharp cheddar cheese slices: The star ingredient, providing that classic flavor.
- 4 provolone cheese slices: Adds a smooth, melty component.
- 4 slices Artisan bread: Choose your favorite for the best foundation.
- Optional: drizzle of 1 teaspoon honey: Adds a hint of sweetness that balances the savory cheese.
How to Prepare Disney Grilled Cheese

Making the Disney Grilled Cheese is as easy as it is delicious! Follow these simple steps to achieve grilled cheese perfection. With each step, you’ll see how this simple meal transforms into a delightful dish that’s sure to impress everyone at the table.
Step 1 – Prepping the mayo and cream cheese mixtures: Start by mixing together mayonnaise, garlic powder, and coarse sea salt in a bowl. Make sure it’s well combined and then set it aside. In another bowl, blend the softened cream cheese, additional coarse salt, and shredded Parmesan cheese. If you’re feeling adventurous, sprinkle in a dash of cayenne pepper for a little heat. Mix everything until it’s smooth and set this bowl aside as well.
Step 2 – Layering the sandwich: Take a slice of your chosen Artisan bread and spread a generous amount of the garlic mayonnaise on one side. Then place this slice, mayonnaise side down, in a large skillet over medium heat. On top of the bread, layer two slices of sharp cheddar cheese followed by the cream cheese mixture. Optionally, drizzle some honey on top – it adds a delightful surprise! Then, add two slices of provolone cheese on top. Finally, spread more mayonnaise on another slice of bread and place it on top, mayonnaise side out.
Step 3: Grilling the sandwich: Heat the grilled cheese sandwich in the skillet, allowing it to brown on one side and melt the cheese. You’re looking for a beautiful golden-brown color and gooey melted cheese. Once done, carefully remove it from the pan and repeat the process for the second sandwich. Serve immediately while hot for the best experience!
Things Worth Knowing
- Watch the Heat: Make sure your skillet is at medium heat. If it’s too hot, the bread will burn before the cheese melts.
- Use Quality Ingredients: The better your bread and cheese, the better your sandwich will taste. Don’t skimp on quality!
- Experiment with Cheeses: Feel free to mix different types of cheese for a unique flavor combination!
- Keep It Simple: Sometimes less is more. A classic grilled cheese can be as simple as buttered bread and your favorite cheese.
Making Adjustments

Every home cook knows the importance of adjusting recipes to fit personal tastes or dietary needs. Here are a few tips for customizing your Disney Grilled Cheese experience.
- Storage: Leftover sandwiches can be stored in the fridge for up to two days. Just make sure to wrap them tightly to keep them fresh.
- Freezing: You can freeze the uncooked sandwich for up to a month. Just assemble them and wrap each sandwich in plastic wrap and foil.
- Pairing: This Disney Grilled Cheese pairs beautifully with a side of warm tomato soup or a fresh salad for a balanced meal.
- Ingredient Swaps: Feel free to use different types of bread, like sourdough or whole wheat, for a different flavor profile.
- Serving Suggestions: Garnish with fresh herbs or a sprinkle of paprika to elevate presentation.
Serve This Disney Grilled Cheese With
- Tomato Soup: This classic pairing makes for a comforting meal, perfect for chilly evenings.
- Salad: A fresh green salad adds a nice crunch and balances the richness of the cheese.
- Pickles: The acidity of pickles cuts through the richness and adds an extra layer of flavor.
- Chips: Serve with a side of crispy chips for a satisfying crunch.
- Fruit Salad: A light fruit salad brings a refreshing element to the meal.
FAQ
Conclusion
In summary, the Disney Grilled Cheese brings a touch of magic to your everyday meals. It’s quick, customizable, and full of nostalgia, making it a delightful choice for any occasion. I encourage you to try this recipe and create some magical memories with your family and friends!
Disney Grilled Cheese
Equipment
- Skillet
- Frying Pan
- Food Processor
- Oven
- Chef's Knife
- Mixing Bowl
Ingredients
- 1/4 cup real mayonnaise
- 1 teaspoon garlic powder
- 1/2 teaspoon coarse sea salt
- 4 ounces cream cheese softened
- 1/4 teaspoon coarse sea salt
- 1/4 cup shredded Parmesan cheese
- 1 dash cayenne optional
- 4 slices sharp cheddar cheese
- 4 slices provolone cheese
- 4 slices Artisan bread we used The Rustic Oven Artisan White Bread
- 1 teaspoon honey optional
Instructions
- Step 1 – Prepping the mayo and cream cheese mixtures: Mix together mayonnaise, garlic powder and coarse sea salt – set bowl aside. In a separate bowl, mix together softened cream cheese, coarse salt and freshly shredded Parmesan cheese. OPTIONAL: If you would like a bit of spice, sprinkle with a dash of cayenne pepper in this step. Mix all cream cheese ingredients well. Set bowl aside.
- Step 2 – Layering the sandwich: Spread garlic mayonnaise onto a slice of Artisan bread. Place a bread slice, mayonnaise side down, in a large skillet. Top with 2 slices of fresh cheddar cheese, cream cheese spread, optionally drizzle with honey (about a tsp – you can be generous if you like honey or less if you like less sweetness) and top with 2 slices of provolone cheese. Add mayonnaise on another slice of bread and place it on top of the sandwich in the pan, mayonnaise side out.
- Step 3: Grilling the sandwich: Heat grilled cheese sandwich over medium heat, browning each side and melting the cheese. Once each side is golden brown and the cheese is melty and gooey, remove from pan. Repeat process for 2nd sandwich. Serve immediately while hot.
Notes
- If you prefer to use real garlic: substitute in 1 1/2 tsp minced garlic in place of garlic powder.