Onigiri Recipe
There’s something incredibly comforting about making Onigiri Recipe at home. I remember my first encounter with these delightful Japanese rice balls during a family picnic. I was captivated by their simplicity and the way they effortlessly captured the essence of Japanese cuisine. Each bite was a perfect harmony of flavors and textures, from the tender rice to the crispy seaweed. It felt like a warm hug wrapped in a layer of nostalgia. As I learned to prepare them, I discovered that they are not just a dish; they are a canvas for creativity. You can fill them with a variety of ingredients, or keep them simple, just as I like to do. These rice balls remind me of my travels in Japan, the bustling street markets, and the friendly faces of the vendors. Making Onigiri Recipe became a delicious way to relive those memories, share my love for Japanese culture, and enjoy a tasty snack any time. Whether you’re packing a lunch or hosting a cozy dinner at home, these rice balls are versatile enough to fit any occasion.
Recipe Snapshot
25 mins
10 mins
15 mins
Easy
250 kcal
5 g
Whole30, Gluten-Free, Low FODMAP
1 g
Wooden Spoon, Frying Pan, Mixing Bowl
Why This Onigiri Recipe Works
1. A Taste of Tradition
Every bite of Onigiri Recipe is a bite of tradition. These rice balls have been enjoyed for centuries in Japan. They are more than just a meal; they are a part of Japanese culture and history. Each region has its unique twist on fillings and flavors, which makes exploring them a delightful adventure.
2. Perfectly Portable
They are the ideal snack to take on the go! Whether you’re heading to a picnic, a lunch at work, or a long journey, Onigiri Recipe makes for a quick and satisfying meal. Wrapped in seaweed, they stay fresh and tasty, ready to eat at a moment’s notice.
3. Customizable to Your Liking
What I love most about Onigiri Recipe is the ability to customize them. You can experiment with various fillings from pickled vegetables to fresh fish, giving each rice ball its unique character. This allows for endless creativity in the kitchen, and you can tailor them to suit your taste preferences or dietary needs.
4. Simple Ingredients, Stunning Results
This recipe requires just a few simple ingredients, yet the results are truly stunning. The combination of sushi rice, rice vinegar, and furikake creates a fantastic flavor profile that’s hard to beat. It’s a reminder that sometimes, less is more.
5. Fun for Everyone
Making Onigiri Recipe is not only fun but also a wonderful way to bond with family and friends. I love having a rice-making party where everyone can shape their rice balls. It’s a hands-on experience that brings people together in laughter and creativity.
6. A Dish for Any Time
No matter the time of day, Onigiri Recipe is perfect for breakfast, lunch, or dinner. They can be enjoyed as a light snack or as a part of a larger meal. This versatility makes them a go-to choice in my home.
Everything You Need for Onigiri Recipe
The ingredients for Onigiri Recipe are simple yet essential. Each component plays a vital role, from the sticky sushi rice that holds everything together to the savory furikake that adds depth. With a few staple items, you can create something truly delightful!
- Japanese sushi rice: The star of the show, this rice is short-grain and has the perfect stickiness to hold the shape of the rice balls.
- Rice vinegar: Adds a touch of acidity, balancing the flavor and enhancing the overall taste of the rice.
- Furikake: A Japanese seasoning that brings an umami kick, often sprinkled on rice dishes for added flavor.
- Salt: Enhances the natural flavors of the rice and fillings, making each bite delicious.
- White sesame: Adds a nutty flavor and crunch to the rice balls, elevating their taste.
- Toasted seaweed: Provides a satisfying texture and a slightly salty flavor, perfect for wrapping each rice ball.
- Tobiko: These colorful fish eggs add visual appeal and a burst of flavor, making the rice balls even more enjoyable.
Preparation Steps for Onigiri Recipe

Making Onigiri Recipe is a straightforward process, and I’m excited to share the detailed steps with you. Let’s dive into the preparation and create these delightful rice balls together!
Start by cooking the sushi rice in a rice cooker. Rinse the rice thoroughly under cold water until the water runs clear to remove excess starch. This step is crucial for achieving that perfect sticky texture we want for our Onigiri Recipe. After cooking, transfer the rice to a large bowl and allow it to cool slightly.
Next, mix in the rice vinegar, furikake, salt, and white sesame seeds to the cooled rice. Gently fold the ingredients together, ensuring that the seasonings are evenly distributed. Be careful not to mash the rice; you want to maintain that fluffy texture.
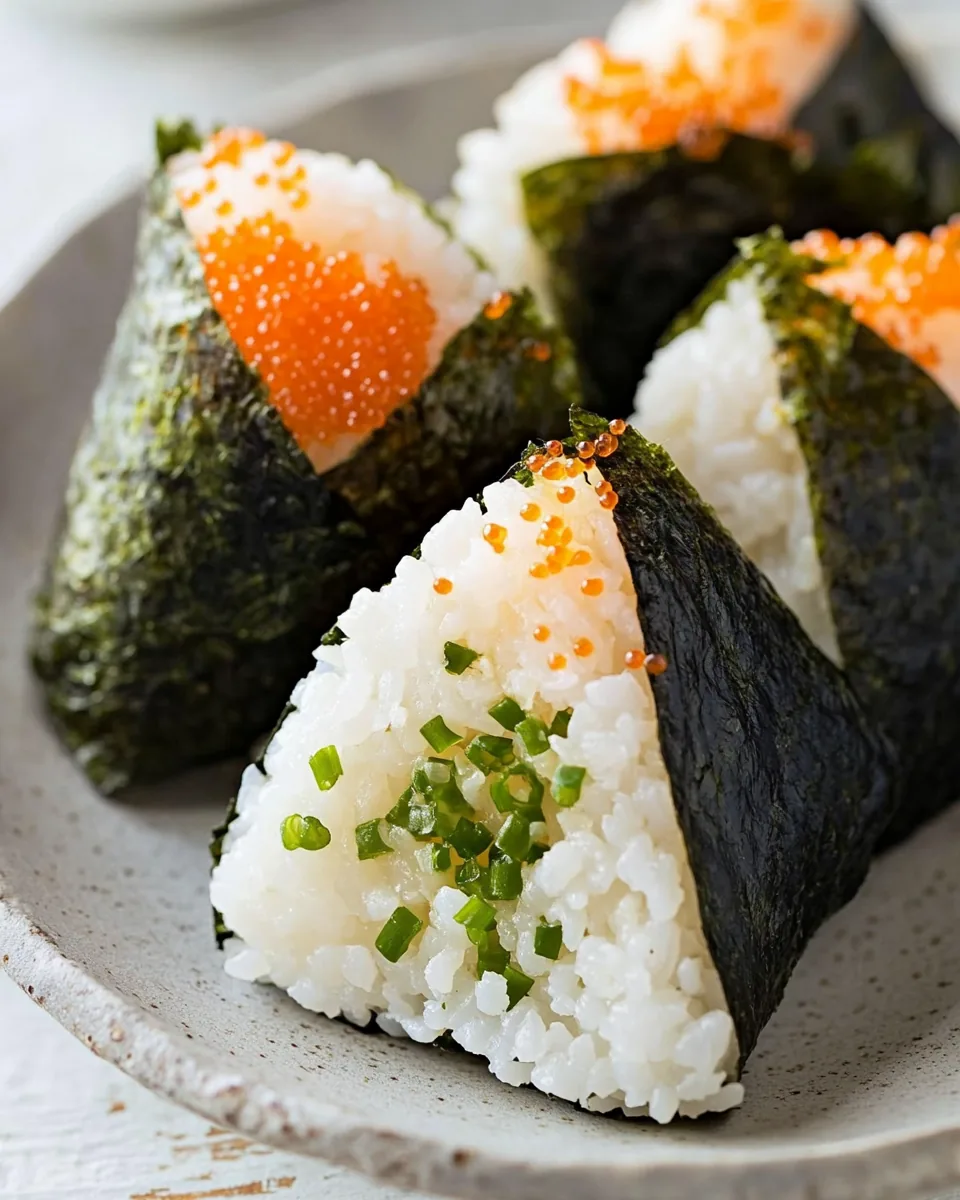
Now comes the fun part! Using your hands or a triangle onigiri mold, take a portion of the rice and shape it into a triangle or round ball, depending on your preference. Make sure to pack the rice firmly but not too tight, as it should still be tender when you bite into it.
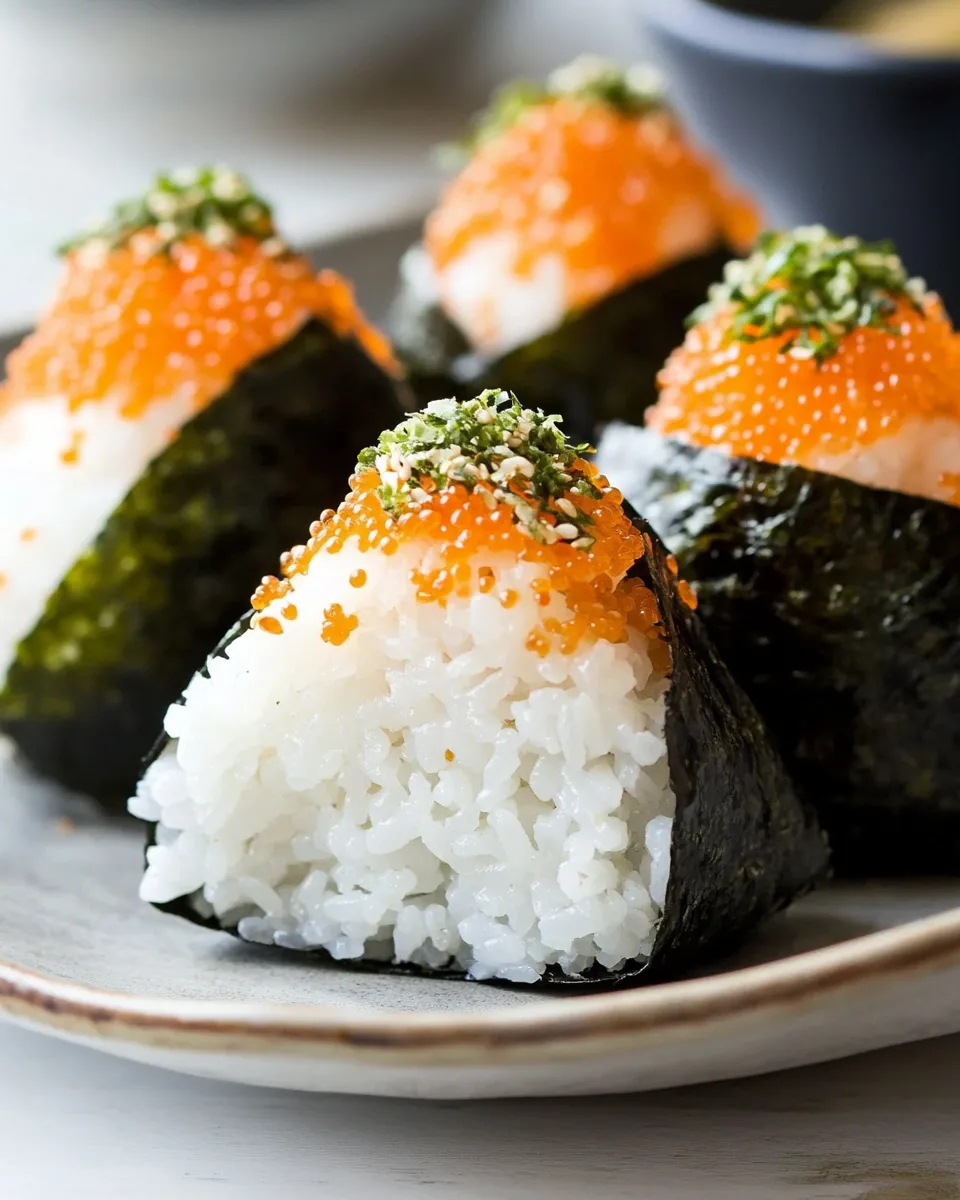
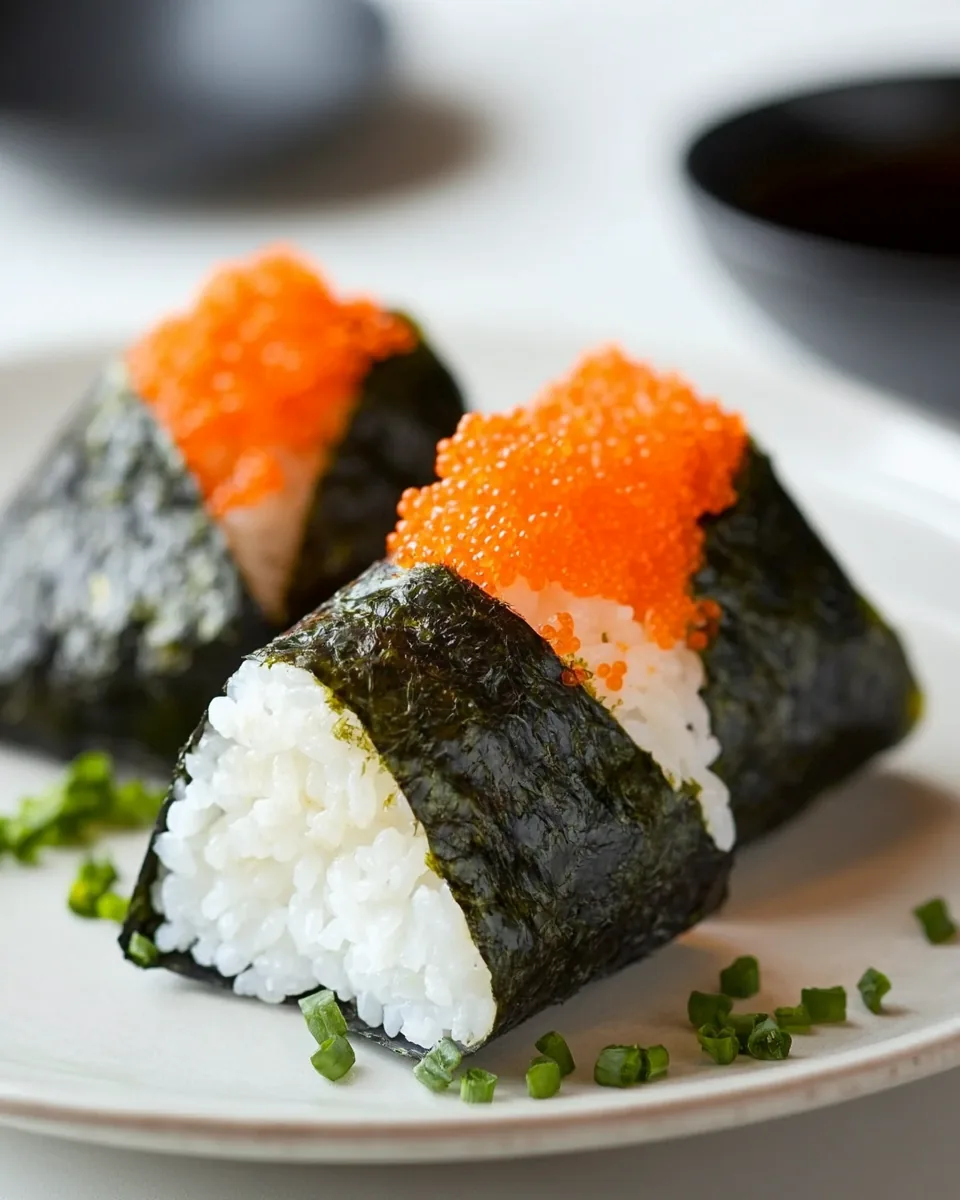
Once you have your rice balls formed, wrap the bottom of each one with a piece of toasted seaweed. This not only adds a lovely flavor but also provides a nice contrast to the soft rice. The seaweed should stick well to the rice, ensuring it stays in place.
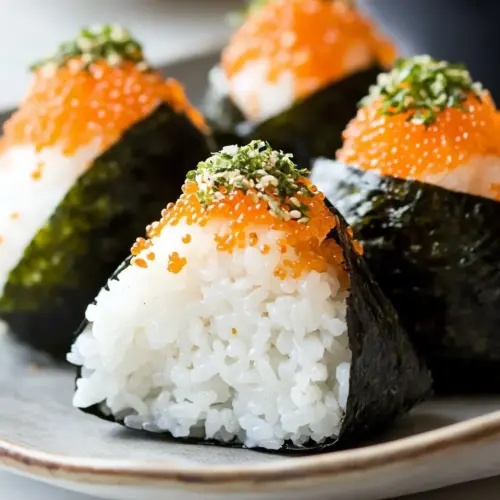
For an extra touch, top each rice ball with a pinch of tobiko. This adds a layer of flavor and a pop of color, making your Onigiri Recipe visually appealing. The tiny eggs burst with a delightful briny taste that complements the rice perfectly.
Serve your Onigiri Recipe immediately while they are still fresh. They can be enjoyed alone or accompanied by a side of soy sauce or pickled vegetables for added flavor. Enjoy the delightful textures and flavors that come together in this classic dish!
Things Worth Knowing
- The key to sticky rice: Ensure that you rinse the sushi rice thoroughly to remove excess starch before cooking. This helps achieve the desired sticky texture essential for shaping.
- Cooling the rice: Allow cooked rice to cool slightly before mixing in other ingredients. This prevents the vinegar from cooking the rice further and helps maintain the right consistency.
- Shaping techniques: If using your hands to shape rice balls, wet them slightly to prevent the rice from sticking. This makes the shaping process much easier.
- Try different fillings: Don’t hesitate to experiment with various fillings like pickled vegetables, tuna, or even avocado. Each variation brings its unique flavor to the Onigiri Recipe.
Change It Up
If you’re feeling adventurous, here are some fun ways to personalize your Onigiri Recipe! Let your creativity shine and explore different flavors.
- Storage: Keep leftover Onigiri Recipe in an airtight container in the refrigerator for up to two days. You can reheat them in the microwave but be sure to wrap them in a damp paper towel to prevent drying out.
- Freezing: These rice balls can be frozen! Wrap each one individually in plastic wrap and store them in a freezer-safe bag for up to a month. Thaw them in the fridge before serving.
- Pairing: Serve your Onigiri Recipe with a side of miso soup or a fresh salad for a complete meal. They also make a great snack on their own!
- Vegan Options: For a plant-based version, avoid any fish-based fillings and explore using marinated tofu or grilled vegetables as fillings.
- Experiment with Flavors: Try using different types of furikake or seasoning blends to create unique flavor profiles for your rice balls.
How to Enjoy Onigiri Recipe
When it comes to enjoying Onigiri Recipe, the possibilities are endless! Here are some delightful ways to serve these rice balls and enhance your dining experience:
- Perfect for Lunch: Pack Onigiri Recipe in your lunchbox for a satisfying midday meal. They’re easy to transport and hold up well, making them an ideal choice for work or school.
- Great for Picnics: These rice balls are a hit at picnics! Their portability and delicious flavors make them a perfect addition to any outdoor gathering.
- Snack Time: Enjoy Onigiri Recipe as a quick and tasty snack any time of day. They’re filling and provide a great energy boost.
- Customizable Platters: Create a platter of assorted Onigiri Recipe with different fillings. This is perfect for entertaining guests or serving at a party, allowing everyone to find their favorite.
- Seasonal Pairings: In the spring, consider serving Onigiri Recipe alongside fresh sushi rolls or a vibrant salad. During colder months, they pair wonderfully with warm soup or grilled veggies.
FAQ
Conclusion
Onigiri Recipe is a delightful and versatile dish that brings a taste of Japan to your table. It’s not just a meal; it’s a way to connect with culture and creativity. I encourage you to try making these rice balls at home. Once you do, I believe you’ll find yourself coming back to this recipe again and again, as it offers endless possibilities for customization and enjoyment!
Onigiri Recipe
Equipment
- Wooden Spoon
- Frying Pan
- Mixing Bowl
Ingredients
- 1 cup Japanese sushi rice
- 1 tablespoon rice vinegar optional
- 2 tablespoons furikake bottled Japanese seasoning
- 1 pinch salt
- 1 pinch white sesame
- 1 toasted seaweed
- 1 tablespoon tobiko or fish roe
Instructions
- Cook the sushi rice in a rice cooker and let it cool.
- Add the rice vinegar (if using), furikake, salt, and white sesame seeds to the rice. Stir to mix well.
- Using a triangle onigiri mold or your hands, shape the rice into six triangle rice balls.
- Wrap the bottom part of each rice ball with seaweed and top with tobiko.
- Serve immediately.
Notes
- Storage: Keep leftover Onigiri Recipe in an airtight container in the refrigerator for up to two days. You can reheat them in the microwave but be sure to wrap them in a damp paper towel to prevent drying out.
- Freezing: These rice balls can be frozen! Wrap each one individually in plastic wrap and store them in a freezer-safe bag for up to a month. Thaw them in the fridge before serving.
- Pairing: Serve your Onigiri Recipe with a side of miso soup or a fresh salad for a complete meal. They also make a great snack on their own!
- Vegan Options: For a plant-based version, avoid any fish-based fillings and explore using marinated tofu or grilled vegetables as fillings.
- Experiment with Flavors: Try using different types of furikake or seasoning blends to create unique flavor profiles for your rice balls.