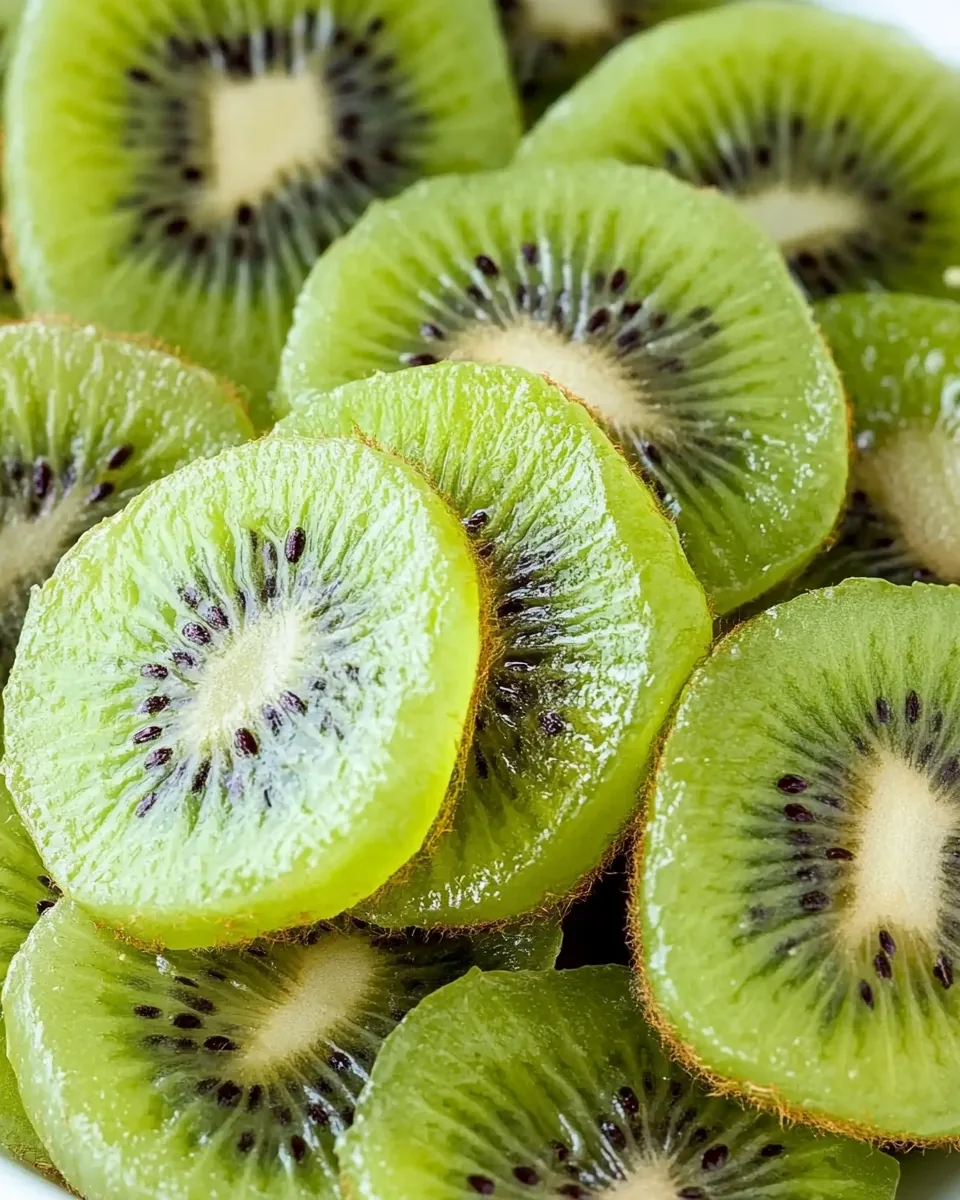
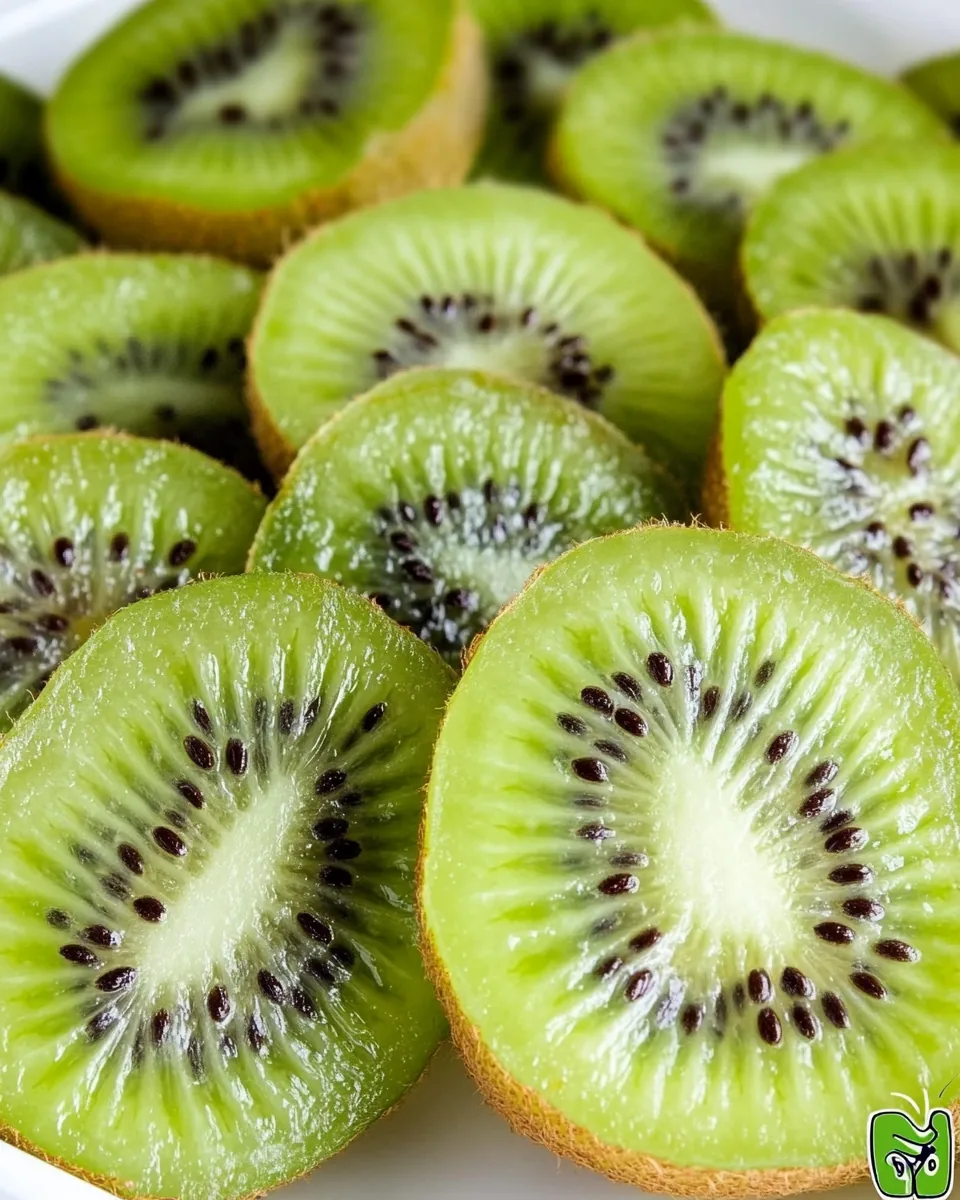
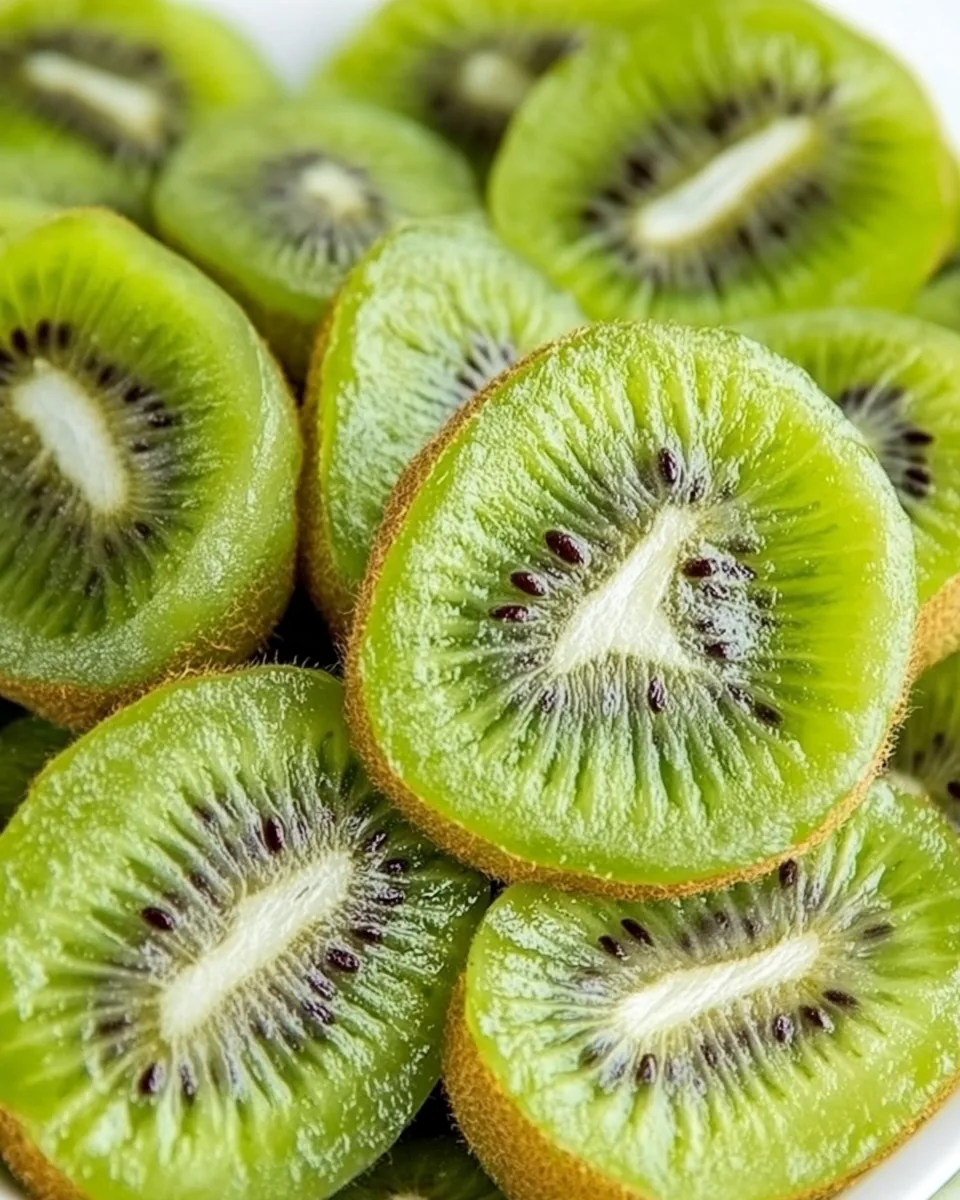
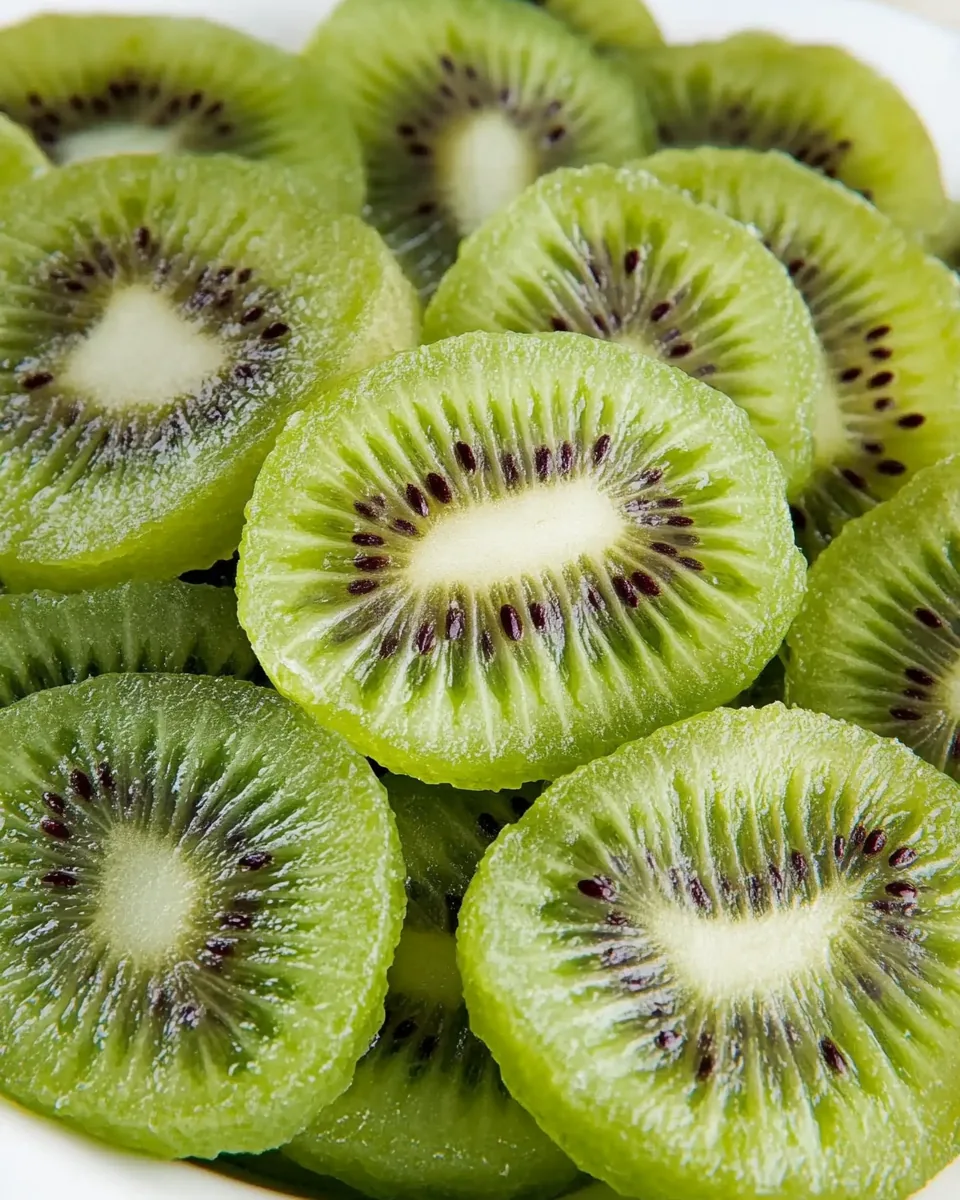
Dried Kiwi
There’s something incredibly satisfying about making your own snacks, especially when it comes to fruit. That’s why I love preparing Dried Kiwi. It’s a simple yet rewarding task that transforms fresh, juicy kiwi into delicious, chewy bites. Every time I start this process, I’m filled with excitement as I imagine the sweet, tangy flavors concentrated into each slice. Picture this: you’ve got a basket of ripe kiwi on your kitchen counter, and the sun is shining through the window, casting a warm glow over your cooking space. I remember the first time I made Dried Kiwi. I wanted a healthy snack for a road trip, and I decided to give it a go. The kitchen filled with the sweet aroma of slowly baking kiwi, and I couldn’t wait to taste my creation. The result? A delightful treat that’s far better than anything from the store.
Recipe Snapshot
3 hr 5 mins
5 mins
180 mins
Hard
120 kcal
2 g
Keto, Paleo, Whole30
0 g
Chef’s Knife, Peeler, Baking Sheet
Why We Love This Dried Kiwi
It’s All About the Taste
One of the first reasons to love Dried Kiwi is the flavor transformation that occurs during the drying process. Fresh kiwi is already delicious, but drying intensifies the sweetness while adding a hint of tanginess. Every bite is a burst of concentrated flavor, making it the perfect snack.
Healthy Snacking
When you make Dried Kiwi, you control what goes into it. There are no preservatives or added sugars, just pure, natural kiwi. This makes it a fantastic option for a healthy snack, whether you’re watching a movie at home or packing a lunch for work.
Versatile Uses
You can enjoy Dried Kiwi in so many ways. Toss it into your morning oatmeal for a sweet kick, mix it into trail mix for a chewy texture, or just eat it on its own. Its versatility is one of the reasons I keep coming back to this recipe.
Perfect for Any Occasion
Whether it’s a snack for the kids, a healthy treat for yourself, or a unique gift for friends, Dried Kiwi fits the bill. It’s a delightful addition to any party or gathering, and it’s surprisingly easy to make.
Great for Storage
One of the best things about Dried Kiwi is how well it stores. Once dried, it can last for months when kept in an airtight container. This is perfect for those times when you want a quick snack without the hassle of preparation.
Ingredients You’ll Need for Dried Kiwi
The ingredients for Dried Kiwi are delightfully simple. All you need is fresh kiwi, which is the star of the show. Its natural sweetness and vibrant color make it a wonderful candidate for drying.
- Kiwi: You’ll need about 10 ripe kiwi. The riper they are, the sweeter your dried fruit will be. Choose kiwi that gives slightly when pressed; this indicates they’re fully ripe and ready for drying.
The Method for Dried Kiwi
Making Dried Kiwi is a straightforward process that requires just a few steps. Whether you’re using an oven or a food dehydrator, the result is the same: delicious fruit that’s perfect for snacking. Let’s dive into the method.
- Start by preparing your kiwi. Peel each kiwi carefully with a knife or vegetable peeler. The goal is to remove the skin while keeping as much of the fruit intact as possible. Once peeled, slice each kiwi into ¼ inch discs. Aim for uniform thickness so they dry evenly.
- Preheat your oven to between 150 and 170 degrees Fahrenheit. If you’re using a dehydrator, set it to 135 degrees. This low heat is crucial for drying the kiwi slowly and thoroughly without cooking it.
- Next, arrange the sliced kiwi on a drying rack placed over a cookie sheet. Make sure the slices don’t overlap, as this will prevent them from drying properly.
- Place the cookie sheet in the preheated oven. If you’re using a dehydrator, place the trays inside. Allow the kiwi to dry for about three to four hours. Check occasionally to see how they’re progressing. You want them to be dry yet slightly chewy.
- As the kiwi dries, you will notice a change in texture and smell. The sweet aroma of drying kiwi will fill your kitchen. It’s a wonderful experience!
- Once the kiwi is done, remove it from the oven or dehydrator. Allow it to cool completely before storing. This will help maintain its chewy texture.
- Store your Dried Kiwi in an airtight container. If stored properly, it can last for months and make an excellent snack for any occasion.
Things Worth Knowing
- Drying Time: The drying time can vary based on the thickness of your kiwi slices and the humidity in your kitchen. Keep a close eye during the last hour of drying.
- Storage: Ensure your Dried Kiwi is completely cooled before sealing it in an airtight container to prevent moisture from causing spoilage.
- Dehydrator Option: If you have a dehydrator, this method can often yield better results, providing even drying and enhanced flavors.
- Flavor Variations: Experiment with drying kiwi along with other fruits for a mixed dried fruit experience.
Expert Tips about Dried Kiwi
To make the most of your Dried Kiwi, here are some expert tips that will enhance your drying experience.
- Check Ripeness: Choose ripe, flavorful kiwi for the best results. Under-ripe kiwi may not dry well and can taste sour.
- Even Slices: Keep the kiwi slices uniform in thickness for even drying. This will ensure all pieces come out perfectly.
- Experiment with Spices: Feel free to sprinkle a little cinnamon or ginger on your kiwi before drying to add a new flavor dimension.
- Watch the Temperature: Maintaining the correct temperature is crucial. Too high, and you’ll cook the kiwi; too low, and it won’t dry properly.
- Use a Good Dryer: If you frequently dehydrate fruits, investing in a quality dehydrator can save you time and improve results.
What to Serve Alongside Dried Kiwi
There are countless ways to enjoy Dried Kiwi. Here are some serving suggestions:
- Trail Mix: Add Dried Kiwi to your favorite trail mix for a chewy, fruity bite alongside nuts and chocolate.
- Breakfast Bowls: Layer Dried Kiwi over oatmeal or yogurt for a nutritious breakfast. The sweetness balances the savory flavors beautifully.
- Cheese Board: Serve Dried Kiwi on a cheese board alongside various cheeses and crackers. It adds a beautiful color and taste contrast.
- Gifts: Package Dried Kiwi in pretty jars to give as gifts to friends and family. It’s a thoughtful, homemade treat.
- Snacking: Keep some on hand for a quick, healthy snack during your busy day.
- Salads: Toss small pieces of Dried Kiwi into salads to add a sweet, chewy element that contrasts with crunchy greens.
FAQ
Conclusion
Dried Kiwi is a delightful treat that combines the tangy sweetness of fresh kiwi with the satisfaction of homemade snacks. It’s not just a healthy choice, but also a fun activity that fills your kitchen with wonderful aromas. I encourage you to give this recipe a try; it’s simple, rewarding, and perfect for snacking anytime. So grab some kiwi and start dehydrating!
Dried Kiwi
Equipment
- Chef's Knife
- Peeler
- Baking Sheet
Ingredients
- 10 Kiwi
Instructions
- Peel kiwi and slice it into ¼ inch discs. Bake on a drying rack over a cookie sheet at 150-170 degrees for 3-4 hours.
Notes
- Tip 1: Ensure your Dried Kiwi is completely cooled before sealing it in an airtight container to prevent moisture from causing spoilage.
- Tip 2: The drying time can vary based on the thickness of your kiwi slices and the humidity in your kitchen. Keep a close eye during the last hour of drying.
- Tip 3: If you have a dehydrator, this method can often yield better results, providing even drying and enhanced flavors.
- Tip 4: Experiment with drying kiwi along with other fruits for a mixed dried fruit experience.
- Tip 5: Choose ripe, flavorful kiwi for the best results. Under-ripe kiwi may not dry well and can taste sour.