Homemade Tofu
Making Homemade Tofu has been a delightful journey for me, one that bridges the gap between simple home cooking and the art of culinary creativity. I remember the first time I decided to take on this challenge. It was a rainy afternoon, and the idea of creating my own tofu seemed not only adventurous but also comforting. As I gathered the ingredients, I felt a spark of excitement. There’s something truly special about crafting food from scratch, and tofu, a versatile favorite of mine, seemed like the perfect project. The process is both sophisticated and approachable, allowing anyone to enjoy the rewards of their labor. And let me tell you, there’s nothing quite like the satisfaction of tasting your very own tofu, fresh and warm from the kitchen.
Recipe Snapshot
45 mins
15 mins
30 mins
Hard
120 kcal
10 g
Paleo, Whole30, Vegan
7 g
Large 6 quart non-stick pot, Medium 5 quart non-stick pot, Wooden spatula, Large mesh sieve, Pressing cloth, Mold
What Sets This Homemade Tofu Apart
Freshness and Flavor
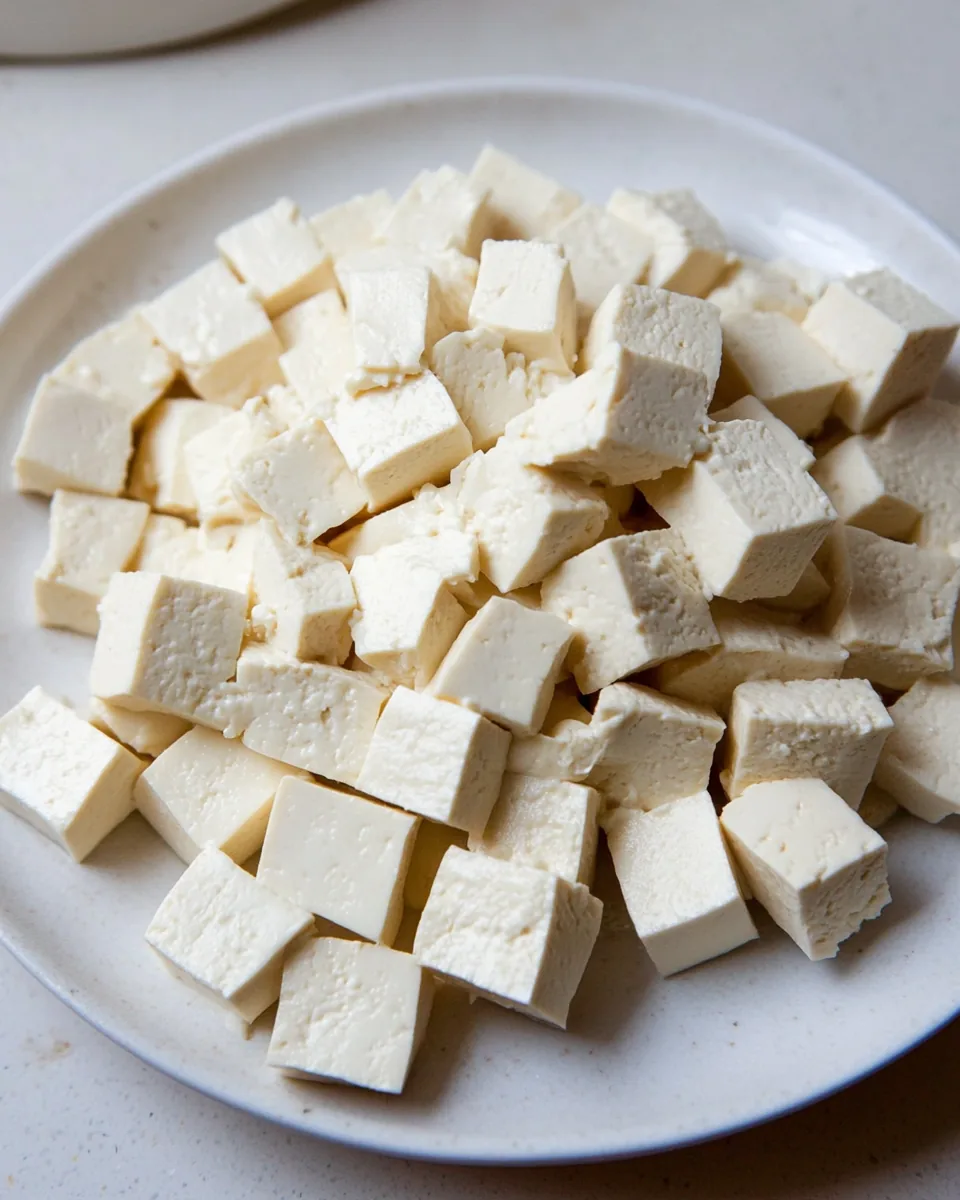
There’s a significant difference between homemade tofu and store-bought. The freshness of tofu made in your kitchen is unparalleled. You can enjoy it straight after making it, warm and tender, enhancing any dish you prepare. The texture is creamy and smooth, and the flavor is pure and clean, which is often lost in commercial varieties.
Control Over Ingredients
One of the best parts of making your own tofu is the ability to control the ingredients. You know exactly what goes into your tofu, with no preservatives or unnecessary additives. It’s just simple, wholesome ingredients – soybeans, gypsum, and water. This means you can enjoy your tofu with peace of mind.
Customization
When you make tofu at home, you can adjust the texture to your liking. Whether you prefer it soft, firm, or extra-firm, you have the power to create the tofu that suits your taste. You can even experiment with different flavorings or seasonings to create unique varieties.
Fun for All
Making tofu is not just a cooking task; it’s a fun activity that can be shared with friends or family. I remember inviting a friend over to join me in this adventure, and we ended up laughing and learning together. It’s a great way to bond over food and create memories.
Health Benefits
Tofu is a fantastic source of protein, especially for those who follow a plant-based diet. By making your own, you can integrate it into various meals, enhancing your diet with this nutritious ingredient. Plus, the joy of eating something you’ve made yourself adds to its health benefits.
Inspire Creativity
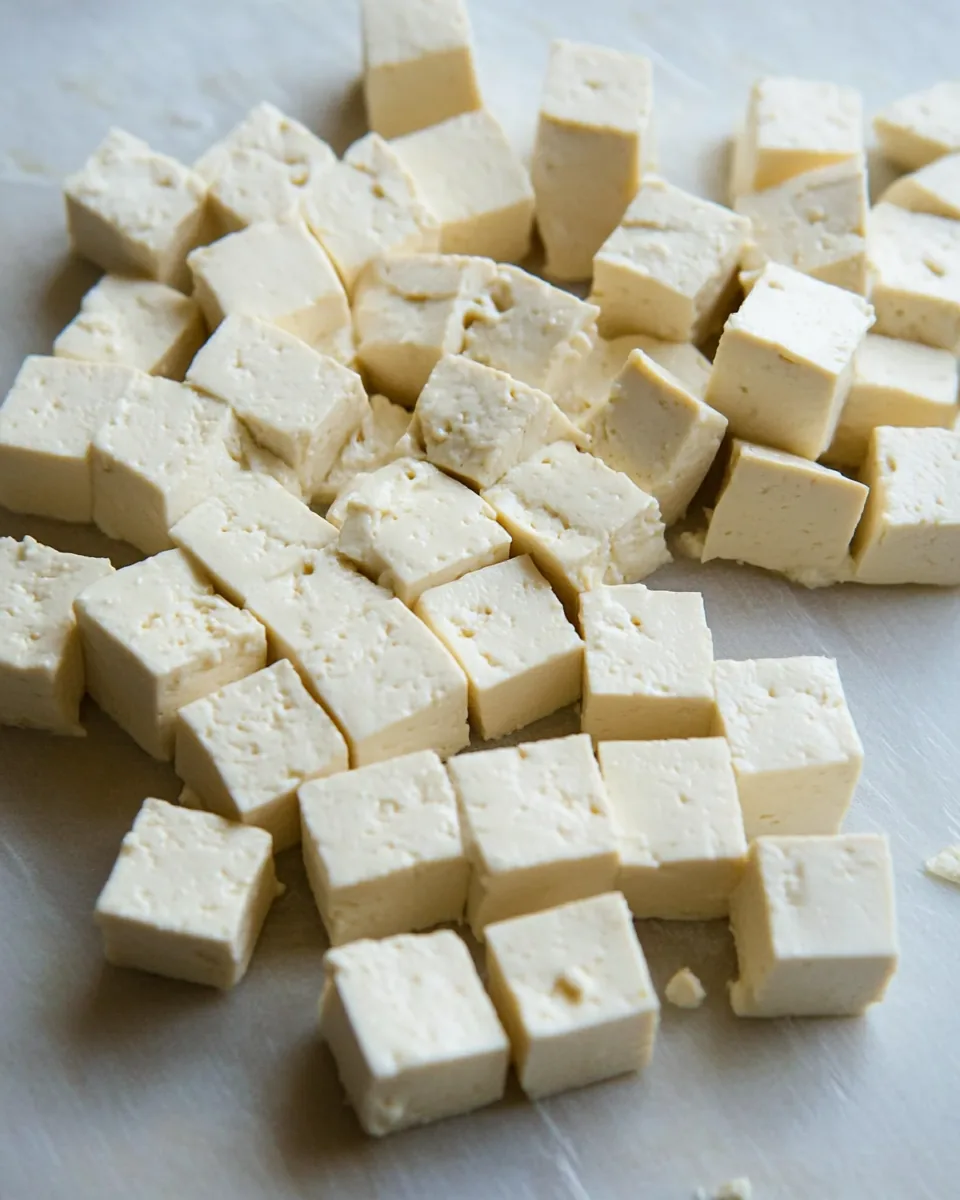
Finally, making homemade tofu opens the door to endless culinary possibilities. You can slice it for stir-fries, cube it for salads, or blend it into smoothies. The versatility of tofu allows you to be creative in the kitchen, turning simple meals into extraordinary ones.
What to Buy for Homemade Tofu
To create the best Homemade Tofu, you’ll need a few key ingredients that work in harmony to deliver that perfect texture and flavor. Each ingredient plays a crucial role, contributing to the overall quality of the tofu. Here’s what you’ll need:
- 6 ounces dried soybeans: The star of the show! These provide the necessary protein and texture.
- 8 cups spring or filtered water: Essential for soaking and blending the soybeans to create a smooth mixture.
- 1 1/2 teaspoons gypsum: This helps to coagulate the soymilk, turning it into tofu.
- Large 6 quart non-stick pot: You’ll need this for cooking the soybean mixture.
- Medium 5 quart non-stick pot: This will hold the strained soymilk as you prepare the tofu.
- Wooden spatula: Perfect for stirring the mixture without scratching your pots.
- Large mesh sieve: Necessary for straining the soymilk from the solids.
- Two pressing cloths: Use these for pressing the tofu and keeping it together.
- Mold: A simple container with holes will do well for shaping the tofu.
The Process for Making Homemade Tofu
The journey of making Homemade Tofu is as rewarding as it is fun. You’ll find yourself immersed in the textures and flavors as you create this delightful ingredient. Let’s walk through the steps together, ensuring you capture every nuance of this process.
Start by placing soybeans in a bowl and covering them with spring water by at least 2 inches. This soaking step is crucial, as it helps the beans absorb moisture. Cover and let them soak for 8 to 12 hours. By the end of this time, they should split into two halves, indicating they are ready.
After draining the soaked beans, make sure to reserve the soaking water for later. You can store the soaked beans in the refrigerator in an airtight container for up to 5 days if you’re not using them immediately.
Position a colander or fine mesh sieve over the smaller of the two pots and line it with a cloth. In the larger pot, place 5 cups of spring water to warm over medium heat – don’t boil it just yet.
Blend the soaked soybeans with 2 cups of spring water on high speed for 1 to 2 minutes until you achieve a thick, smooth purée. This is where the magic begins! Add this mixture to the warm water in the larger pot.
To ensure you’ve captured all the goodness from the blender, add another 1/2 cup of water to the blender, pulse briefly, and pour this into the larger pot as well.
Cook the soybean mixture, stirring frequently for about 3 to 6 minutes. Look for a thick, frothy foam to rise, indicating it’s time to remove it from the heat.
Allow the mixture to sit for a few minutes as the foam subsides. This resting period is essential for the flavors to settle.
Using the pressing cloth, pour the milk through the sieve, letting it seep through. Gather the cloth and twist it to extract as much liquid as possible. Be cautious, as it will be hot!
Open the cloth and stir in an additional 1/2 cup of spring water, twisting and squeezing any remaining liquid out. The leftover solids, known as “lees,” can be saved for another recipe.
Now, set the smaller pot with the strained soymilk over medium-high heat. Stir continuously until it reaches a gentle simmer, which should take about 5 minutes.
While the soymilk is heating, combine the gypsum with 1/2 cup of spring water, stirring until dissolved. Prepare your mold by lining it with a pressing cloth on a baking sheet.
Once the soymilk has simmered for 5 minutes, remove it from heat and allow it to cool slightly for 2 to 3 minutes. Stir occasionally to keep it from forming a skin.
As you stir the milk in a “Z” or “N” pattern, add one-third of the gypsum mixture. Stop stirring, and let it sit undisturbed for 3 minutes, allowing the curds to form.
After 3 minutes, gently sprinkle another third of the gypsum mixture over the surface, then cover and let it sit for another 6 minutes.
The result should be visible curds in a pale yellow whey. If there’s still milky liquid, wait another minute or add more gypsum to help the curds form.
Press the sieve down into the pot, ladling out as much liquid whey as possible. Then, carefully spoon the remaining curd into your mold. Fold the pressing cloth over the curds.
Weight the tofu down with about 1 to 2 pounds of weight for about 15 minutes. This pressure will help shape the tofu.
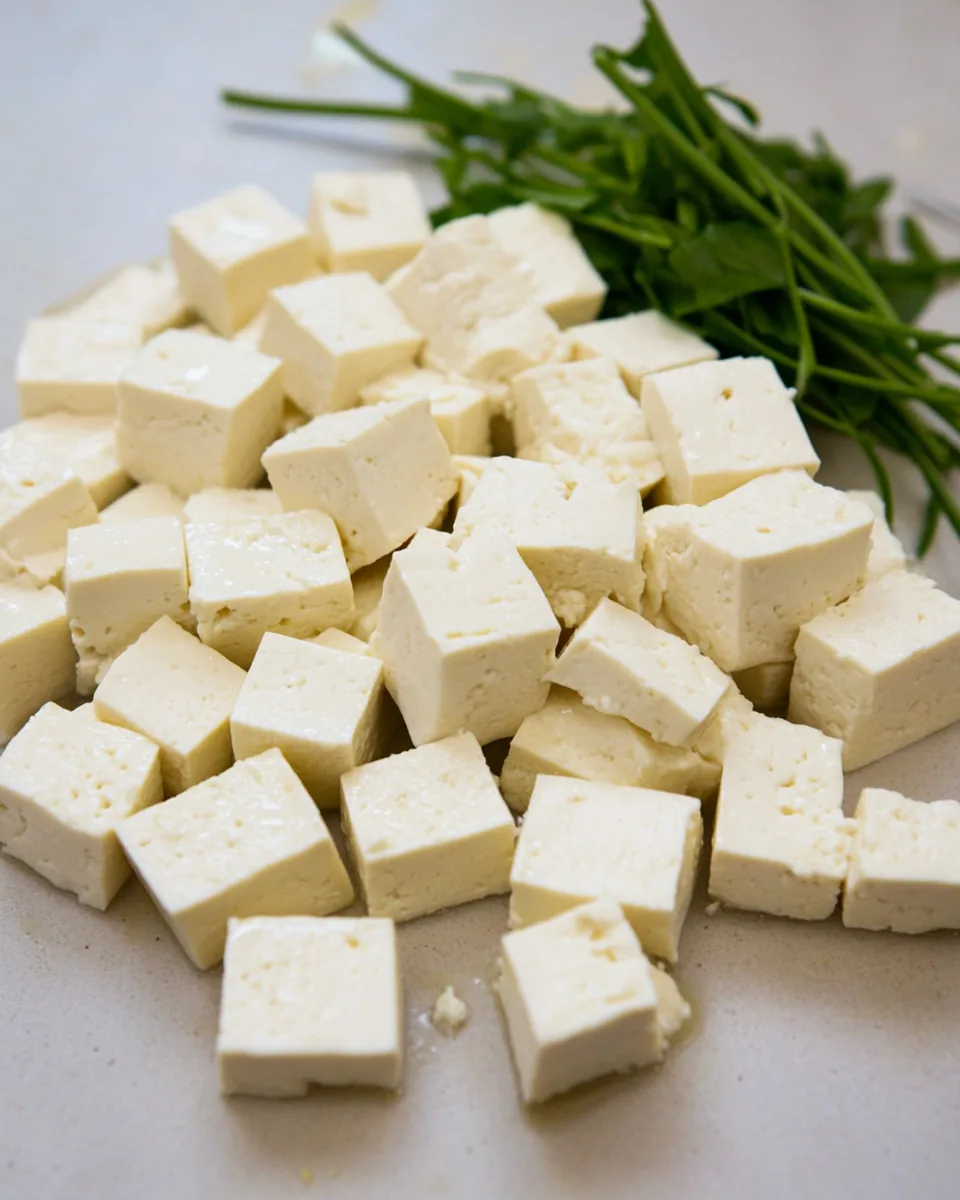
Once pressed, remove the tofu from the mold and cloth and submerge it in cold water to cool thoroughly. You can enjoy it immediately or store it in an airtight container covered with water for up to a week!
Things Worth Knowing
- Soaking Time: Make sure to soak the soybeans adequately for the best texture. The longer they soak, the creamier the tofu will be.
- Water Quality: The quality of the water you use greatly affects the flavor of your tofu, so opt for filtered or spring water if possible.
- Gypsum Timing: Timing is key when adding gypsum. Stir during its addition to ensure even distribution and curd formation.
- Pressing: For firmer tofu, apply more weight during the pressing process. You can experiment with the weight to find your preferred texture.
Expert Tips about Homemade Tofu
Creating Homemade Tofu can be an enriching experience, and to ensure your success, I’ve gathered some expert tips for you. Follow these to elevate your tofu-making game!
- Storage: Store leftover tofu submerged in water in an airtight container in the refrigerator. Change the water every couple of days to keep it fresh.
- Freezing: You can freeze tofu for a firmer texture. Simply press it to remove excess water, then wrap it tightly in plastic and freeze. Thaw before use.
- Pairing: Tofu pairs wonderfully with a variety of sauces and marinades. Experiment with soy sauce, teriyaki, or a spicy chili paste to enhance flavor.
- Variations: Feel free to add spices or herbs to the soaking water to infuse unique flavors into your tofu.
- Cooking Methods: Try grilling, stir-frying, or baking your tofu to discover different textures and flavors.
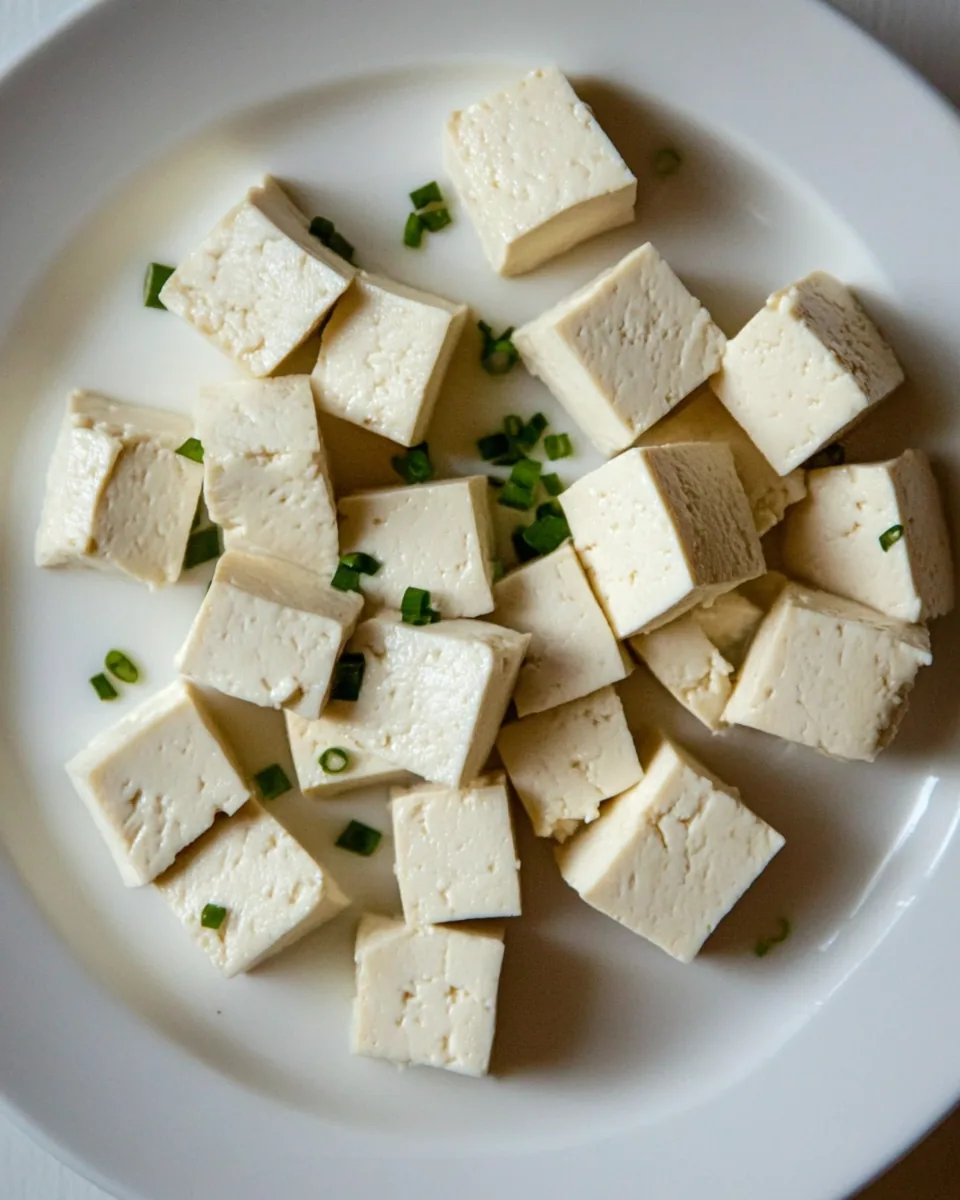
Serving Ideas for Homemade Tofu
When it comes to serving Homemade Tofu, the possibilities are endless! Here are some creative ideas to inspire your next meal:
- Stir-Frys: Add your homemade tofu to colorful vegetable stir-fries. It’s a great way to incorporate various vegetables and flavors.
- Salads: Cube the tofu and toss it into salads for added protein. It works beautifully with fresh greens and a zesty dressing.
- Soups: Tofu can enhance the richness of soups. Try adding it to miso soup or any vegetable broth for a hearty meal.
- Grilled Dishes: Marinate and grill your tofu for a smoky flavor. Serve it alongside grilled veggies for a complete meal.
- Wraps and Burritos: Use tofu as a protein source in wraps or burritos, paired with rice, beans, and your favorite toppings.
- Flavor Pairings: Tofu works well with flavors like ginger, garlic, and soy sauce, making it versatile for various cuisines.
- Storage Tips: If you have leftovers, keep them in water in the refrigerator. This helps maintain the tofu’s moisture.
- Seasonal Pairings: In spring, serve tofu with fresh peas and herbs; in fall, pair it with roasted squash and spices.
FAQ
Conclusion
Making Homemade Tofu is not just about creating a simple ingredient; it’s about embracing a cooking adventure that enriches your culinary skills. The satisfaction you feel when tasting your very own tofu is unmatched. I encourage you to try your hand at this recipe. You’ll discover not just a delicious food item, but a sense of accomplishment and creativity in the kitchen.
Homemade Tofu
Equipment
- Large 6 quart non-stick pot
- Medium 5 quart non-stick pot
- Wooden spatula
- Large mesh sieve
- Pressing cloth
- Mold
Ingredients
- 6 ounces dried soybeans rinsed
- 8 cups spring or filtered water plus more for soaking soybeans
- 1.5 teaspoons gypsum
- 1 large 6 quart non-stick pot
- 1 medium 5 quart non-stick pot
- 1 none wooden spatula
- 1 large mesh sieve
- 2 none pressing cloths (a clean piece of cotton muslin fabric or a flour sack dish towel works well)
- 1 none mold (I used a plastic container with a few holes punched in the bottom)
Instructions
- Place soybeans in a bowl and cover with spring water by at least 2 inches. Cover and let soak for 8 to 12 hours or until beans split apart into two, evenly colored halves that break in half easily. If the insides of the beans are concave or darker in color and the beans are rubbery, allow to soak longer.
- Drain, reserving soaking water for the next steps (if desired). Soaked and drained beans will keep, refrigerated in an airtight container, for up to 5 days.
- Place a colander or fine mesh sieve over the smaller of the two pots. Line sieve with cloth. Place 5 cups of spring water in the larger pot to warm over medium heat. Don’t let it boil just yet.
- Place soaked soybeans and 2 cups of spring water in a blender and liquify on high speed for 1 to 2 minutes or until soybeans form a thick, smooth purée. Add to pot with warm water. Add another 1/2 cup of water to blender and pulse briefly to rinse out any remaining soy solids, then pour that into the larger pot as well.
- Cook the soybean mixture, stirring frequently to avoid scorching, for about 3 to 6 minutes or until a thick, frothy foam begins to rise. Remove from heat and let sit for a few minutes as the foam subsides.
- Pour the milk through the pressing cloth, allowing the liquid to seep through before topping it off. Gather up the pressing cloth and twist, extracting as much liquid as possible (it will be hot, so it may help to wear rubber gloves or wait a few minutes for it to cool down further).
- Open up the pressing cloth and stir in an additional 1/2 cup of spring water, then twist and squeeze out any remaining liquid. At this point the remaining solids (called “lees” can be saved and used for another purpose or discarded).
- Set the smaller pot with strained soymilk over medium-high heat and stir until it comes to a gentle simmer. Continue to stir, adjusting heat as necessary (you want it just gently bubbling) for 5 minutes.
- Meanwhile, combine the gypsum with 1/2 cup spring water, stirring with a spoon to dissolve. Place your mold on a rimmed baking sheet and line with pressing cloth. You will also want to have a sieve and a ladle handy.
- After the soymilk has simmered for 5 minutes, remove from heat and let cool slightly, stirring occasionally, for 2 to 3 minutes.
- While vigorously stirring the milk in a “Z” or “N” pattern across the pot, add 1/3 of the gypsum mixture. Stop stirring, using the spatula to halt the motion of the liquid, then gently lift out the spatula.
- With a spoon, gently sprinkle another third of the gypsum mixture over the surface of the milk, then cover and let sit, undisturbed, for 3 minutes.
- Stir the remaining 1/3 of the gypsum to be sure it is evenly mixed, then sprinkle over the surface of the milk. Gently stir in an “N” or “Z” shaped motion across just the top 1/2-inch of the liquid for about 20 seconds, then cover and let sit for another 6 minutes.
- At this point the mixture should visibly show white curds in a pale yellow whey. If there is still milky liquid, cover the pot again and wait for another minute. You can also add another 1/3 teaspoon of gypsum mixed with 1/3 cup water, gently sprinkled over the surface. Gently stirring the mixture should bring out the curds.
- Press the sieve down into the pot, and use the ladle to spoon out as much liquid whey as you can from the center (the whey can also be saved and reserved for later use). Gently ladle the remaining curd into the prepared mold. Fold in the corners of the pressing cloth and set a second container or similarly-sized surface on top. Weight the tofu with approximately 1 to 2 pounds of weight (more weight will yield firmer tofu), and let sit for about 15 minutes. Carefully remove the tofu from the mold and cloth and submerge in cold water to thoroughly cool.
- At this point the tofu can be enjoyed immediately or stored, covered in water in an airtight container for up to 1 week.
Notes
- Tip 1: Store leftover tofu submerged in water in an airtight container. Change the water every couple of days to keep it fresh.
- Tip 2: You can freeze tofu for a firmer texture. Simply press it to remove excess water, then wrap it tightly in plastic and freeze.
- Tip 3: Tofu pairs wonderfully with a variety of sauces and marinades. Experiment with soy sauce, teriyaki, or a spicy chili paste.
- Tip 4: Feel free to add spices or herbs to the soaking water to infuse unique flavors into your tofu.
- Tip 5: Try grilling, stir-frying, or baking your tofu to discover different textures and flavors.