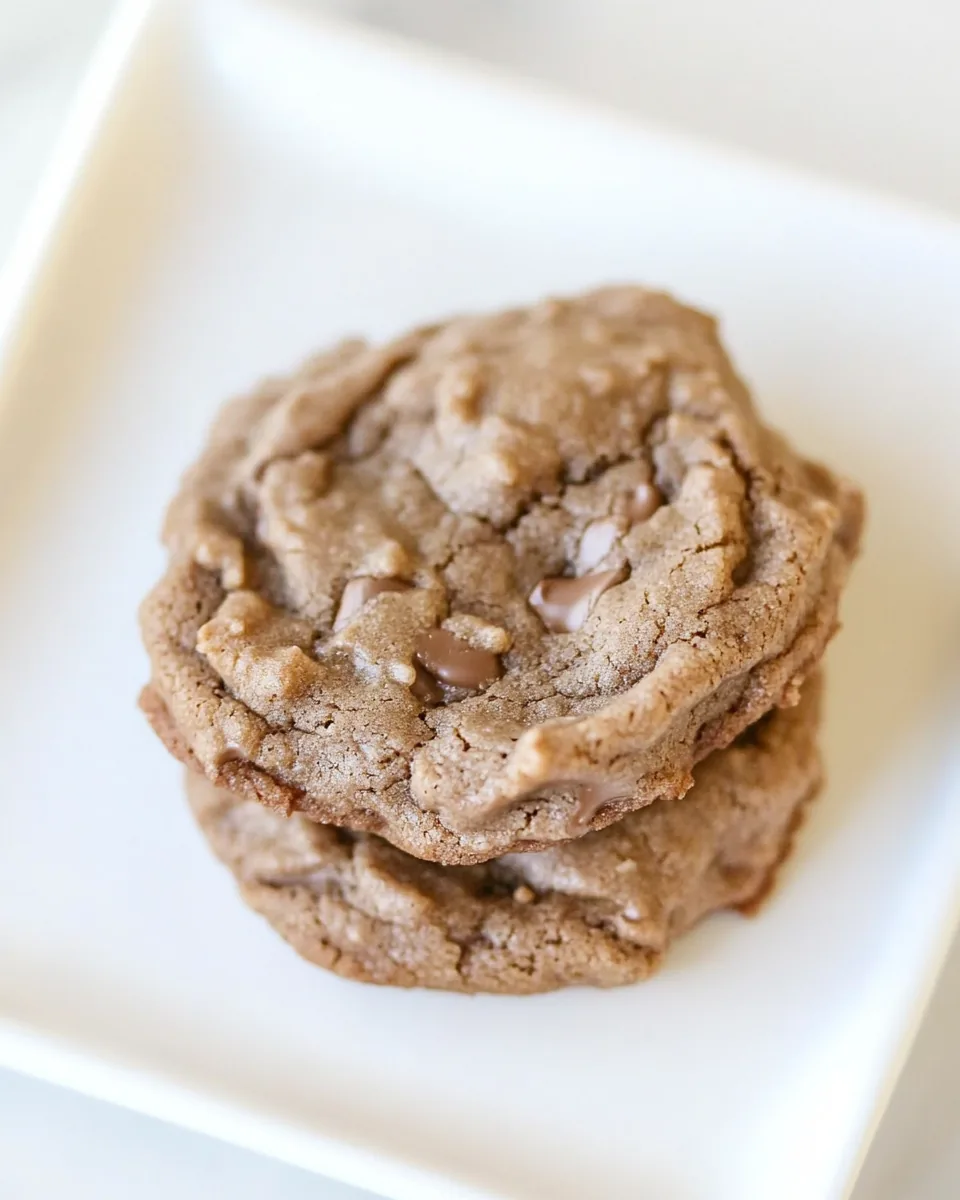
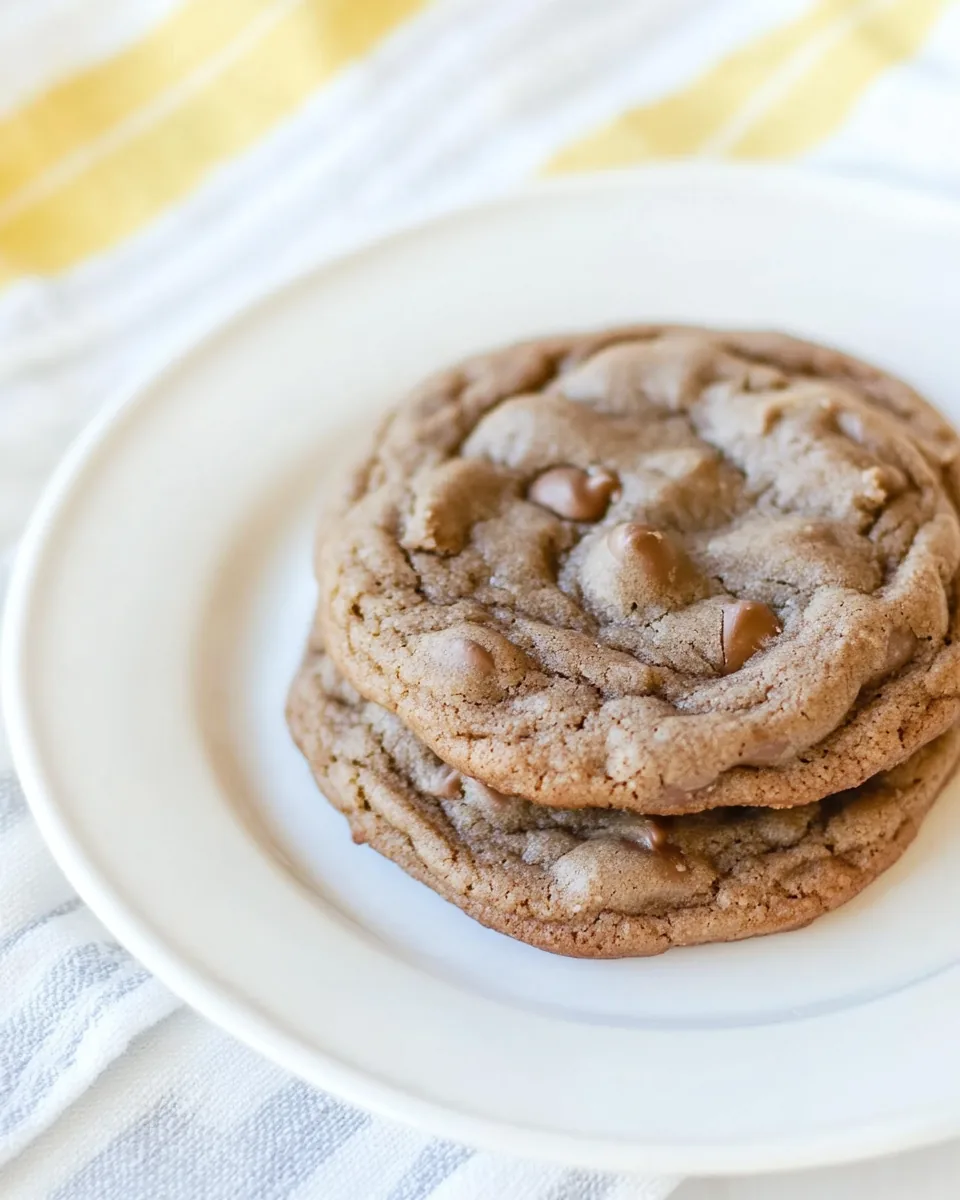
Chocolate Chipless Cookies
There’s something special about the simplicity of Chocolate Chipless Cookies. When I first decided to create a cookie that strayed from the traditional chocolate chip route, I was skeptical. Would it still be delightful? The answer was a resounding yes! These cookies offer a buttery flavor with a hint of sweetness that surprises your taste buds. Each bite is a nostalgic nod to childhood baking days spent in the kitchen with my family. As the aroma fills your home, you can’t help but feel comforted and eager to share them with loved ones.
These are not just any cookies; they represent a moment of creativity and the joy of baking without boundaries. Imagine enjoying them warm from the oven, perhaps with a cup of tea or coffee, making every moment feel a little more special. Whether it’s a quiet afternoon or a bustling family gathering, Chocolate Chipless Cookies have a way of bringing people together. They’re perfect for those who appreciate the rich, buttery taste of cookies without the distraction of chocolate. So, roll up your sleeves and let’s dive into the world of these delightful treats!
Recipe Snapshot
18 mins
10 mins
8 mins
Medium
150 kcal
2 g
Gluten-Free, Low FODMAP
7 g
Mixing Bowl, Oven, Baking Sheet
The Beauty of This Chocolate Chipless Cookies
They’re Uniquely Delicious
While we often think of cookies as having chocolate, Chocolate Chipless Cookies let the other flavors shine. The richness of the butter and the sweetness of the sugar create a lovely balance that is satisfying all on its own.
Perfect for Any Occasion
These cookies are versatile enough to fit into any occasion. Whether you’re hosting a gathering or just need a quick snack, they work perfectly. You can even dress them up by adding your favorite nuts or spices!
Easy to Make
With a short list of common ingredients, these cookies are incredibly easy to whip up. Even novice bakers can take part in the fun! It’s a straightforward recipe that yields delicious results with minimal effort.
Customizable Recipe
What I love most is how customizable these cookies can be. You can add in your favorite mix-ins like nuts or a sprinkle of sea salt on top before baking to elevate the flavor.
Great for Meal Prep
If you’re looking to prepare ahead of time, the cookie dough can be made and stored in the refrigerator for up to 24 hours. This means you can have freshly baked cookies whenever you crave them!
A Sweet Gift
Wrapping these cookies in a decorative box or tin makes for a charming gift. They’re a lovely gesture for friends and family, showing that you care.
Ingredients for Chocolate Chipless Cookies
When it comes to baking, the choice of ingredients is paramount. Each component in Chocolate Chipless Cookies plays a vital role in achieving that perfect texture and flavor. Think of the rich, creamy butter, which forms the base of these cookies, adding moisture and richness. The sugars bring sweetness and contribute to that delightful cookie crust. Together, these ingredients create a symphony of flavors that make these cookies irresistible.
- ¾ cup (163 grams) unsalted butter, softened — The star ingredient that brings richness and moisture to the cookies.
- ¾ cup (145 grams) light brown sugar, packed — Adds sweetness and depth of flavor, with a hint of caramel.
- ¼ cup (50 grams) granulated sugar — Helps achieve the perfect texture and adds sweetness.
- 1 large egg — Binds all the ingredients together and adds moisture.
- 1 egg yolk — Enriches the dough, making it tender and flavorful.
- 1 Tablespoon vanilla extract — Adds warmth and enhances the overall flavor.
- 2 ¼ cups (312 grams) all-purpose flour — The main structure of the cookies.
- 1 teaspoon cornstarch — Helps to create a soft, tender texture.
- 1 teaspoon baking soda — Leavens the cookies, allowing them to rise beautifully.
- ¾ teaspoon fine sea salt — Balances the sweetness and enhances the flavors.
Preparation Steps for Chocolate Chipless Cookies
Baking Chocolate Chipless Cookies is a delightful experience that brings warmth and joy to your kitchen. Follow these easy steps to make the perfect batch. You’ll want to pay attention to details like texture and color to ensure your cookies come out just right!
Preheat the oven to 350°F. This is an important step, as it ensures the cookies bake evenly. Line two baking sheets with parchment paper to prevent sticking and make cleanup a breeze.
Beat together the butter, brown sugar, and granulated sugar in a large bowl or the bowl of a stand mixer until the mixture is light and fluffy. This should take about three to five minutes. The color should lighten as air is incorporated, resulting in a creamy consistency.
Add the egg, egg yolk, and vanilla. Mix until combined, ensuring the mixture is smooth and well-blended. This adds richness and flavor to the cookie dough.
Combine the dry ingredients: In a separate bowl, whisk together the all-purpose flour, cornstarch, baking soda, and salt. Gradually add this mixture to the wet ingredients, stirring until just combined. Avoid overmixing to keep the cookies tender.
Scoop the dough using a medium cookie scoop or a tablespoon, and place the dough balls onto the prepared baking sheets. Make sure to leave enough space between each ball for the cookies to spread during baking.
Press the centers gently with the palm of your hand. This helps the cookies to flatten slightly and ensures even baking.
Refrigerate the dough balls for 10 minutes. This step helps to firm up the dough, preventing them from spreading too much while baking.
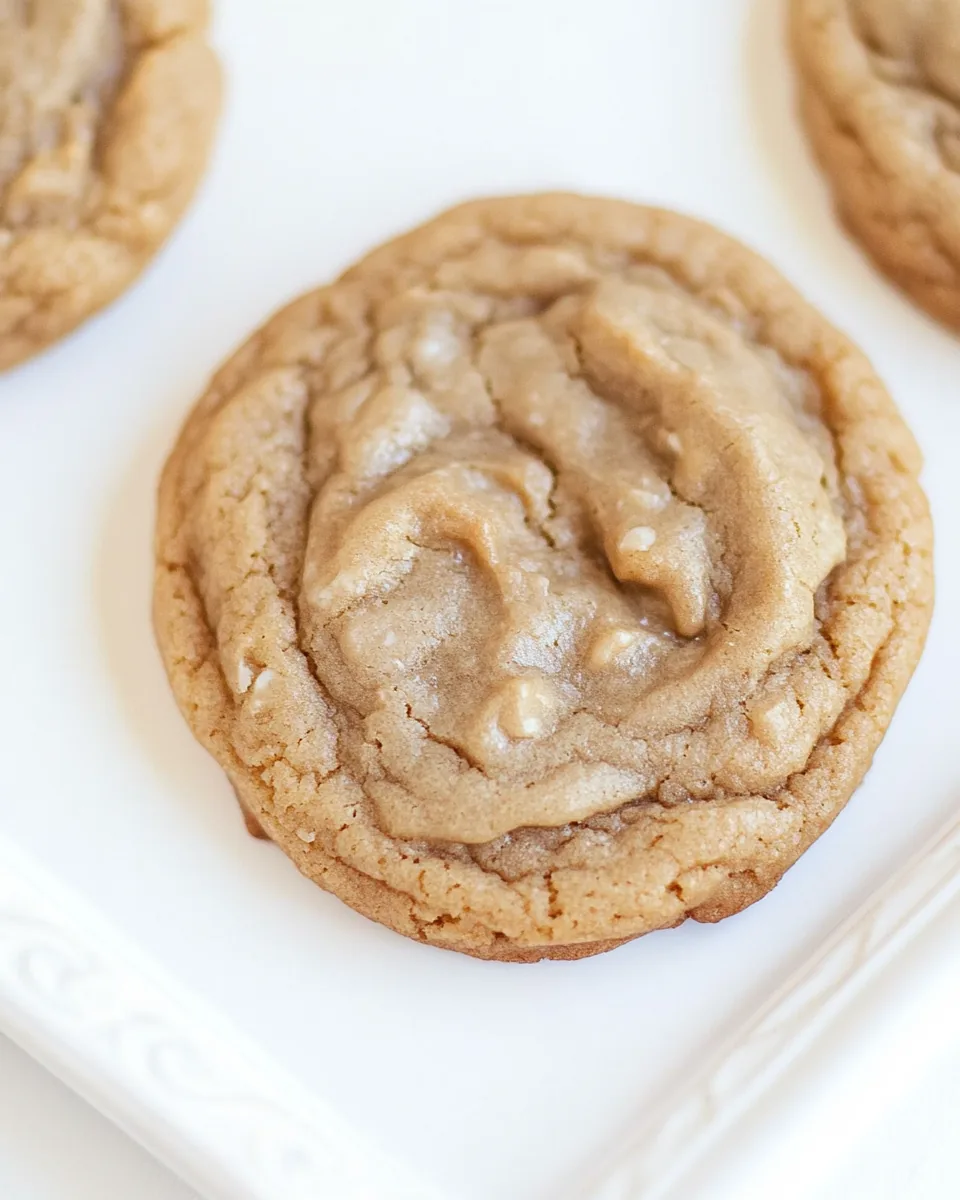
Bake for 8 minutes, or until the edges are golden brown. The centers may look slightly underbaked, but they will continue to cook on the baking sheet.
Cool the cookies on the baking sheet for a few minutes before transferring them to a cooling rack. This allows them to firm up and makes them easier to handle.
Things Worth Knowing
Things Worth Knowing
- Room Temperature Butter: Ensure the butter is at room temperature for easier mixing, producing a smoother dough.
- Measure Flour Correctly: Use the spoon and level method to avoid dense cookies. Scoop with a spoon into your measuring cup, then level off the top.
- Chill the Dough: Chilling the dough not only helps with spreading but also enhances the flavors as they meld together.
- Don’t Skip the Salt: A little salt elevates the flavor, balancing the sweetness of the sugars.
- Watch the Baking Time: Ovens can vary, so keep an eye on your cookies to avoid overbaking.
Change It Up
If you’re eager to experiment with Chocolate Chipless Cookies, here are some great ways to add your personal touch!
- Add Mix-Ins: Consider adding chopped nuts, dried fruits, or a sprinkle of cinnamon for added flavor.
- Roll in Sugar: Before baking, roll the dough balls in sugar for a sweet crust that adds texture.
- Make Sandwich Cookies: Use these cookies as a base for sandwich cookies with frosting or cream in the middle.
- Vary the Flour: Try using a mix of whole wheat and all-purpose flour for a heartier cookie.
- Gluten-Free Option: Substitute regular flour with a gluten-free blend to accommodate dietary preferences.
Pairing Suggestions for Chocolate Chipless Cookies
When it comes to enjoying Chocolate Chipless Cookies, the possibilities for pairing are endless. Here are some delightful suggestions:
- Pair with Tea or Coffee: A warm cup of tea or coffee enhances the experience of these cookies, making for a cozy afternoon snack.
- Perfect for Afternoon Treats: Serve them during afternoon tea or as a mid-day pick-me-up.
- Great for Holiday Gatherings: These cookies are a wonderful addition to holiday cookie trays and events, where they’ll stand out for their unique flavor.
- Storage Tip: Store leftover cookies in an airtight container to keep them fresh for up to 3 days.
- Seasonal Pairings: During the winter, consider serving with a warm spiced cider for a comforting treat.
FAQ
Conclusion
Chocolate Chipless Cookies are a delightful twist on the classic cookie, showcasing buttery flavor and a wonderful texture. They prove that you don’t always need chocolate to enjoy a delicious treat. I encourage you to give this recipe a try; you might just discover a new favorite!

Chocolate Chipless Cookies
Equipment
- Mixing Bowl
- Oven
- Baking Sheet
Ingredients
- ¾ cup grams Unsalted Butter softened
- ¾ cup grams Light Brown Sugar packed
- ¼ cup grams Granulated Sugar
- 1 large Egg
- 1 egg yolk Egg Yolk
- 1 Tablespoon Vanilla Extract
- 2 ¼ cups grams All-Purpose Flour
- 1 teaspoon Cornstarch
- 1 teaspoon Baking Soda
- ¾ teaspoon Fine Sea Salt
Instructions
- Preheat the oven to 350°F. This is an important step, as it ensures the cookies bake evenly. Line two baking sheets with parchment paper to prevent sticking and make cleanup a breeze.
- Beat together the butter, brown sugar, and granulated sugar in a large bowl or the bowl of a stand mixer until the mixture is light and fluffy. This should take about three to five minutes. The color should lighten as air is incorporated, resulting in a creamy consistency.
- Add the egg, egg yolk, and vanilla. Mix until combined, ensuring the mixture is smooth and well-blended. This adds richness and flavor to the cookie dough.
- Combine the dry ingredients: In a separate bowl, whisk together the all-purpose flour, cornstarch, baking soda, and salt. Gradually add this mixture to the wet ingredients, stirring until just combined. Avoid overmixing to keep the cookies tender.
- Scoop the dough using a medium cookie scoop or a tablespoon, and place the dough balls onto the prepared baking sheets. Make sure to leave enough space between each ball for the cookies to spread during baking.
- Press the centers gently with the palm of your hand. This helps the cookies to flatten slightly and ensures even baking.
- Refrigerate the dough balls for 10 minutes. This step helps to firm up the dough, preventing them from spreading too much while baking.
- Bake for 8 minutes, or until the edges are golden brown. The centers may look slightly underbaked, but they will continue to cook on the baking sheet.
- Cool the cookies on the baking sheet for a few minutes before transferring them to a cooling rack. This allows them to firm up and makes them easier to handle.
Notes
- Tip 1: Leave the butter out an hour before. If using salted butter, only use 1/2 teaspoon salt.
- Tip 2: To take the flavor up a notch, mix in 2 teaspoons molasses. You can also roll them on sugar before baking to make them sweeter.
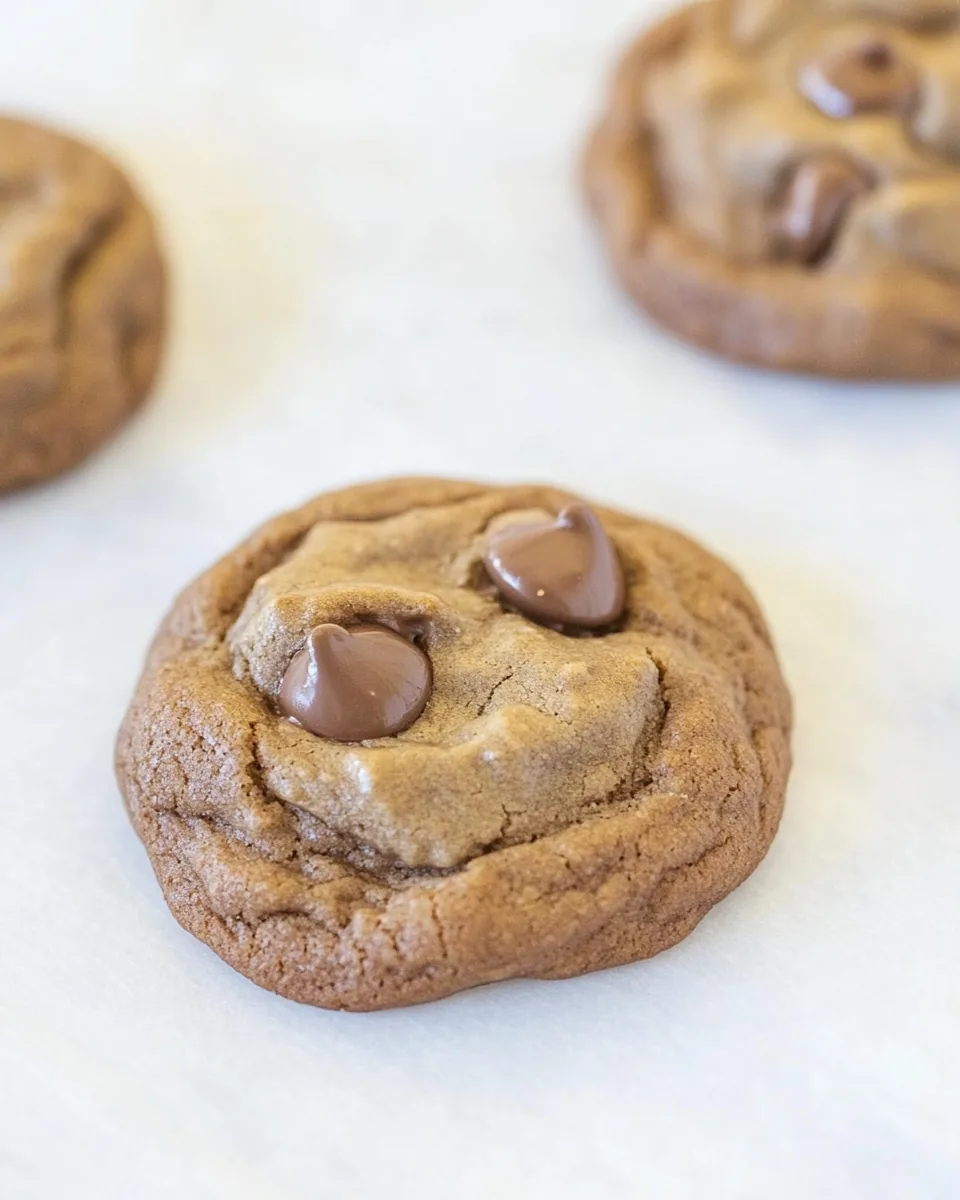
- Tip 3: If desired, you can add in 1 cup of nuts, chocolate chips, or m&m’s.
- Tip 4: This dough can be made 24 hours in advance and stored in the refrigerator until ready to bake.
- Tip 5: Store in an airtight container for 3 days or freeze up to 3 months. Thaw overnight in the refrigerator before enjoying, or leave at room temperature.