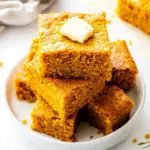
Filled Raisin Cookies
There’s something incredibly nostalgic about baking cookies, especially when it involves Filled Raisin Cookies. When I was a child, my grandmother would gather us around her kitchen table, and we would dive into a joyful mess of flour and sugar. The sweet aroma of baking cookies filled the house, wrapping us in a warm embrace. The thrill of biting into a soft cookie filled with sweet, plump raisins was always the highlight of my day. Now, as an adult, I find that these cookies have become a staple in my home, bringing back fond memories while creating new ones with my own family. Every time I make Filled Raisin Cookies, I’m reminded of those kitchen moments, the laughter, and the delicious treasures we created together.
Recipe Snapshot
1 hr 5 mins
50 mins
15 mins
Medium
150 kcal
2g g
Gluten-Free, Low FODMAP
6g g
Frying Pan, Whisk, Oven, Wooden Spoon, Mixing Bowl, Baking Sheet
Why You’ll Love This Filled Raisin Cookies
They’re Irresistibly Sweet
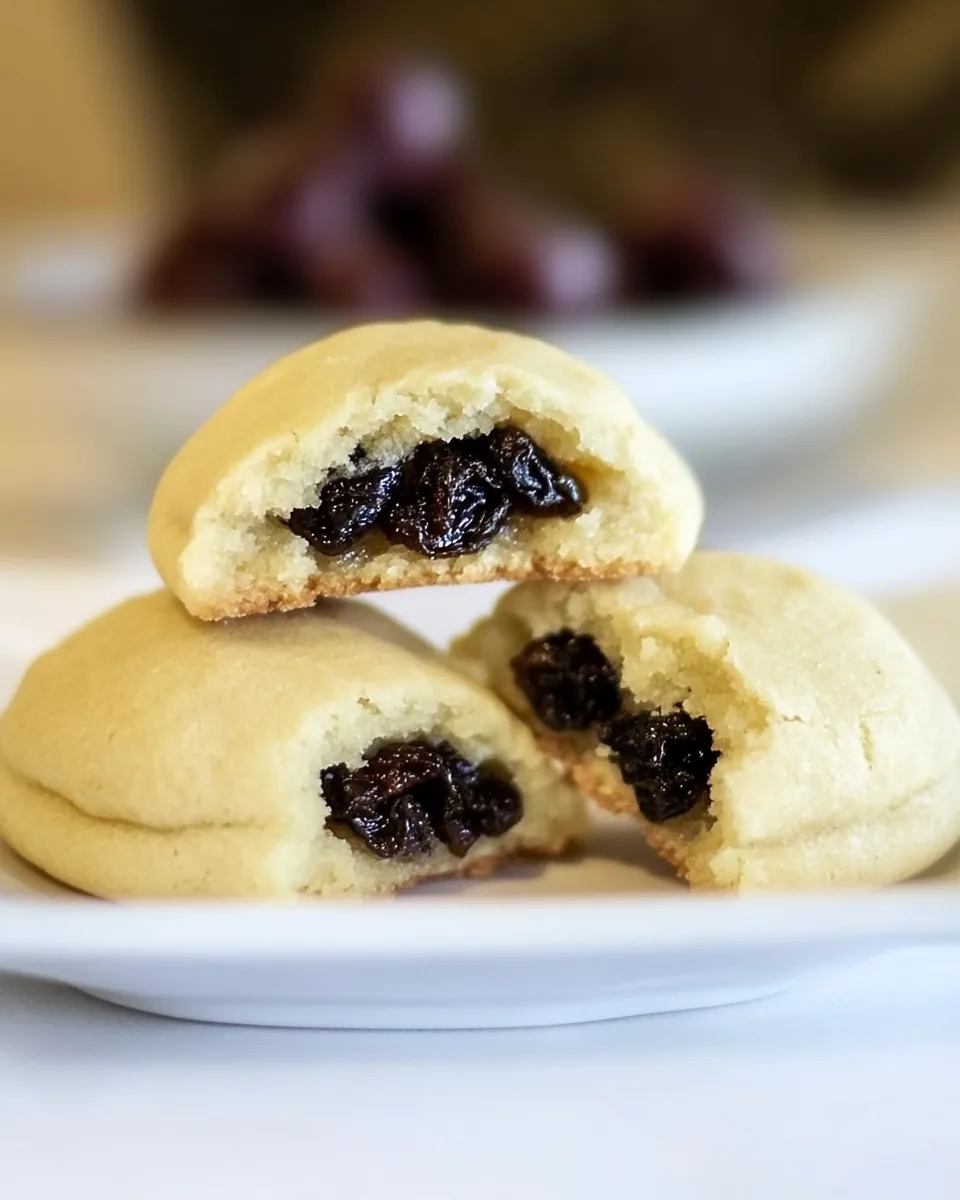
What I absolutely love about Filled Raisin Cookies is their perfect balance of sweetness. The combination of the sugary dough and the rich, fruity filling creates a burst of flavors in every bite. The raisins add a lovely chewy texture that contrasts beautifully with the soft cookie, making them hard to resist.
Perfect for Any Occasion
These cookies are versatile! You can whip them up for a family gathering, a cozy tea time, or even as a sweet treat for your kids’ lunch boxes. They travel well too, so they’re great for parties or gatherings. Everyone will appreciate the effort you put into making these delightful cookies!
Fun to Make Together
Baking these cookies is not just about following a recipe; it’s about creating memories. Whether you’re baking with kids or friends, it’s a delightful activity that allows for creativity. You can talk, laugh, and share stories while shaping the cookies and adding the filling. It’s a bonding experience that adds to the joy of the final product.
Perfectly Customizable
Another fantastic aspect of Filled Raisin Cookies is how easy they are to customize. You can play around with different fillings—such as nuts, chocolate chips, or even other dried fruits. The base cookie dough remains the same, but the fillings can change to reflect your personal taste or what you have on hand.
Great for Sharing
In today’s busy world, sharing baked goods is a simple way to show you care. Whether it’s a neighbor, a colleague, or a friend, handing over a box of Filled Raisin Cookies is sure to bring a smile to their face. It’s a sweet gesture that’s appreciated and remembered.
A Nostalgic Treat
For many of us, cookies evoke feelings of nostalgia and comfort. Each bite of a Filled Raisin Cookie can transport you back to those cherished moments of childhood and family togetherness. It’s food that tells a story and makes you feel at home, no matter where you are.
Main Ingredients for Filled Raisin Cookies
The ingredients for Filled Raisin Cookies reflect a beautiful blend of flavors and textures that come together perfectly. Each ingredient plays a vital role in creating a cookie that’s not only delicious but also satisfying to make. The combination of the basic components like flour, sugar, and margarine forms the soft, tender cookie base, while the raisins add a delightful sweetness and chewiness that elevates every bite.
- Granulated Sugar: The foundation of sweetness, this ingredient helps create a perfectly balanced cookie that isn’t overly sweet. The sugar also contributes to the cookie’s delightful texture.
- Margarine: A key player in making the cookies soft and tender, margarine adds moisture and richness to the dough.
- All-Purpose Flour: This is the backbone of the cookie, providing structure. The amount used ensures that the cookies hold their shape while baking.
- Eggs: Serving as a binder, eggs also help to create a soft and tender texture. They play a crucial role in the overall consistency of the dough.
- Baking Powder & Baking Soda: These leavening agents are essential for achieving the right rise in the cookies, ensuring they are light and fluffy.
- Whole Milk: Milk adds moisture to the dough, contributing to a soft cookie that isn’t dry.
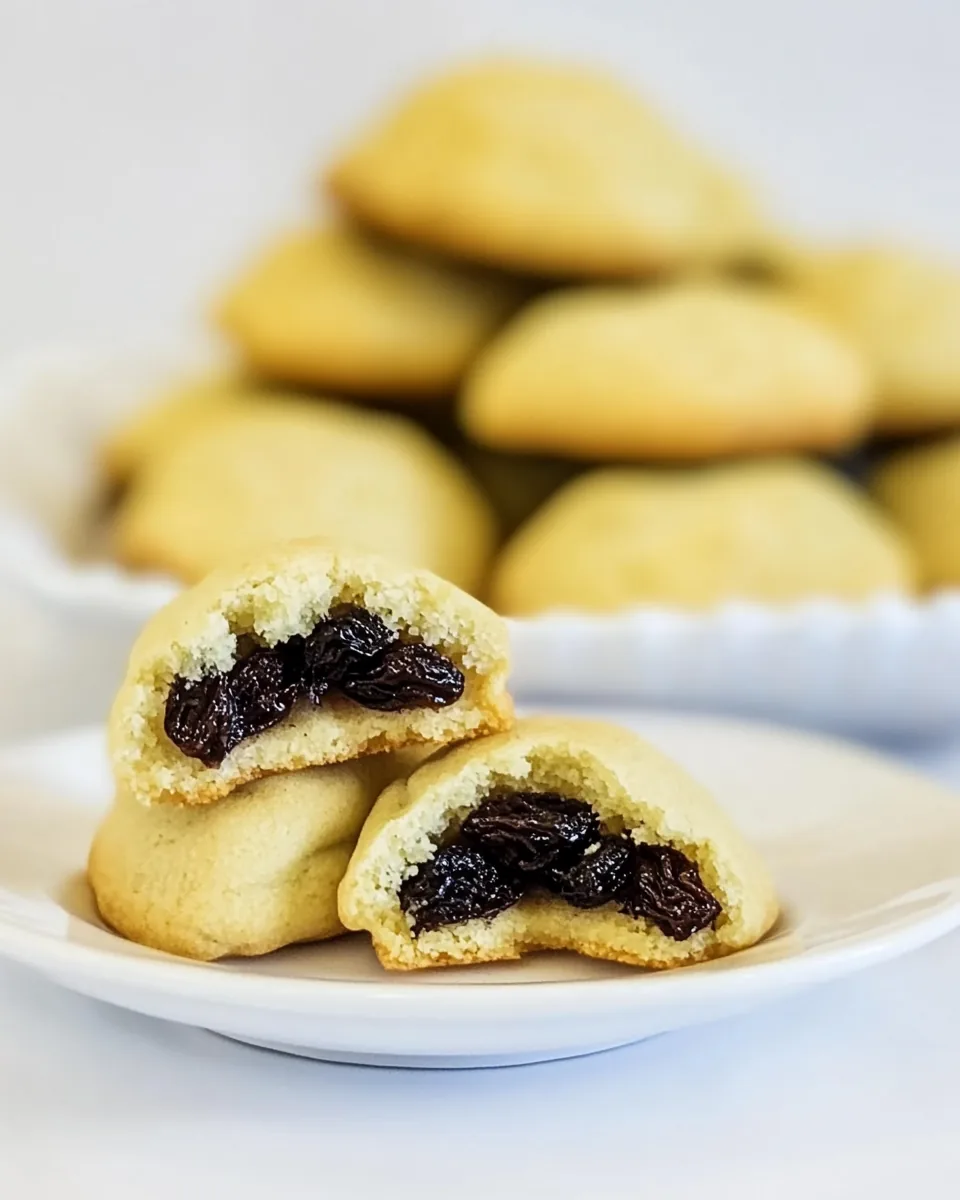
- Raisins: The star of the filling! They bring a natural sweetness and a chewy texture, making every bite special.
- Vanilla Extract: While this recipe avoids artificial flavors, a hint of vanilla enhances the overall taste, adding depth and warmth.
- Cornstarch: This ingredient helps thicken the filling and gives it a smooth, creamy texture.
- Lemon Juice: A splash of acidity from lemon juice brightens the flavor of the raisins in the filling, making it even more delicious.
Recipe Steps for Filled Raisin Cookies

Making Filled Raisin Cookies is a delightful journey from start to finish. Every step brings you closer to enjoying these sweet treasures. Let’s dive into the detailed process of crafting these delectable cookies.
- Make the Dough: Begin by creaming together granulated sugar and margarine in a mixing bowl on medium speed. You want the mixture to become light and fluffy, which takes about 2 to 3 minutes. It’s important to scrape down the sides of the bowl occasionally to ensure even mixing. Once fluffy, reduce the mixer speed to low and add salt, eggs, all-purpose flour, and whole milk, mixing until just combined. Be careful not to overmix, as you want the dough to remain soft and tender. Add the baking powder, baking soda, and vanilla extract, mixing until everything is well incorporated. The dough will be very soft and sticky—don’t worry, that’s exactly what you want!
- Chill the Dough: After mixing, cover the dough with plastic wrap and refrigerate it for at least 30 minutes to 1 hour. Chilling the dough makes it easier to handle later on, preventing it from being too sticky when you roll it out.
- Make the Filling: While the dough is chilling, prepare the filling. In a small saucepan, whisk together granulated sugar, cornstarch, and ¼ cup of water over medium heat to create a paste. Stir in the remaining water, lemon juice, and raisins. Continue to cook the mixture, stirring frequently, until it thickens and the raisins plump, which should take about 5 to 10 minutes. Once ready, remove it from heat and let it cool to room temperature.
- Preheat the Oven: Before assembling the cookies, preheat your oven to 400 degrees F. This ensures the cookies start baking at the right temperature, giving them that beautiful golden brown color.
- Roll Out the Dough: On a well-floured surface, take about one-third of the chilled dough and roll it out to about 1/8-inch thickness. Use as much flour as necessary to prevent sticking, as the dough is quite soft.
- Cut the Dough: Using a 2¾-inch cookie cutter, cut the rolled-out dough into rounds. Place half of these rounds onto a lined baking sheet.
- Add the Filling: Spoon 1 to 2 tablespoons of the cooled raisin filling onto the center of each dough round on the baking sheet. Don’t worry about being too precise—just get those delicious raisins in there!
- Top with Dough: Take another round of dough and place it gently on top of the filled rounds. You don’t need to seal them; they’ll stick together while baking.
- Bake the Cookies: Carefully place the baking sheet in the oven and bake the cookies until they are lightly golden brown on top, which should take about 15 minutes. Keep an eye on them to avoid overbaking.
- Cool and Store: Once baked, allow the cookies to cool on the pan for about 10 minutes before transferring them to a cooling rack to cool completely. Store the cooled cookies in an airtight container at room temperature for up to 5 days.
Things Worth Knowing
- Chilling the Dough: Chilling the dough is essential for achieving the right texture in your cookies. It prevents them from spreading too much during baking, ensuring they maintain their shape.
- Perfect Filling: Allow the filling to cool completely before using it. This helps it thicken further and makes it easier to handle when assembling the cookies.
- Watch the Baking Time: Every oven is different, so keep a close eye on your cookies towards the end of the baking time. They should be lightly golden brown when ready.
- Storing Cookies: To keep your cookies fresh, store them in an airtight container. If they start to get soft, you can pop them back in the oven for a few minutes to regain their texture.
Make It Your Own

Baking is all about creativity! Your Filled Raisin Cookies can be personalized in many ways to suit your taste or dietary preferences. Let’s explore some fun ideas to make this recipe your own.
- Storage: To keep your cookies fresh, store them in an airtight container at room temperature for up to 5 days. If they start to lose their crispness, you can revive them in the oven for a few minutes.
- Freezing: Yes, you can freeze these cookies! Just make sure they are completely cooled, then place them in a freezer-safe container. They can last for up to 3 months in the freezer. Thaw them at room temperature when you’re ready to enjoy.
- Pairing: These cookies are perfect with a cup of tea or coffee. You can also enjoy them with a scoop of vanilla ice cream for a delightful dessert!
- Variations: Get creative with your filling! Try adding chopped nuts, chocolate chips, or different dried fruits to add your twist to the classic recipe.
- Decorating: For a festive touch, consider drizzling melted chocolate over the cooled cookies or sprinkling them with powdered sugar.
Serving This Filled Raisin Cookies
Serving Filled Raisin Cookies is as delightful as making them. They can be enjoyed in numerous ways, making them perfect for just about any occasion.
- Breakfast Treat: Treat yourself to a cookie with your morning coffee or tea. It’s a sweet way to start your day.
- Afternoon Snack: Pack these cookies in your kids’ lunch boxes or enjoy them with a glass of milk as a mid-afternoon snack.
- Party Favor: Arrange them on a pretty platter and serve them at gatherings or parties. They make for a charming addition to any dessert table.
- Seasonal Celebrations: These cookies can be a hit during holiday gatherings or family reunions. They evoke comforting memories and are sure to be loved by all.
- Storing Leftovers: If you have any leftovers, make sure to store them in an airtight container to maintain their freshness. You can enjoy them for days after baking!
- Gift Giving: Consider packing these cookies in a box as a thoughtful gift for friends or family. A sweet treat made with love is always appreciated!
FAQ
Conclusion
Filled Raisin Cookies are a delightful blend of sweet and chewy, making them a must-try for cookie lovers. Whether you’re indulging yourself or sharing with loved ones, these cookies are sure to bring smiles and warm memories. I hope you venture into the kitchen and whip up a batch soon; your taste buds will thank you!

Filled Raisin Cookies
Equipment
- Frying Pan
- Whisk
- Oven
- Wooden Spoon
- Mixing Bowl
- Baking Sheet
Ingredients
- 2 cups Granulated Sugar
- 1 cup Margarine
- 1 teaspoon Salt
- 2 large Eggs
- 6 cups All-Purpose Flour
- 1 cup Whole Milk
- 4 teaspoons Baking Powder
- 2 teaspoons Baking Soda
- 2 teaspoons Vanilla Extract
- 1 cup Granulated Sugar
- 3 tablespoons Cornstarch
- 1.5 cups Water, divided
- 1 tablespoon Lemon Juice
- 15 ounces Raisins
Instructions
- Make the Dough: Cream together the granulated sugar and margarine on medium speed until light and fluffy. Reduce the mixer speed to low and add the salt, eggs, flour, and milk. Continue to mix until just about all of the flour is incorporated. Add the baking powder, baking soda, and vanilla extract and mix to combine. The dough will be very soft and sticky. Cover with plastic wrap and refrigerate for at least 30 minutes to 1 hour.
- Make the Filling: In a small saucepan, whisk together the granulated sugar, cornstarch, and ¼ cup of the water to form a paste. Stir in the remaining water, lemon juice, and raisins. Set the pan over medium heat and cook, stirring frequently, until the mixture thickens and the raisins plump, about 5 to 10 minutes. Cool to room temperature before using.
- Preheat oven to 400 degrees F. Line three baking sheets with parchment paper or a silicone baking mat.
- Using about 1/3 of the dough at a time, roll out the dough on a well-floured surface to about 1/8-inch thickness. The dough is very soft and sticky, so use as much flour as necessary to roll it out without it sticking. Cut the dough into rounds (I used a 2¾-inch cookie cutter). Place one on the prepared baking sheet, spoon 1 to 2 tablespoons of the raisin filling onto the circle, and then top with another round of dough. Just lay the circle on top of the filling; there is no need to seal them shut, as they will do so while baking. Repeat with remaining dough and filling.
- Bake the cookies until lightly golden brown on top, about 15 minutes. Allow to cool for about 10 minutes on the pan and then transfer to a cooling rack to cool completely. Store in an airtight container at room temperature for up to 5 days.
Notes
- Nutritional values: Nutritional values are based on one serving.